Miro
Available Regions:
US
You can now integrate your team's visual platform to connect, collaborate and create inside Cliq. To do so, follow the below steps:
- A Miro bot will post a message in Cliq on successful installation.
Create a Connection
Once the Miro extension gets installed you can create a connection with your account to access boards and teams in Cliq. To create a connection, do the following -
- Go to Bots & Tools and select Connections.
- Search for the Miro extension and select Allow access.
- It will redirect you to the Miro website where you need to enter credentials of your associated Miro account and the team you want to view.
- Once your authentication is successful, select "Take me to Cliq".
Bot
The Miro bot displays a message which guides users to get started in 3 steps.
Step 1 - Create board
This step instructs you on how to create a board using the Miro widget.
This step instructs you on how to create a board using the Miro widget.
Step 2 - Unified view
This step helps you to view all the boards created and edited from Cliq.
This step helps you to view all the boards created and edited from Cliq.
Step 3 - Getting to know your team
This step helps you to learn how to collaborate with the team members.
Bot Actions
There are two bot actions present in the Miro bot -
- View - You will be able to view your boards and team members.
- Help - You will be guided on how to start creating and collaborating using Miro.
View
There are two options in the View bot actions -
- Boards - Displays the list of the boards in that particular team.
- Teams - Displays the list of team members and also the pending invites sent.
Help
To get an overview on how to get started, you can select Help and choose an option from the following.
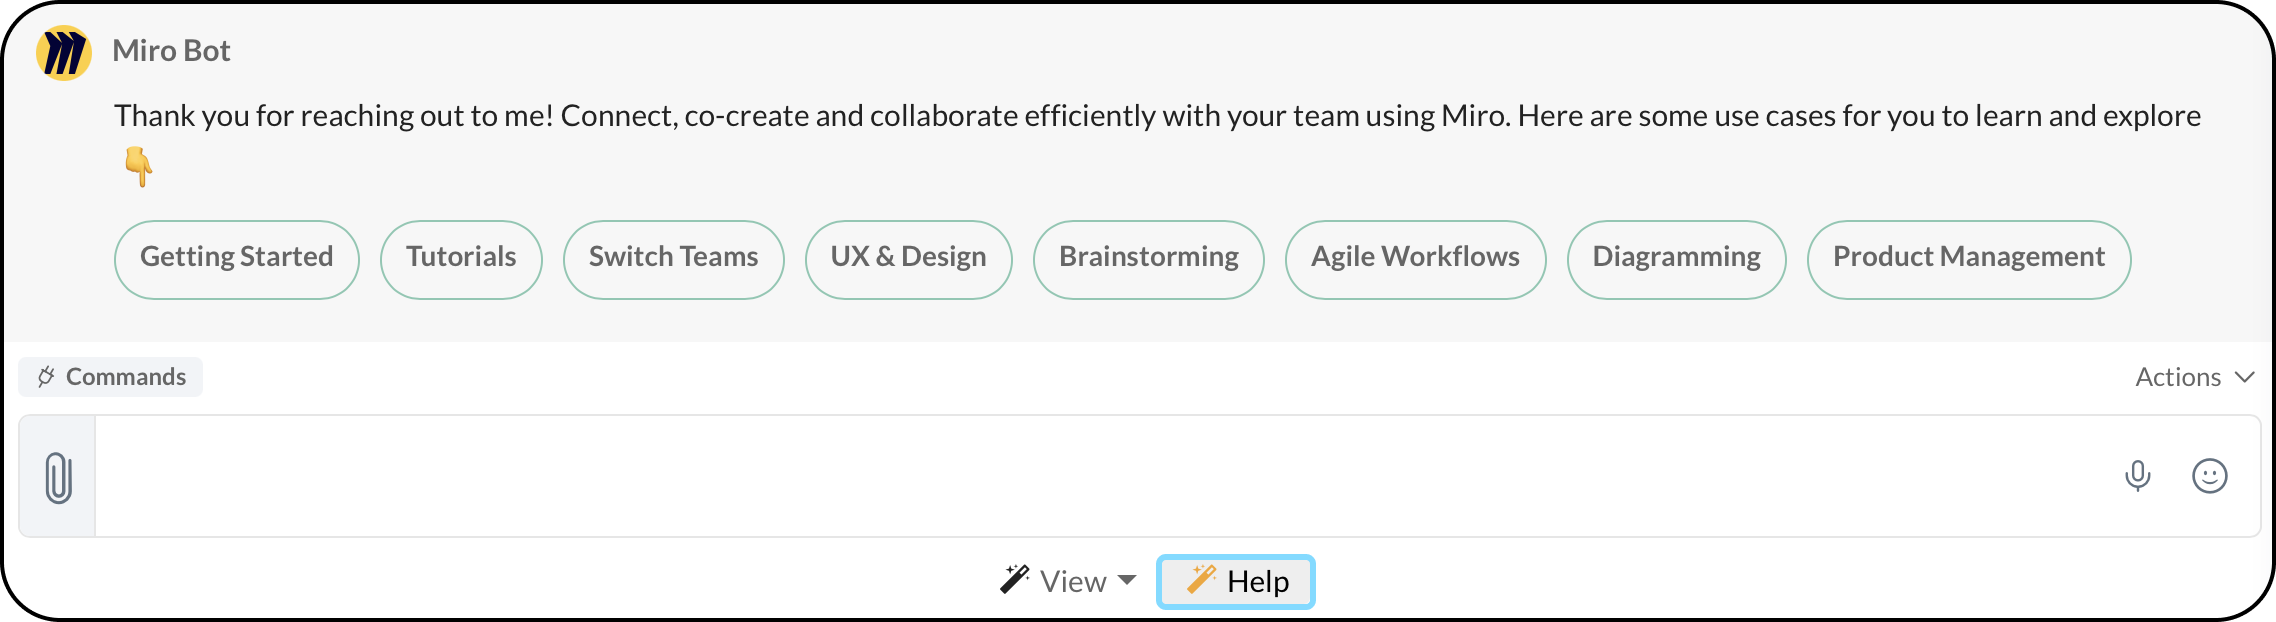
- Getting Started
- Tutorials
- Switch Teams
- UX & Design
- Brainstorming
- Agile Workflows
- Diagramming
- Product Management
When you select an option from the following, Cliq posts a message in the bot that includes links to resources.
Miro Widget
The Miro widget has three tabs -
- Boards - You can view the list of boards created for the particular team or create a board from Cliq.
- Team - You can view the team members and pending invites.
- Help - You will have an overview of all the actions that can be performed and knowledge on access levels and access rights.
Create Board
To create a board from Cliq, do the following:
- Select the Create Board button and fill in the board name, description, sharing access (view or comment), team access (view, comment or edit) and click on Create.
Boards
In the list of boards in the team you will be able to perform the following actions -
- View
By selecting view, you can view the particular board in Cliq and make changes to it. - Open in New Window
This will enable the Miro board to open in a new tab from the Miro page. - Edit
You can edit details of the board name, description, sharing and team access. - Delete
You can delete the board from Cliq.
Teams
Here you may invite members, and find the list of team members and pending invites.
- Invite members
You can invite members to your team by typing multiple email IDs separated by comma or select members from the drop-down options available and select Send Invitations. - List of team members
The list of team members will have the name, email ID and role displayed. You can assign a member as an admin or remove members from the team. - Pending Invites
Select View in the bottom right corner to view the number of pending invites. You can also revoke the invite sent from the list.
Help
The help tab guides the user on the various bot actions, widget views, access levels and access rights available.