How to schedule a message in Cliq?
Follow the below steps to schedule a message in Cliq:
-
Open any chat or channel and enter a message
-
Click on the
Schedule Message
icon
While you schedule a message make sure you set a preferred time zone. Follow the below steps to set the preferred timezone:
- Click on GMT
- Select a preferred timezone from the dropdown
While you schedule messages, you will be provided with default and dynamic options as follows:
Message scheduling options:
- Custom time: Set a preferred time to send your message.
-
Tomorrow at 9 AM:
The message will be sent tomorrow at 9:00 AM.
Scenarios and their respective dynamic message scheduling options:
|
Scenarios
|
Dynamic message scheduling action
|
|
When a user has set any other status besides "Available"
|
Send the message
"When User is available"
|
|
When the user is on a call
|
Send the message
"After meeting ends"
|
|
Option to send the message when the user checks-in
or checks-out:
|
Send the message
"When User checks-in" or "When User checks-out"
|
|
When you schedule a message between 12 AM to 6 AM of the day
|
Send the message
"Today 9 AM"
|
|
When you schedule a message from Friday evening to Saturday midnight
|
Send the message on
"Monday morning 9 AM"
|
When Call / Meeting Ends | Send the message once the call or meeting ends |
- To send all your scheduled messages in one go, click on the forward icon.
- To delete all your scheduled messages in one go, click on the delete icon and confirm the deletion by clicking on Delete All option in the pop-up.
-
To reschedule a scheduled message, click on the
Reschedule
icon.

Note: You can schedule up to 25 messages in Cliq
-
Select a preferred option and click on
Reschedule.
To view all your scheduled messages in one place, click on the schedule icon present at the top bar.
From here, you can access the following options by clicking on the kebab icon (3 dots)
-
Send now:
Sends the scheduled message immediately
-
Go to chat:
Takes you to the corresponding chat.
- Delete: Deletes the scheduled message
Note: Cliq supports scheduling for all types of attachments.
Mobile
You can schedule messages using the Cliq mobile app. This feature is available for both iOS and Android users.
After typing the message you want to send, there are two ways you can schedule it:
If the user's status is Away, Offline, or DND, Cliq will show a suggestion to Schedule.
If the user's status is Available or Busy, the schedule suggestion will not be displayed. Instead, you can long-press the send button.
On selecting schedule or the enter button, the following options will be displayed:
- Working day 9 AM: You can schedule it for the next working day at 9 AM.
- When available: You can schedule it for when the user is available. This option will not be available if the user status is already set to available.
- When the user checks in or out: You can schedule a message to be sent as soon as the user checks in or out.
- Custom time: You can set the date and time when you want to schedule it.
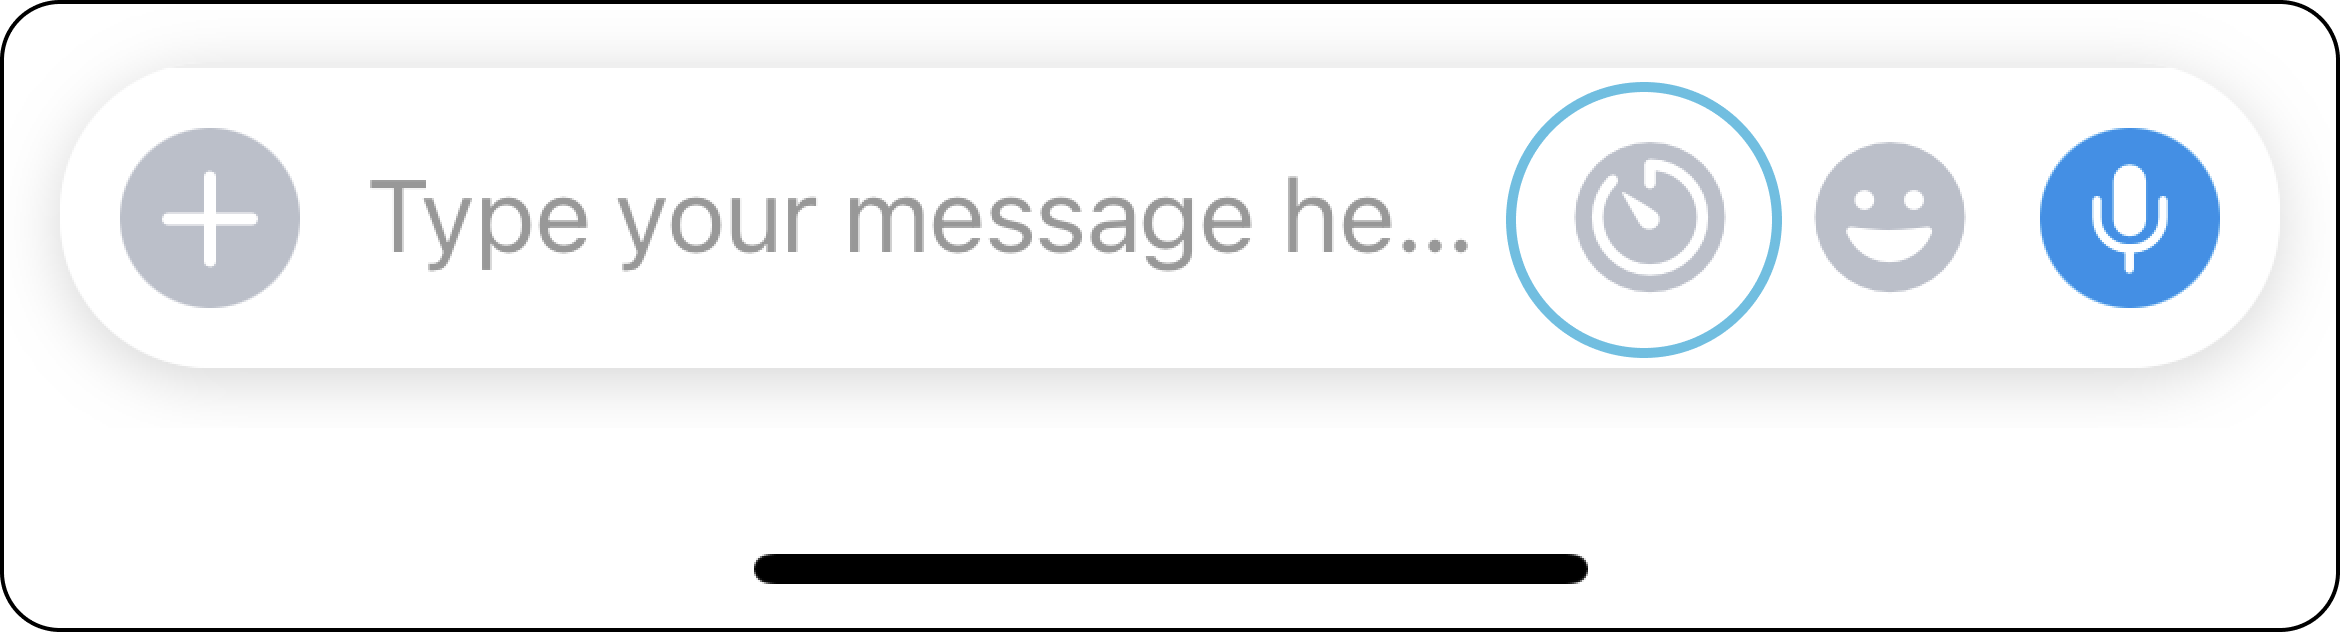
Once you schedule it, you can view the list by selecting the schedule icon in the text composer. This icon will be displayed only if a message is scheduled.
In the scheduled list, you can type in up to 25 messages that would be scheduled as per the preference you set for the first message. You can also send images, videos, stickers, or GIFs in the schedule messages.
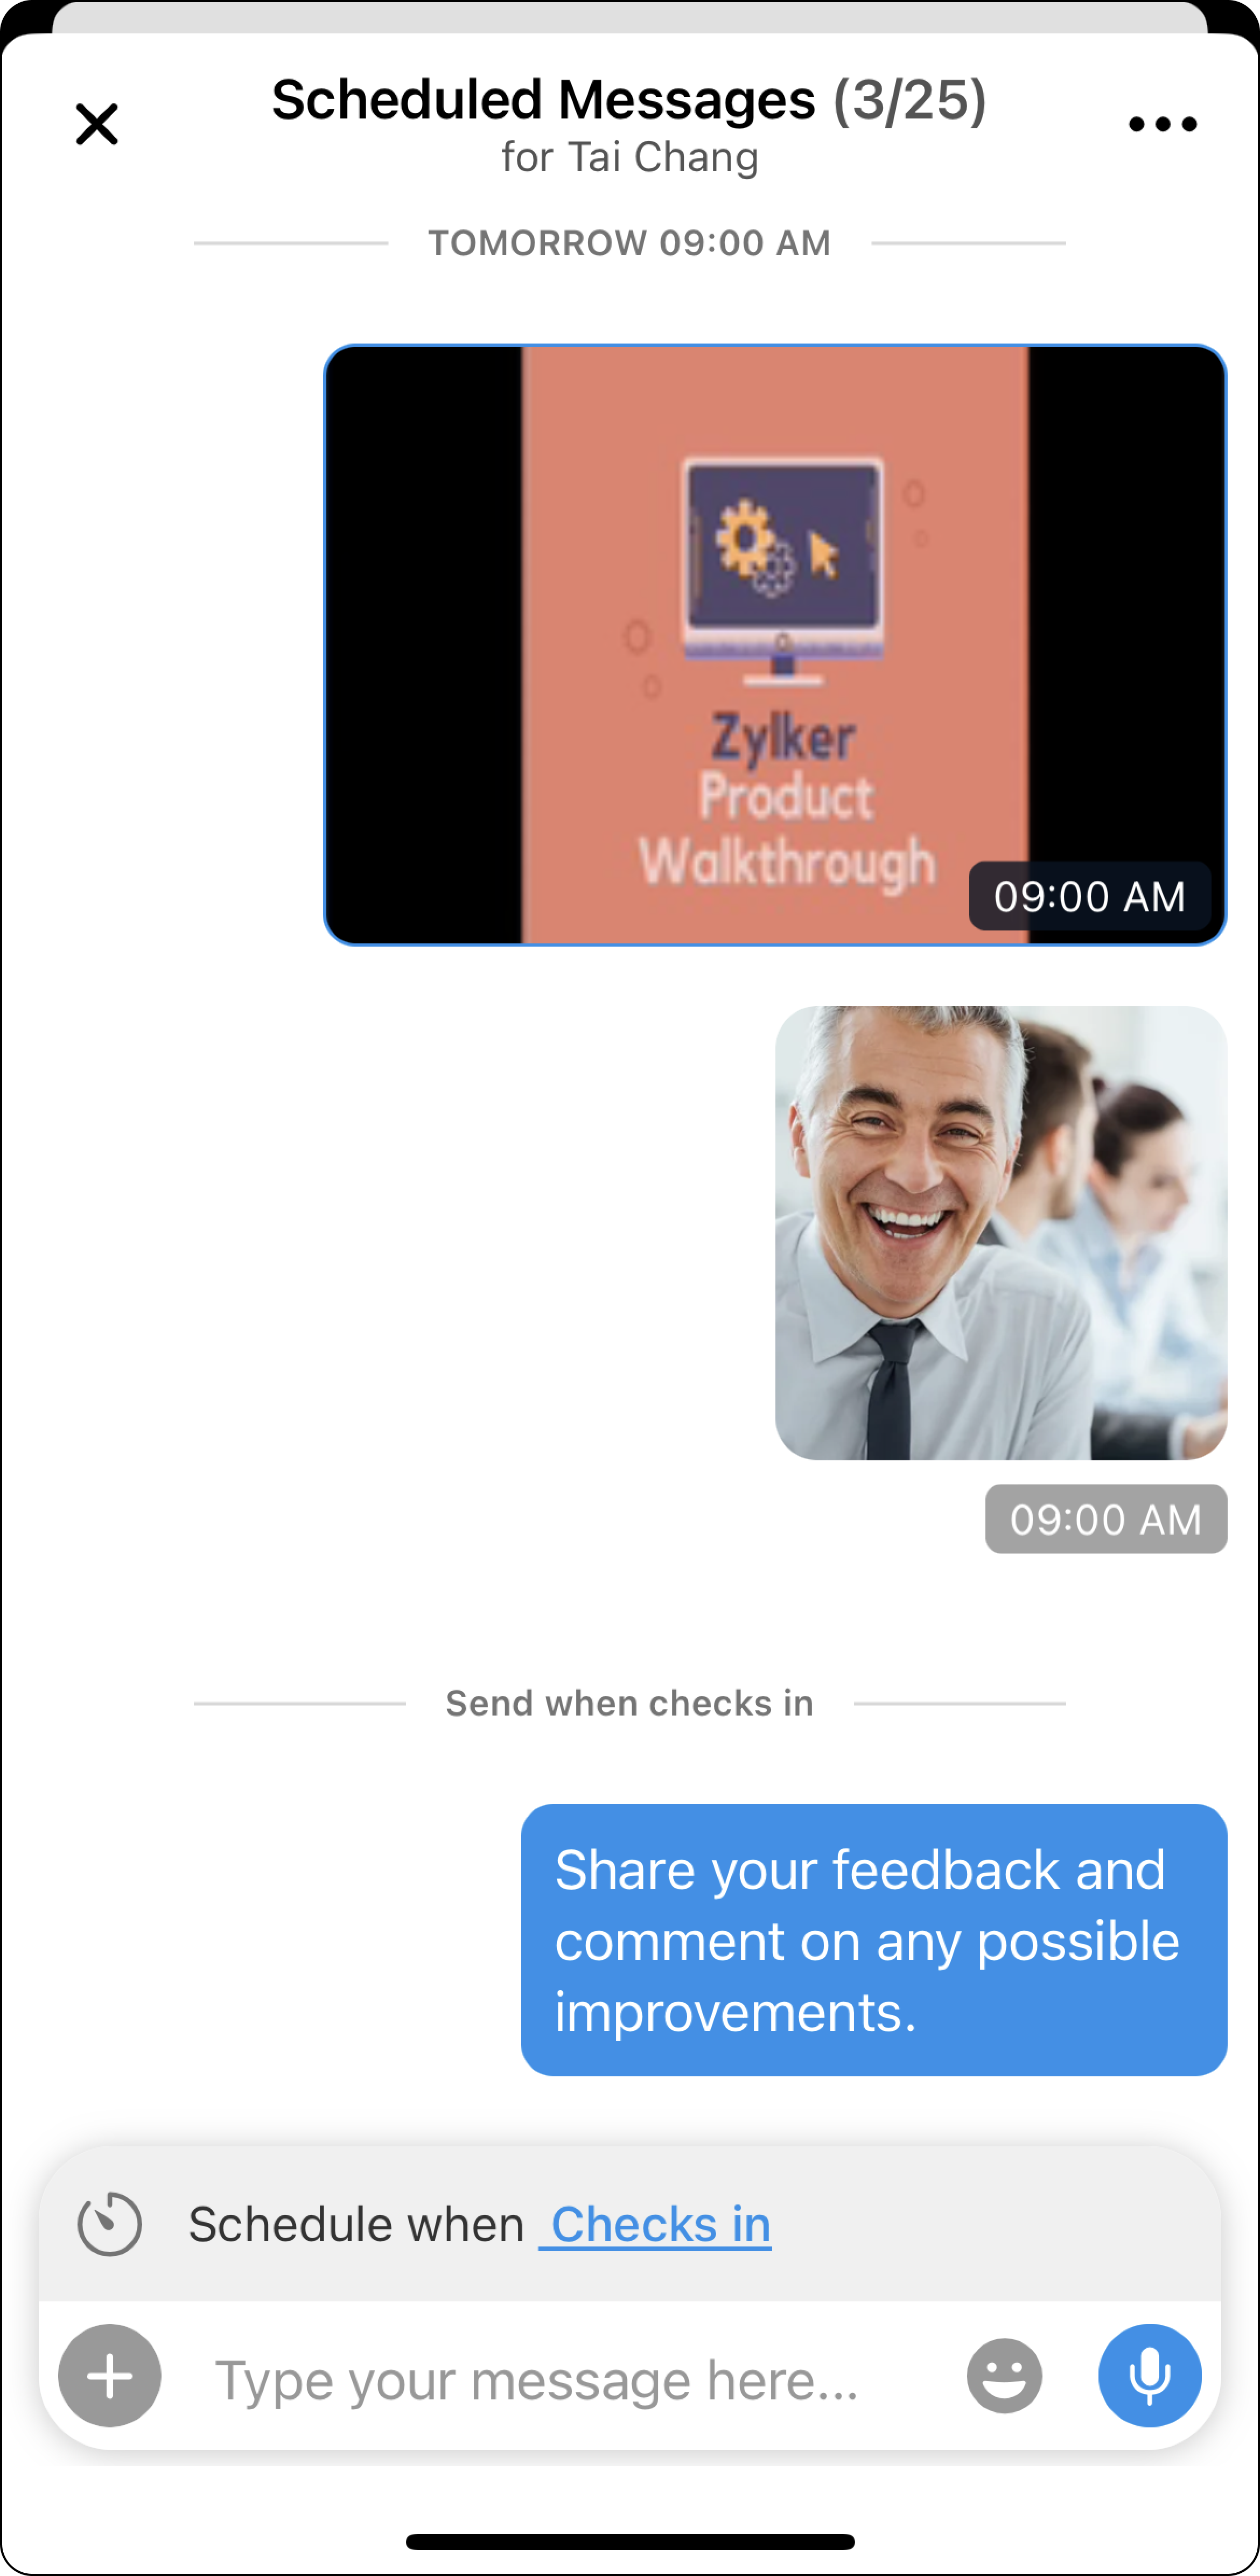
Options available for the scheduled message:
When you select a message in the scheduled list, you will find the following options:
- Info: Here, you can view the details on when the message was scheduled and the scheduling time preference.
- Send now: This option will send the particular message immediately. If you want to send all the messages immediately, select the meatball icon(...) in the scheduled messages list and select "Send all."
- Reschedule: By using the reschedule option, you can change the scheduling preference of a specific message or all the messages of a particular time/status.
- Copy: You can copy the message.
- Edit message: You can edit the message.
- Delete: You can delete the message from the scheduled messages. If you want to delete all the messages immediately, select the meatball icon(...) in the scheduled messages list and select "Delete all."