CardDAV
You can sync your Mac, iOS, Windows, and Android contacts from your computer or mobile device with Zoho Contacts using CardDAV. CardDAV is an open internet protocol for syncing contacts. It works based on 3 important aspects, the service URL, username, and password. These 3 must be valid to make the CardDAV protocol work. You also need to enter your data center specific URLs.
The following URL must be used according to device and region you're trying to connect.

Database Locations | Respective URL |
India | |
US | |
| Japan | |
Europe | |
Canada | |
China | |
Australia |
If you have signed up in a different country than your region, then you can simply go to your accounts.zoho.com page and replace 'accounts' with 'contacts' then add the suffix '/carddav' or '/.well-known/carddav' based on the type of client/device you are using (refer above table).

- The Username will be your Zoho email address.
- If you have enabled TFA for your Zoho Account, you must enter the app-specific password in the Password section.
- Only your personal contacts will be synced from Zoho contacts.
CardDAV for Mac
- Navigate to the Contacts from the Launchpad or the Finder.
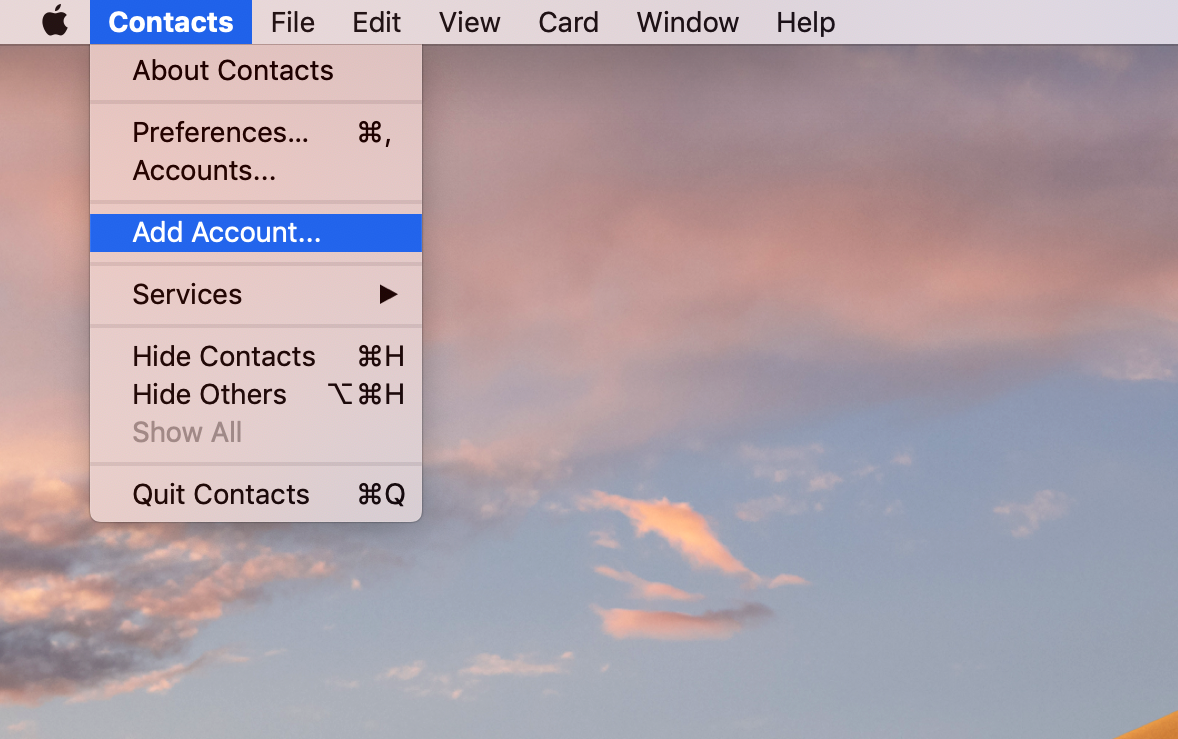
- Click Contacts in the top-left corner of your screen and then select Add Account.
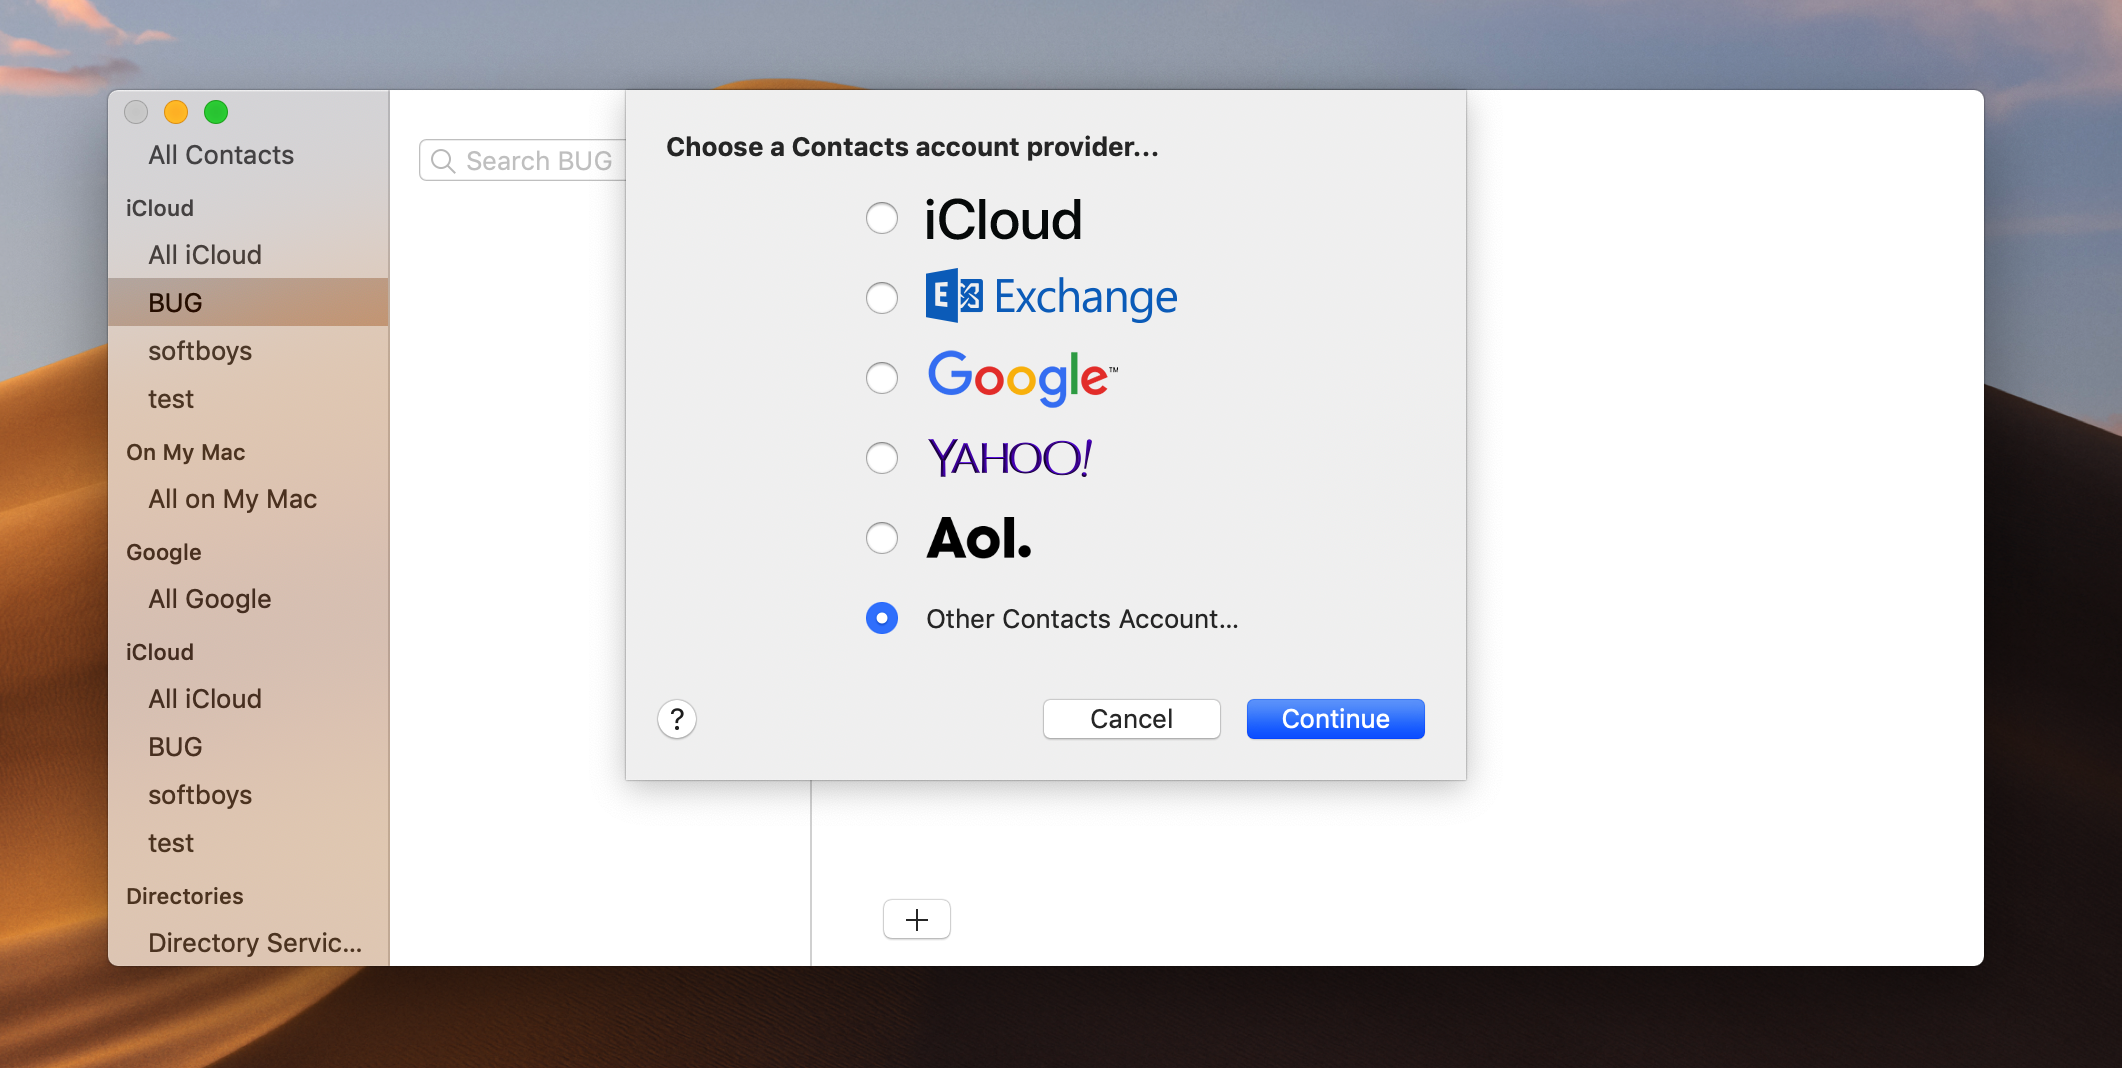
- Select the Other contacts account option and click Continue.
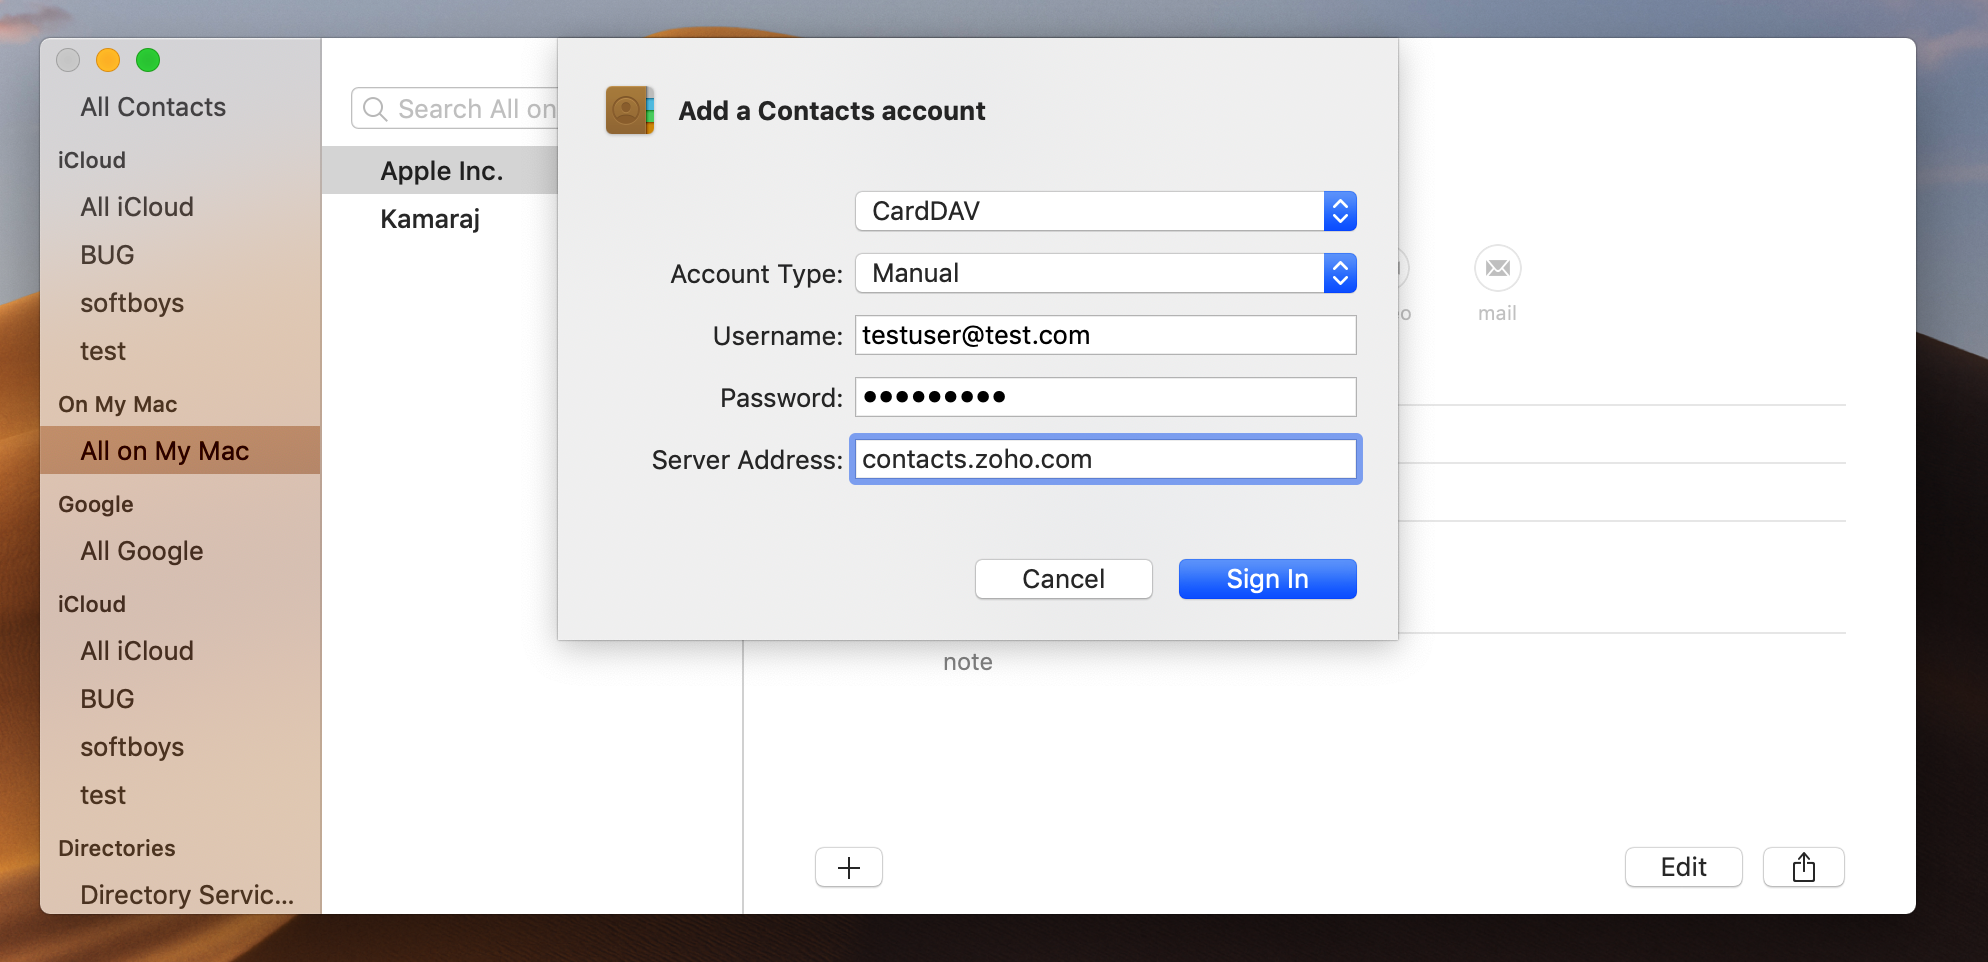
- In the pop up window:
- Enter your Username and Password
- Select Manual as the Account Type
- Enter your Username and Password
- Set the Server Address as either contacts.zoho.com, or contacts.zoho.eu, or contacts.zoho.com.cn. and click Sign in.
CardDAV for iOS
You can also synchronize contacts from your iPhone with Zoho Contacts. Here is the step-by-step process to sync your contacts:
- Go to Settings on your iPhone.
- Tap Contacts and Accounts.
- Tap Add Account.
- Tap Add CardDAV Account and then choose Other
- Enter the server address as contacts.zoho.com.
- Fill in your Username and Password.
- Click Next. All your contacts will be synchronized.
CardDAV for thunderbird client
To use CardDAV for thunderbird clients, you must first install Mozilla Thunderbird client and cardbook add-on on your device. Thunderbird is available for both Windows and MacOS. We'll be using thunderbird client for Windows for the demonstration.
Here is the step-by-step guide to install Mozilla Thunderbird and sync your Windows contacts with Zoho Contacts:
- Download Mozilla Thunderbird from the official website.
- Once the file is downloaded, install the software on your device using the installation wizard.
- After installation, open the software and configure your account. To skip the configuration, for now, click Cancel and Exit Setup.
- To install the cardbook add-on, click the Menu option in the top-right corner.
- Click Add-ons and Themes.
- Make sure you're on Extensions tab, and search for cardbook
- You'll get CardBook add-on, click Add to Thunderbird.
- Click Add.
- You will have to restart the application after the add-on is integrated.
- Start the Mozilla Thunderbird Application.
- Go to CardBook from the left side panel.
- Click the options icon on the far right side and click New Account.
- Go to New Address Book and click CardDav Address Book.
- Enter your Zoho email address as the Username and the URL as https://contacts.zoho.com/.well-known/carddav.
- Click Continue.
- Next enter your username again and the account password. (You can go to accounts.zoho.com → Security → App Password and generate one time app specific password and use it instead of your account password as it is more secure.)
- Click OK.
- Select the category of contacts you want to sync and click Continue.
- And your contacts will be synced.

CardDAV for Android
To sync your Android contacts with your Zoho Contacts, you need a CardDAV syncing app on your phone. You can install any CardDAV syncing app from playstore.
We have used the app 'PeopleSync CardDAV Client' for your reference.
Follow this step-by-step guide to configure the CardDAV in your android phone. These steps will be more or less similar for all the other CArdDAV apps on PlayStore.
Once installed a supported CardDAV syncing app:
- Open the app and give necessary permissions for the app.Once done, you'll land on the home page.
- Tap the Plus icon at the bottom right corner to add an account.
- Select Login with URL and user name.
- Enter the following URL as the Server name: https://contacts.zoho.com.
- Enter your Username and Password then tap Login.
Once the app is configured, you can view your Zoho Contacts in the Android Contacts app.
CardDAV for eM client
- Download and install eM client from its official website.
- After installation, open the application and click Next until you reach the screen shown below.
- Click Contacts and then select CardDAV and click Next.
- Copy and paste the URL (https://contacts.zoho.com/.well-known/carddav) to Accounts Address URL. Refer the table above and use the respective URL of the database you want to access.
- Enter the Username and Password and click Next.
- Enter the account name. (The default account name will be your Username.)
- Click Next and then Finish to create your account.
- Open eM client and click Contacts in the left column. Your Zoho Contacts will be synchronized.
CardDav for Outlook
- You need to install CalDAV synchronizer plugin for microsoft outlook.
CardDav for outlook works using this plugin. Microsoft recently launched a new version of outlook app and the plugin is not supported in the new version as of now. So, make sure you have the older version (the version that comes installed in windows), only then the cardDac will work. - Once installed, Go to Outlook.
- In the Menu bar, go to CalDAV Synchronizer and click Synchronization Profiles.
- Click add symbol (+) in the dialog box.
- Select the profile type as Generic calDAV/cardDAV and click OK.
- In the outlook settings, enter the name for the sync.
- Browse and select the outlook folder you want to sync, as contacts and click OK.
- To enable auto-sync, select Synchronize items immediately after change.
- In the server settings, enter the DAV URL as (https://contacts.zoho.com/.well-known/carddav). Refer to the table above and use the respective URL based on the database you want to access.
- Enter the username as your zoho account email address and the password as the password of your zoho account. If you have enabled Two-Factor Authentication (TFA) for your Zoho account, you need to generate and enter an Application-Specific Password.
- Fill the email address field with the email ID of your Zoho account.
- Select the Synchronization interval in Sync settings as 1 minute from the drop down.
- Click OK at the bottom to finish the setup.