Managing Contacts
Add Contact

- Zoho Contacts doesn't accept phone numbers or email addresses with invalid formats.
- If a name is not entered for a contact, Zoho Contacts will automatically assign the part of the primary email address before the @ symbol as the name of the contact.
- You can add a maximum of five email addresses to a contact.
Merge Contacts
- Select the contacts you want to merge from your contacts list.
- Click Merge Contacts icon next to the Folder button then click Merge below.

- Up to five contacts can be merged at once.
- Only admins can merge contacts in Organization and Groups.
Delete Contacts
Personal contacts and external contacts that you've added manually in Zoho Contacts can be updated or deleted.
However, organization contacts cannot be updated or deleted in Zoho Contacts, as their details are automatically synced from your organization’s user directory and other Zoho services.
- Select the contact you want to delete.
- You can delete a contact in two ways:
- Click Delete on the right side of the contact list to delete the selected user.
- Select the contact you want to delete and click
icon.
Trash Contacts
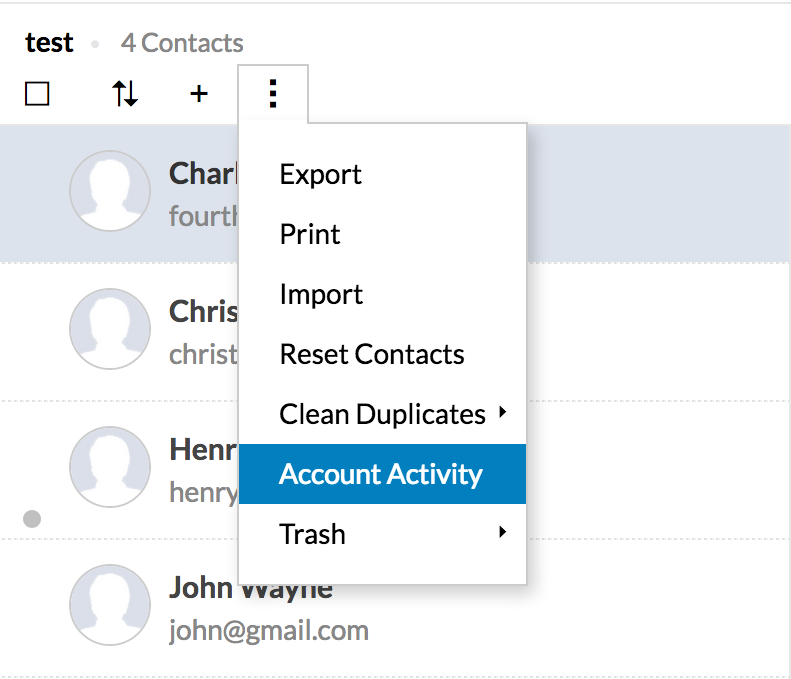
- Click (3 dots), and then click Trash.
- To restore your contacts from the trash, click Restore.
- To clear the contacts from the trash, click Clear.
Sort Contacts
-
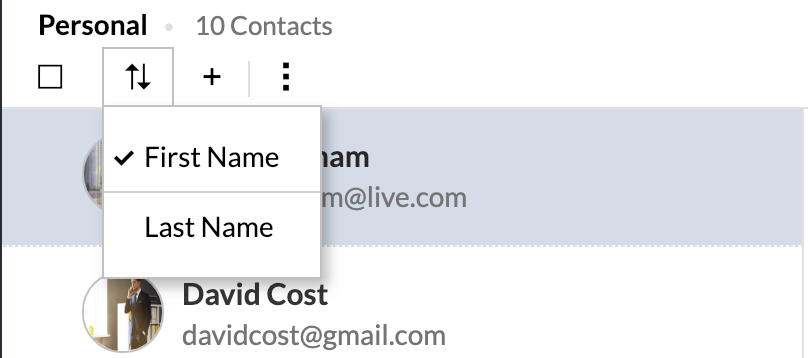
Sort your contacts based on their First Name or Last Name and only in alphabetical order.
Search Contact
- Search contacts using Zoho Contacts:
- Search for your contacts using First name, Last name, Email address.
- Search contacts using Zoho Mail:
- Log in to Zoho Mail.
- Click contacts on the left-hand panel.
- Click search on the top right corner of the page.
- You can also click on the search icon directly, Click on Mail and select Contacts
- Search contacts using five filters:
- Contains
- First name contains
- Last name contains
- email (search using their email address)
- Company name (search using their company name)
Clean Duplicates
You can remove duplicate contacts from your list by using the clean duplicate option.
-
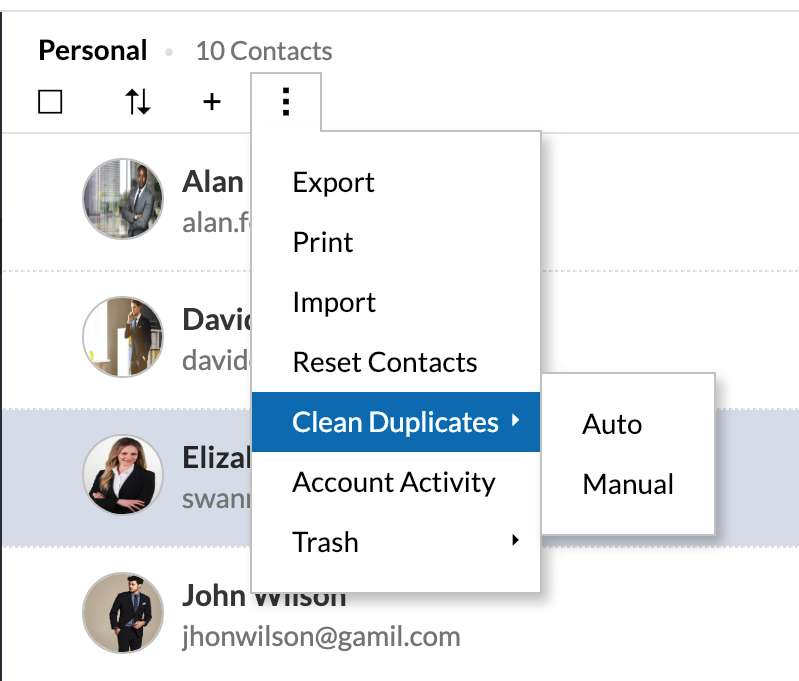
Click More and hover over Clean Duplicate.
-
Select either Auto or Manual:
- If you choose Auto, a pop-up window will open and all duplicate contacts will be deleted automatically after you click OK.
- If you choose Manual, all the duplicated contacts will be displayed. You can choose to Merge, Delete, or Skip the duplicated contact.
- If you choose Auto, a pop-up window will open and all duplicate contacts will be deleted automatically after you click OK.
Print Contacts
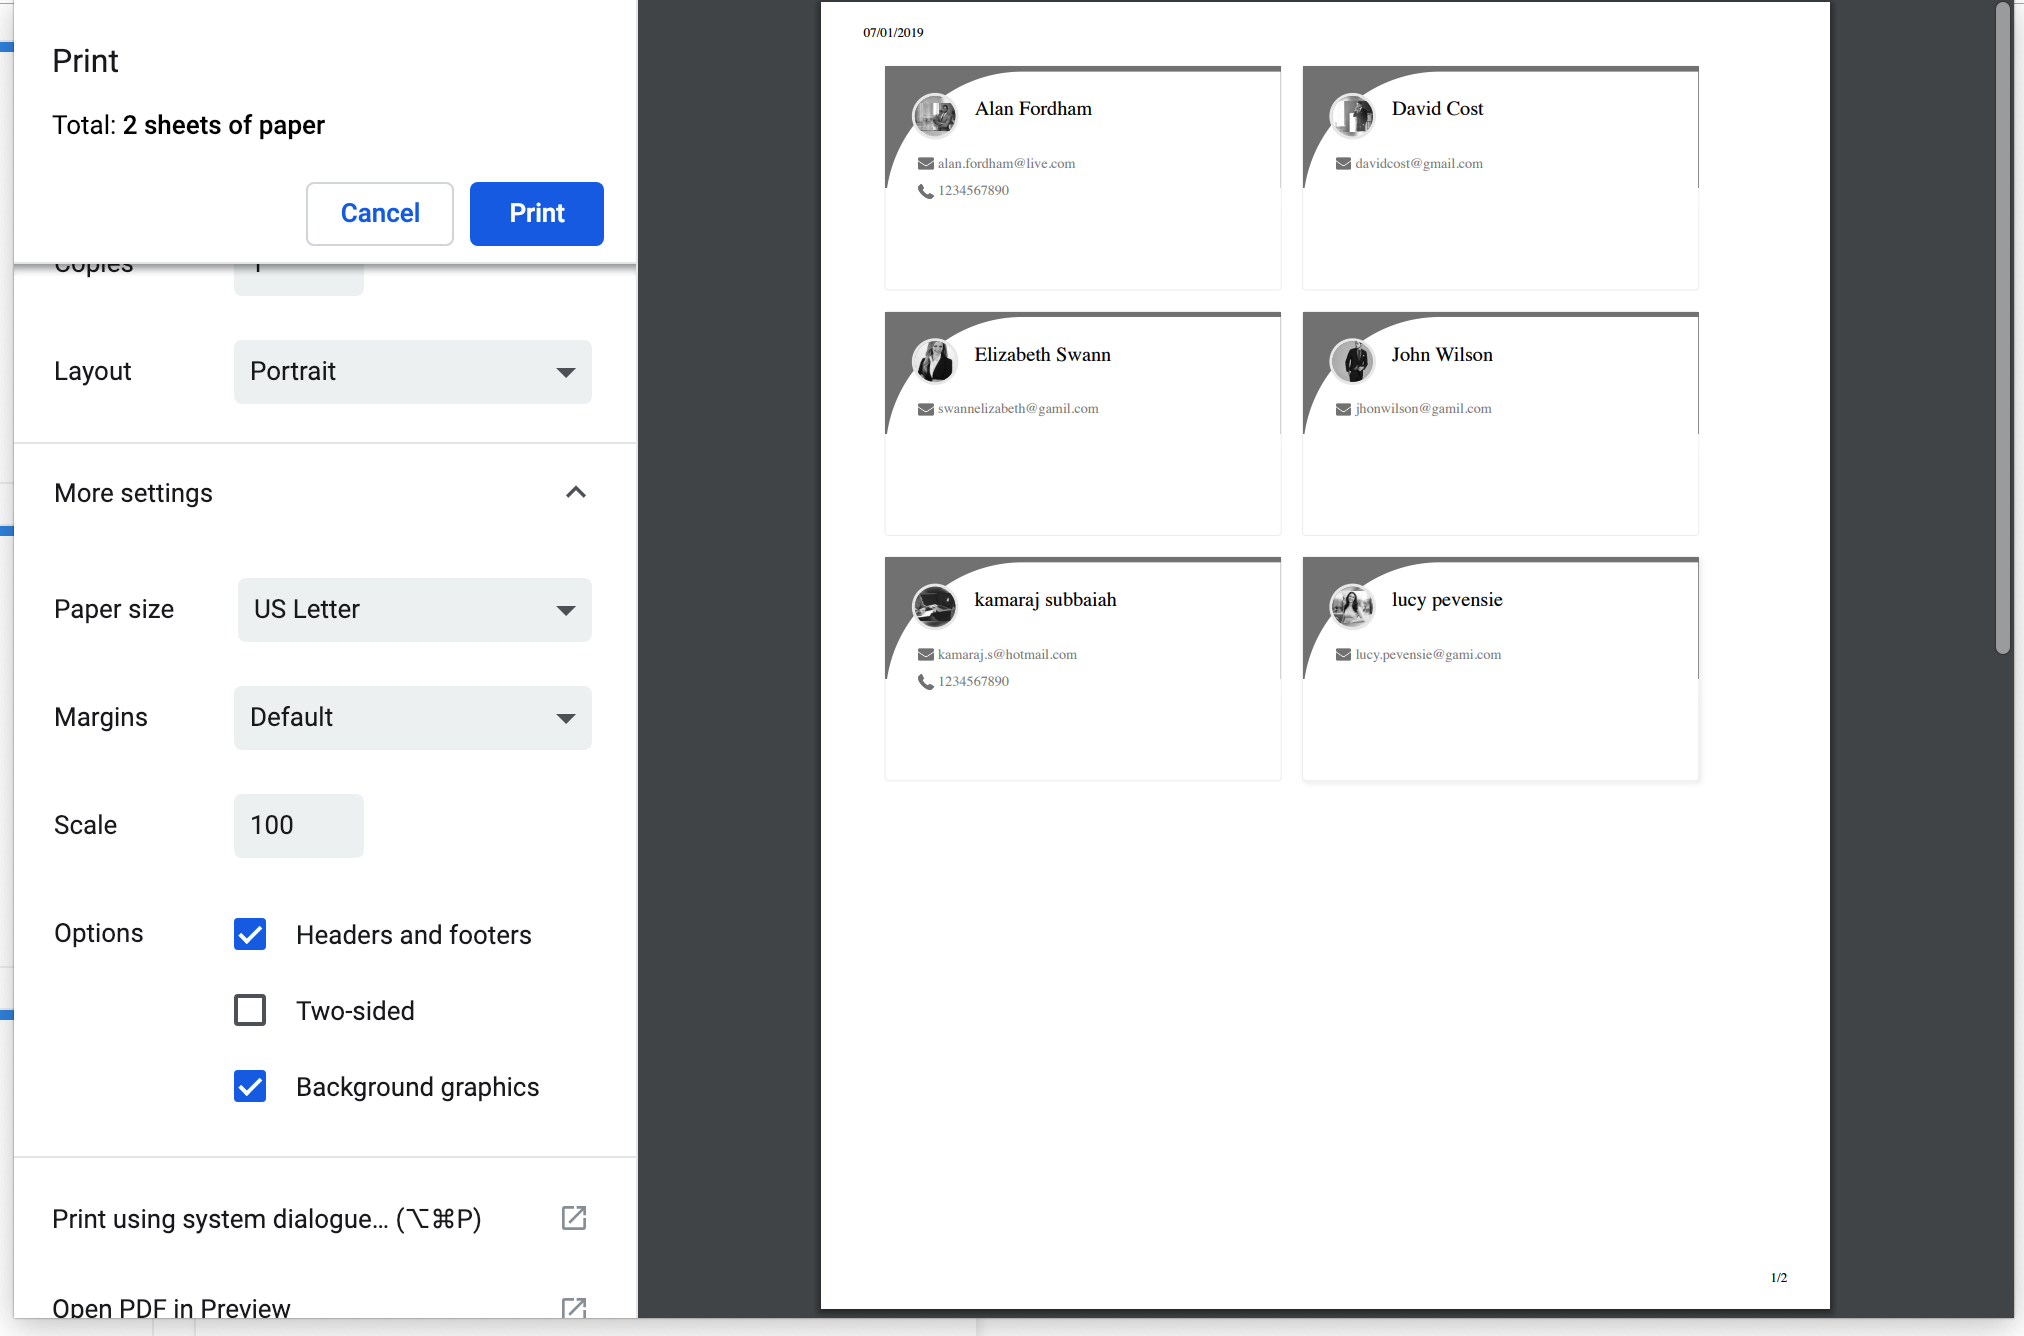
Zoho Contacts allows you to print your contacts as business cards. There are two different views for printing contacts:
- Card View: Prints contacts as business cards.
- List View: Exports all selected contacts in a table.

-
You can print contacts in two ways:
- Click the More option and then Print
- Click the More option and then Print
-
Click Print. You can view the contacts selected for printing in the new window which opens.
-
If you chose the Card view, the window will look like this:
-
If you chose the List view, the window will look like this:
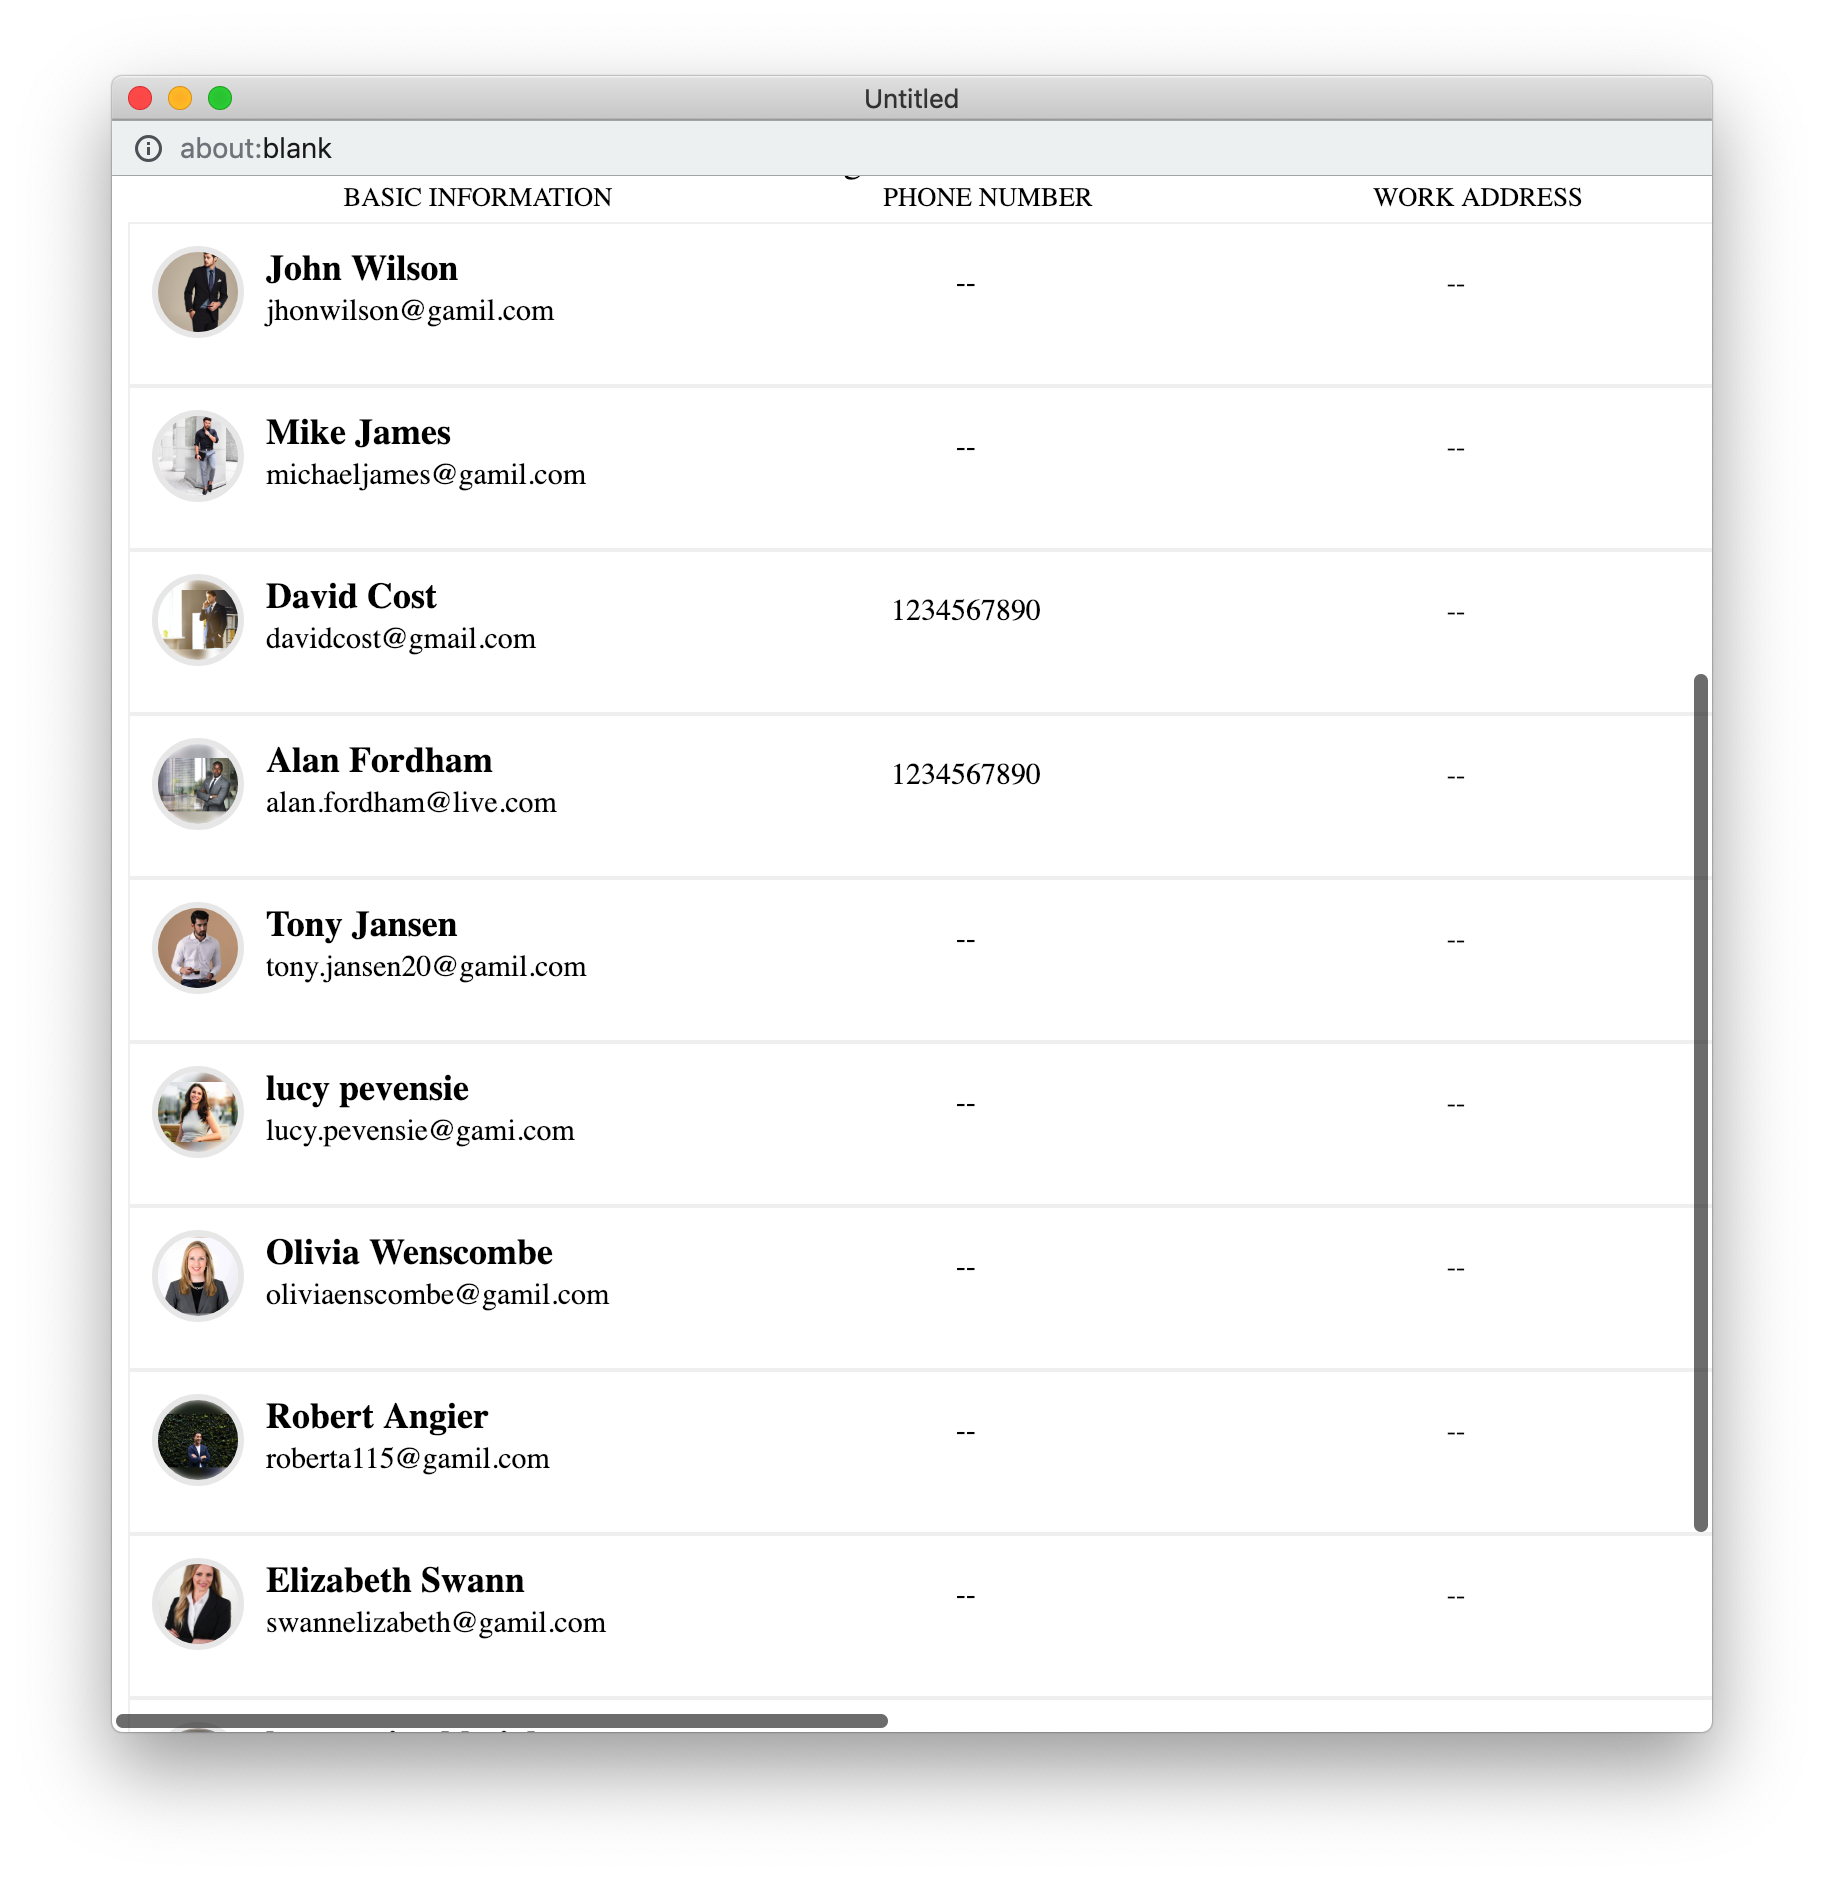
-
You can customize your contact cards based on your requirement under Customize your Card section.
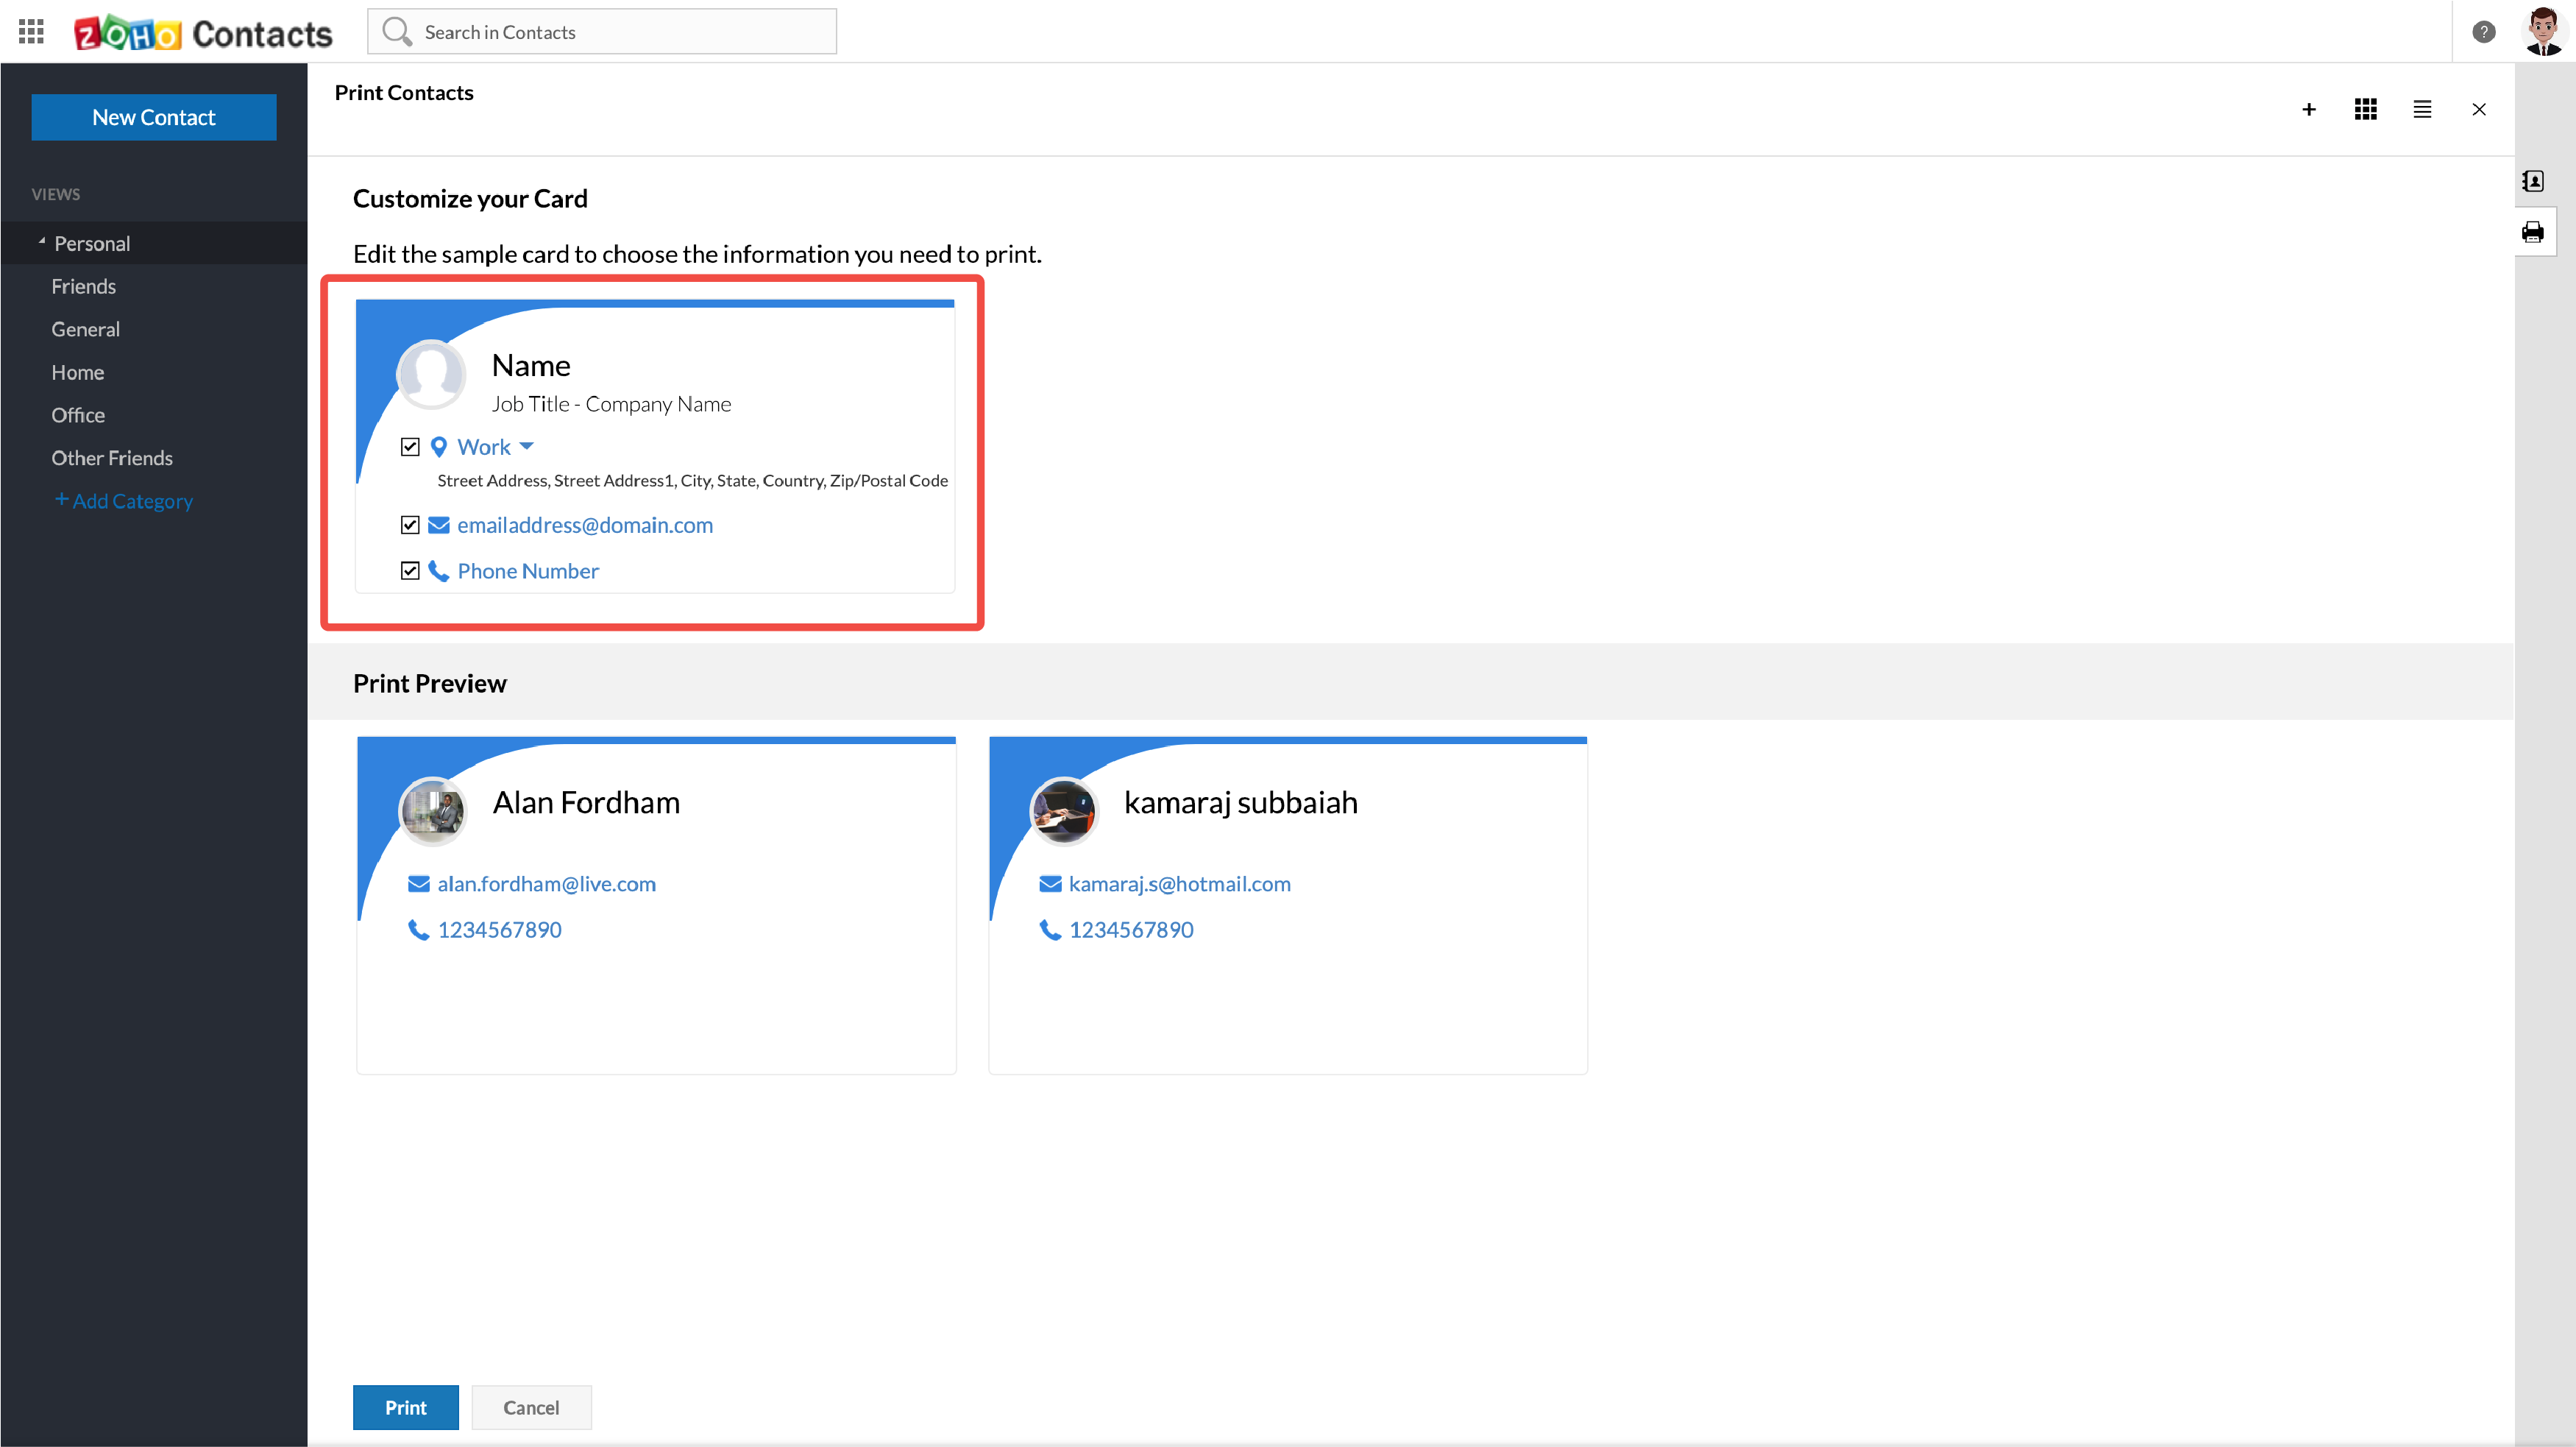
- To delete contacts, hover over the contact and click the Delete
icon in the top right corner of the contact.
Archive Contacts
- Select the contact you want to archive.
- You can archive a contact in two ways:
- Click Archive on the right side of the contact list to archive the selected contact.
- Select the contacts you want to archive. You can select multiple contacts at once and click
icon.

Unarchive Contacts
- Click Archived in the left menu and select the contact you want to unarchive.
- You can unarchive a contact in two ways:
- Click Unarchive on the right side of the contact list to unarchive the selected contact.
- Select the contacts you want to unarchive. You can select multiple contacts at once and click
icon.

Inactive Contacts
- Any inactive contacts will be moved to the Inactive section and removed from My Contacts or Org Contacts
section. - If an inactive contact becomes active, It will be moved back to My Contacts or Org Contacts section.
- Inactive contacts cannot be edited but can be deleted.
Bulk Edit
 Note: Bulk edit is not supported for organization contacts in Zoho Contacts.
- Select the contacts you want to edit (you can edit up-to 100 contacts at once).
-
Click the ✎ icon.
- Select the field you want to edit. You can choose from the following options.
- Last Name
- Middle Name
- Nick Name
- Company
- Designation
- Select how you want to edit your contacts.
- Click Edit another field to edit a different field.
- Click Edit all. A consent screen will be shown.
- Review your edits and click Proceed.
Create Category
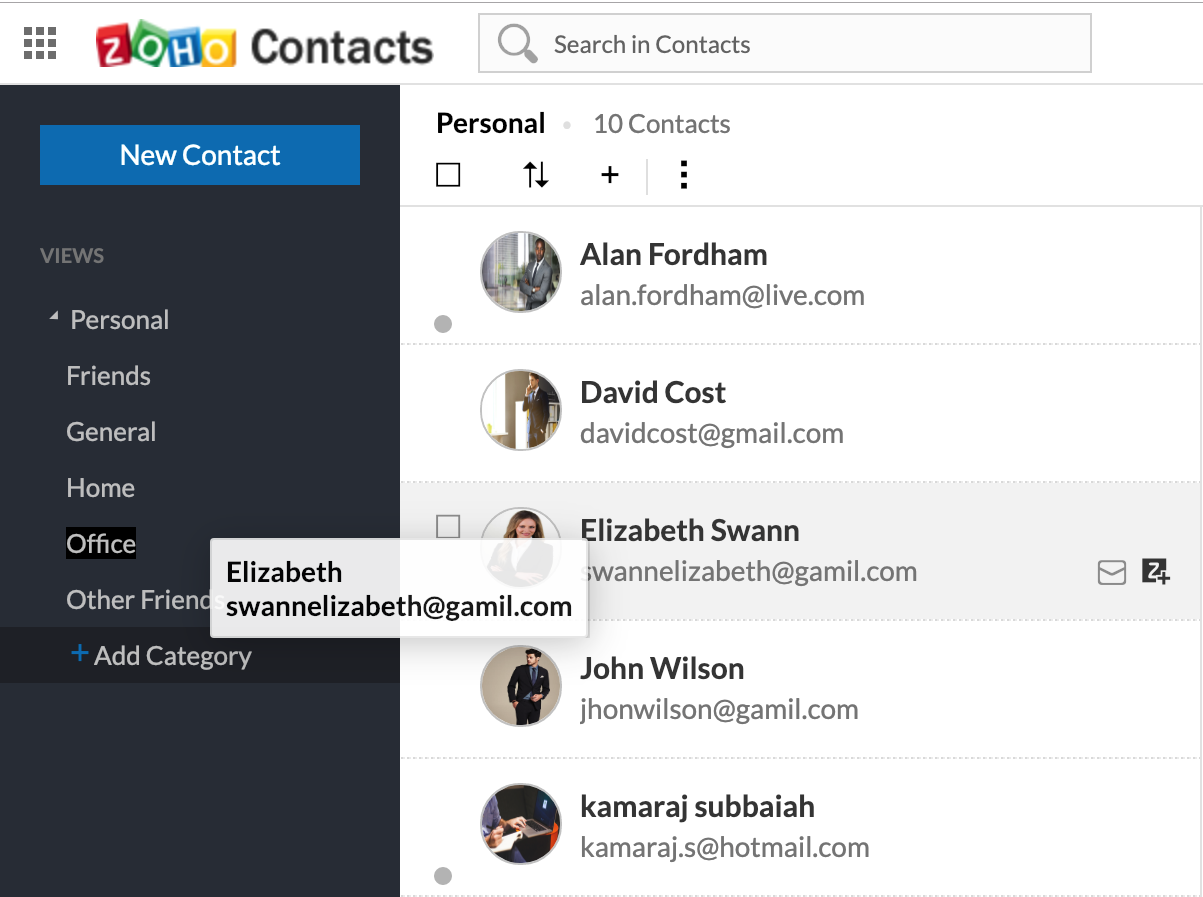
You can create categories under the Personal section. However, only the admins of the respective group or organization can create categories for the contacts.
- Go to contacts.zoho.com.
-
Click Add Category on the left side of the panel.
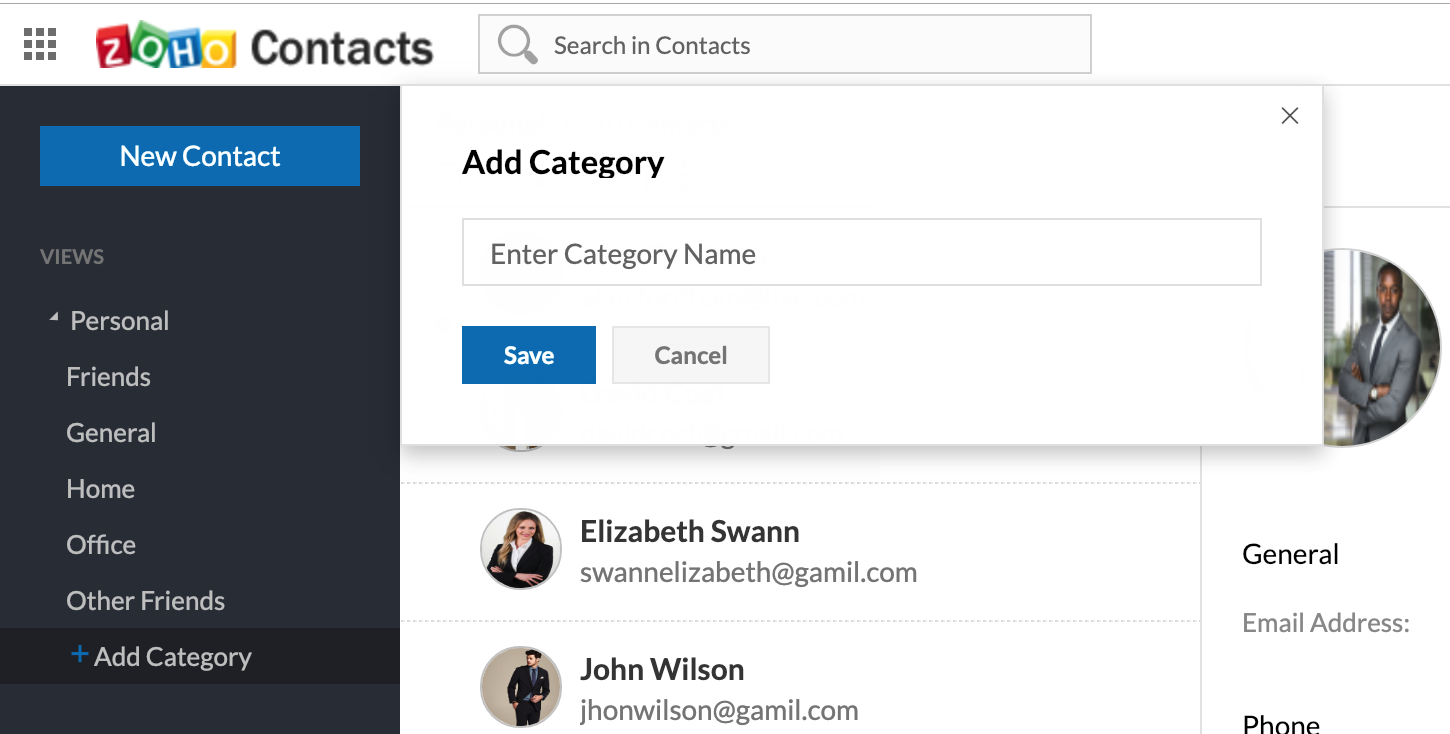
- Enter the name of the category.
- Click Save.
Add contacts to a category
- Select the contacts you want to add.
-
Select the category to add the contact to.
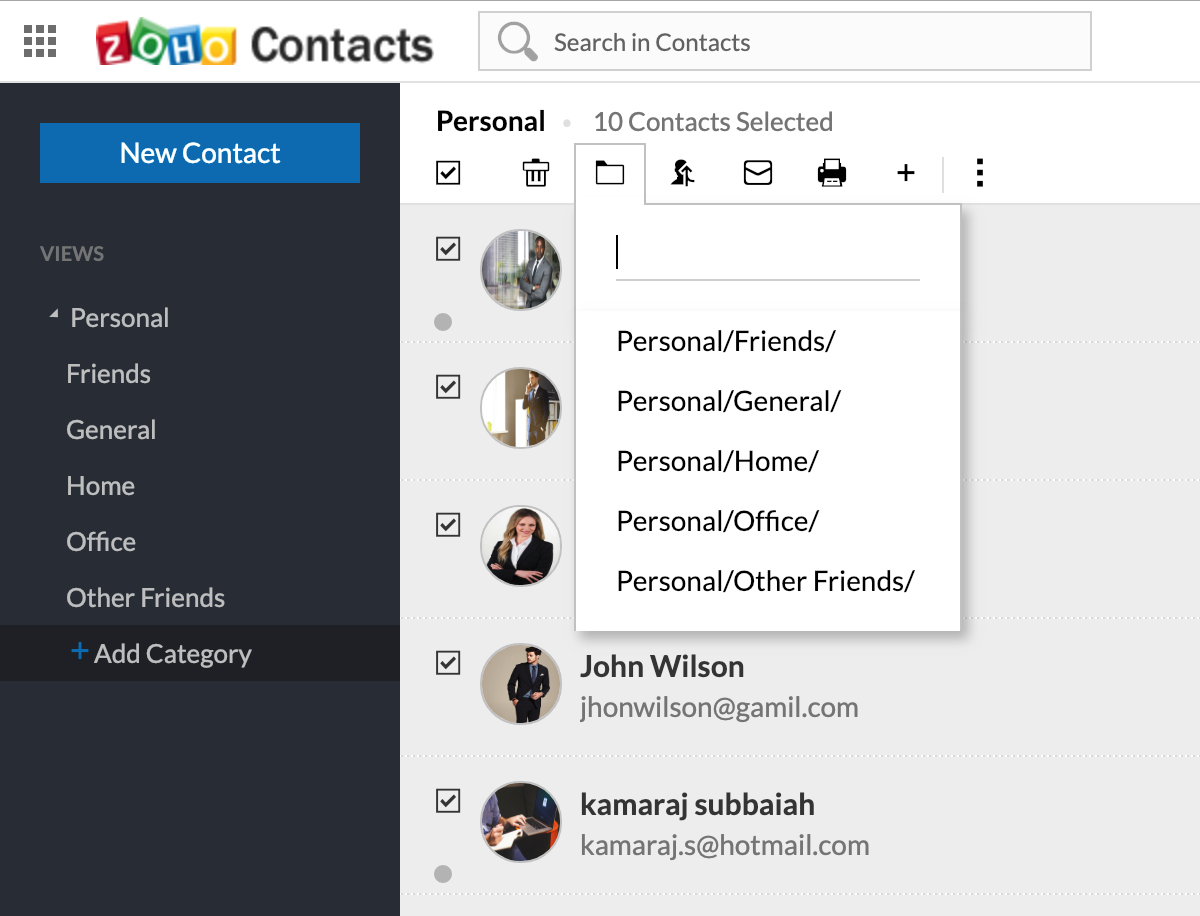
Method 2:
- Click the Category you want to add contacts to.
- Enter the details of the contact and click Save.

Method 3:
- Select a contact from any category or group.
-
Drag and drop the contact and to another category.
Clear contacts from a category
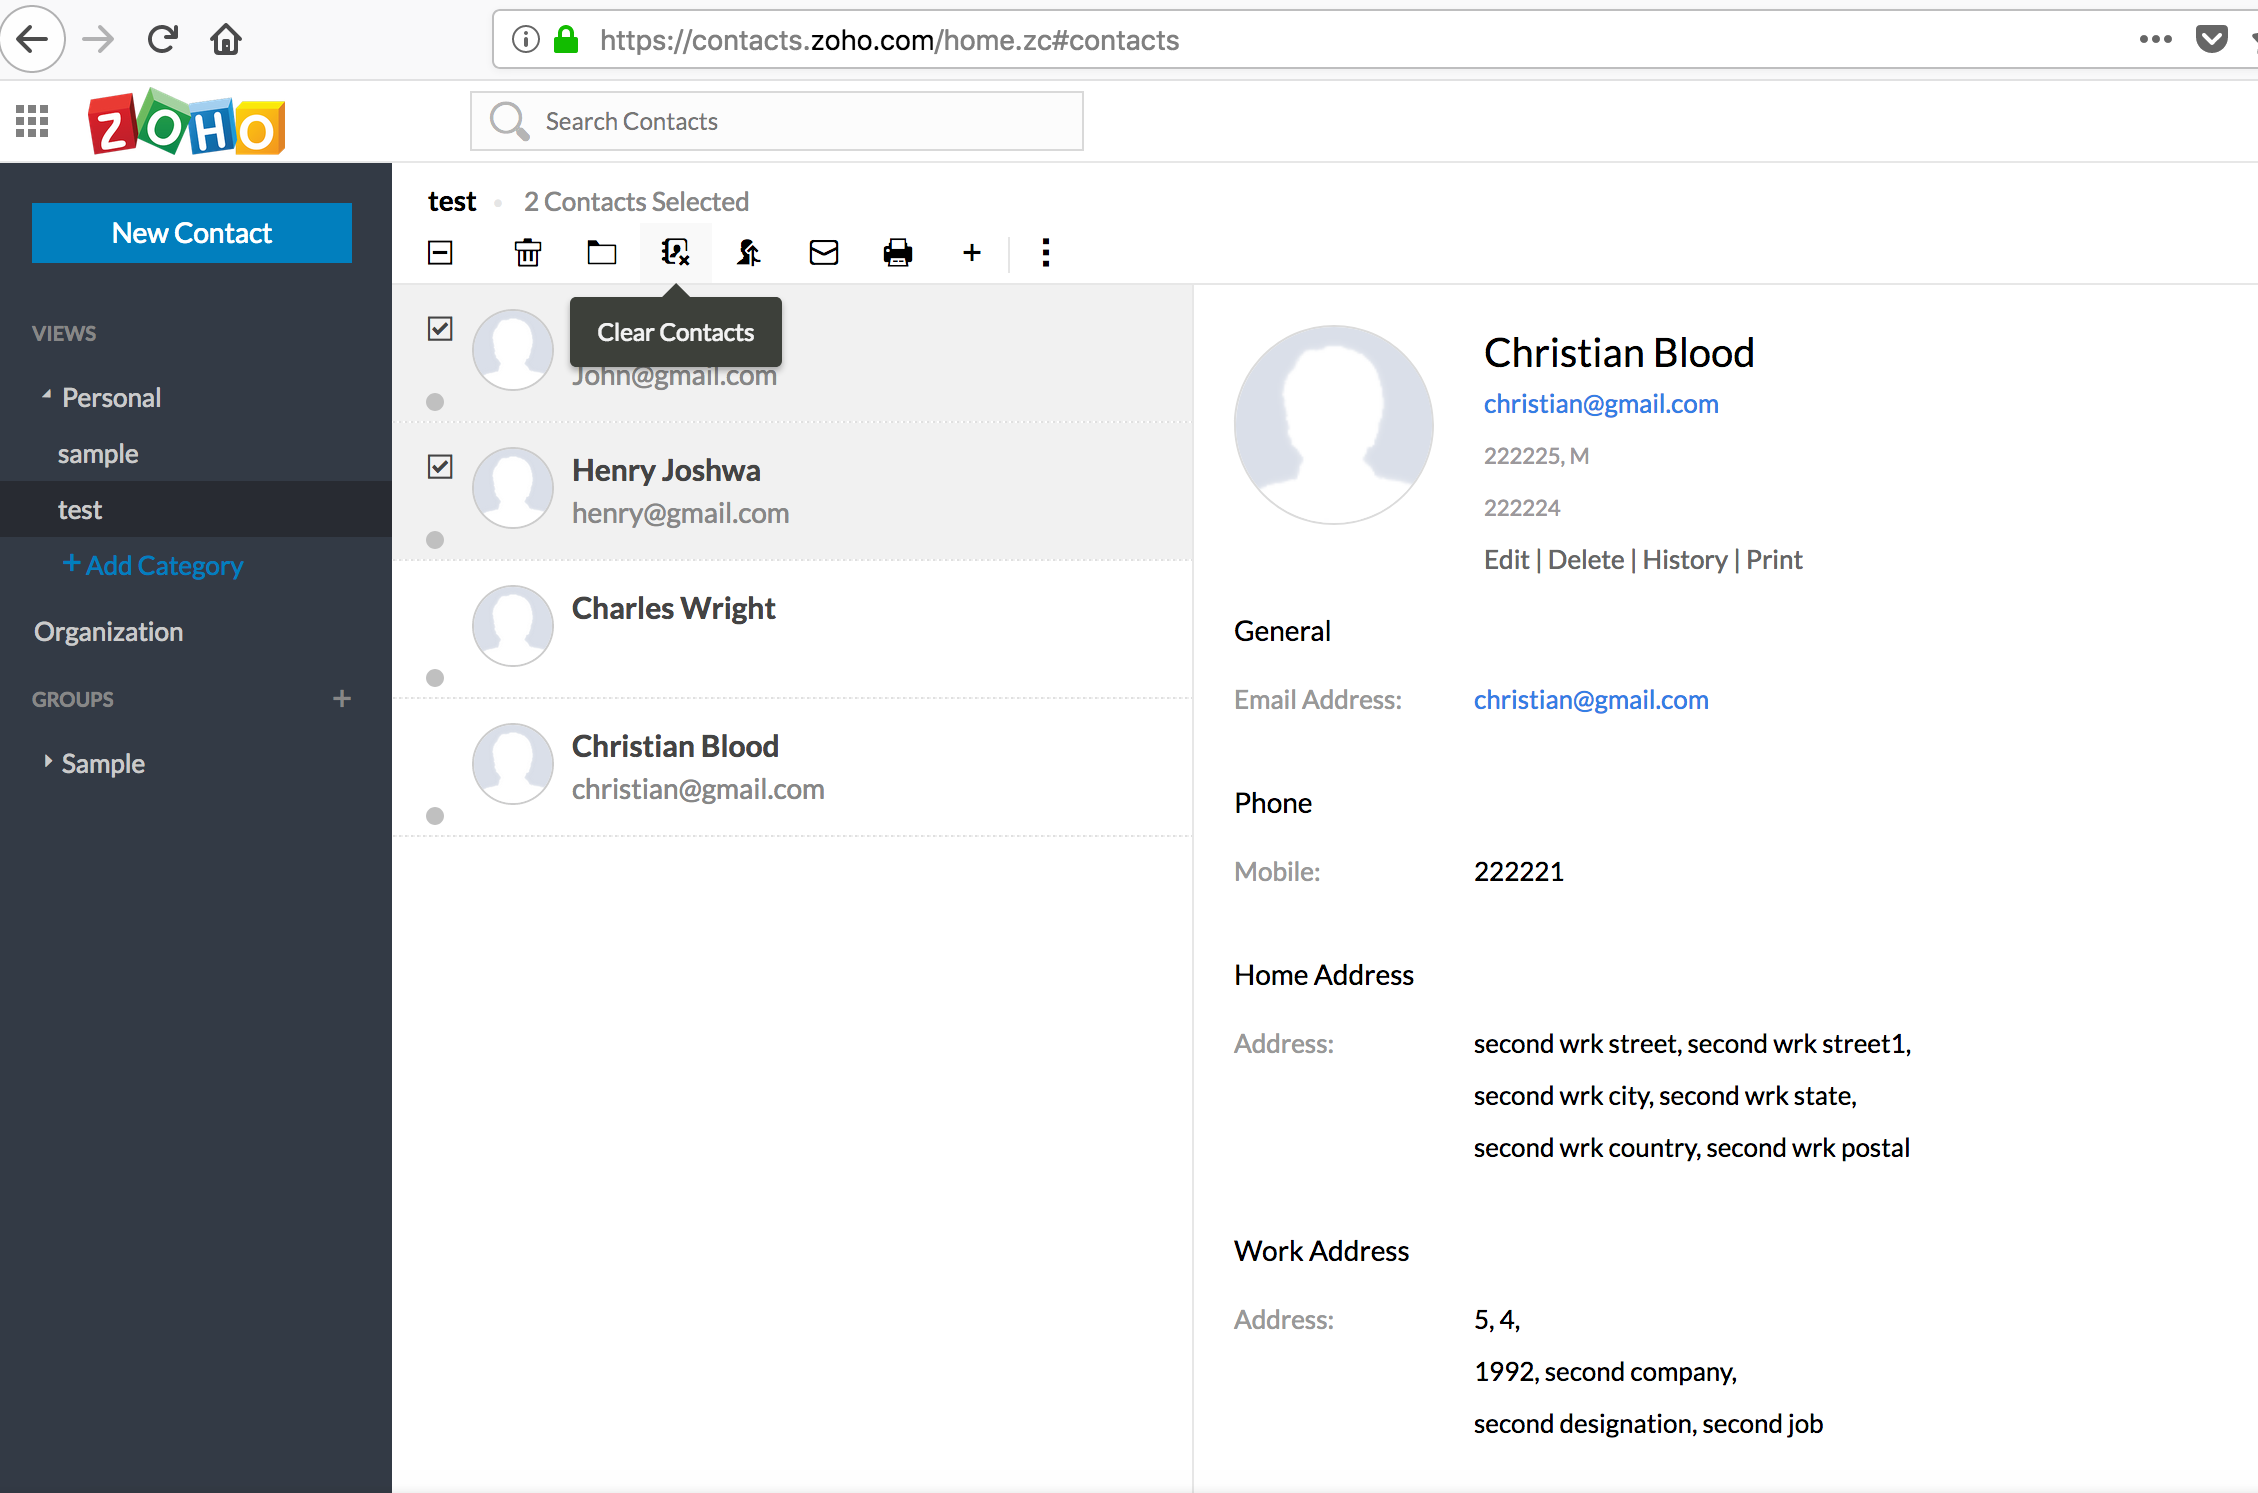
You can remove a contact from a category in Zoho Contacts. The contacts will be removed only from the individual category; it will still remain in their personal space.
- Select that contact which you want to remove from a category.
- Click the Clear contact option next to the Add to icon.
-
Click OK in the pop-up window.

Delete a Category
- Right-click the category you want to delete.
- Click Delete
- Right-click the branch.
- Click Delete Categories.
Rename a category
- Right-click the category you want to rename.
- Click Rename to change the name of the category.
Send an email
You can send email to contacts in a category in two ways:
Send an email directly using Zoho Mail
- Sign in to Zoho Mail.
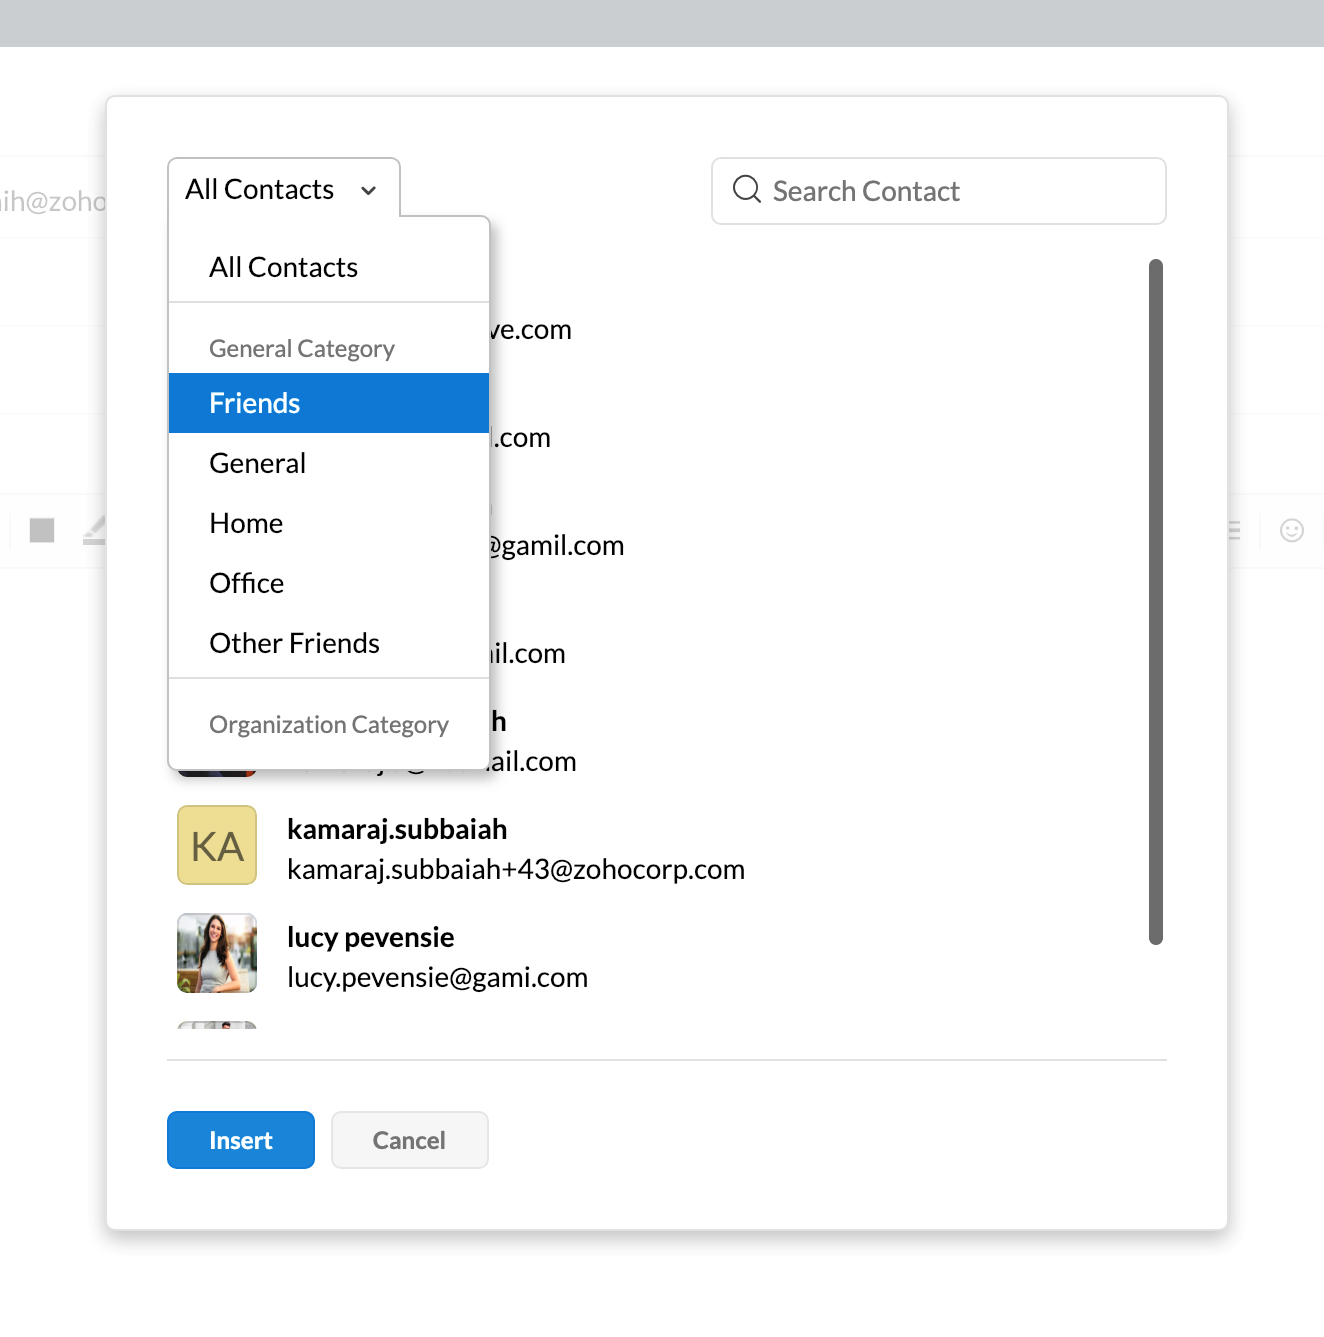
- Click New Mail and then click To.
- Choose the category which you want to import from the drop-down menu in the top right corner of the pop-up window.
- Select the contacts you want to send an email to.
-
Click Insert.
Send an email from Zoho Contacts
- Go to Contacts from Zoho Mail.
- Select the contacts you want to send an email to.
-
Click the Mailbox option.

- A new tab will open in the email section.
Account activity and history
-
You can view a contact's history by clicking History to the left of the contact.

Upload a Display Picture for a Contact
If your contact has already set a display picture in their Zoho Account, it will be reflected in Zoho Contacts. To change your contact's display picture in Zoho Contacts:
- Click a contact from the list.
-
Hover over the image section and click Change.
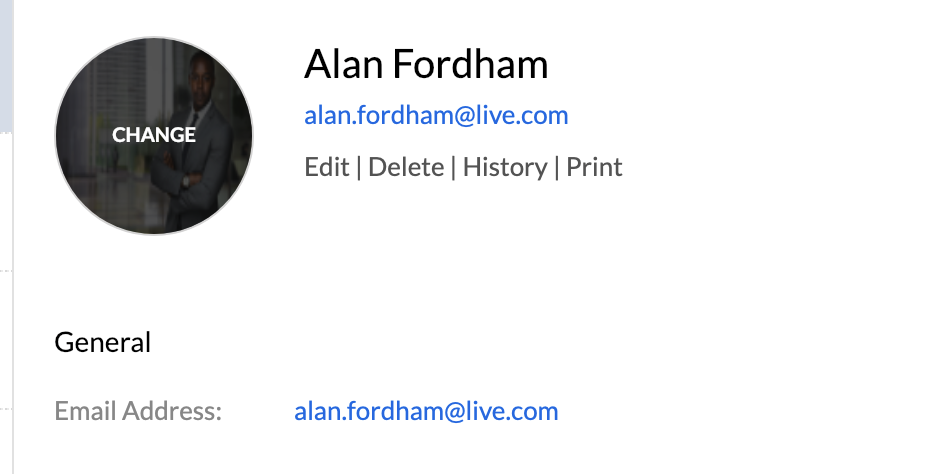
- Click either Choose from Desktop or Keep User Photo.
-
Select the photo and click Upload.
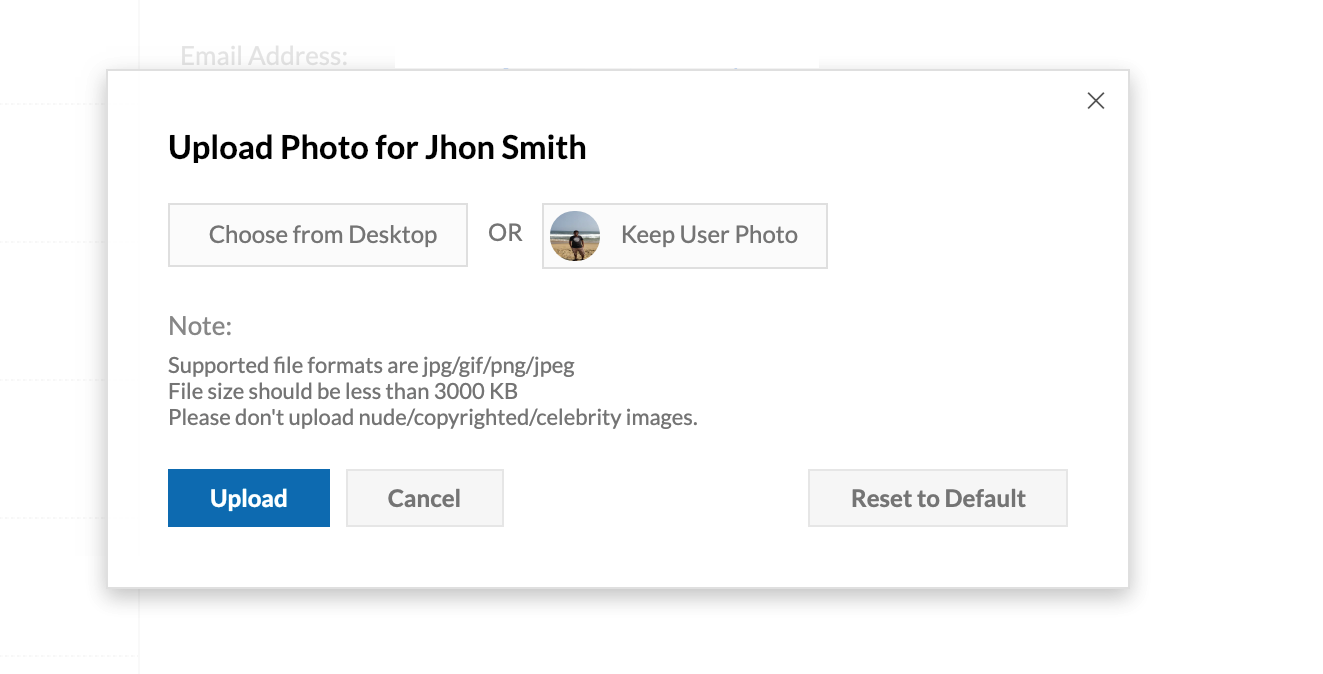

- Only admins can change the display pictures of contacts in Organization and Groups.
- Changes made in Zoho Contacts are not reflected in Zoho Accounts.
Zoho CRM Training Programs
Learn how to use the best tools for sales force automation and better customer engagement from Zoho's implementation specialists.
Zoho DataPrep Personalized Demo
If you'd like a personalized walk-through of our data preparation tool, please request a demo and we'll be happy to show you how to get the best out of Zoho DataPrep.
All-in-one knowledge management and training platform for your employees and customers.
You are currently viewing the help pages of Qntrl’s earlier version. Click here to view our latest version—Qntrl 3.0's help articles.
Zoho Sheet Resources
Zoho Forms Resources
Zoho Sign Resources
Zoho TeamInbox Resources
Related Articles
Overview
Zoho Contacts is a centralized repository for all of your business contacts. One of its principal functions is to store and manage your contacts with your business associates. You can also create branches to organize your contacts. Features of Zoho ...Organization Settings
Admins can manage how organization contacts are accessed, synced, and shared across the organization. Follow the steps below to access the settings: How to access the Settings page 1. Go to mail.zoho.com or you can access mail in one.zoho.com 2. ...Sync Contacts from Google
You can sync your contacts from your Google account with Zoho Contacts. Go to contacts.zoho.com. You can also access contacts through your Zoho Mail. Click the option and select Import. Click Category in the Where to import? section. Select the ...Import and Export Contacts
Any user can import their contacts to the Personal branch in Zoho Contacts. Only the admin of the respective Organization and Groups can import contacts into it. Import contacts from Google/Outlook You can import contacts from your Google/Outlook ...CardDAV
You can sync your Mac, iOS, Windows, and Android contacts from your computer or mobile device with Zoho Contacts using CardDAV. CardDAV is an open internet protocol for syncing contacts. It works based on 3 important aspects, the service URL, ...

