Zoho Checkout
The primary aim of any landing page is to drive users towards making a purchase. With the Zoho Checkout integration in our landing page builder, businesses can now easily add checkout/payment buttons to their landing pages. This helps streamline the path to user purchases by removing unnecessary steps in the payment process and reducing potential distractions.
Creating a payment page in Zoho Checkout
Before you add the checkout button to your landing page, you must create a payment page in your Zoho Checkout account to which your users will be redirected when they click on the checkout button.
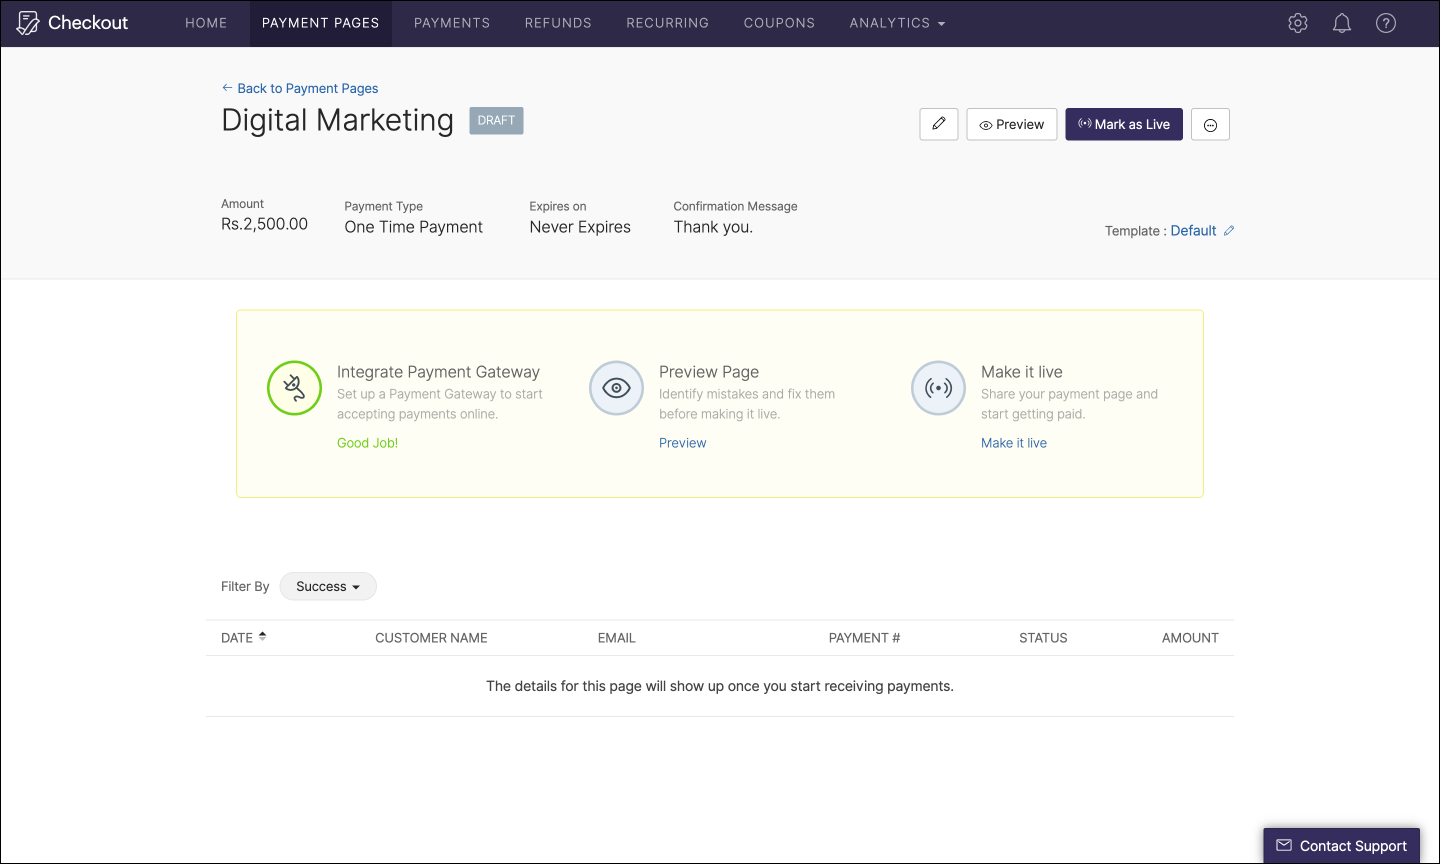
1. In your Zoho Checkout account, go to Payment Pages and click on New Payment Page to create one.
2. Enter the title, description, amount, payment frequency, and any other details that you want to be displayed to users in the payment page and click Save.
3. Once you have created the payment page, click on Mark as Live to make the payment page live.
Integrating Zoho Checkout with your LandingPage account
1. To integrate Zoho Checkout click on the settings icon on the top right corner of your workspace to open the settings menu.
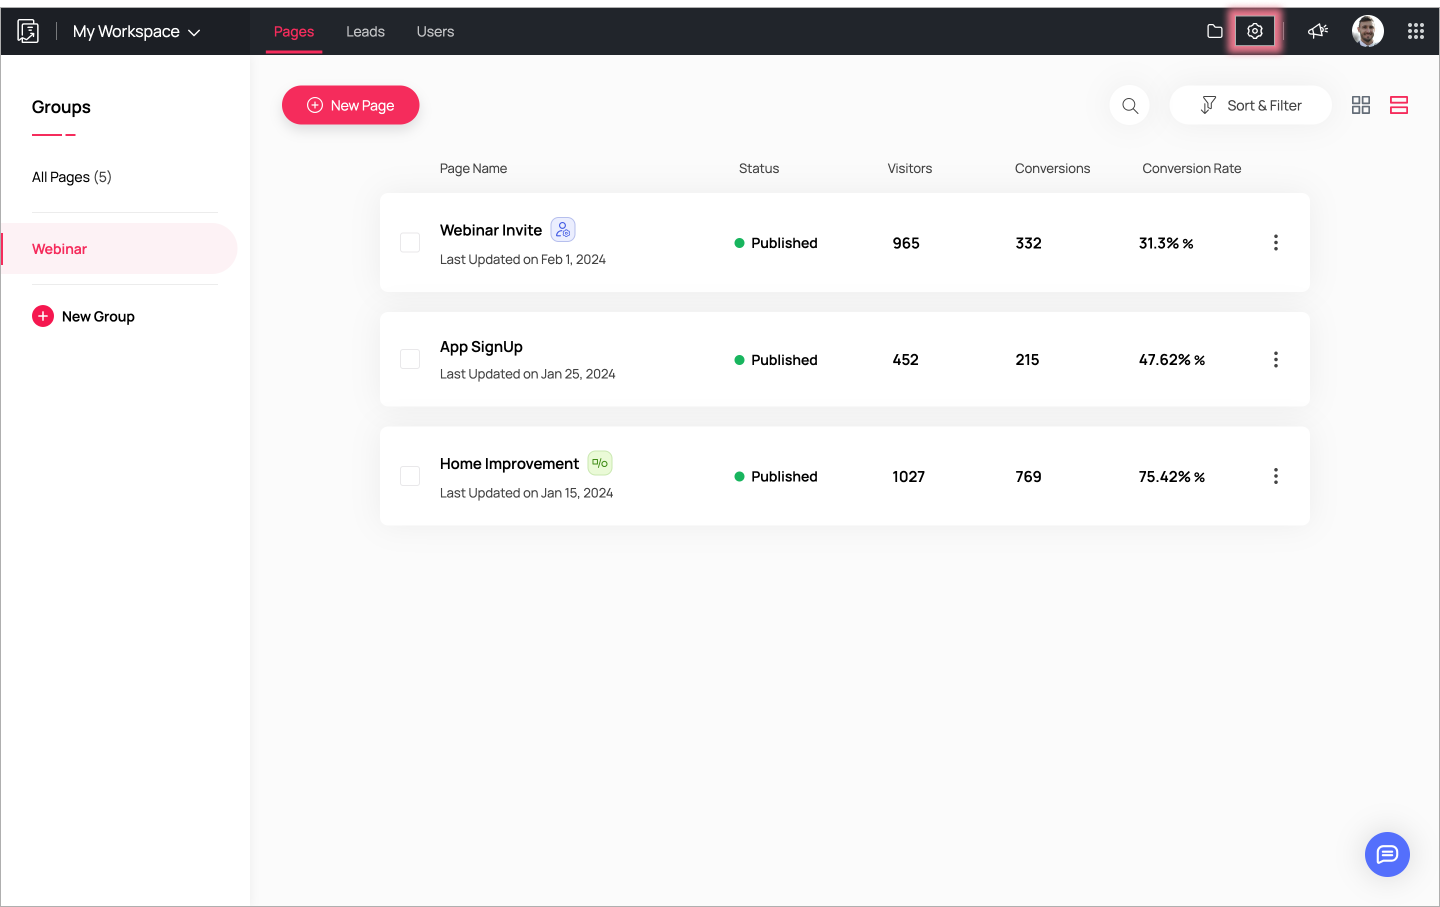
2. In the settings menu, select the Integrations tab to view and manage the integrations for your account.
3. From the list of Zoho Integrations, select Zoho Checkout and click Add Account to connect your Checkout account with Zoho LandingPage.
4. You have now integrated Zoho Checkout with your LandingPage account. Click on Disconnect to disconnect the Zoho Checkout account from your Zoho LandingPage account.
Adding a checkout button to your landing page
Once you have created the payment page in Zoho Checkout, you can now drag and drop the checkout button to your landing page and integrate it with a payment page of your choice.
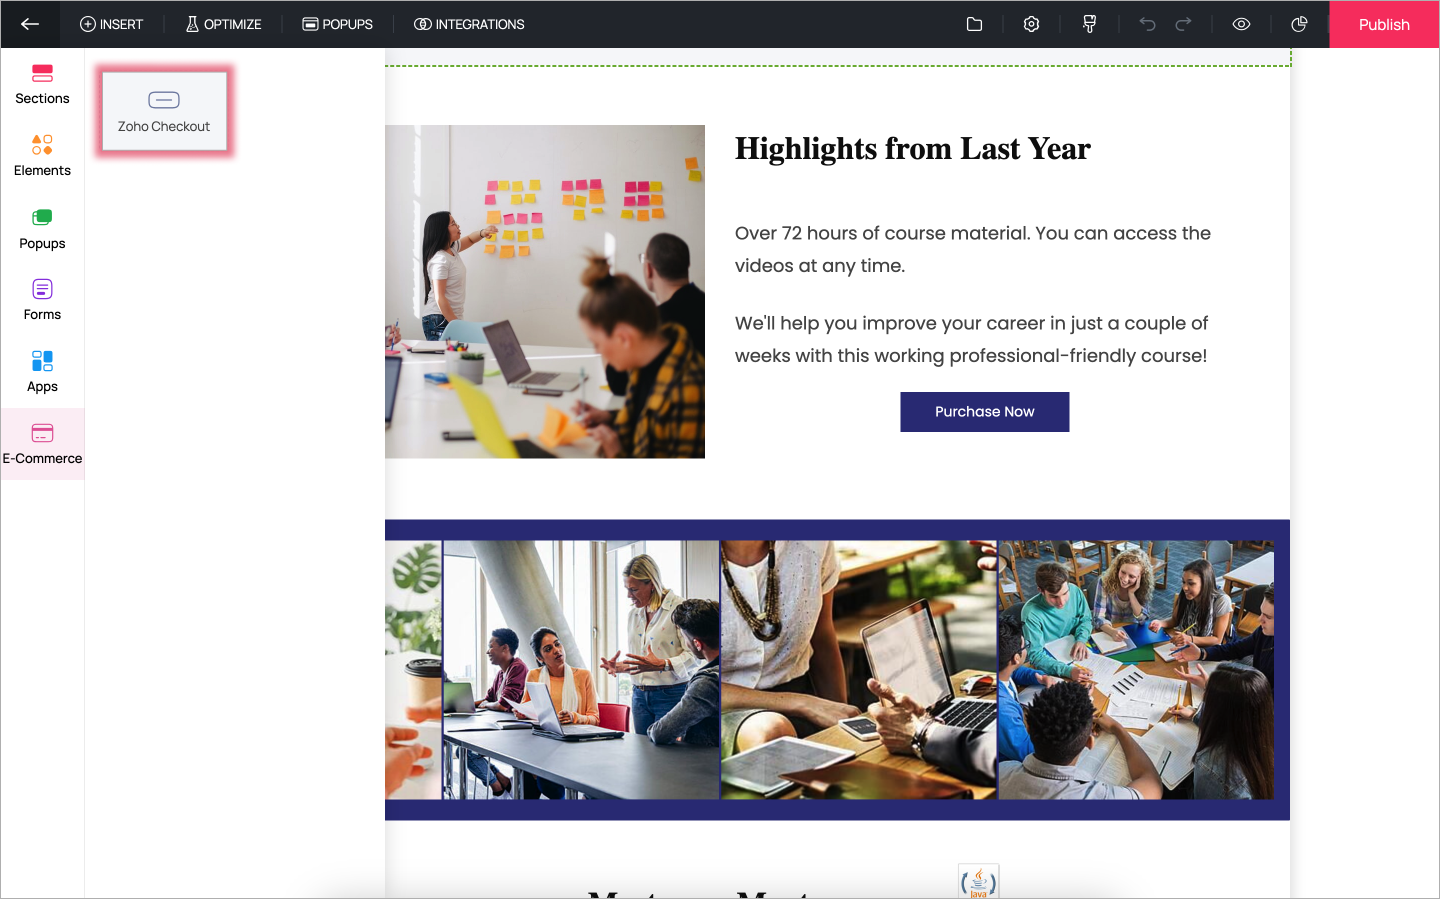
1. In the landing page builder, click on Insert and select Zoho Checkout from the E-Commerce tab. Click and drag the button to place it anywhere on your landing page.
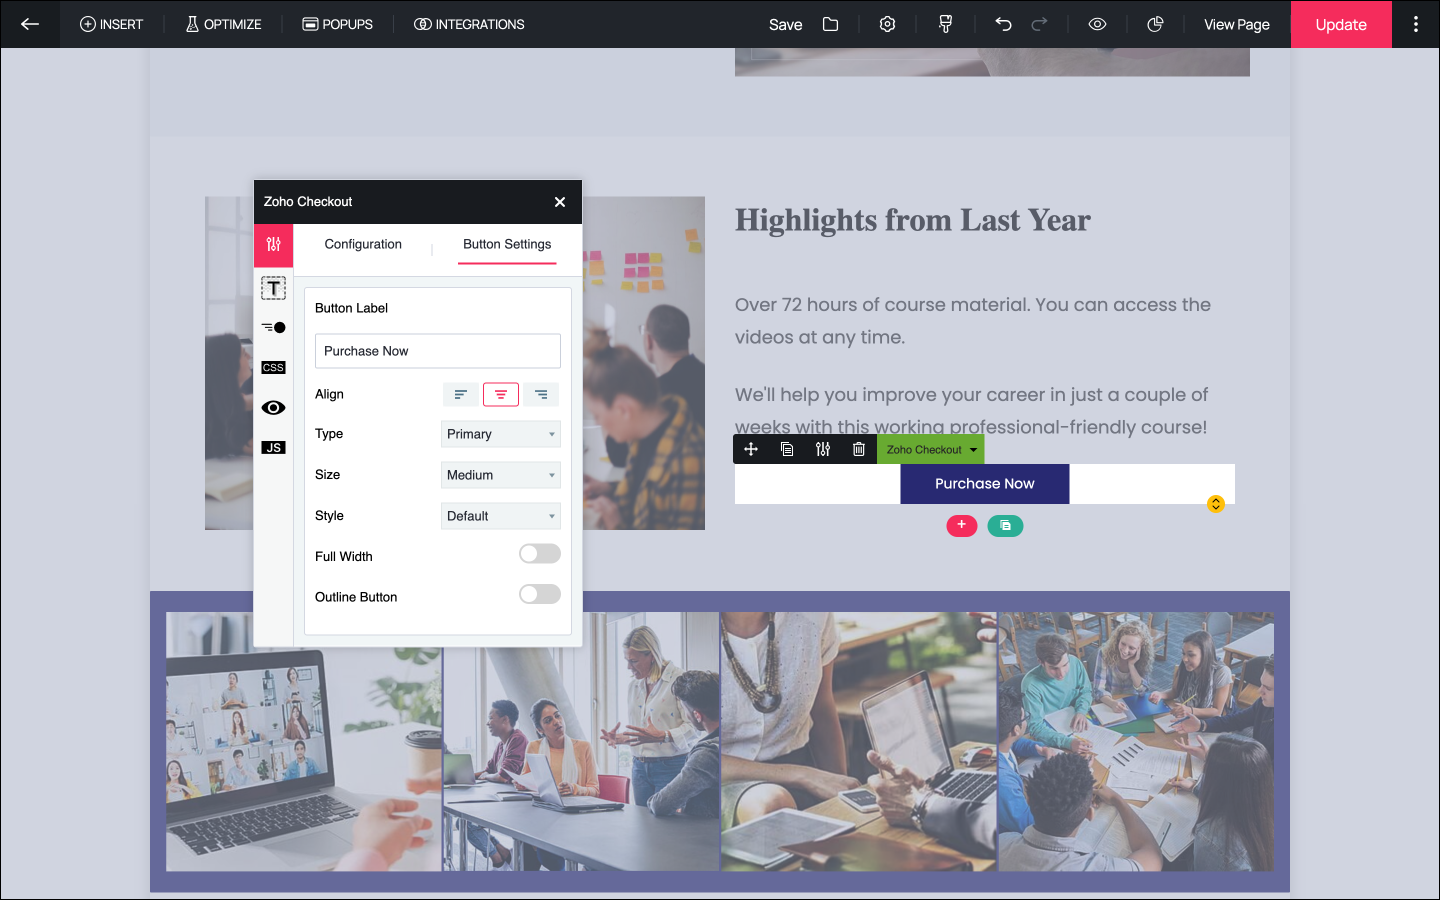
2. Now click on the button placed on your landing page to access configuration and button settings. Click on Configure Now to select the payment page for the particular button.
3. Select the required payment page from the list of available pages and click Save.
4. You can also change the button style, type and other button properties in Button Settings.
5. When users click on the checkout button in your published landing page, they will be redirected to the payment page to enter their credentials and make a purchase.
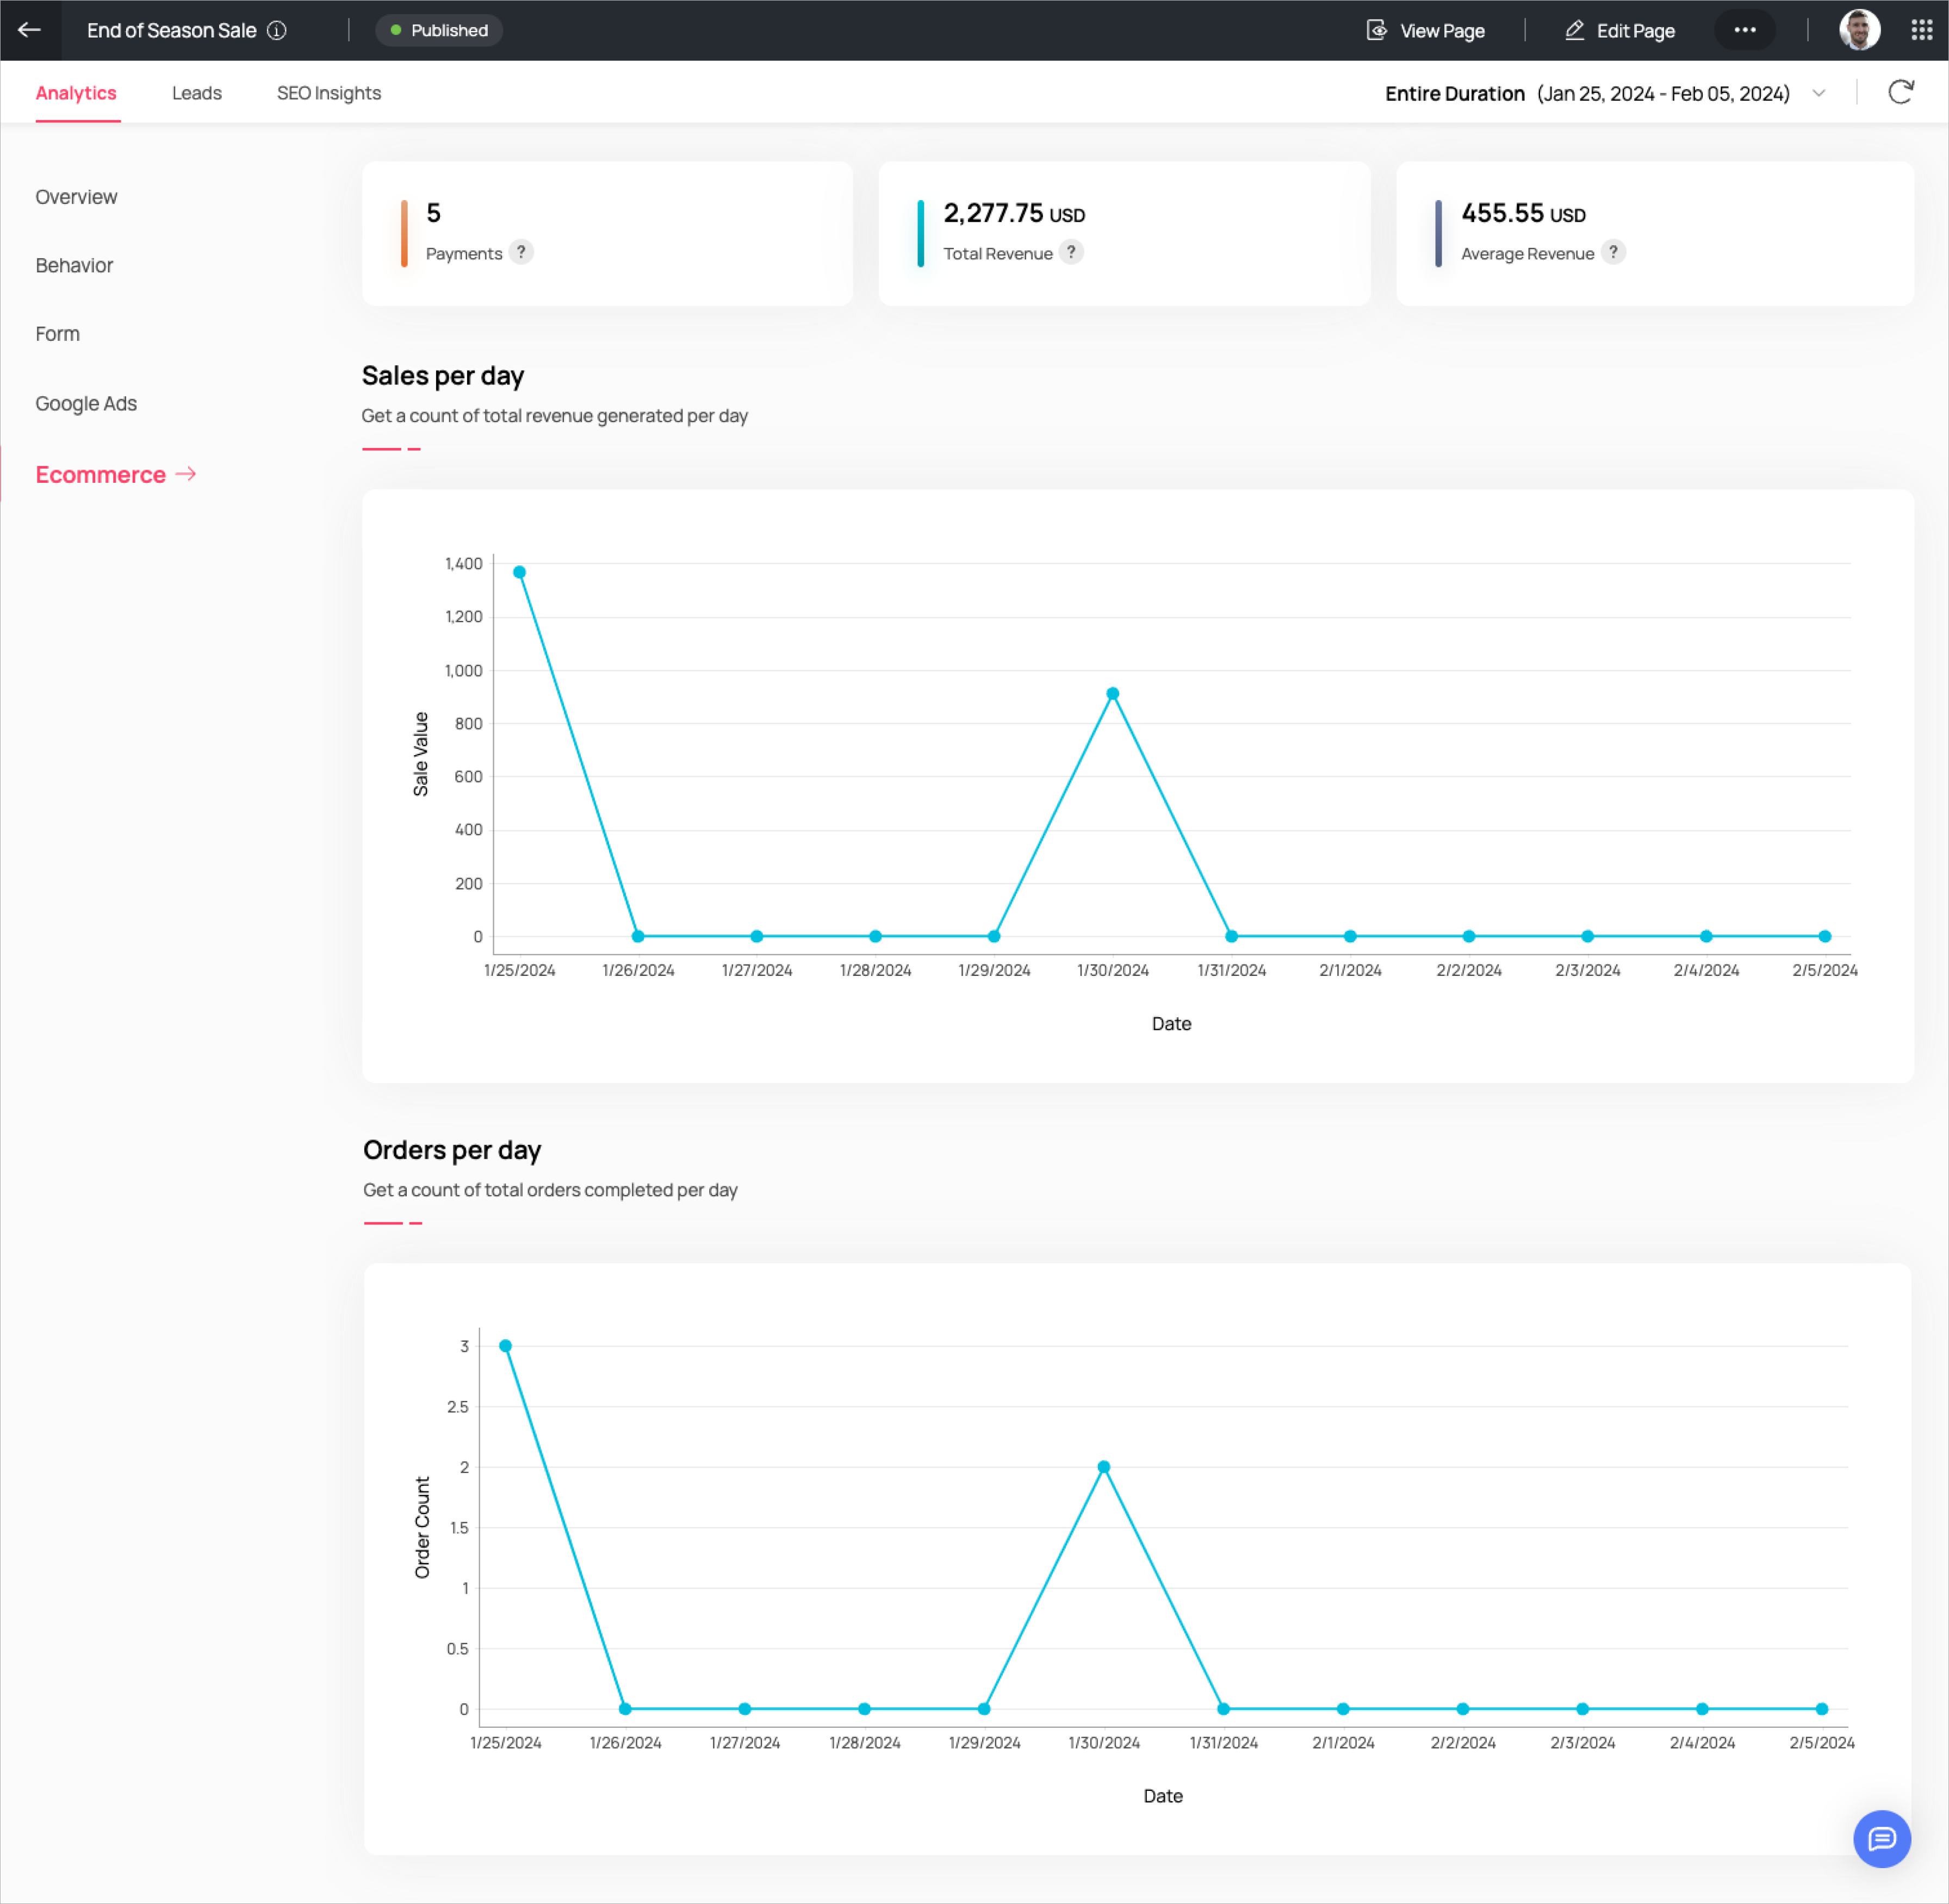
6. When landing page users make a payment on your landing page using the Zoho Checkout button you will be able to view statistics such as payments, total revenue, average revenue, sales per day, and orders per day in the Ecommerce tab of the page analytics dashboard.
Zoho CRM Training Programs
Learn how to use the best tools for sales force automation and better customer engagement from Zoho's implementation specialists.
Zoho DataPrep Personalized Demo
If you'd like a personalized walk-through of our data preparation tool, please request a demo and we'll be happy to show you how to get the best out of Zoho DataPrep.
New to Zoho Writer?
You are currently viewing the help pages of Qntrl’s earlier version. Click here to view our latest version—Qntrl 3.0's help articles.
Zoho Sheet Resources
Zoho Forms Resources
New to Zoho Sign?
Zoho Sign Resources
New to Zoho TeamInbox?
Zoho TeamInbox Resources
New to Zoho ZeptoMail?
New to Zoho Workerly?
New to Zoho Recruit?
New to Zoho CRM?
New to Zoho Projects?
New to Zoho Sprints?
New to Zoho Assist?
New to Bigin?
Related Articles
Zoho Campaigns
Zoho Campaigns is the tool you need to ramp up your customer engagement strategy. Once you start generating leads with your skillfully crafted landing pages, follow it up with engaging email campaigns with the help of Zoho Campaigns integration. Send ...Zoho CRM
Zoho CRM is a robust and powerful tool that can help you level up your customer relationship management game. Zoho CRM is the tool you need to make sure that you seal the deal on leads through efficient, smart, and enriching customer relationship ...Bigin by Zoho CRM
Bigin is a pipeline-centric CRM that hits the sweet spot of price and functionality for small businesses. If you are a small business looking for a cost-effective CRM solution, Bigin is where you go. Once you start converting with your landing page, ...Zoho Marketing Automation
Zoho Marketing Automation is an automation software loaded with tools that help you create, organize, and manage all your marketing activities. Marketing Automation has tools for every step of your marketing process. This all-in-one tool helps you ...GoToWebinar
GoToWebinar integration with Zoho LandingPage offers a seamless and efficient way for businesses to streamline their marketing, webinar, and lead generation efforts. GoToWebinar, a webinar and virtual conference platform, and Zoho LandingPage, a ...
New to Zoho LandingPage?
Zoho LandingPage Resources


