Adding and managing courses in your portal
You can share the courses in your hub with the users in your portal and specify access conditions.
To add a course to portal:
1. Navigate to the portal from Manage Portals under the Custom Portal tab.
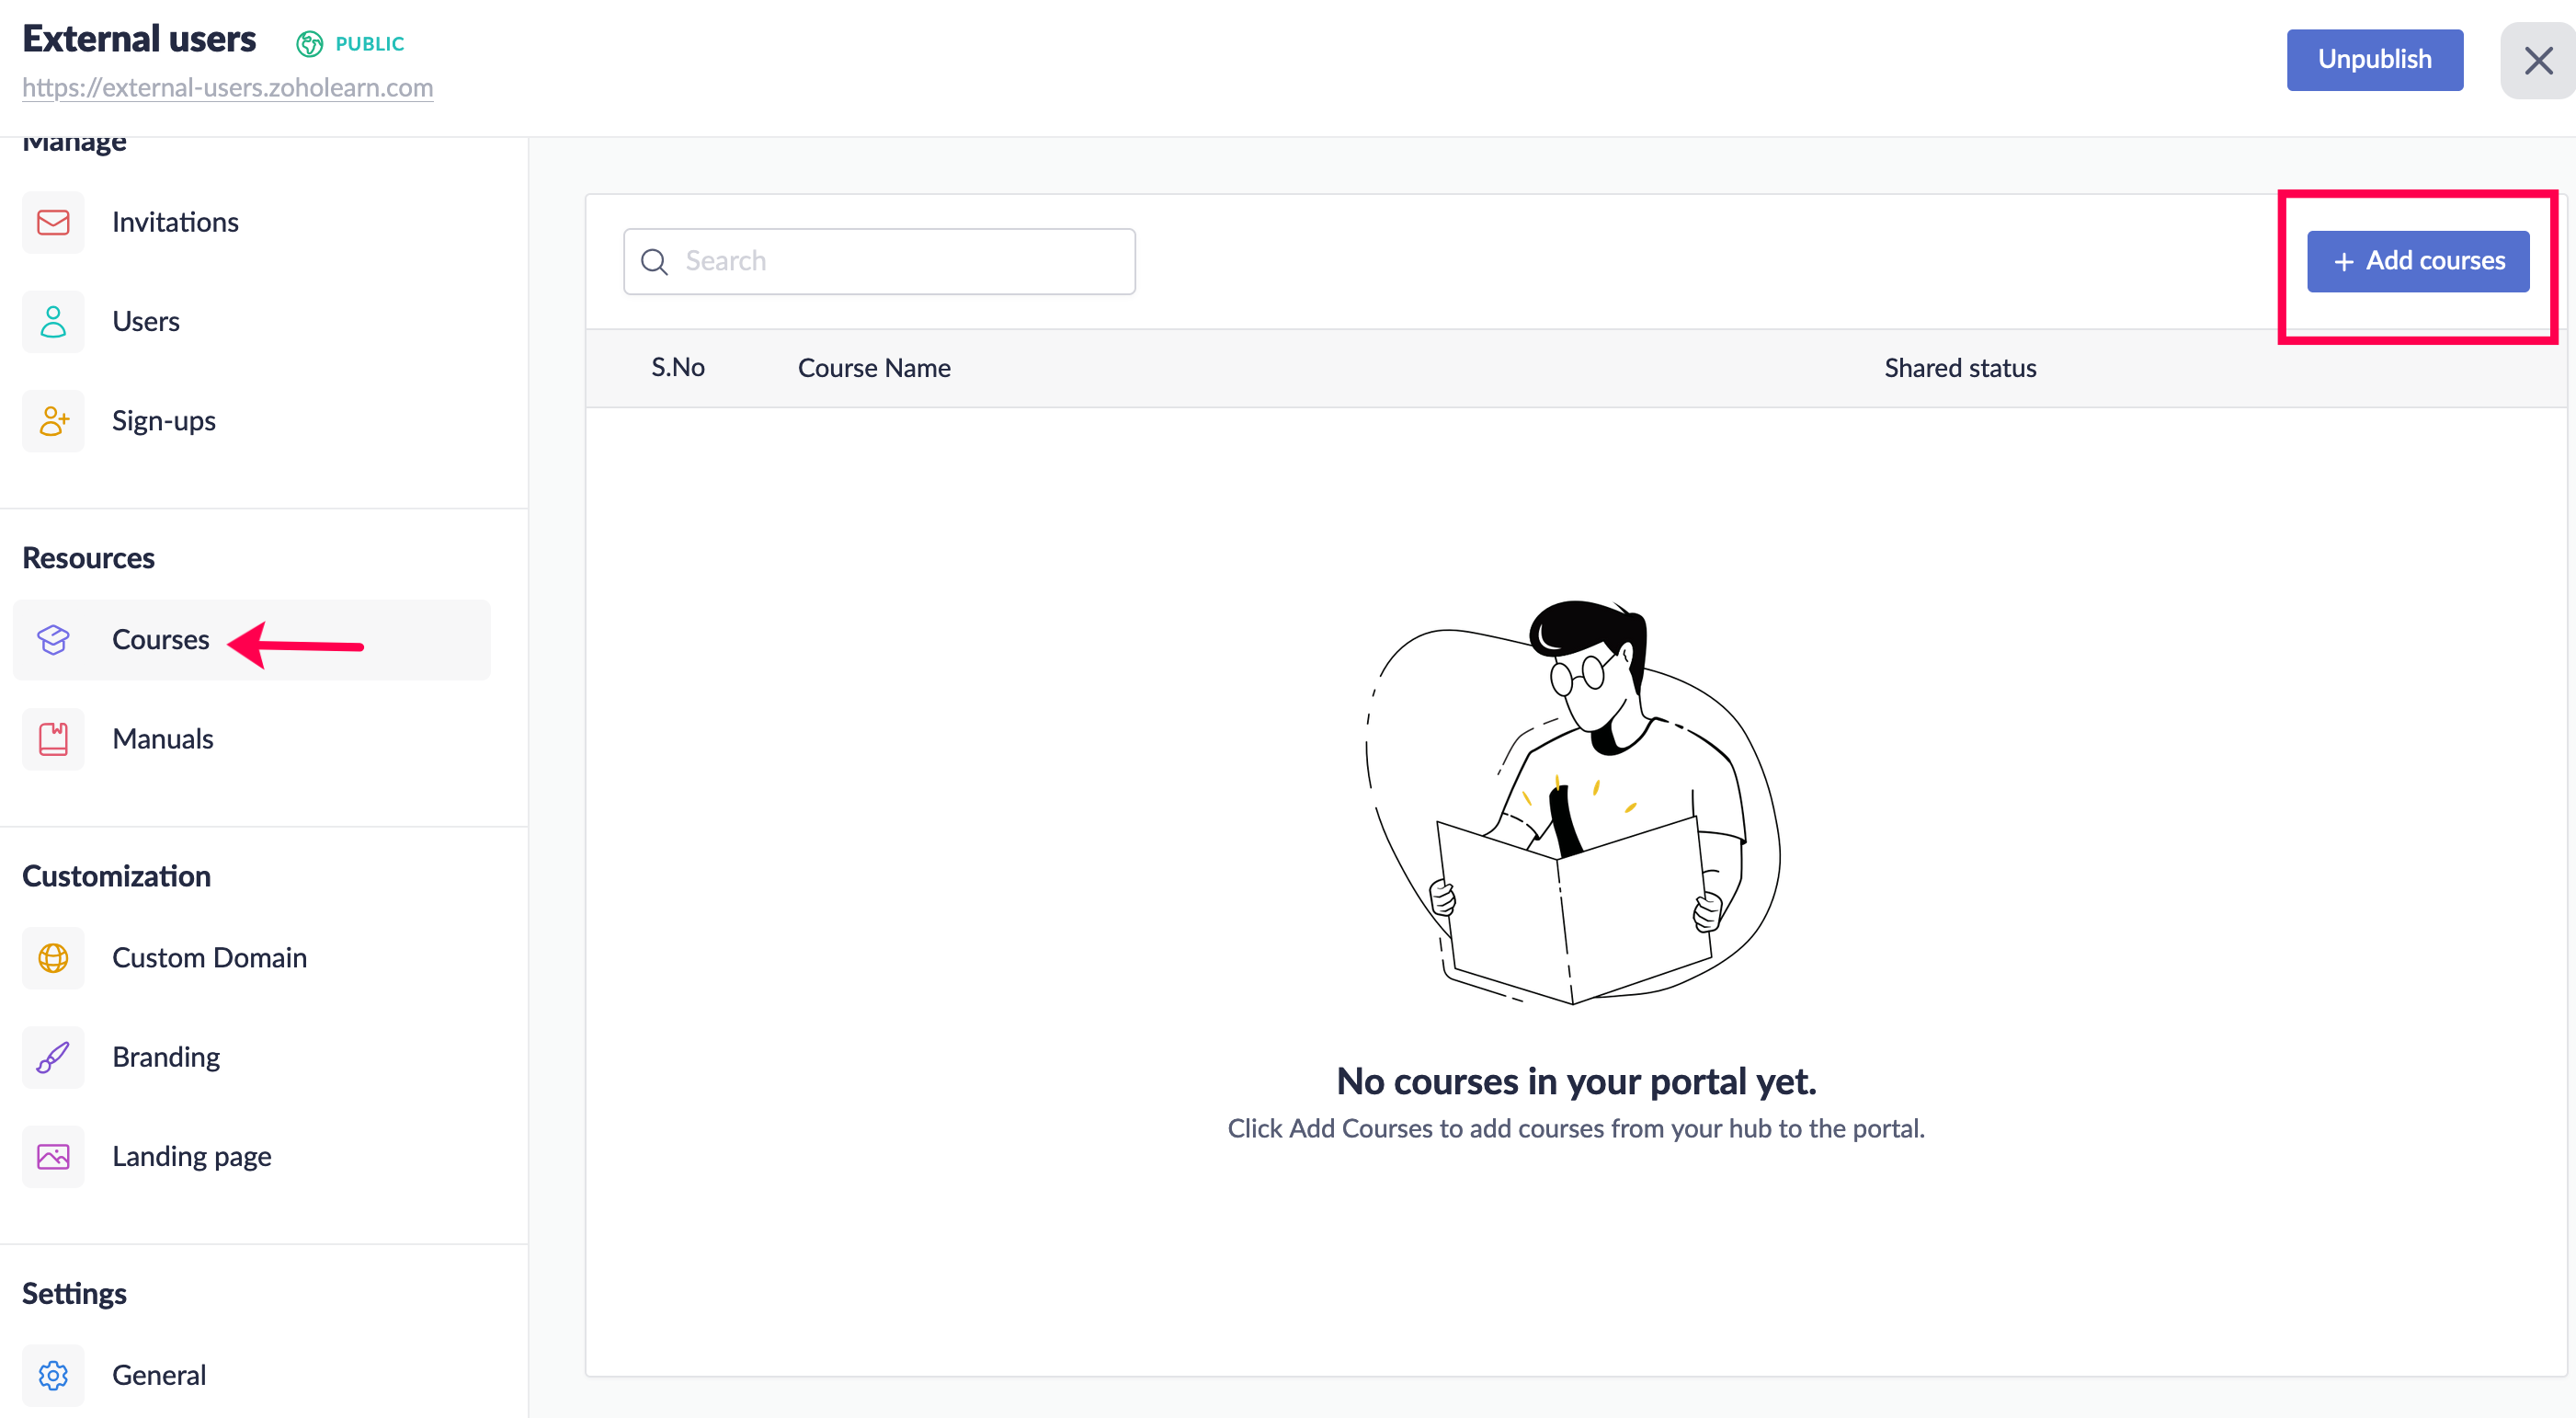
2. Go to the Courses tab and click Add Courses.
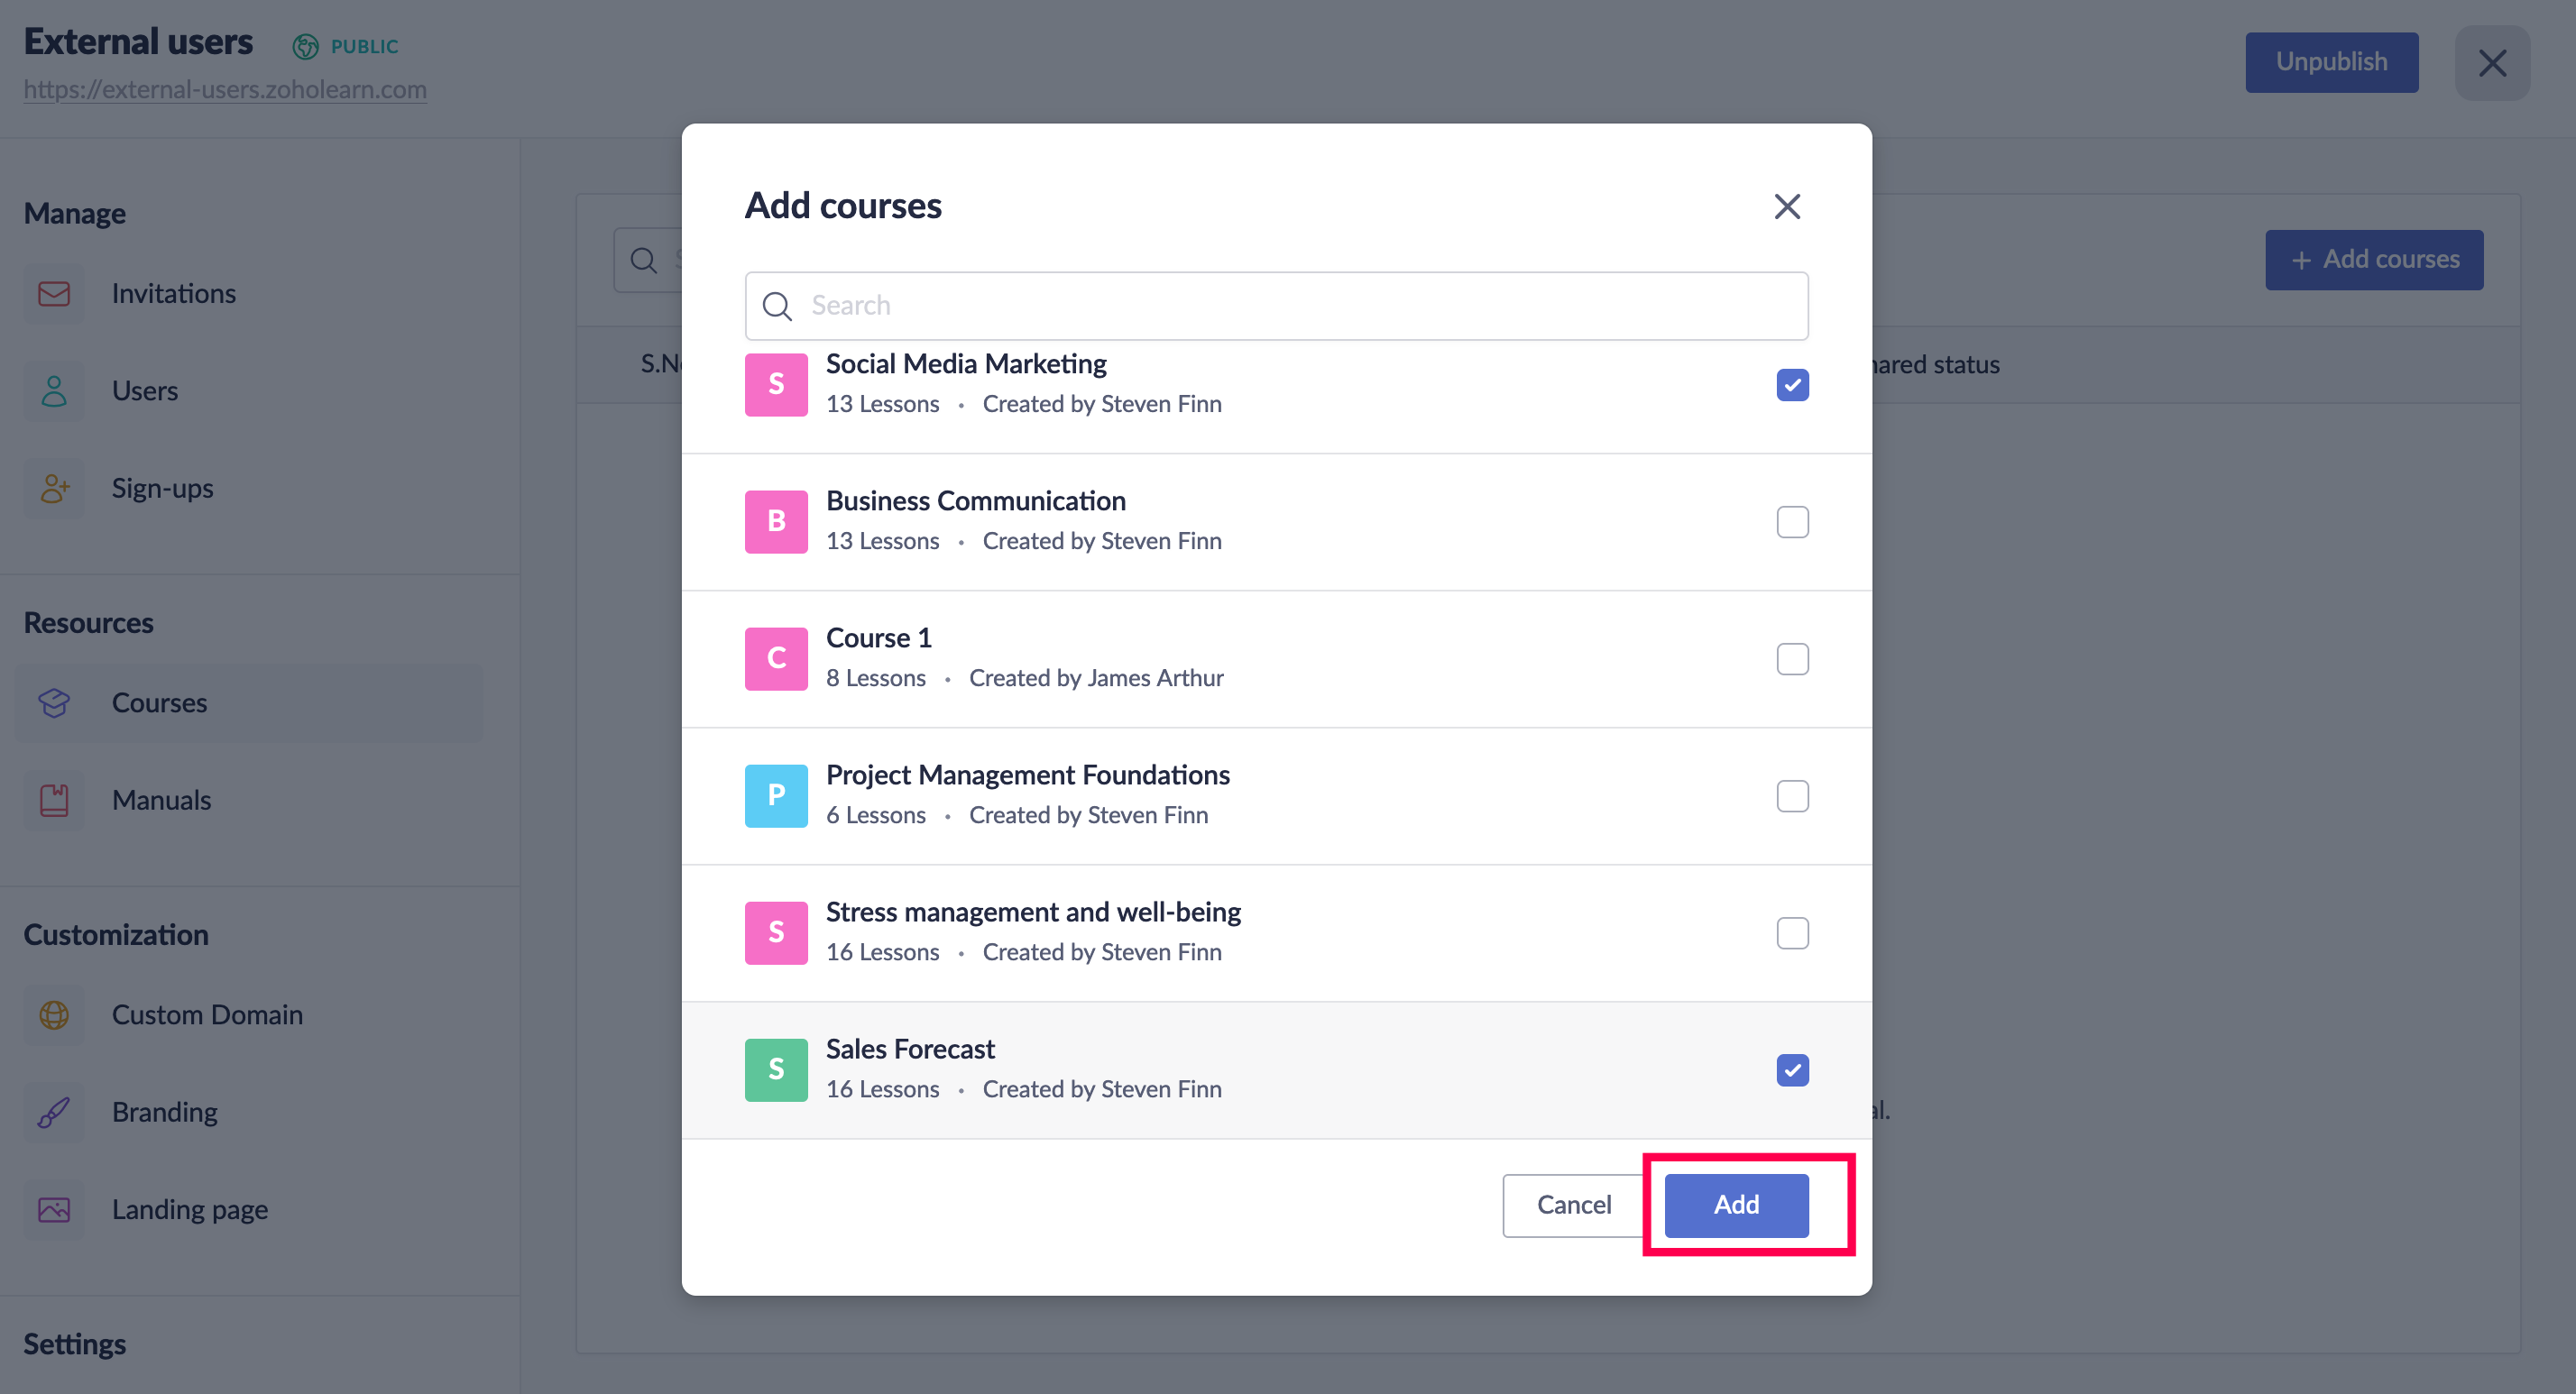
3. Select the courses you want to add, then click Add.
To add users to the course:
1. Go to the course from the list of courses in your portal, then click the More Options
icon and click Manage.
icon and click Manage.
2. Click Add Users.
3. Select the users from the list, then click Add.
To manage access to the course:
1. Go to the course from the list of courses in your portal
2. Click Share.
3. Select one of the following options:
- Invited users only: Only invited users can access the course from the portal. These users will be auto-enrolled.
- Everyone in this portal: All users who have access to the portal can access the course and enroll themselves. If the users need admin approval to enroll in the course, select the Need admin approval button .
- If you want to enable course preview for anyone on the web, enable Public Preview
option.
To remove a course from the portal:
1. Go to the course from the list of courses in your portal, then click the More Options icon.
2. Click Remove.

The reports for the courses shared through a custom portal can be viewed only through the reports in the hub.