Templates & SignForms on iOS
Creating Templates
Zoho Sign lets you convert your frequently-used documents into templates, which you can use whenever you need. Follow the steps below to create and use templates.
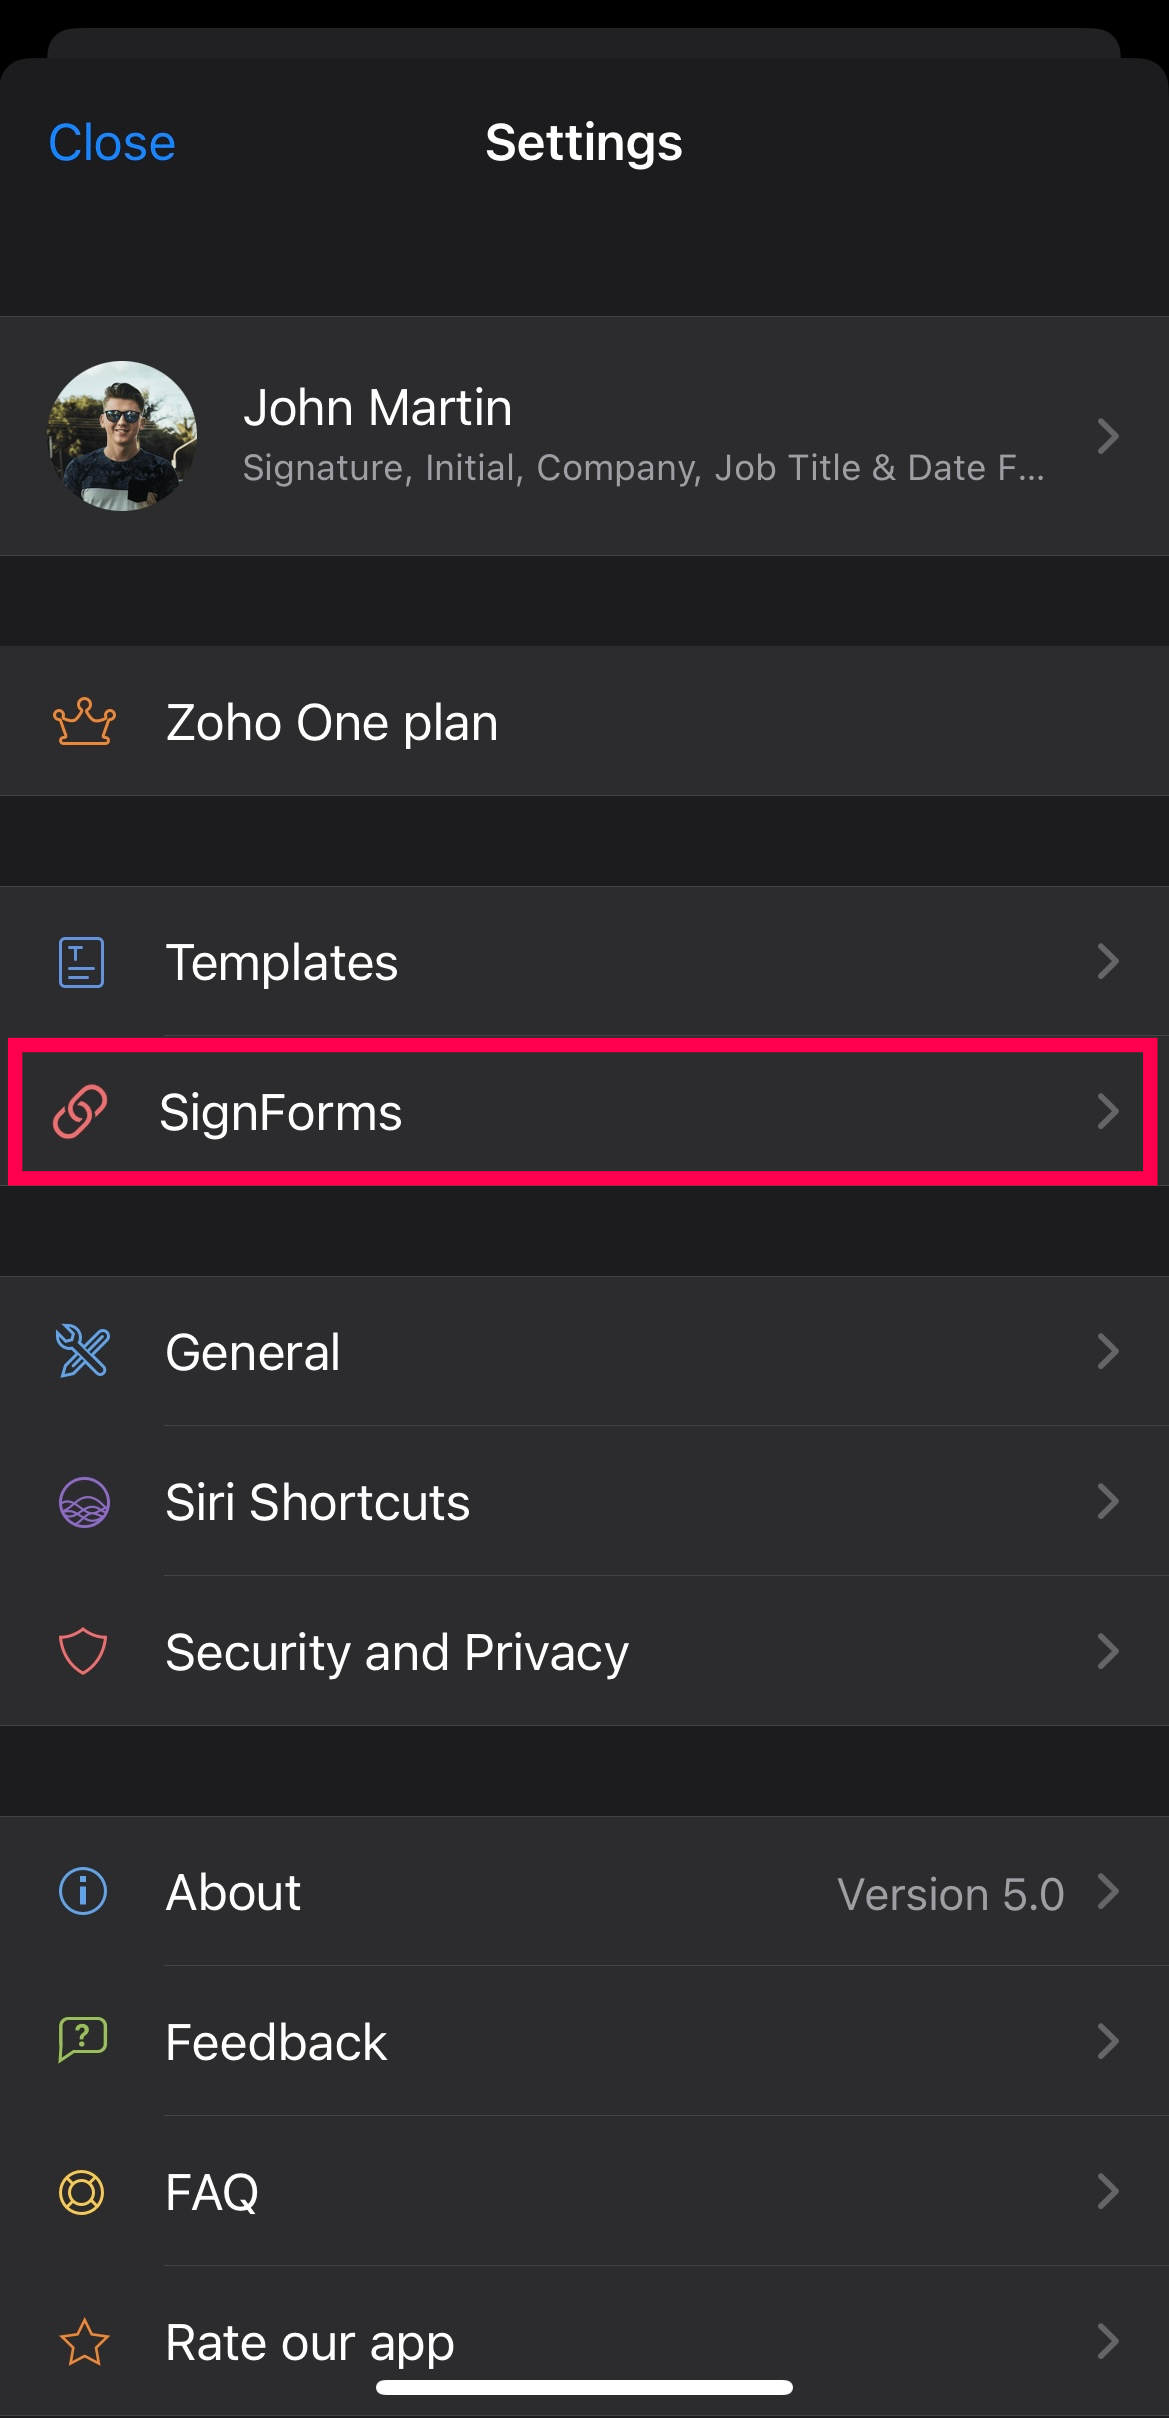
- Open Setting, then tap Templates.
- Tap + .
- Upload the document you want to convert as a template.
- Add the template name, then tap Next.
- Tap Add Recipient in the Manage Recipients screen.
- Enter the recipient details, then tap Done.
- Tap Add me in the Manage Recipients screen, if you would like to add yourself to the recipient list.
- Tap Add Recipient again, if you wish to add more recipients.
- Tap on Next to proceed.
- In the other details screen, you can set document validity period, agreement validity, document type, folder, automatic reminder interval, and add a description. Tap Next after adding all the necessary details.
- Include the prefill and signer fields by dragging and dropping them from the fields list and tap Save.
You can access all the saved templates from the templates screen.
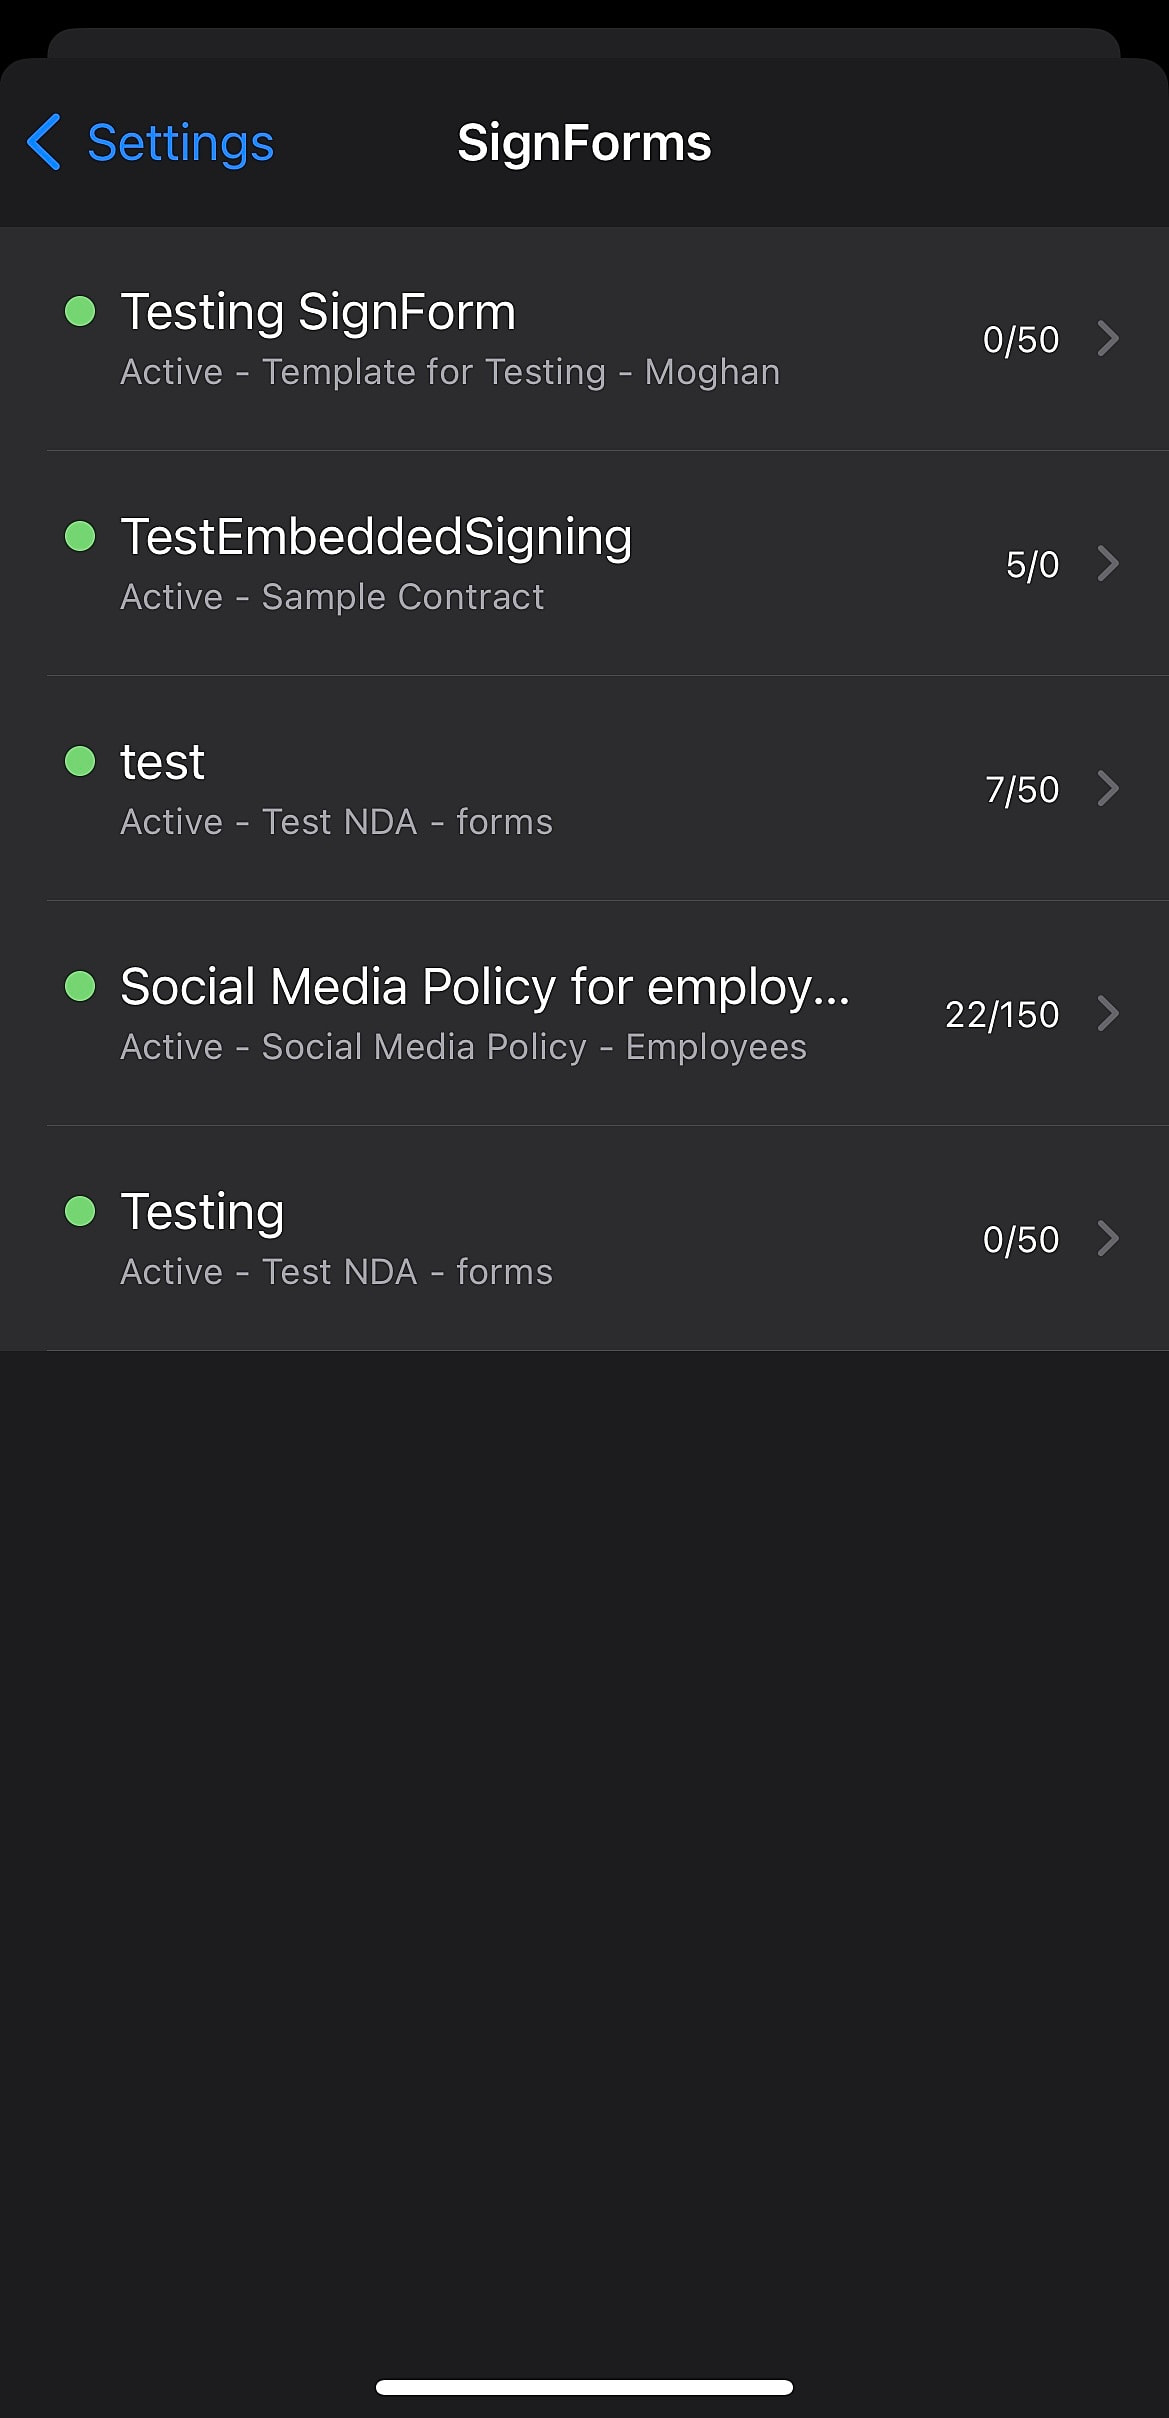
SignForms
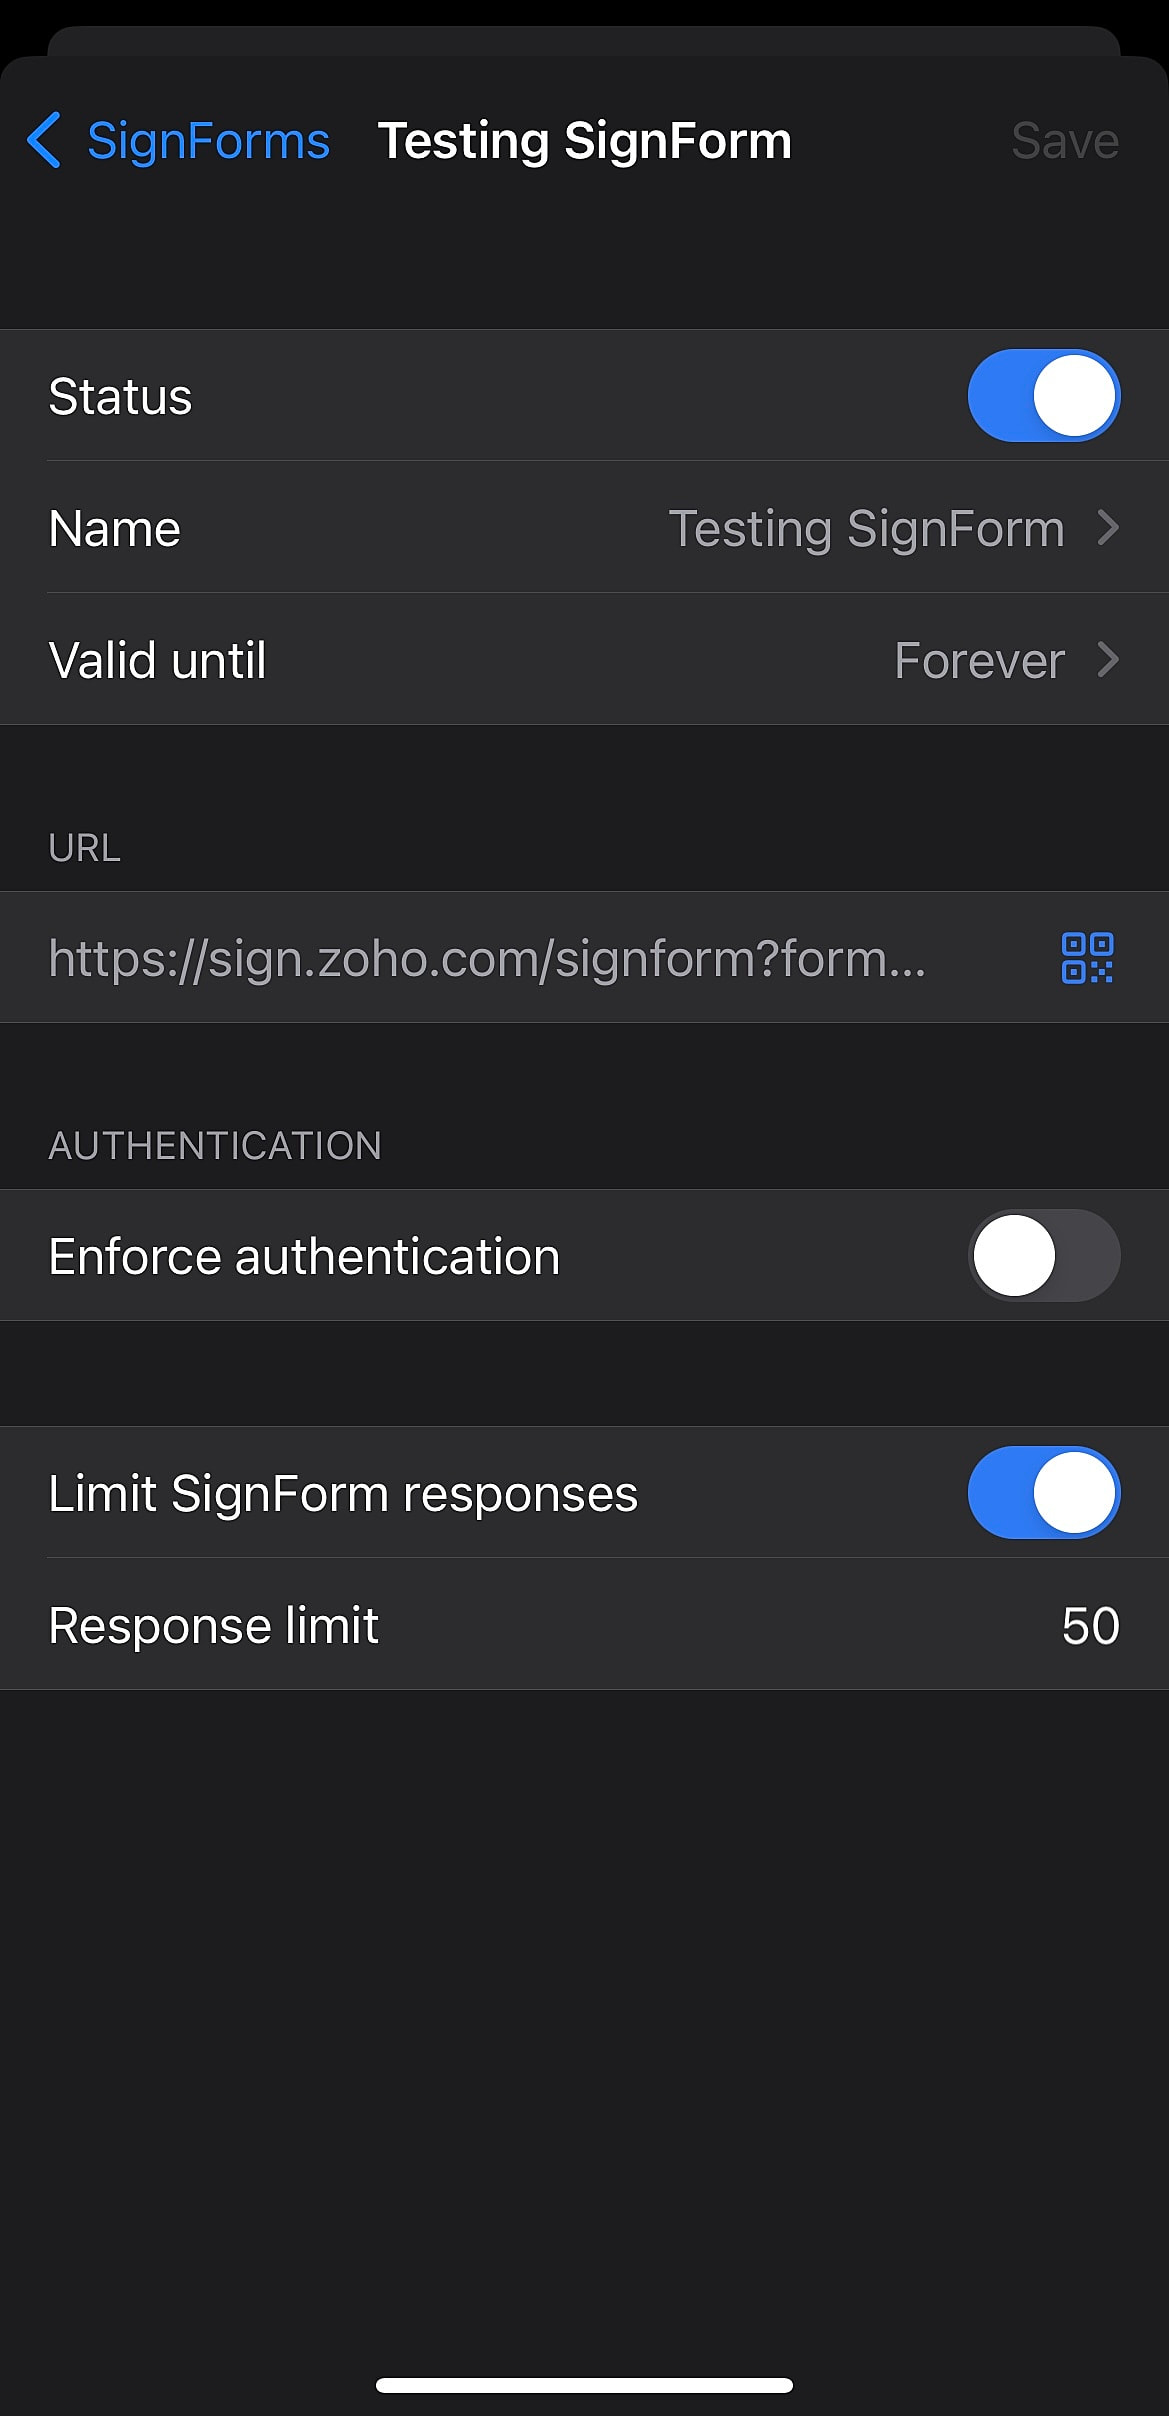
Although you can't create SignForms from scratch on the Zoho Sign iOS app, you can access and manage the ones you created on the web application. From the Zoho Sign iOS app, you can enable or disable a SignForm, change its name or its validity period, enforce authentication, set authentication delivery type, and limit SignForm responses. You can also access the URL of the SignForms and QR code from the app, which is useful for in-person signing.