Sending documents for signature on iPadOS
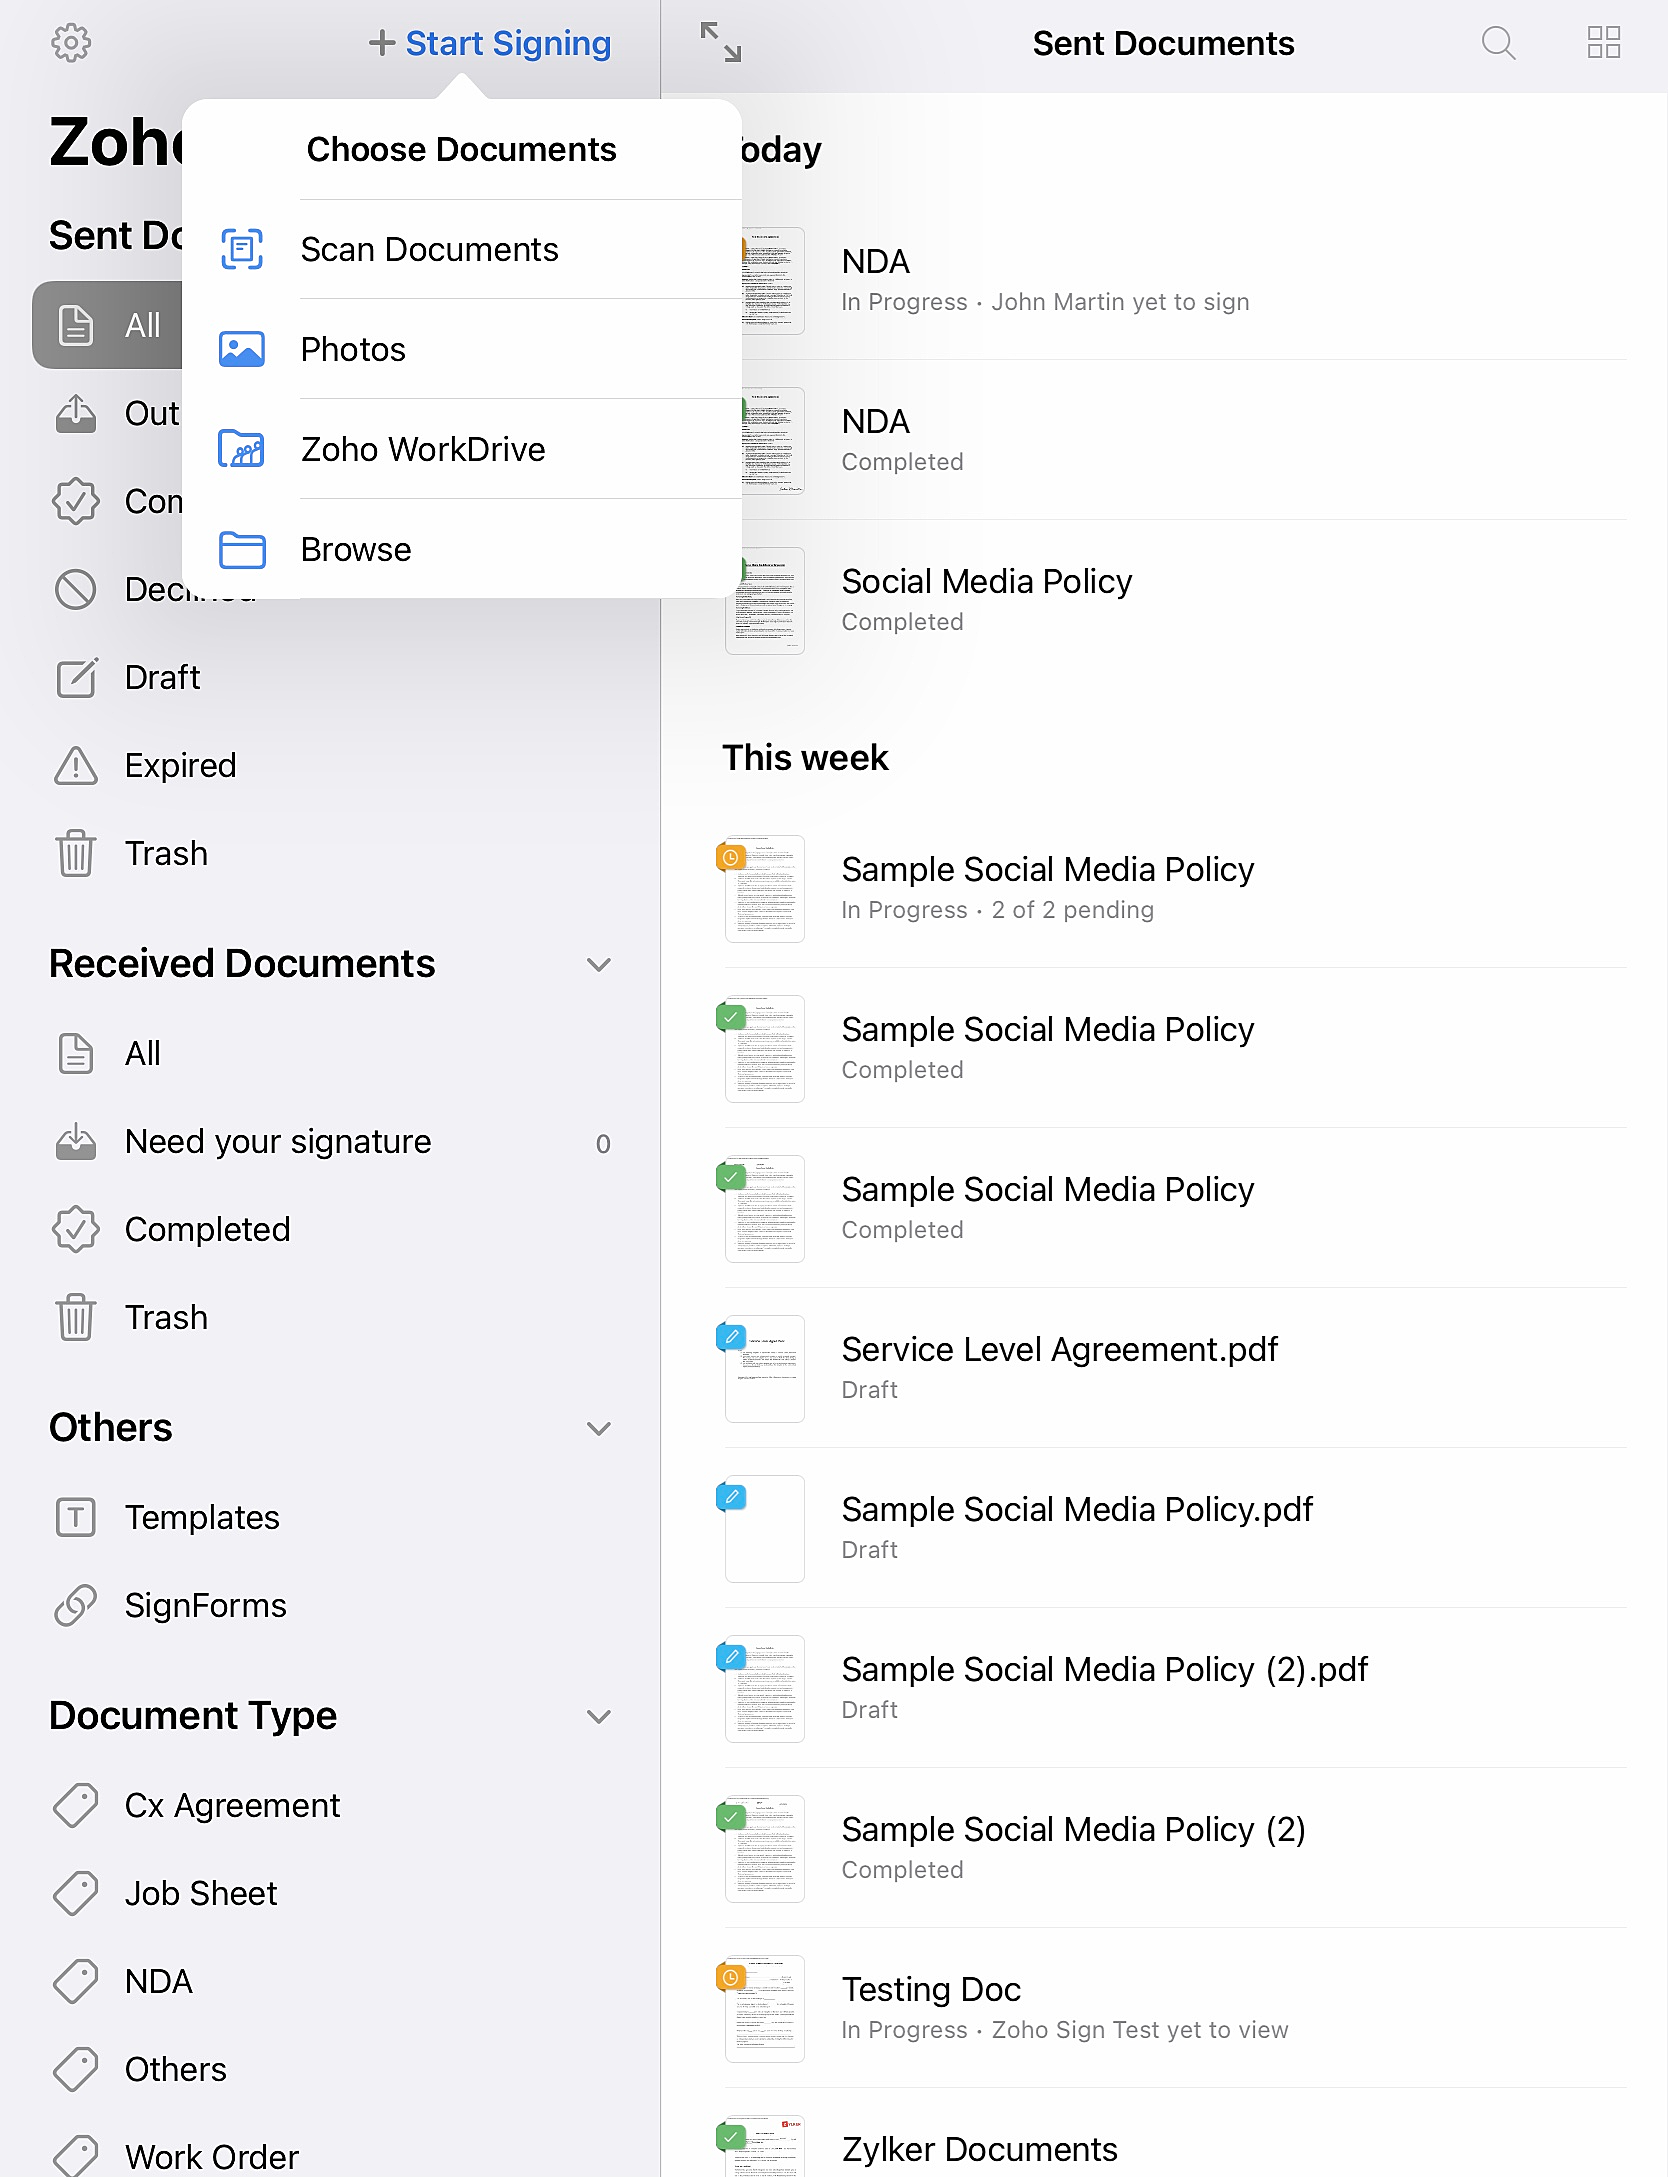
- Tap + Start Signing in the menu.
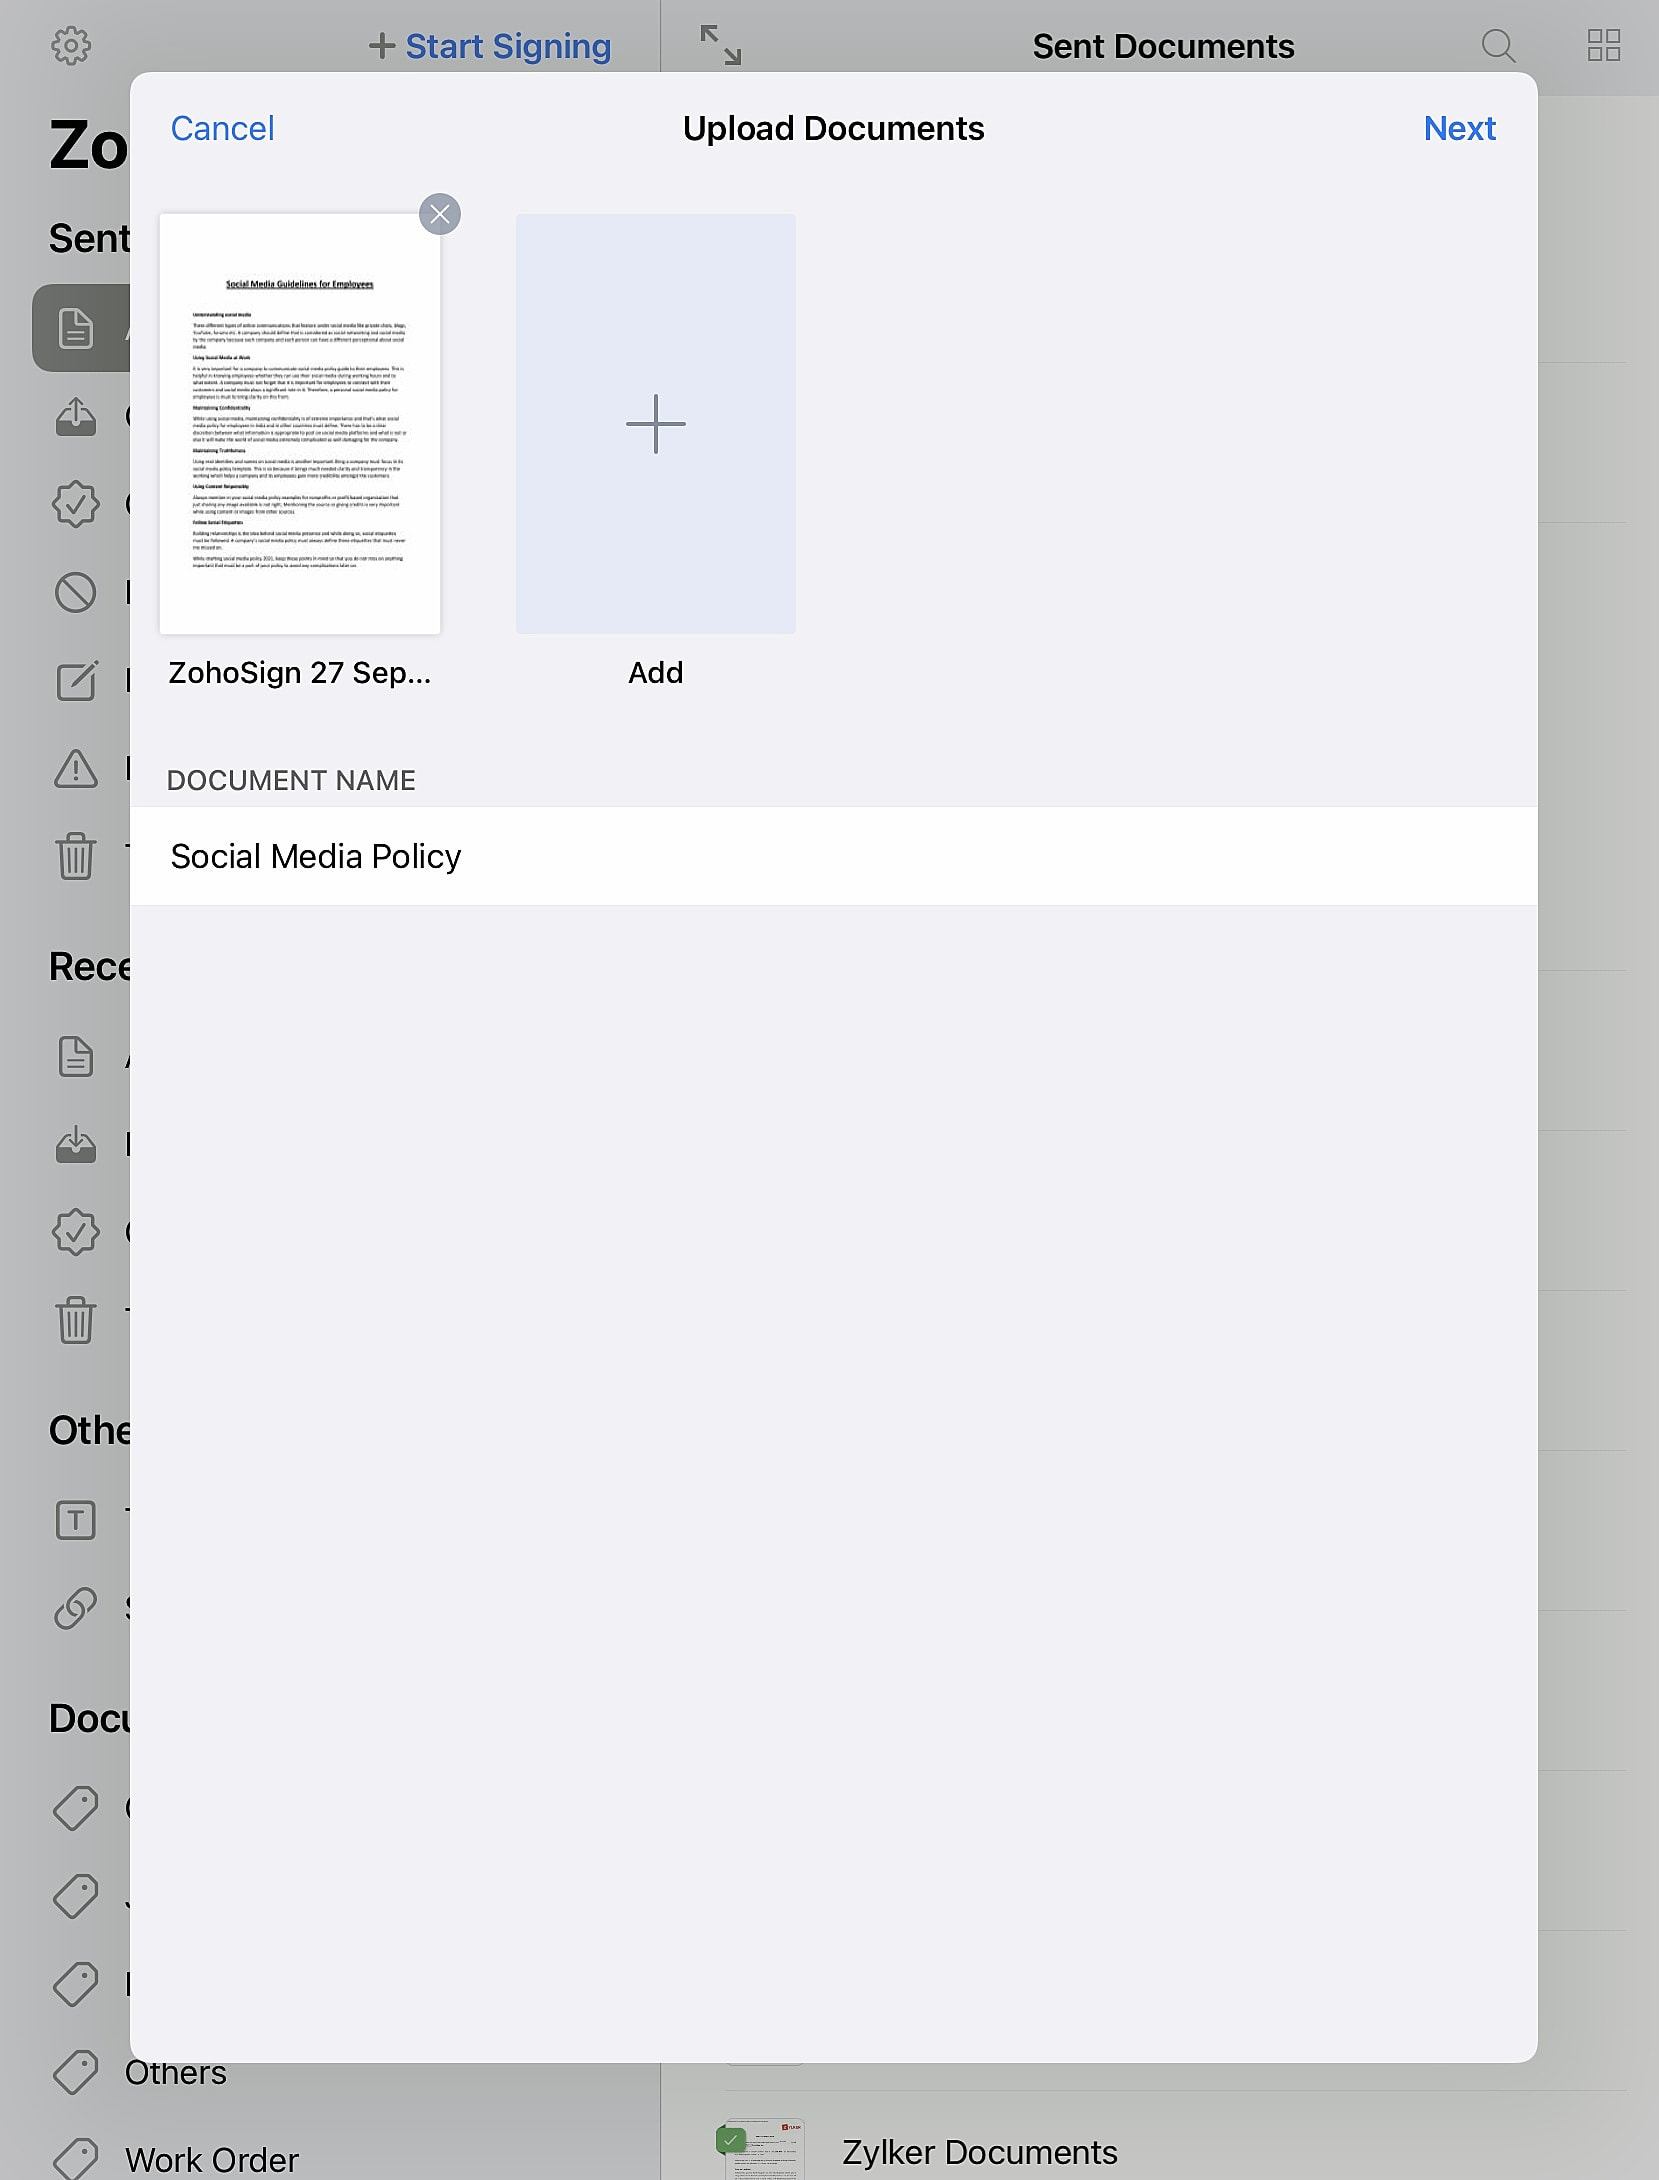
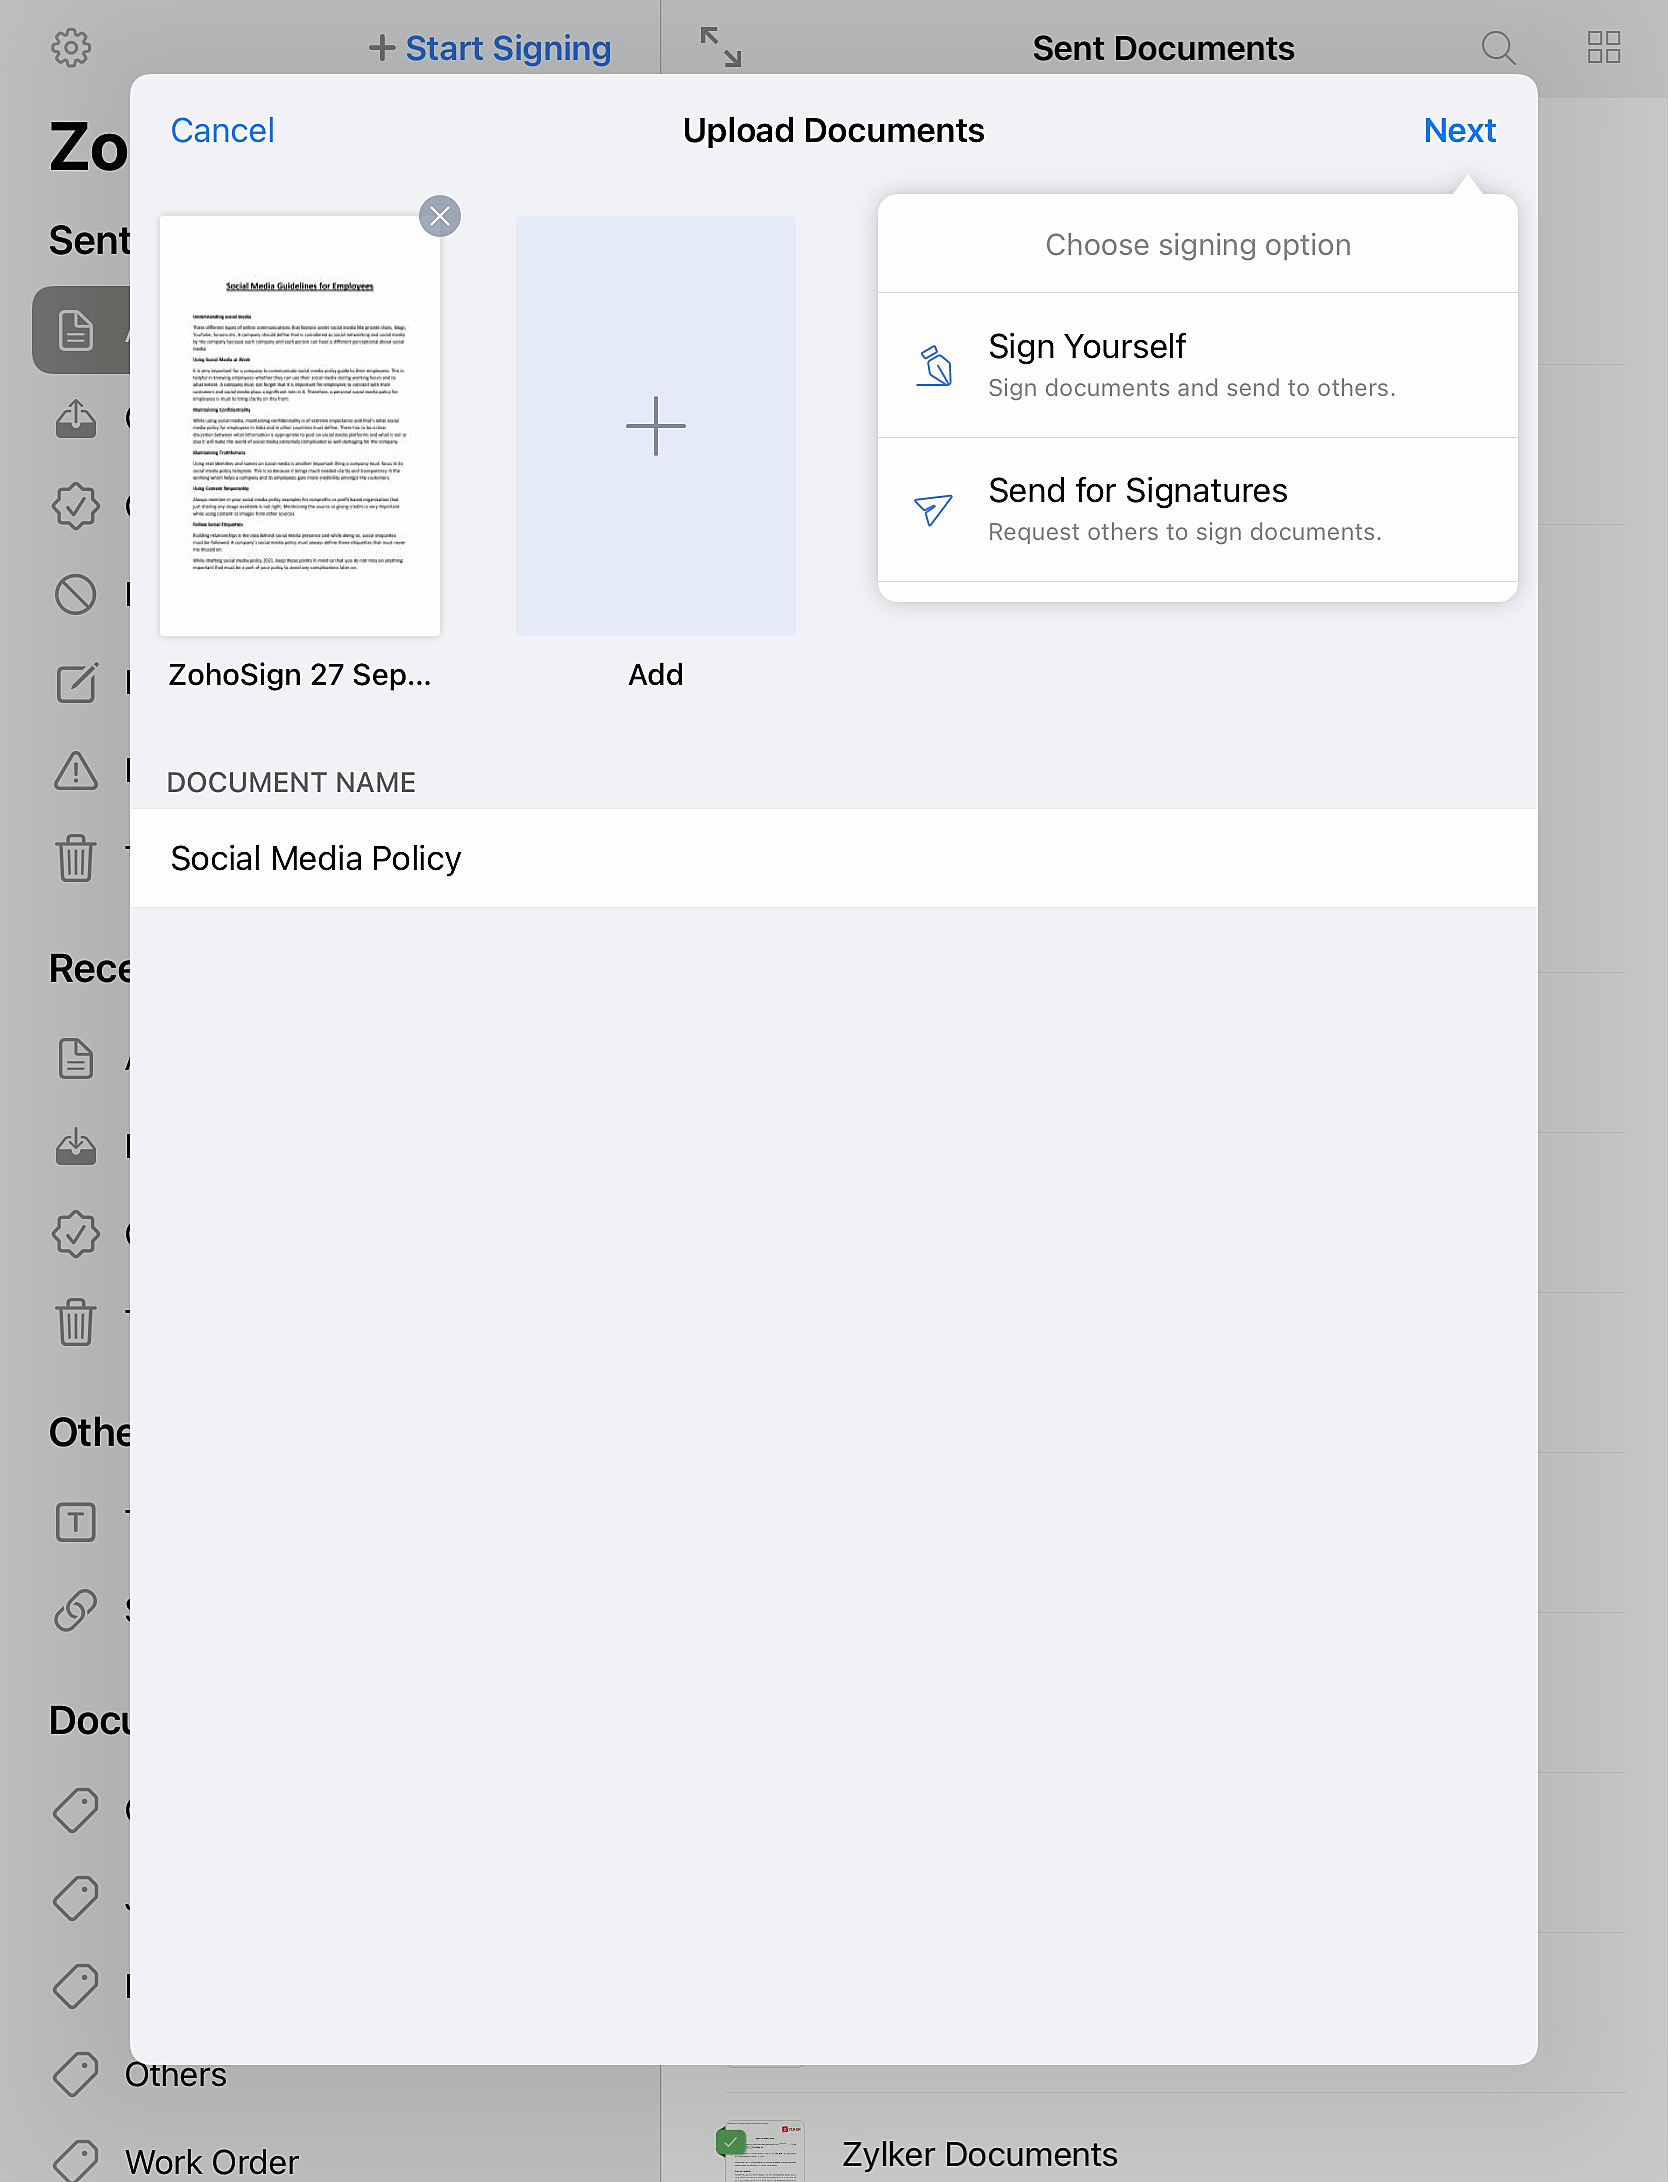
- Upload your document by either scanning the document, or uploading it from your photo gallery, from Zoho WorkDrive, or from your internal storage.
- Tap Next, then select Send for Signatures.
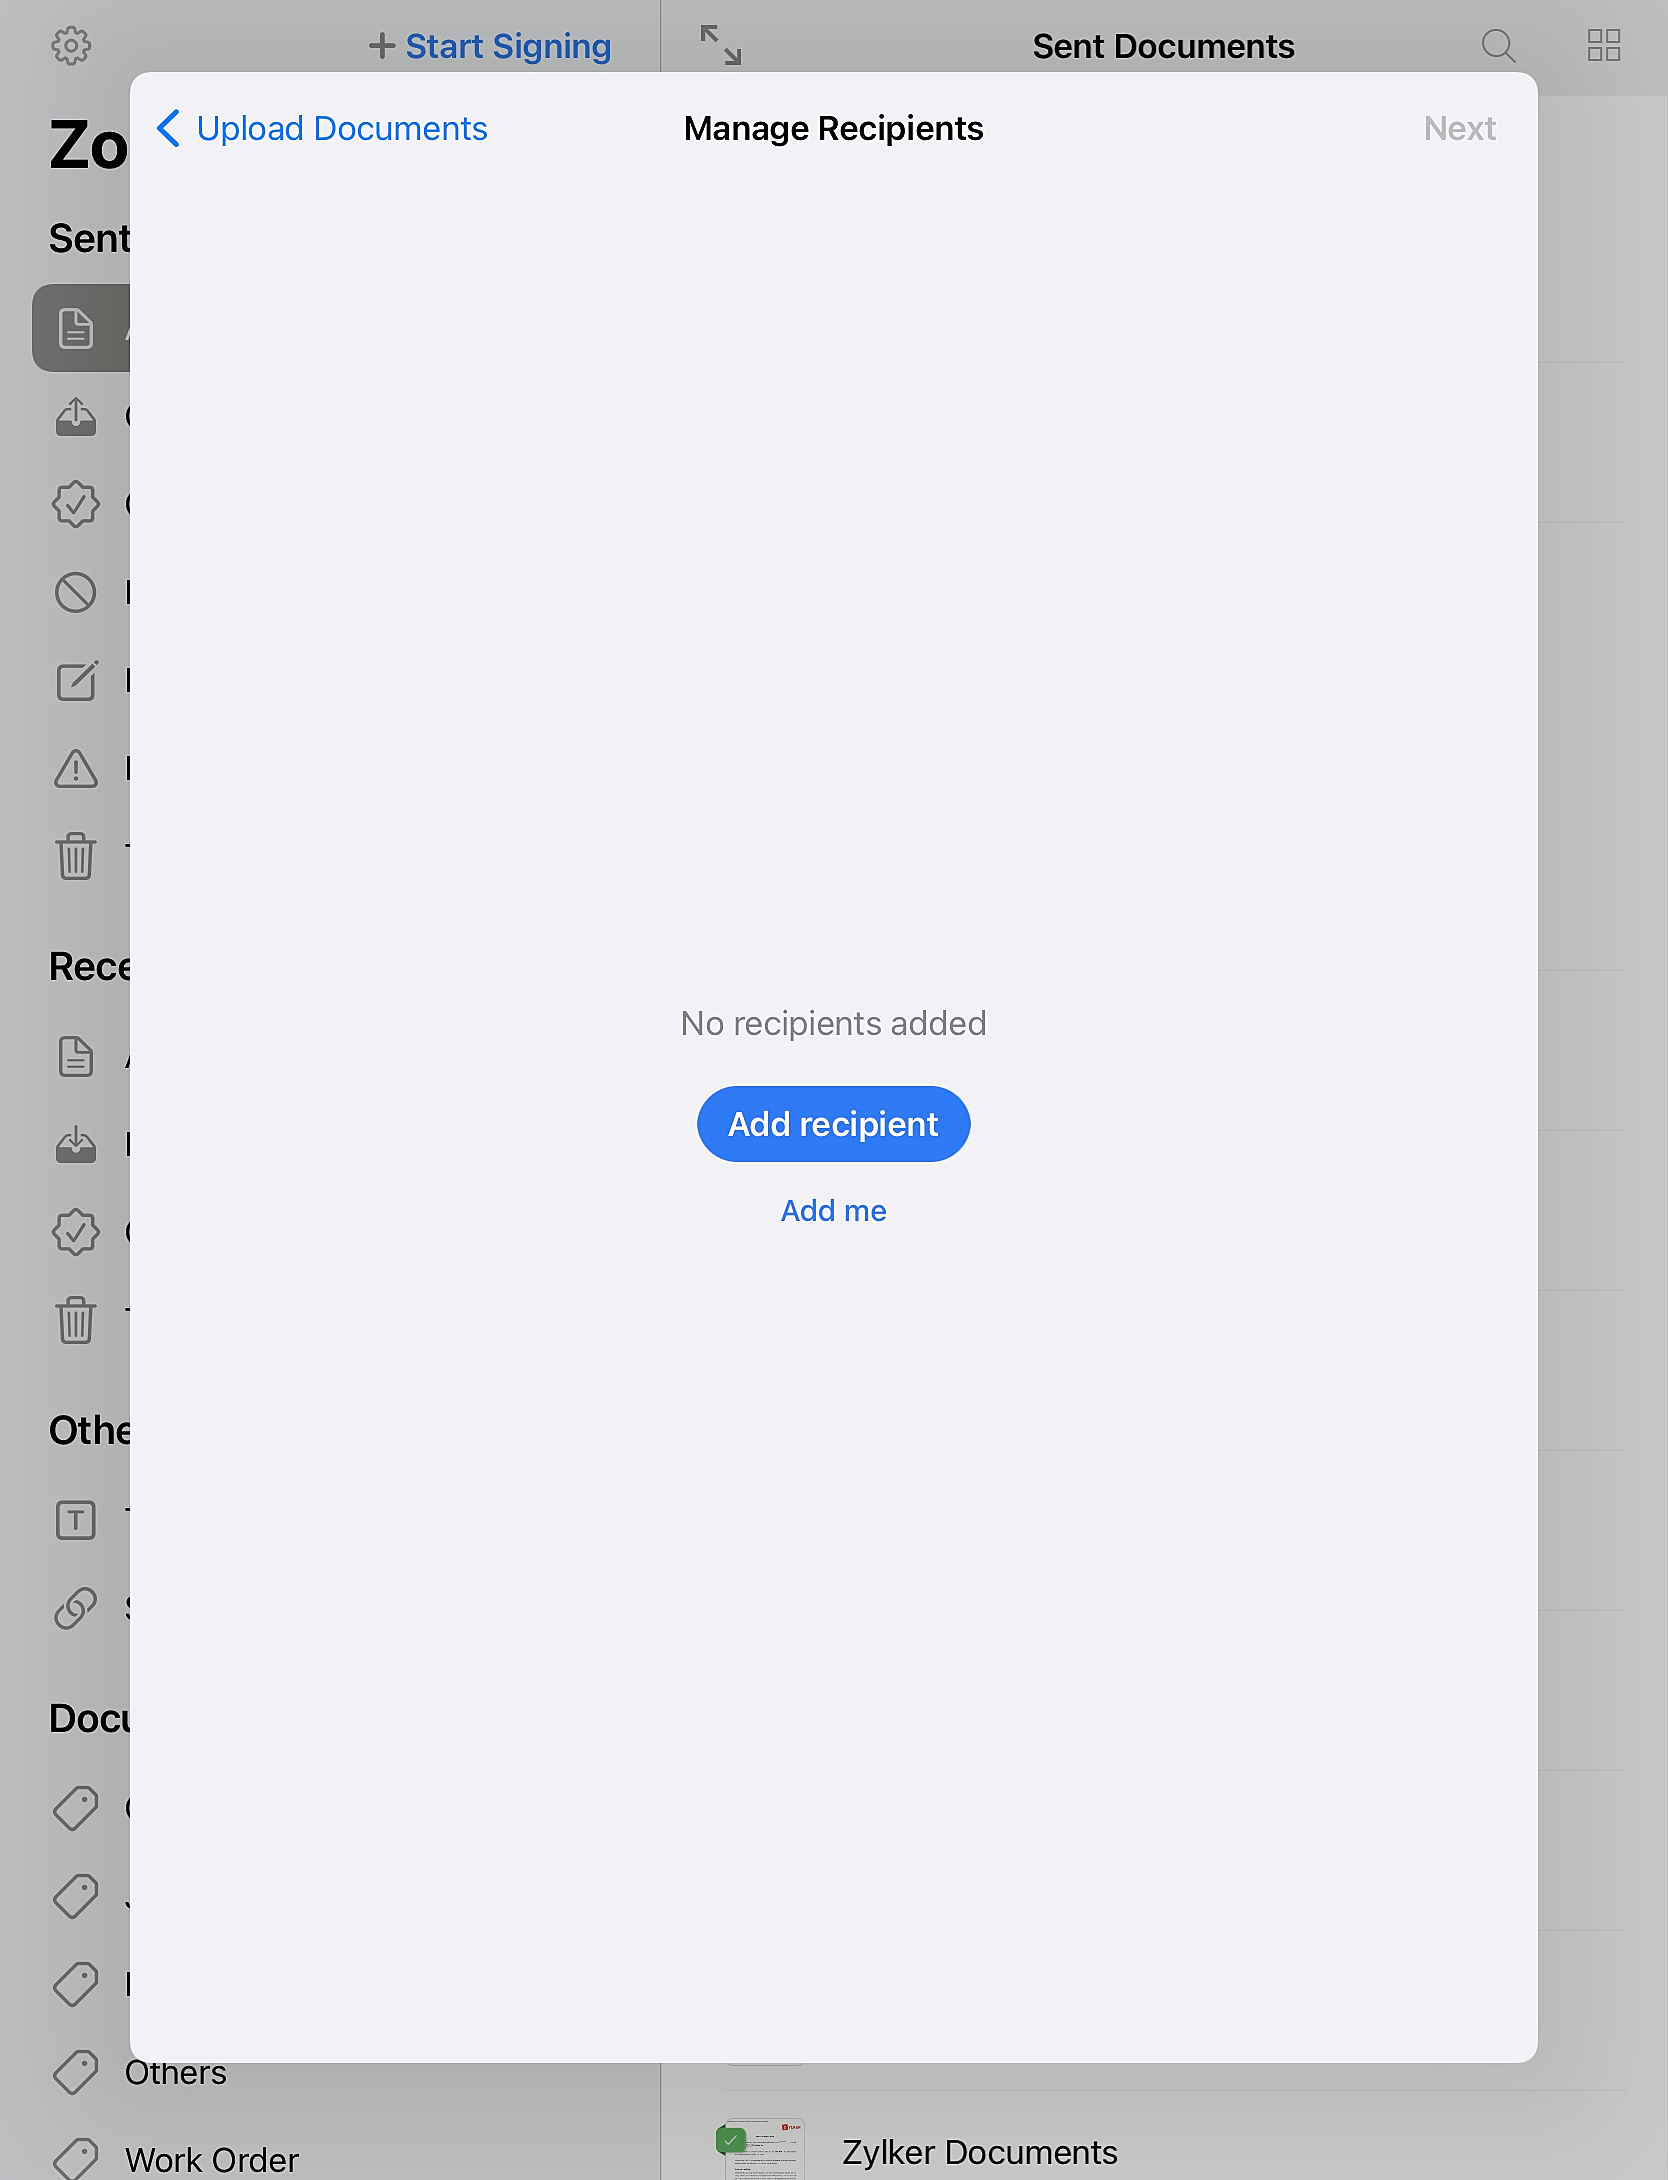
- On the Manage Recipients screen, select Add recipient.
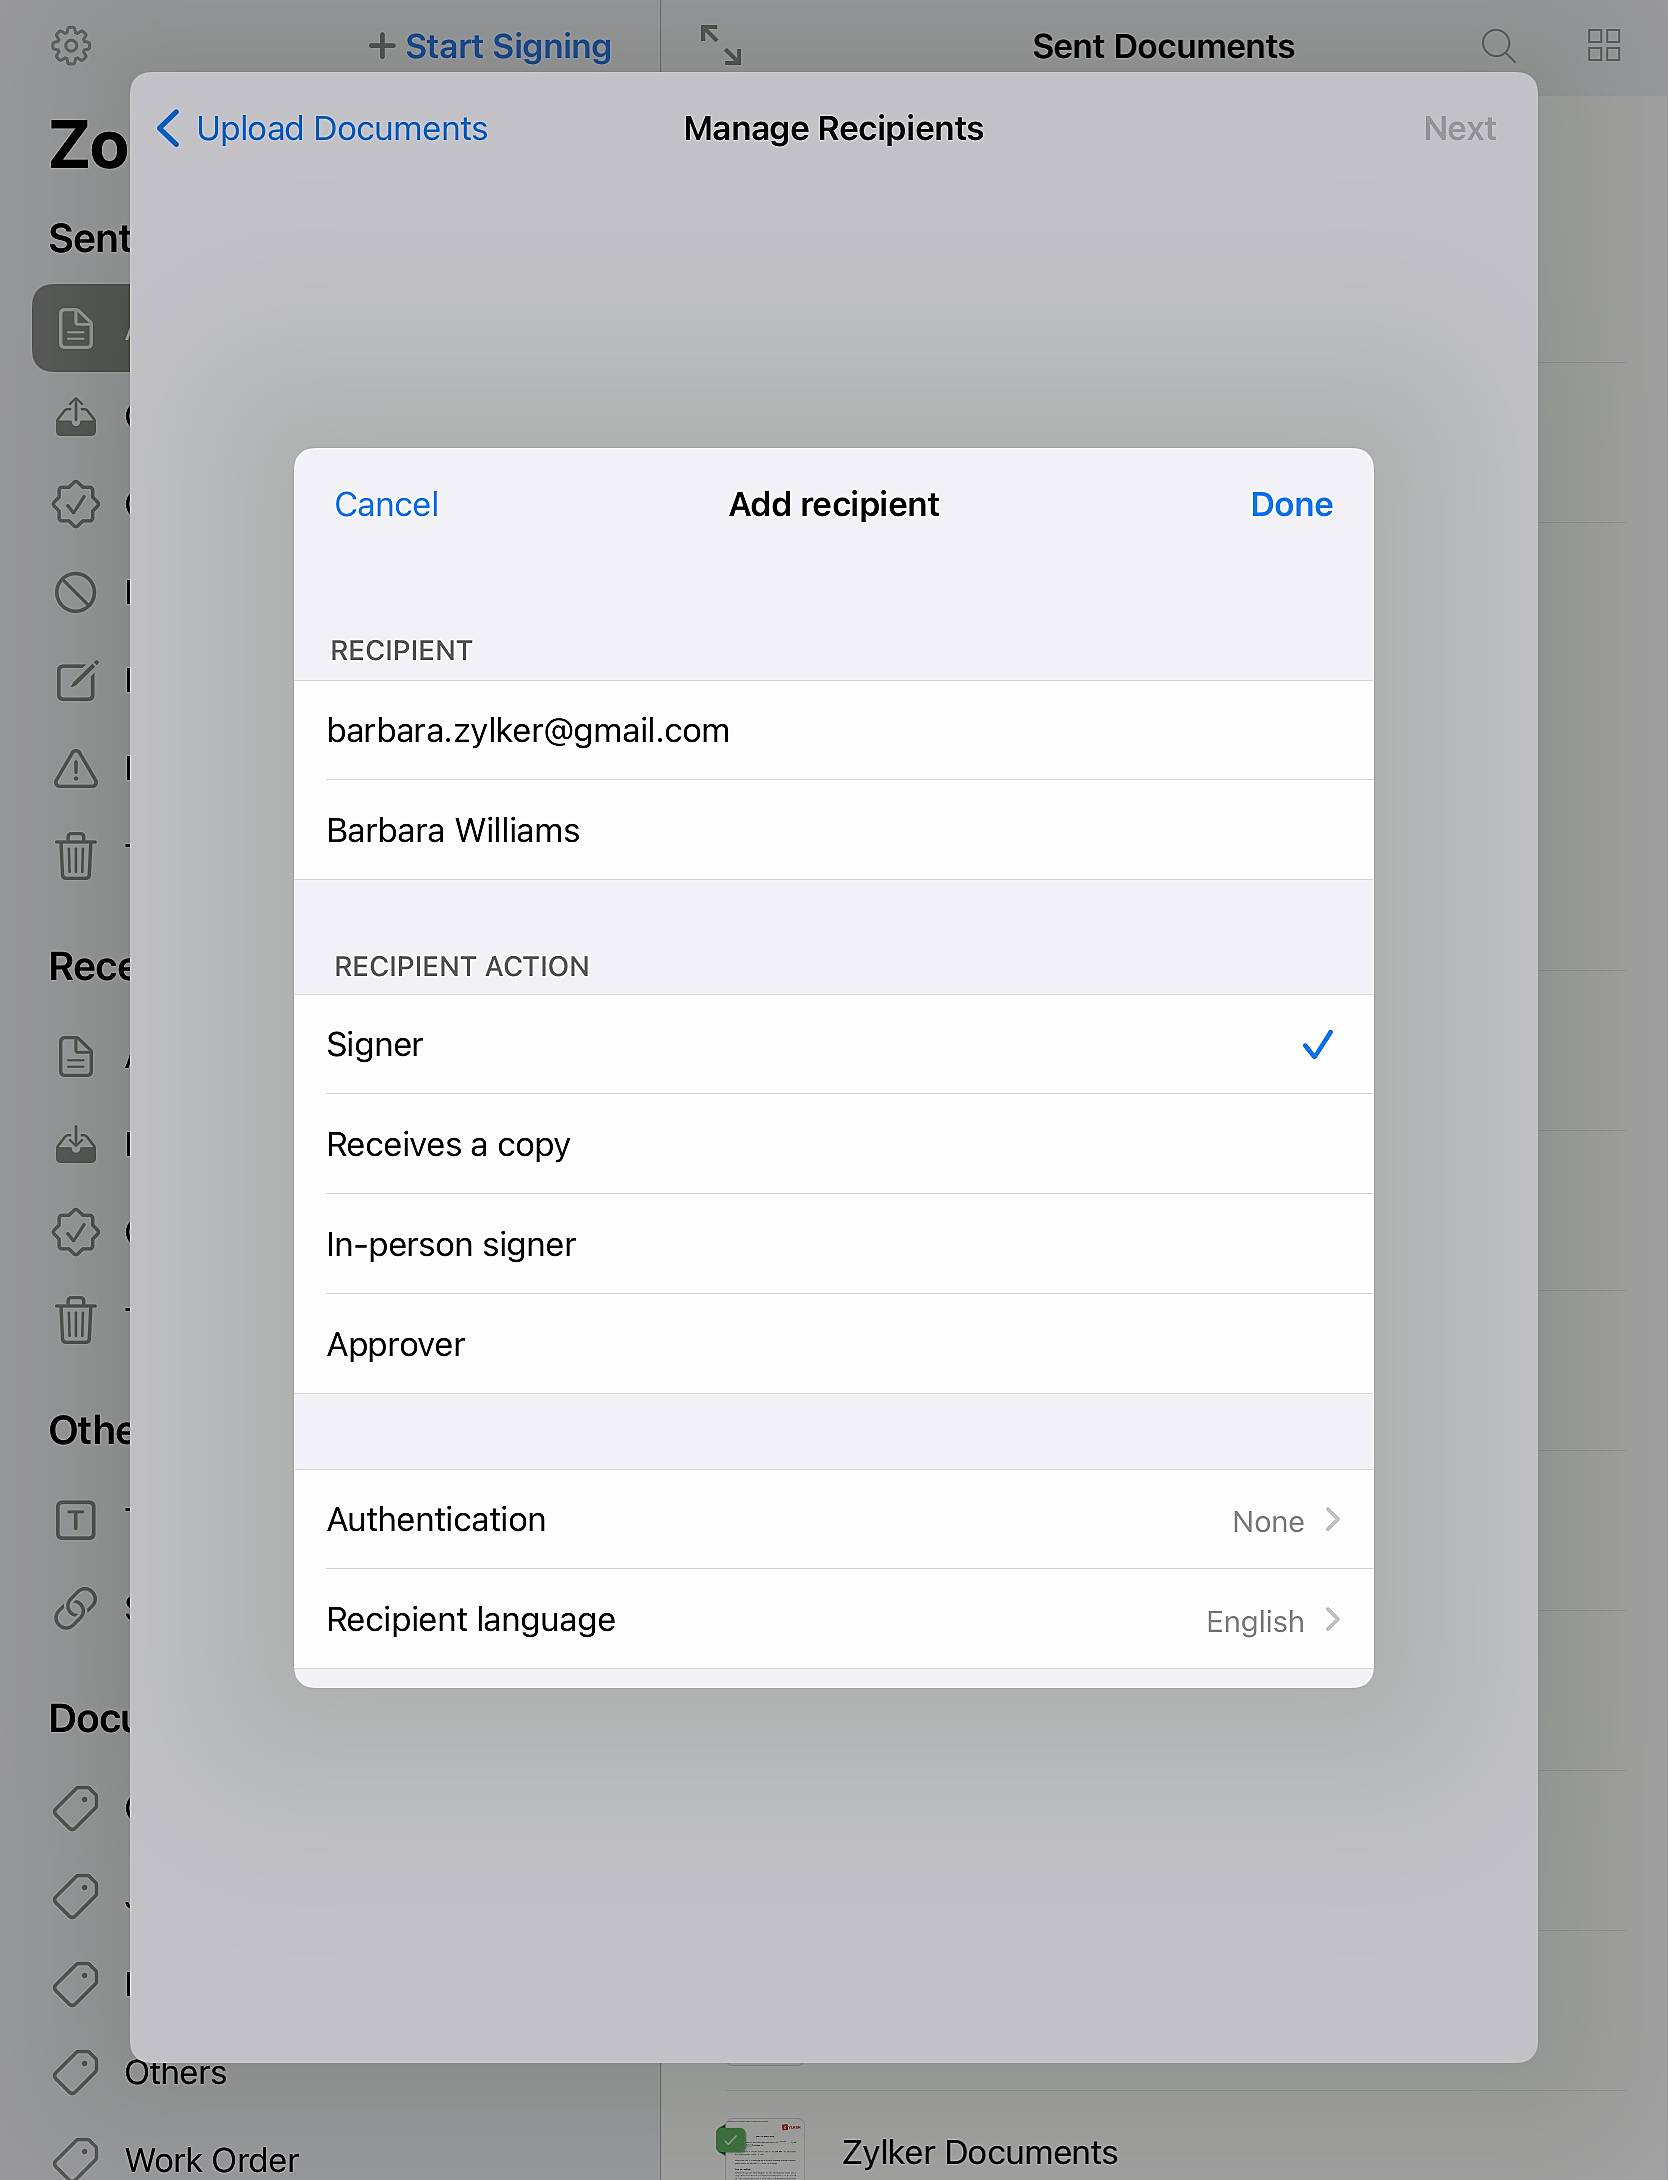
- In the Add Recipient window enter the recipient details such as email address, name, recipient action, authentication type, and select your preferred recipient language, a private note to your recipient if you want, and tap Done.
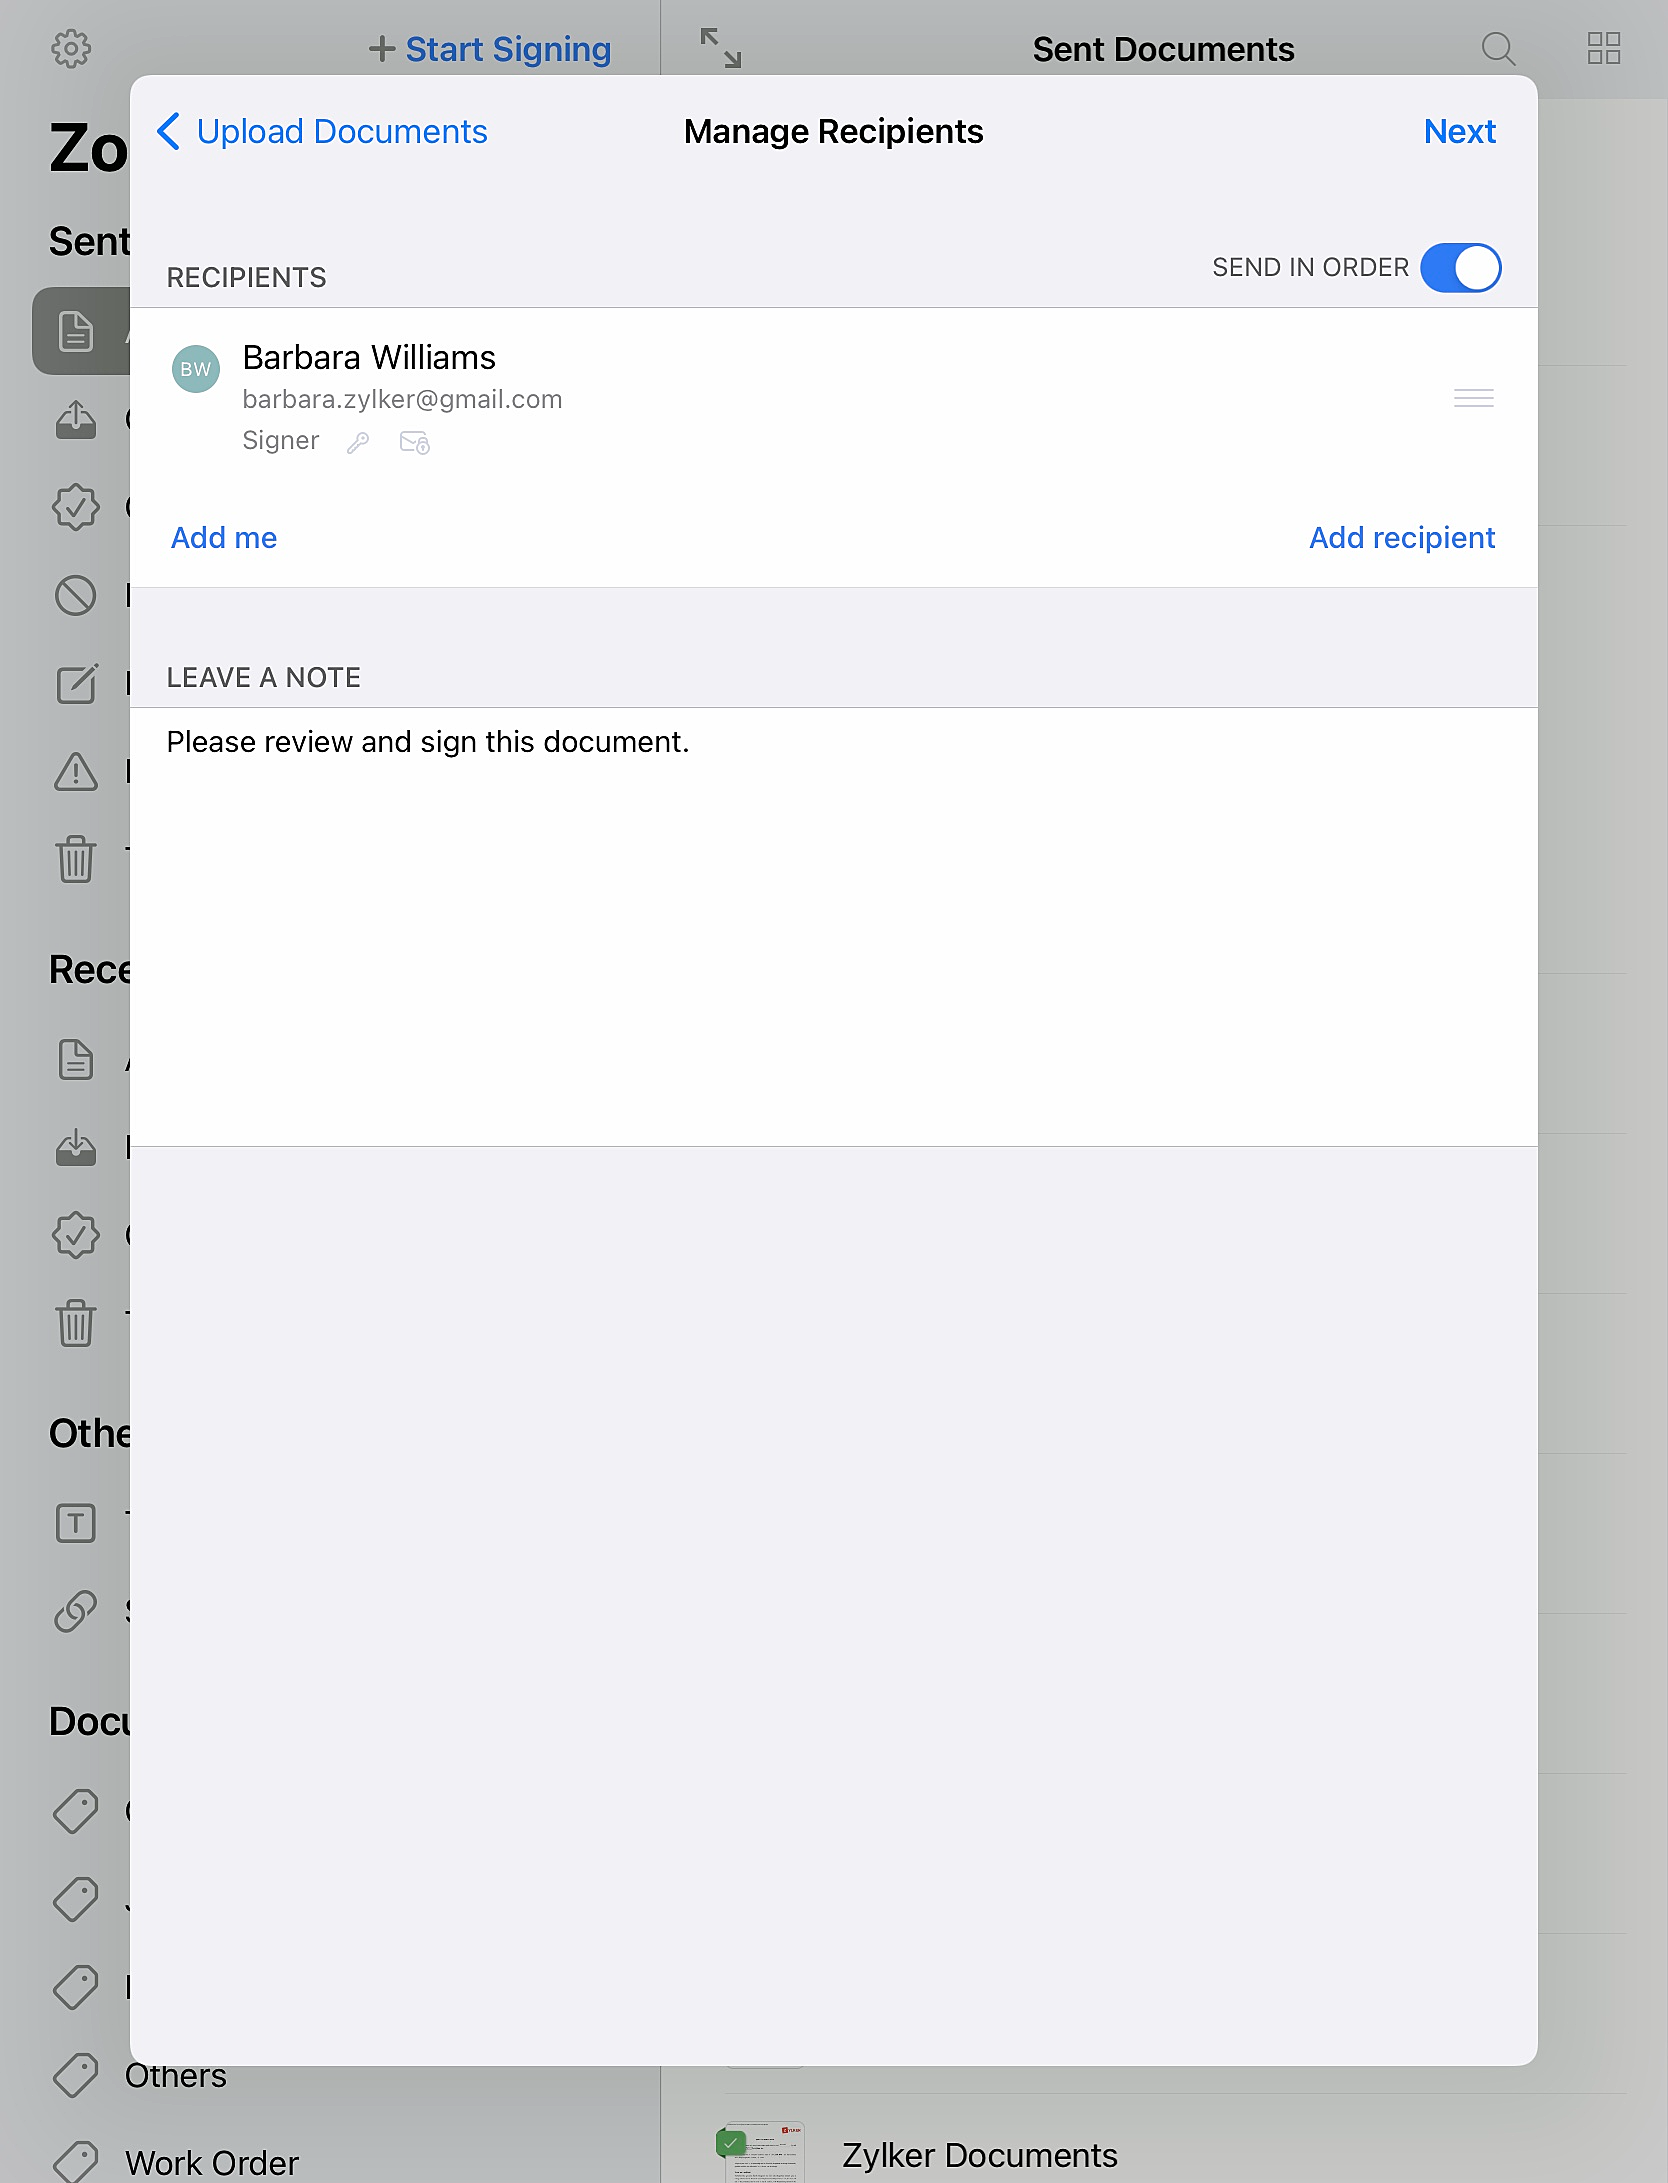
- Tap Add me if you want to add yourself to the recipient list.
- Tap Add recipient again if you wish to add more recipients.
- You can also send a common message to all your recipients by entering your message in the Leave a note textbox.
- Tap Next.
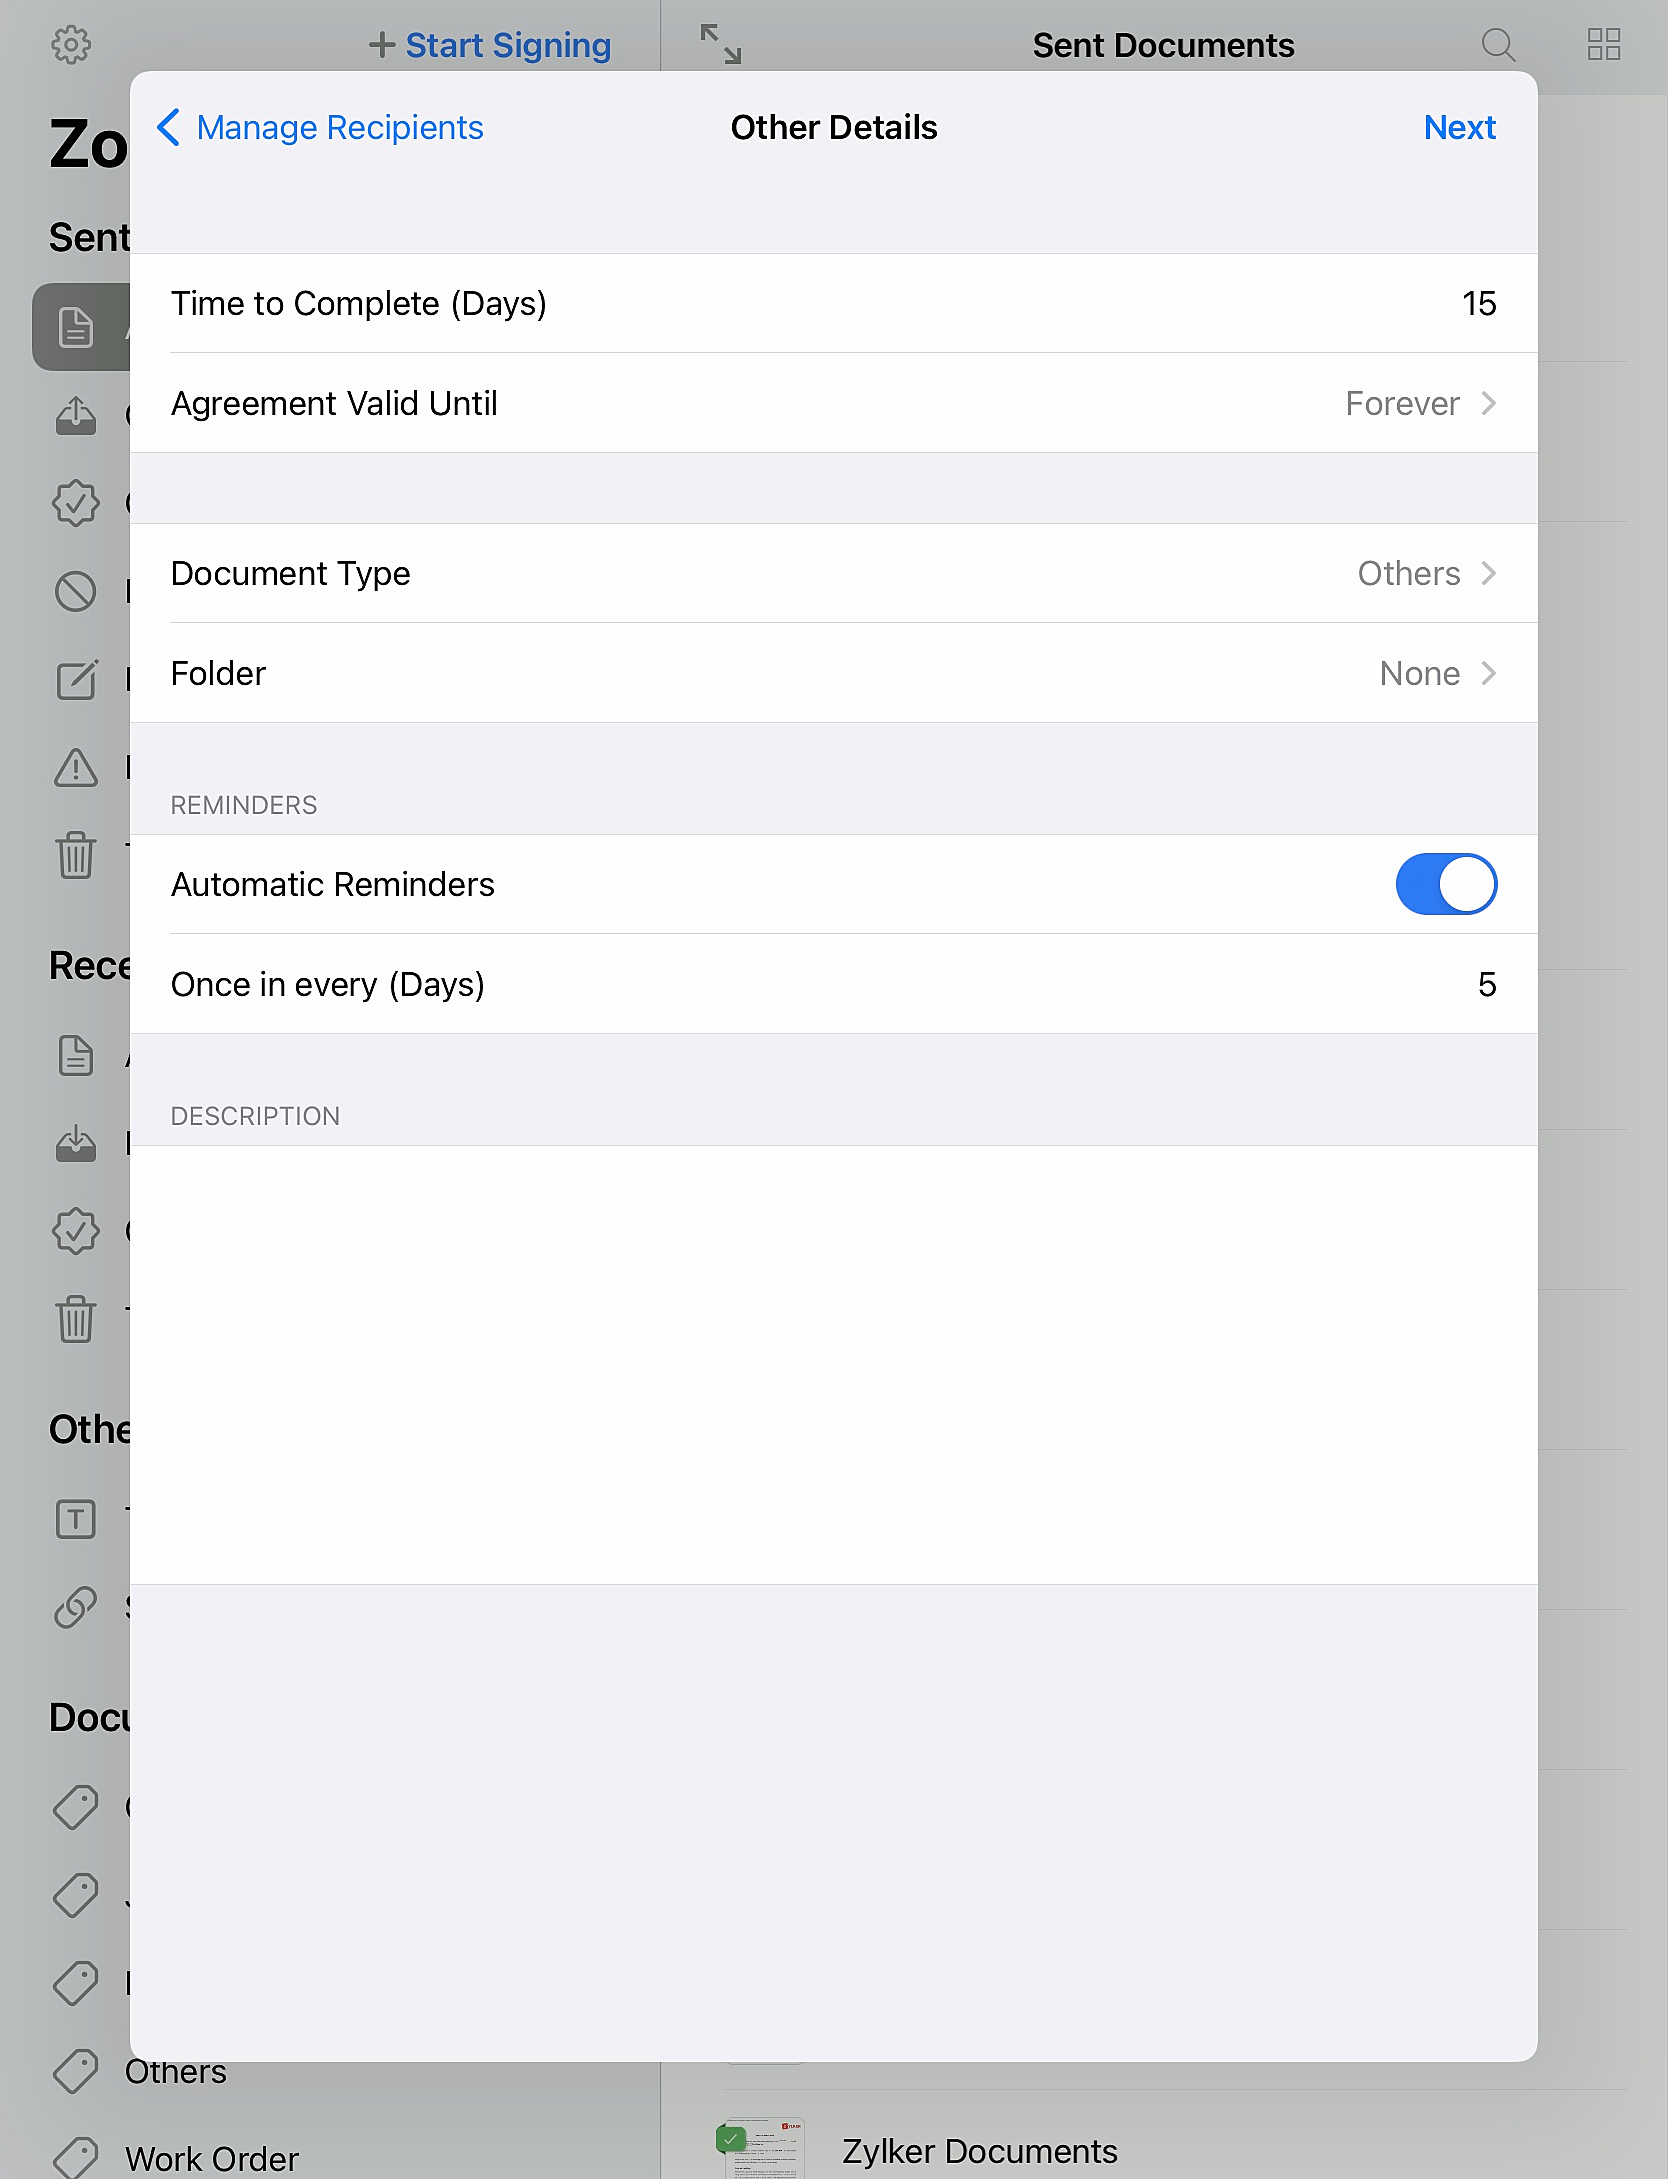
- In the Other Details window, you can set document validity period, agreement validity, document type, folder, automatic reminder interval, and add a description. Tap Next once you are done.
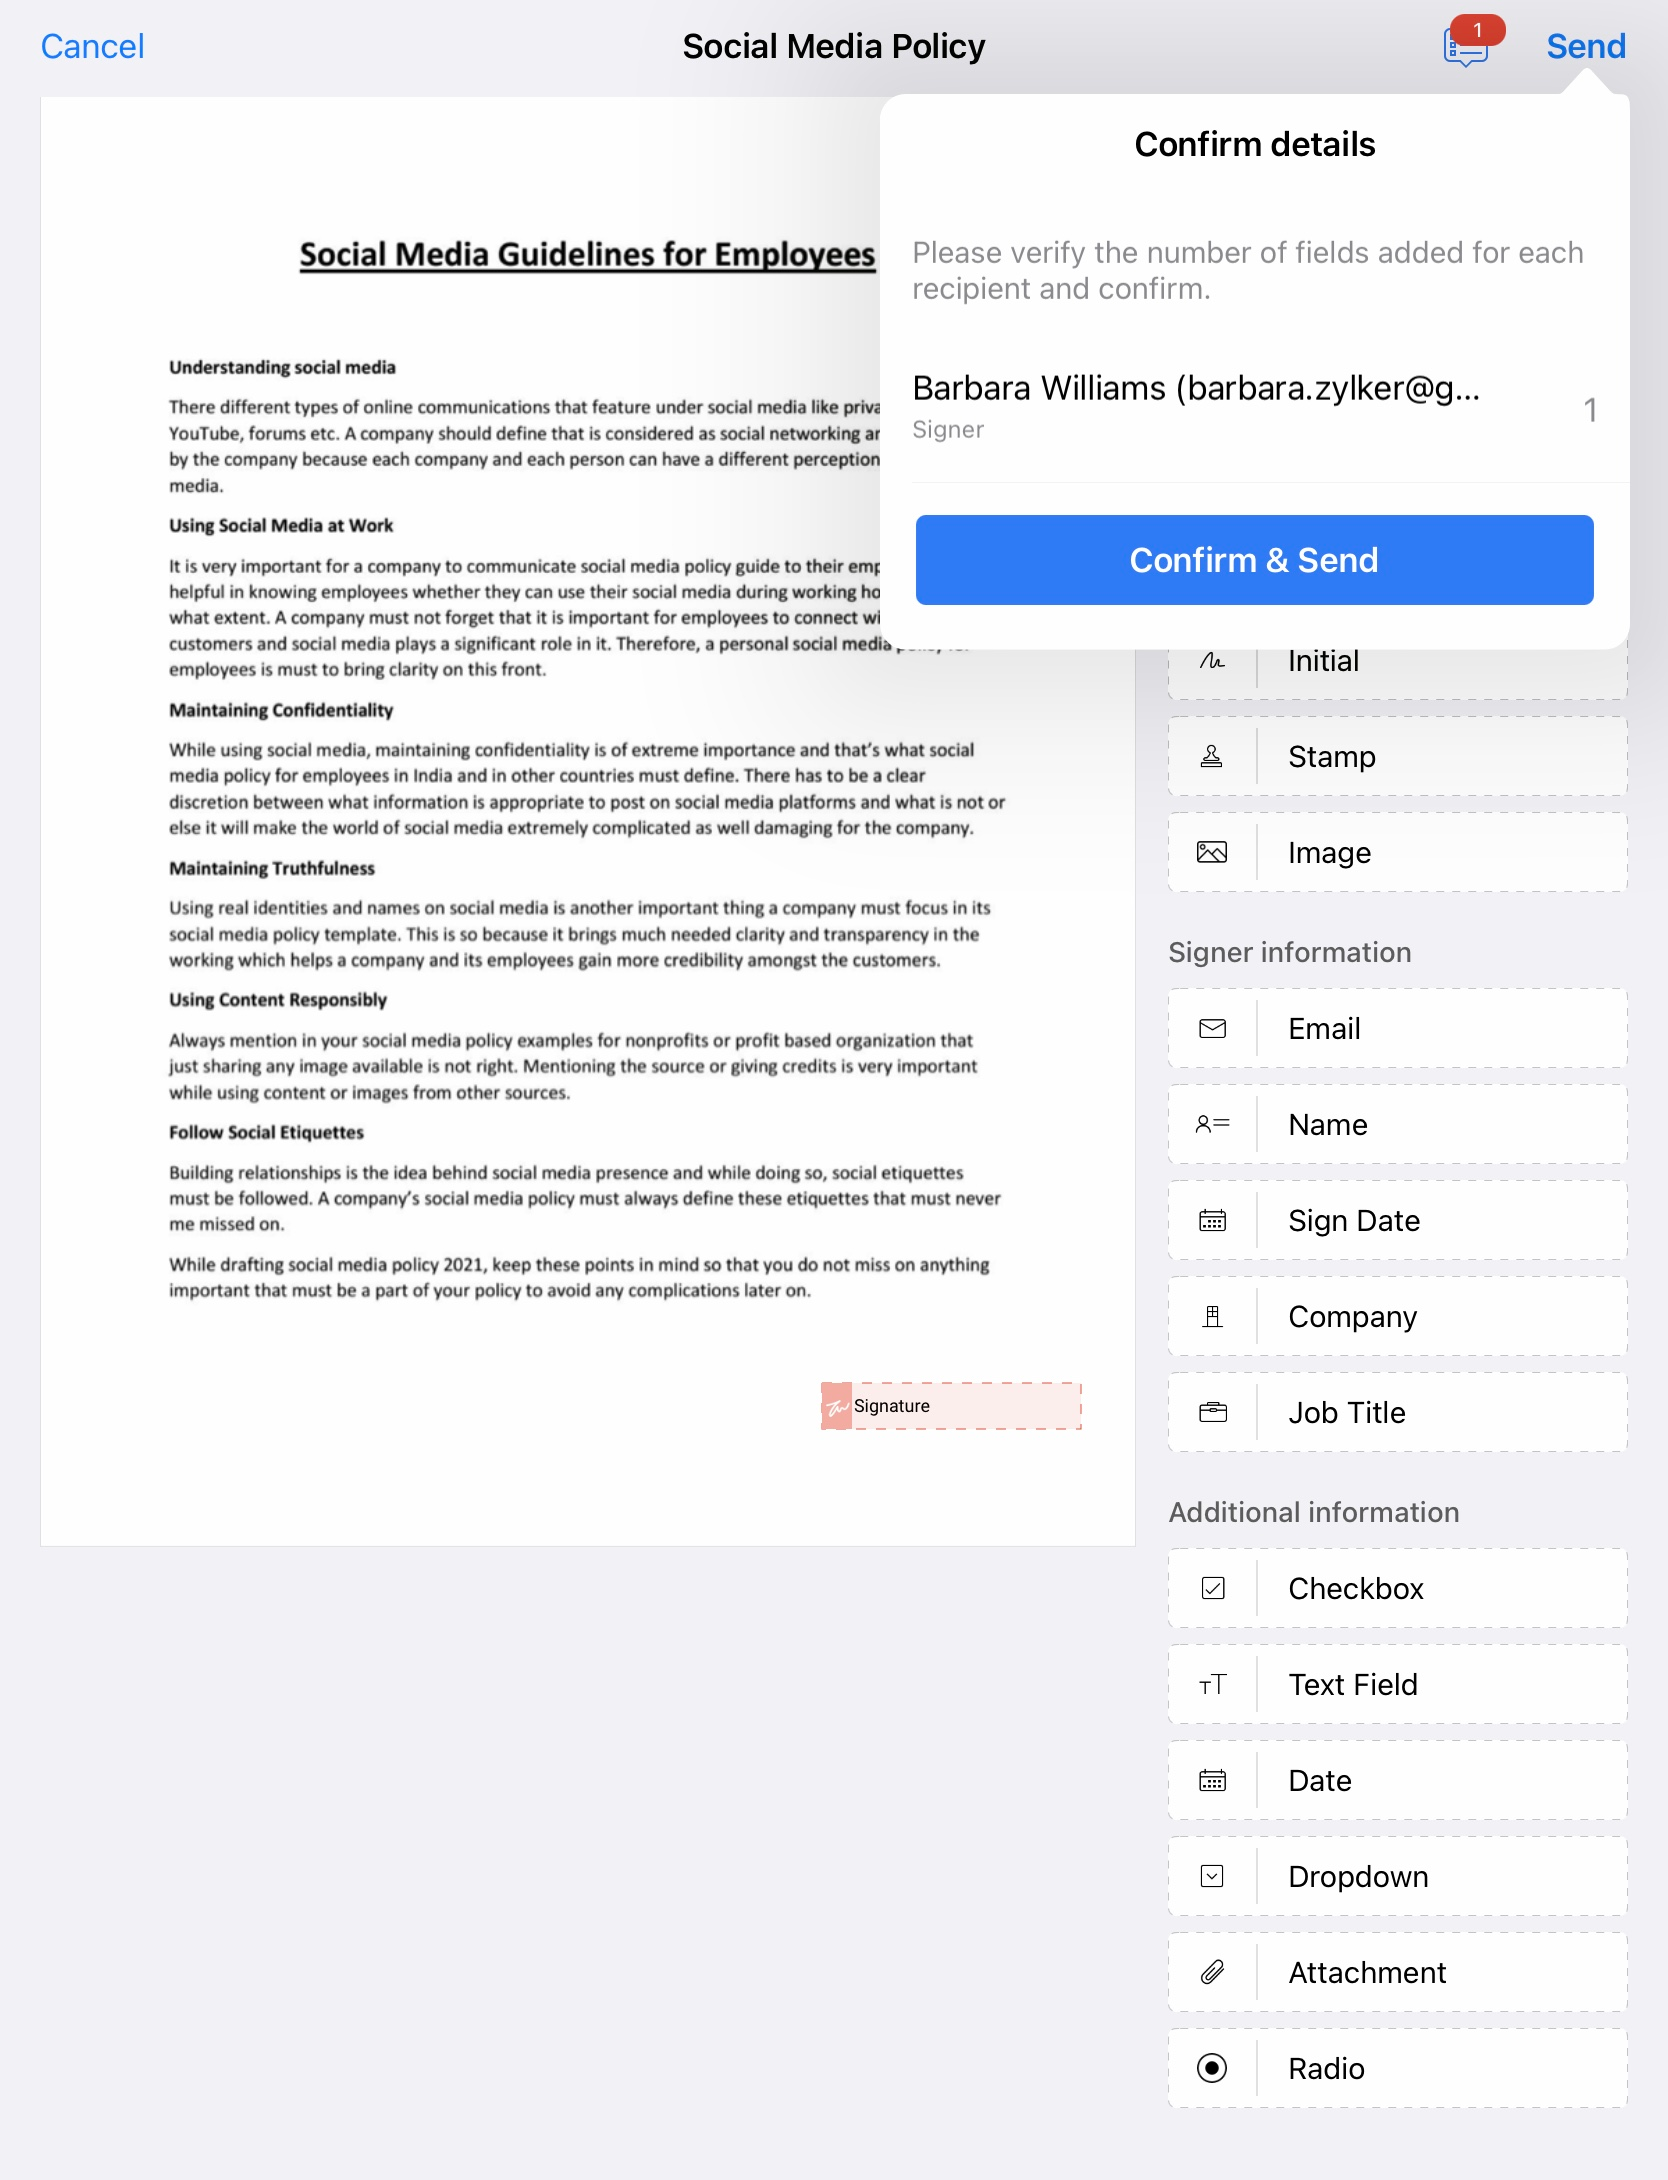
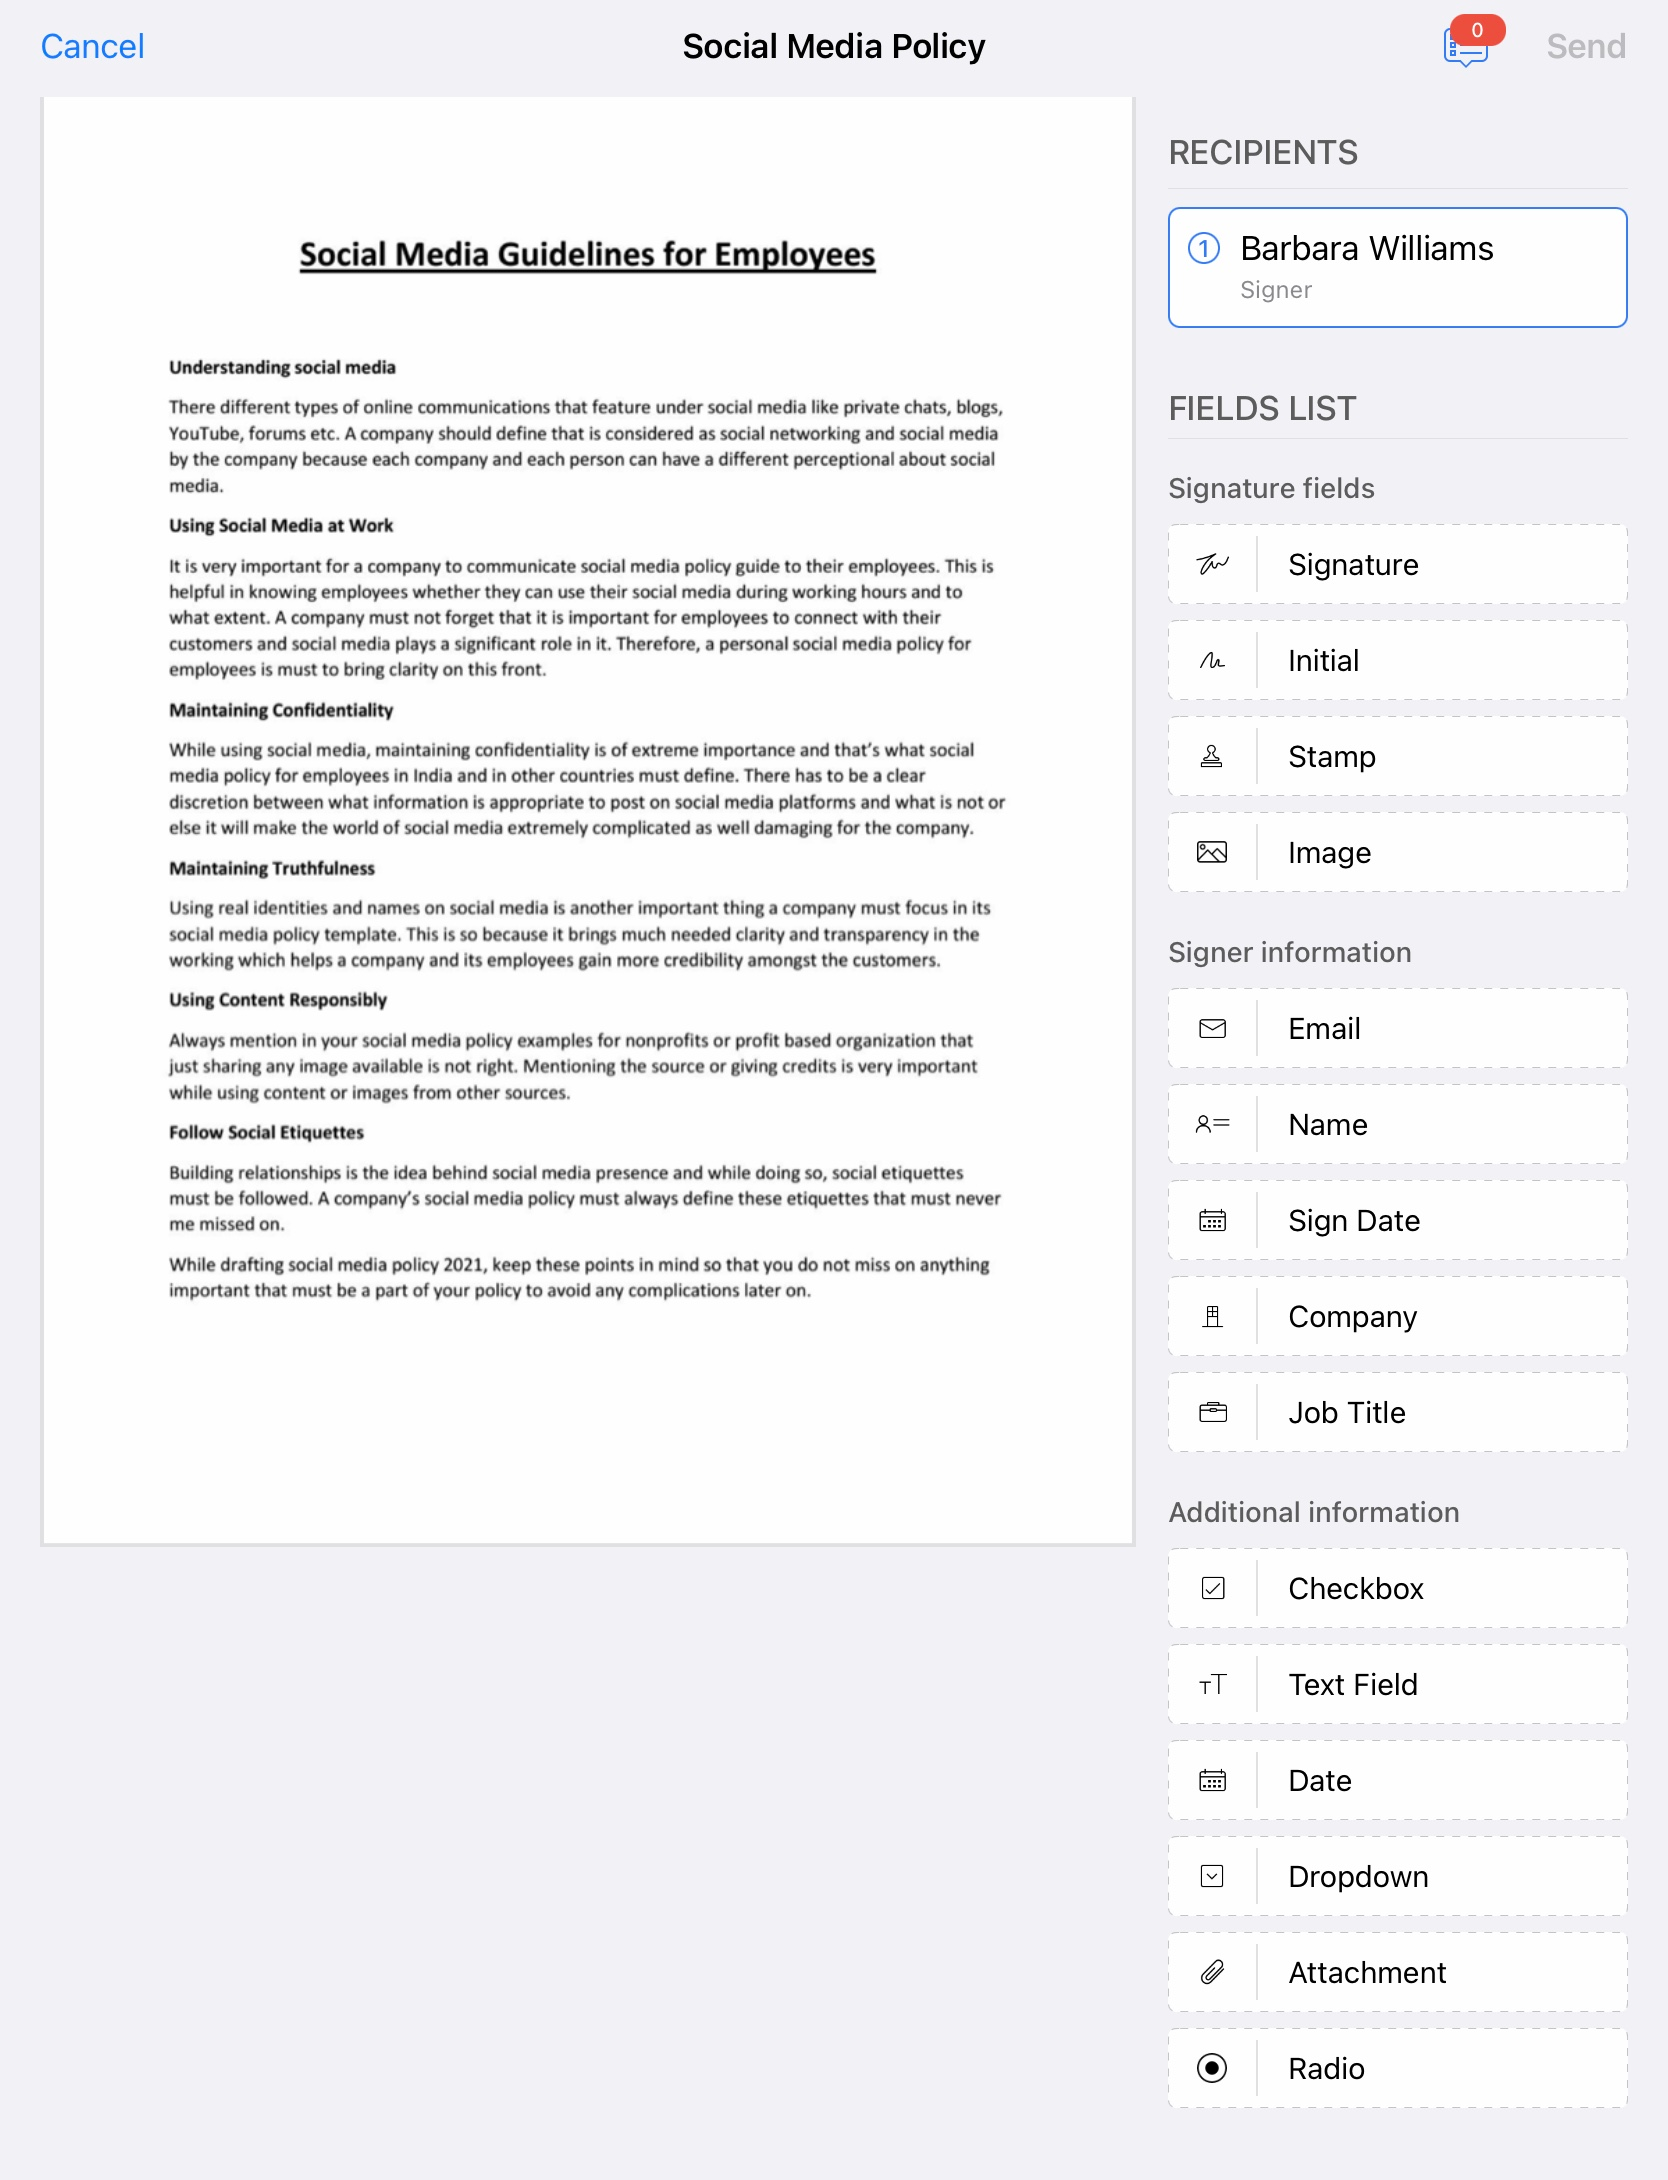
- On the document viewer screen, you can add fields like signature, initial, stamp, name, sign date, and more by dragging and dropping the required fields on your document.
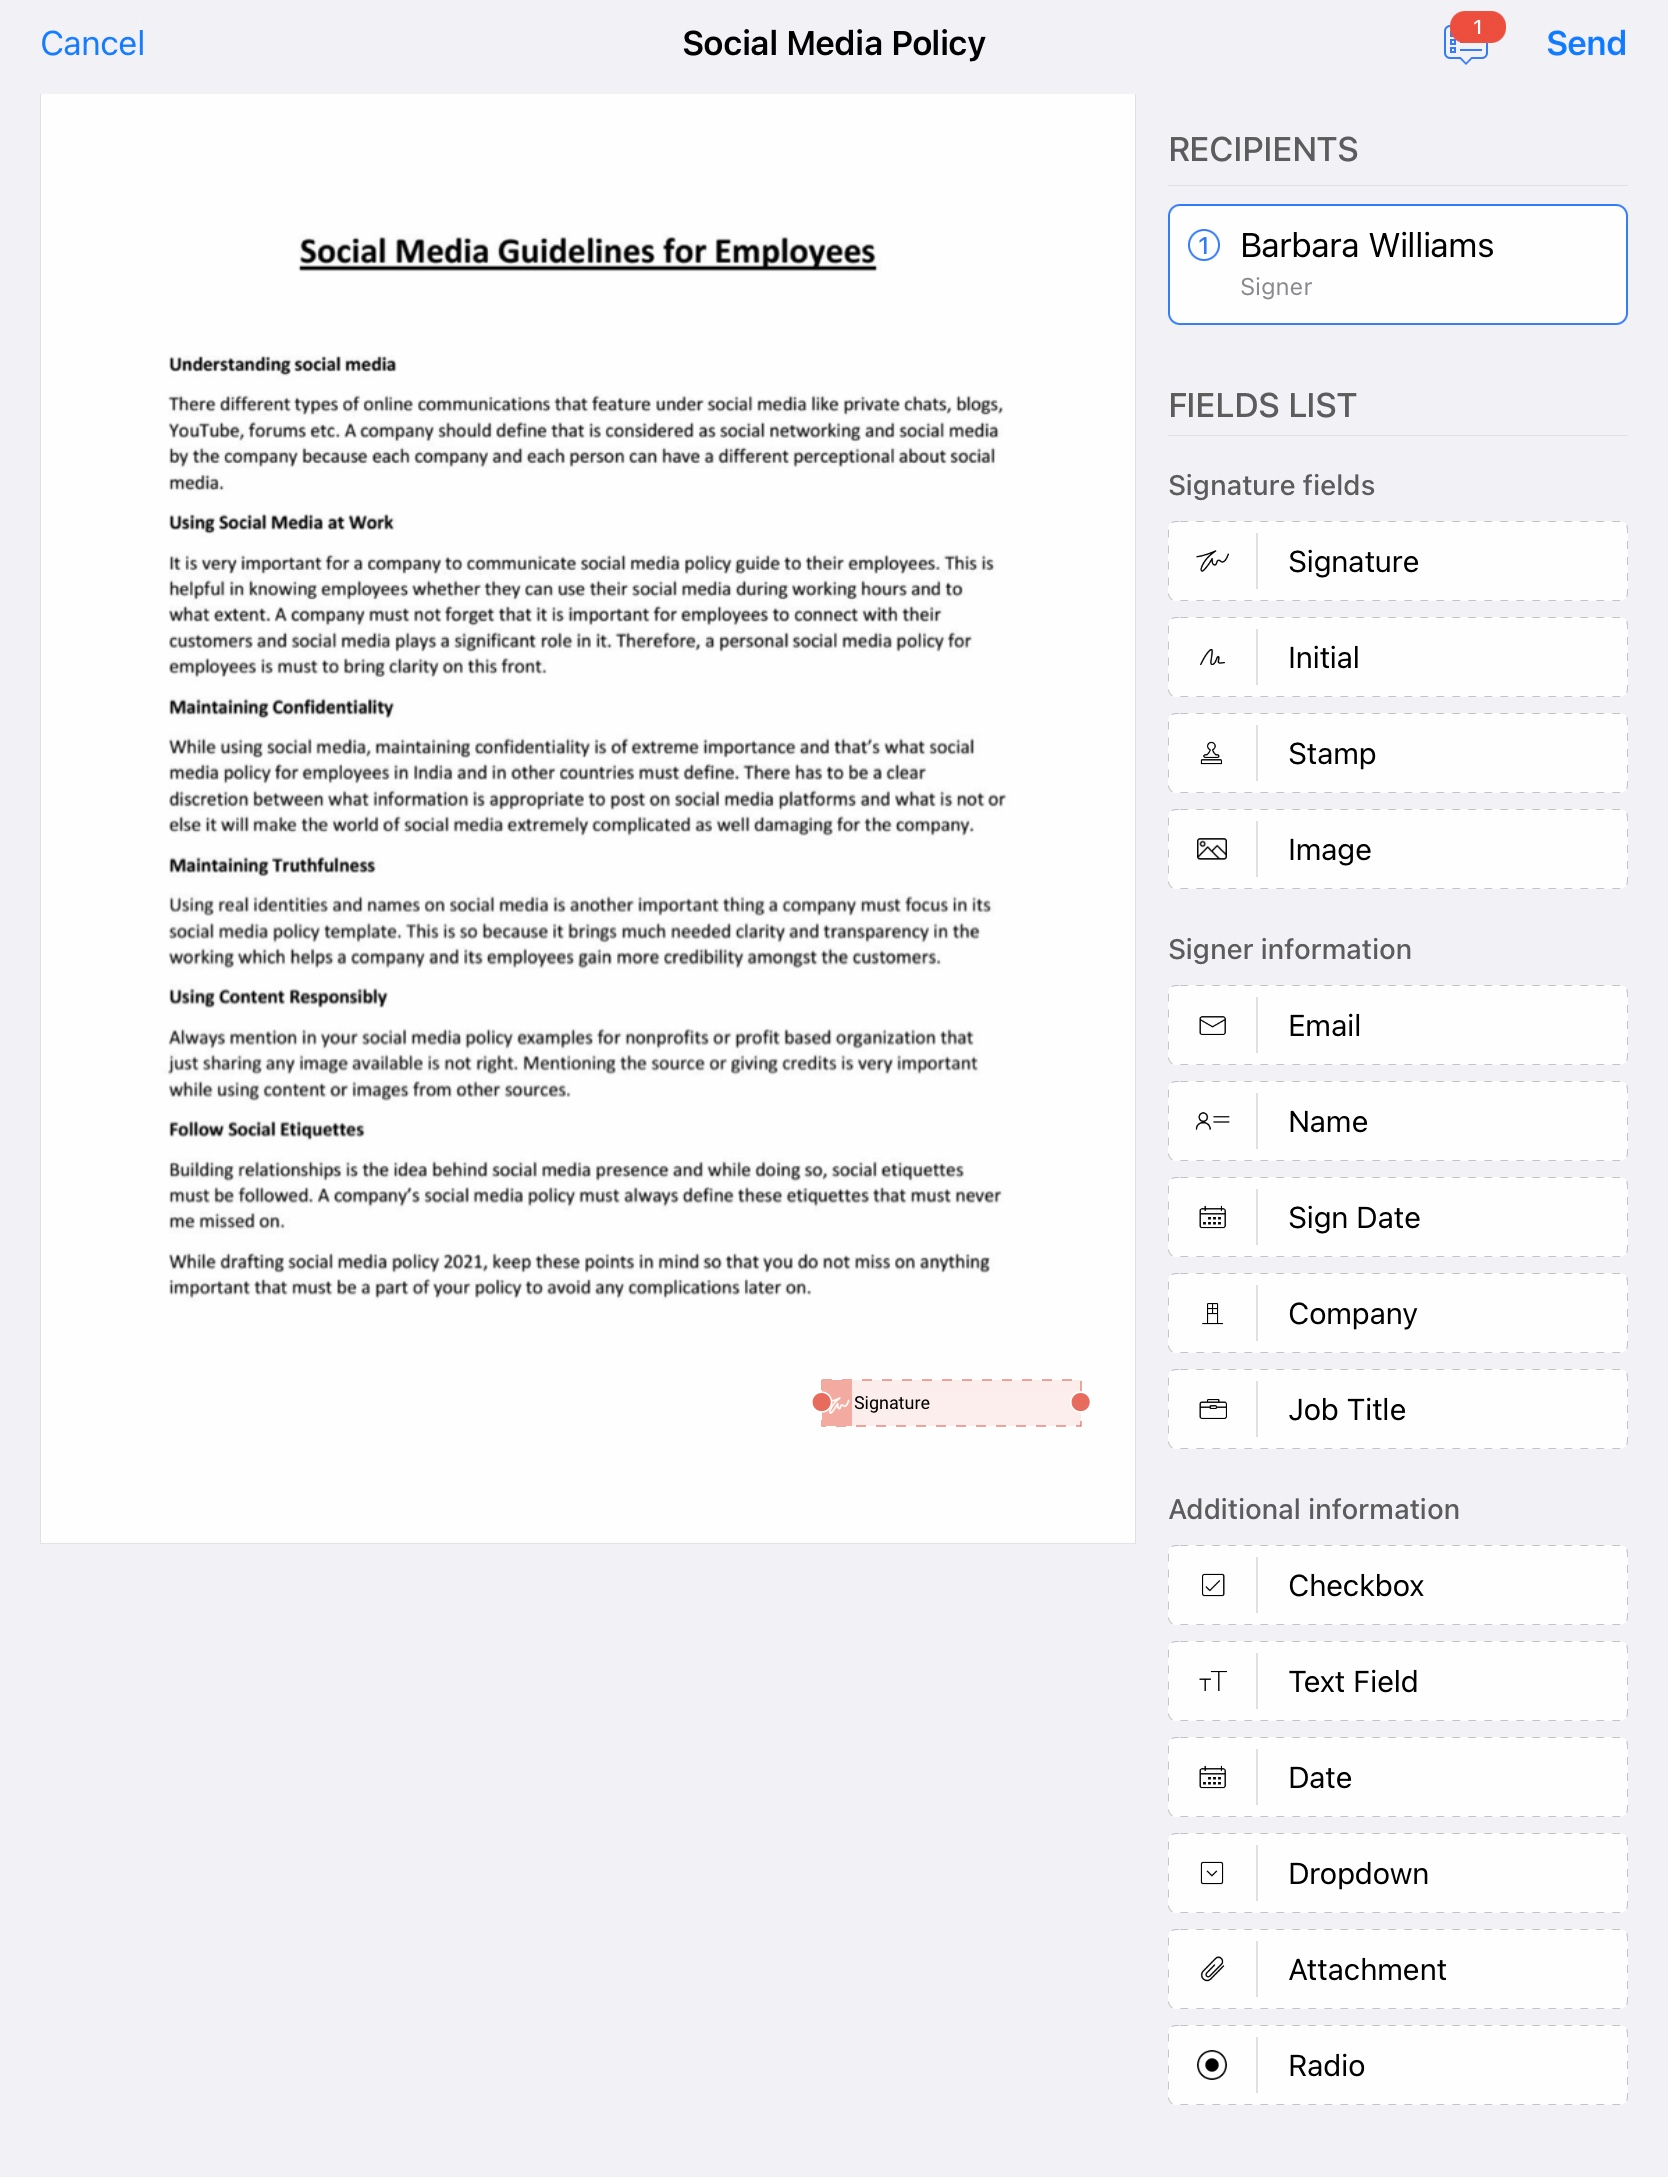
- Tap Send after adding all the required fields, confirm the details you provided, and tap the Confirm & Send button.