Sending documents for signatures on macOS
- Select Send for Signatures.
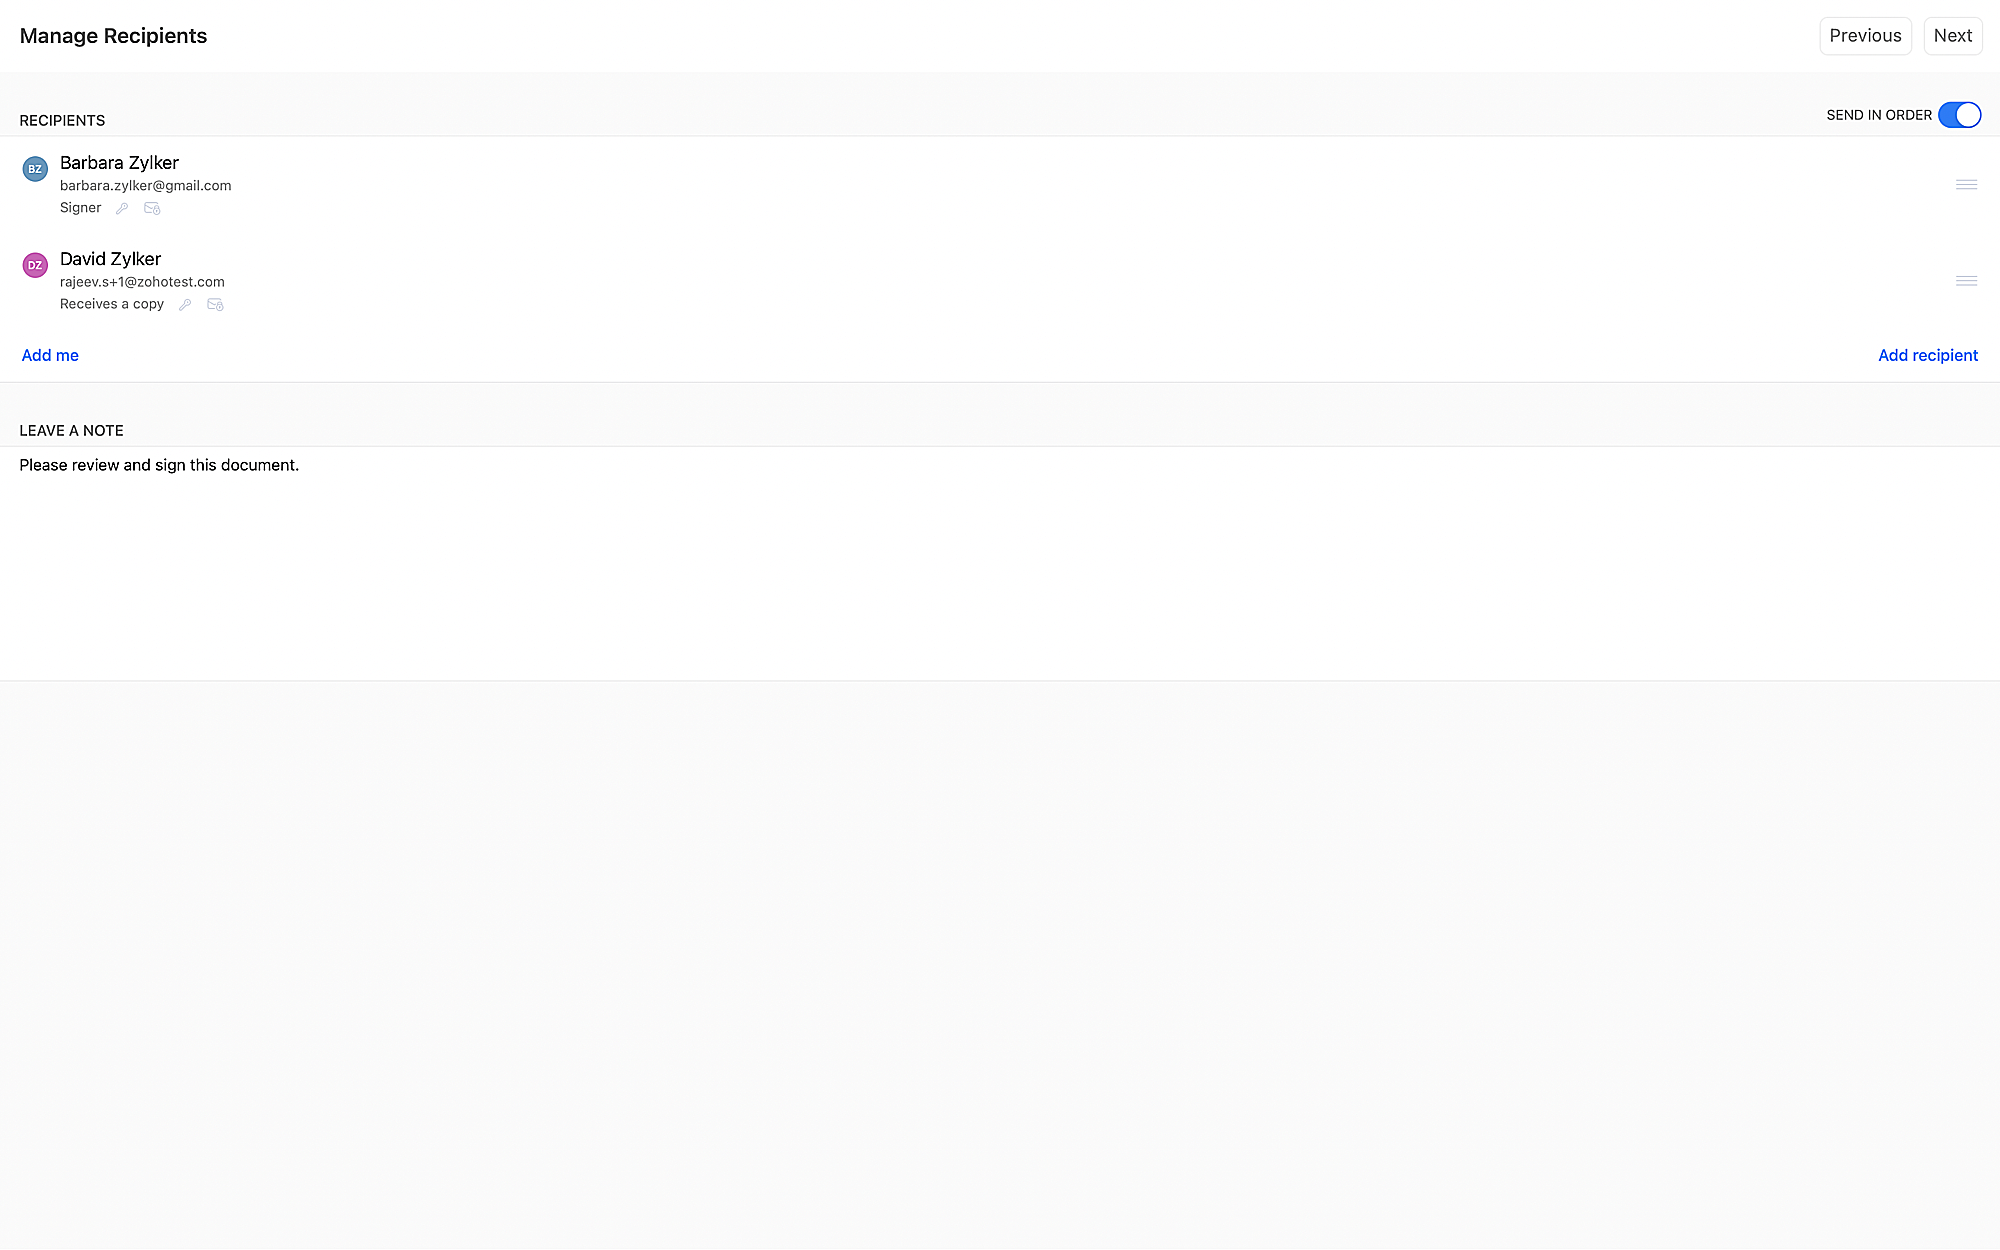
- Click Add Recipients to enter the recipient emails and names in the corresponding fields.
- Click Add me to add yourself to the recipient list, if desired.
- To add another recipient, click Add recipient again and enter the required details.
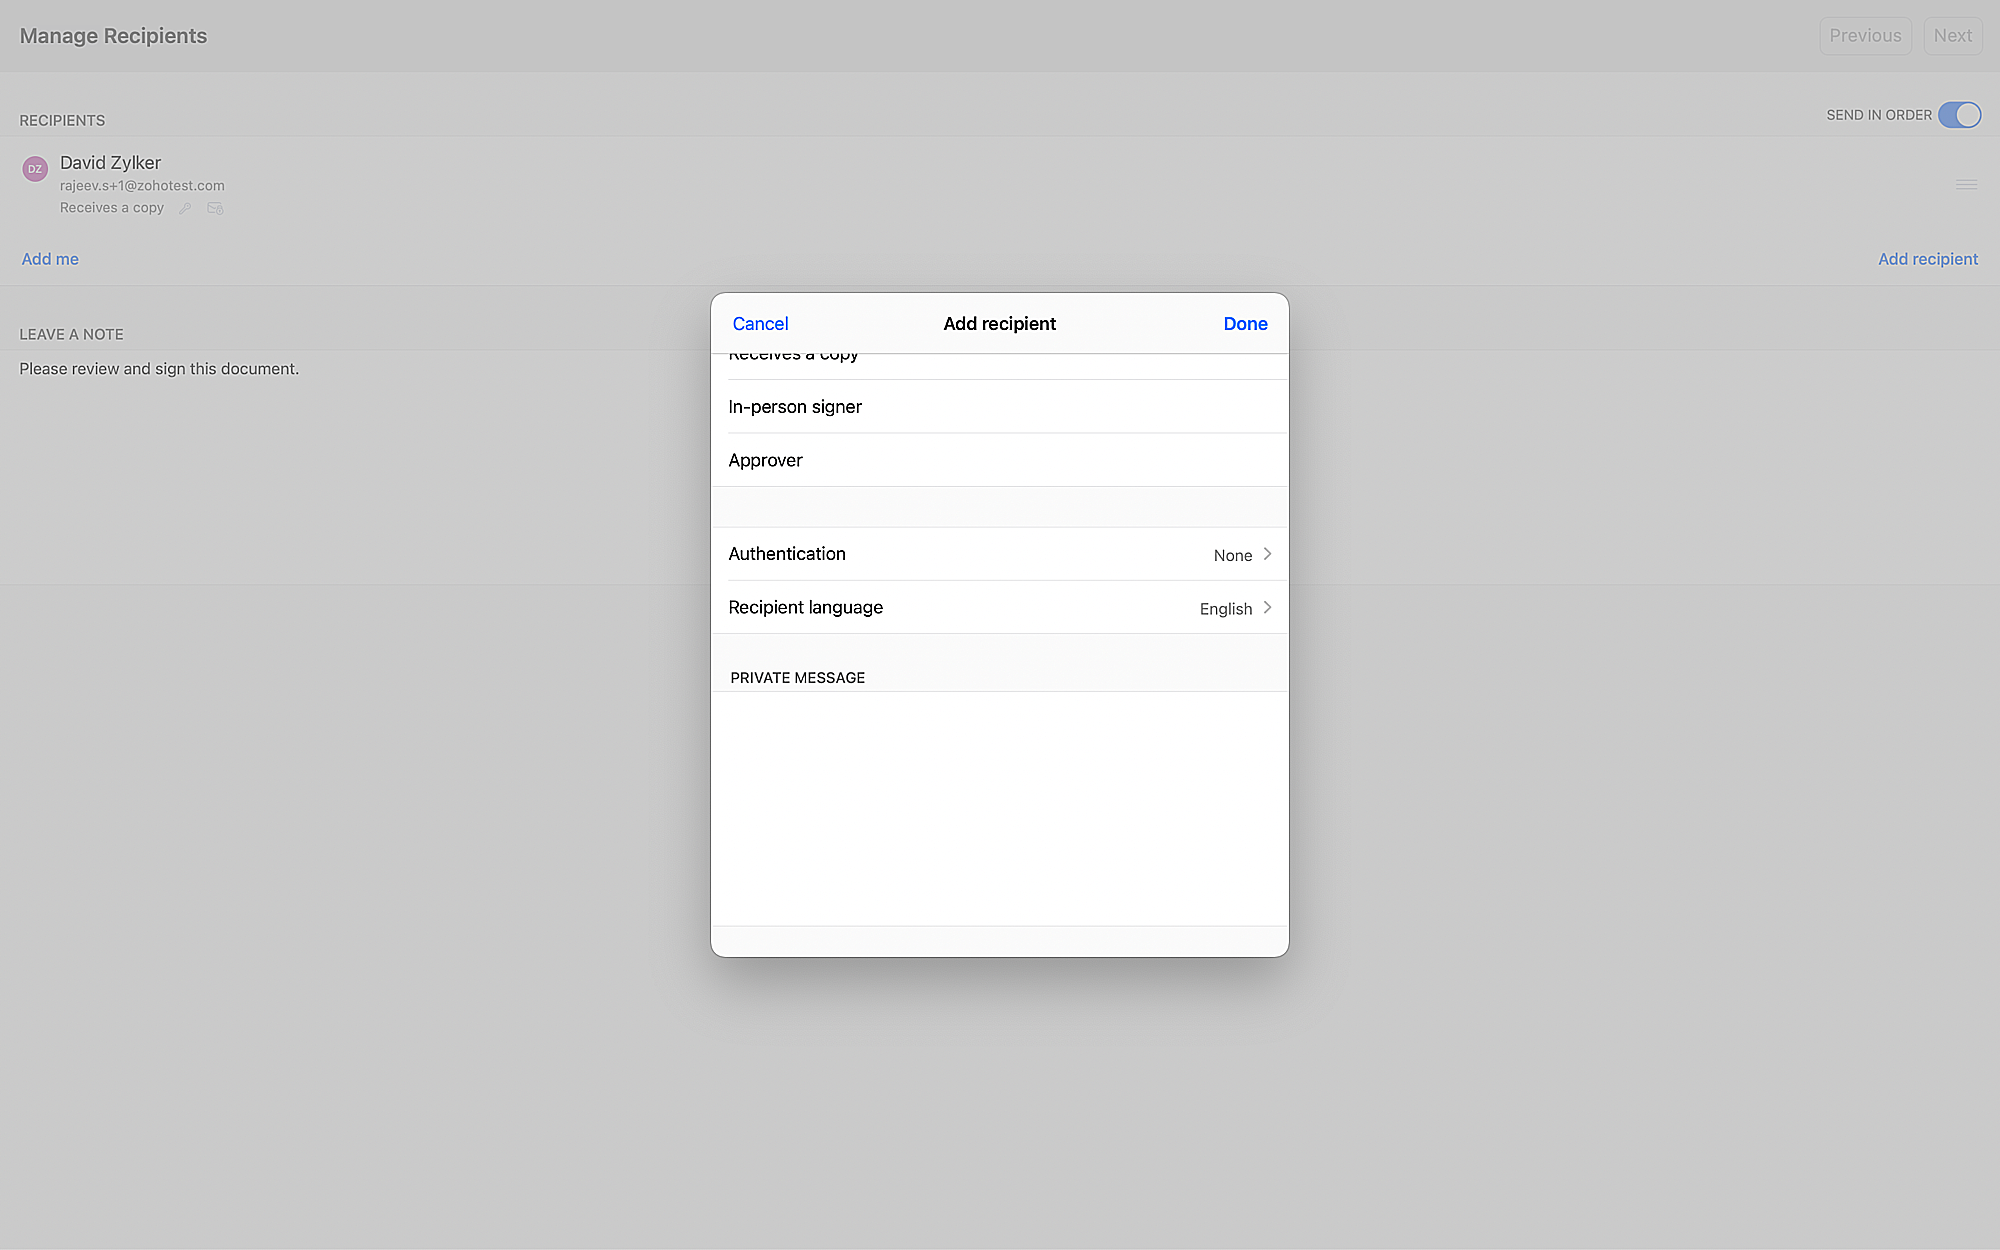
- Set the recipient action from the Add recipient window:
- Needs to sign: Recipient has to fill form fields and attach their signature to the documents.
- Receives a copy: The recipient will only receive a signed copy of the documents.
- In-person signer: You need to assign a host from your organization who will get the documents signed in-person by the signatory.
- Approver: Recipient has to approve the contents of the document as opposed to signing it or simply viewing it.
Authentication
Zoho Sign provides an additional layer of security with two-step authentication. This option allows you to send an authentication code to the recipients to ensure that the documents are not tampered with by unauthorized users.
How to enable authentication:
- Click Authentication in the Add Recipient window.
- Select the authentication type (Email, Offline, or SMS) to set the preferred delivery type.
- If the delivery type selected is Email, the recipients will automatically receive a system-generated authentication code via email when they try to access the documents.
- If the delivery type selected is SMS, the recipients will automatically receive a system-generated authentication code via SMS when they try to access the documents.
- If Offline is selected, a code will be instantly generated. You can also customize this code by overwriting it with a six-digit verification code of your choice. You can share this code with the recipients through any convenient means.
Private Message
You can enter a private message in the Private Message text box. Click Done to proceed.
Signing order
Enable a signing order for the documents by checking the Send in order option.
Note:
- If the same position is entered for two or more recipients in the signing order, the document will be sent to them at the same time for signature.
- Recipients later on in the signing order will receive the document only when all preceding signers have provided their signatures.
Leave a note for signers
You can also enter a message for the recipients in the Leave a note textbox.
Time to complete
- Click Next on the Manage Recipients screen to move to the Other Details screen.
- Enter a deadline (in days) for the signatures, if required. The documents will expire after this period, and the recipients will not be able to access them beyond the deadline.
Document validity period
- You can set your documents to be valid forever or specify a date.
- Click the Agreement Valid Until from the Other Details screen.
- Click the Select date option from the dropdown menu.
Document type
You can categorize the uploaded documents based on their type by assigning an existing type to the uploaded documents or create a new one to assign.
- Click Document Type.
- Select Add document type and enter the type name in the field.
- Alternatively, select an existing document type from the menu.
Folder
Create folders to easily group and manage your documents. You can choose an existing folder to add the uploaded documents, or you can create a new one to add.
- Click Folder
- Select Add folder and enter the folder name in the field.
- Alternatively, select an existing folder from the menu.
Automatic Remainders
To set up the reminder schedule from the Other Details page:
- Toggle Automatic Reminders to ON
- Enter the remainder frequency in the Once every (days) field.
Description
Add a suitable description and other details for the documents in the Description textbox.
Adding document fields
- Click Next at the top right of the Other Details screen to see the preview of uploaded documents and add the required form fields to the document.
- Select the active document from the top left pane
- Drag and drop the required document fields from the bottom-right pane onto the document to position them.
- If there are multiple recipients, repeat this for each recipient by selecting them from the top-right pane and adding the necessary fields.
Note: - Fields can also be resized by clicking and dragging their edges.
- There must be at least one field for every recipient added to the document as a signer.
- To choose the font for a field, right click the selected field and click Font.
- If you have added a date or sign date field in your document and want to choose a date format, you can do so by right clicking the field and selecting Date Format.
- You can also find the number of fields associated to each recipient by clicking the action button
in the top right corner.
- You can delete a field by either right clicking it and selecting Delete or by selecting the field and pressing the Delete key.
- Click Send to reconfirm the fields associated with each recipient.
- Click Confirm & Send to send the document out for signature