Member Portal Sender
The sender email is the email address that recipients will see when they receive an email from you. Previously, Member Portal related emails could only be sent from a unique address owned by Zoho. You can now associate your professional email addresses to send Member Portal-related emails.
Authenticating your domain
Domain Authentication is a mechanism that verifies the email from the point of its origin by validating the email sender. It checks emails to rule out any possibility of spamming or spoofing thereby protecting the sender's good reputation. Authenticating your domain allows for smooth transfer of emails through spam filters and into your recipient's inbox.
DKIM
Domain Keys Identified Mail (DKIM) is a security mechanism adopted for email marketing services to validate an email message. Its specific purpose is to:
- Ensure the email messages were sent from a valid source.
- Ensure the email messages were not tampered with in transit.
DKIM further makes sure that email messages are delivered to the inbox of the unintended recipient, because the validity of the email message has already been verified.
Zoho Sites' Member Portal allows you to set up and verify individual sender emails to enable sign up, invites, re-invites, and forget password.
To add a new sender address:
- Go to Roles and Permission -> Member Portal from the left panel.
- Select the Notifications from the top menu bar.
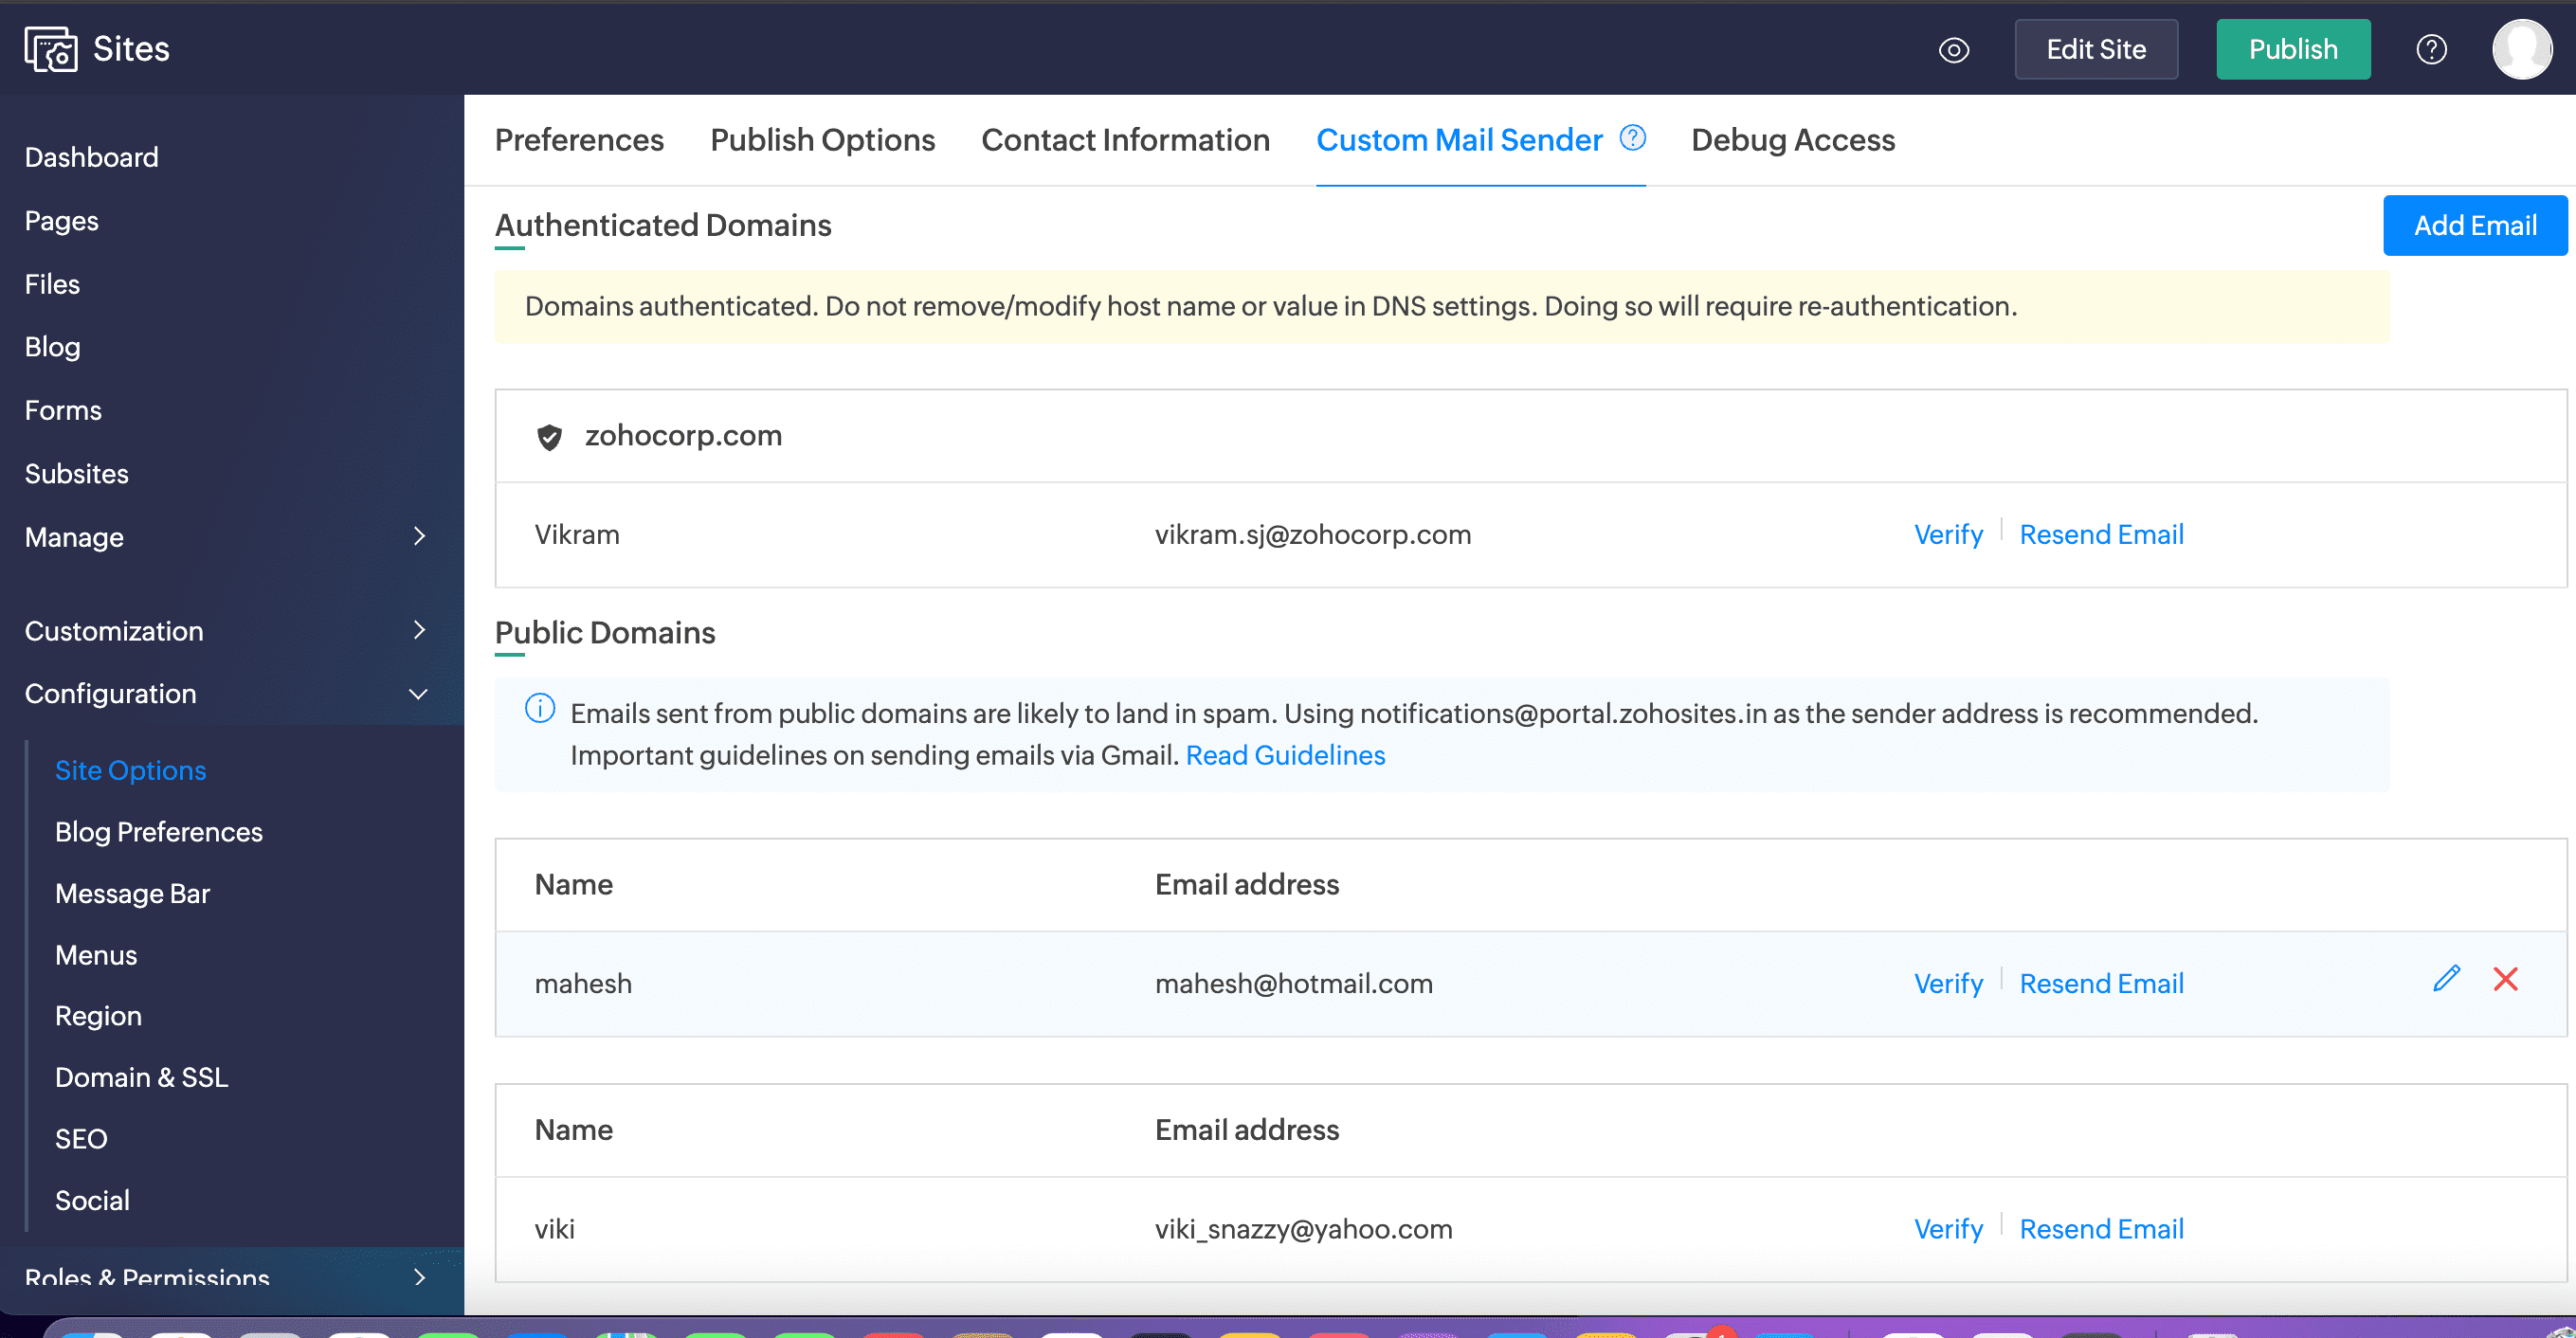
- Click on Custom Mail Sender -> Add Email. You will find the option to add your custom email address as the sender address.
 Notes: Send email address can be specified individually to 4 different mails used for the purpose of portal
 - Specify the Sender Name and the Email Address that you would like to add.
- Click Save.
If you are adding any public domains, such as hotmail.com or yahoo.com, they will be displayed under the public domains section.
For custom domains, this information will be listed under Unauthenticated Domains. You can Authenticate, Verify, or Resend Email.
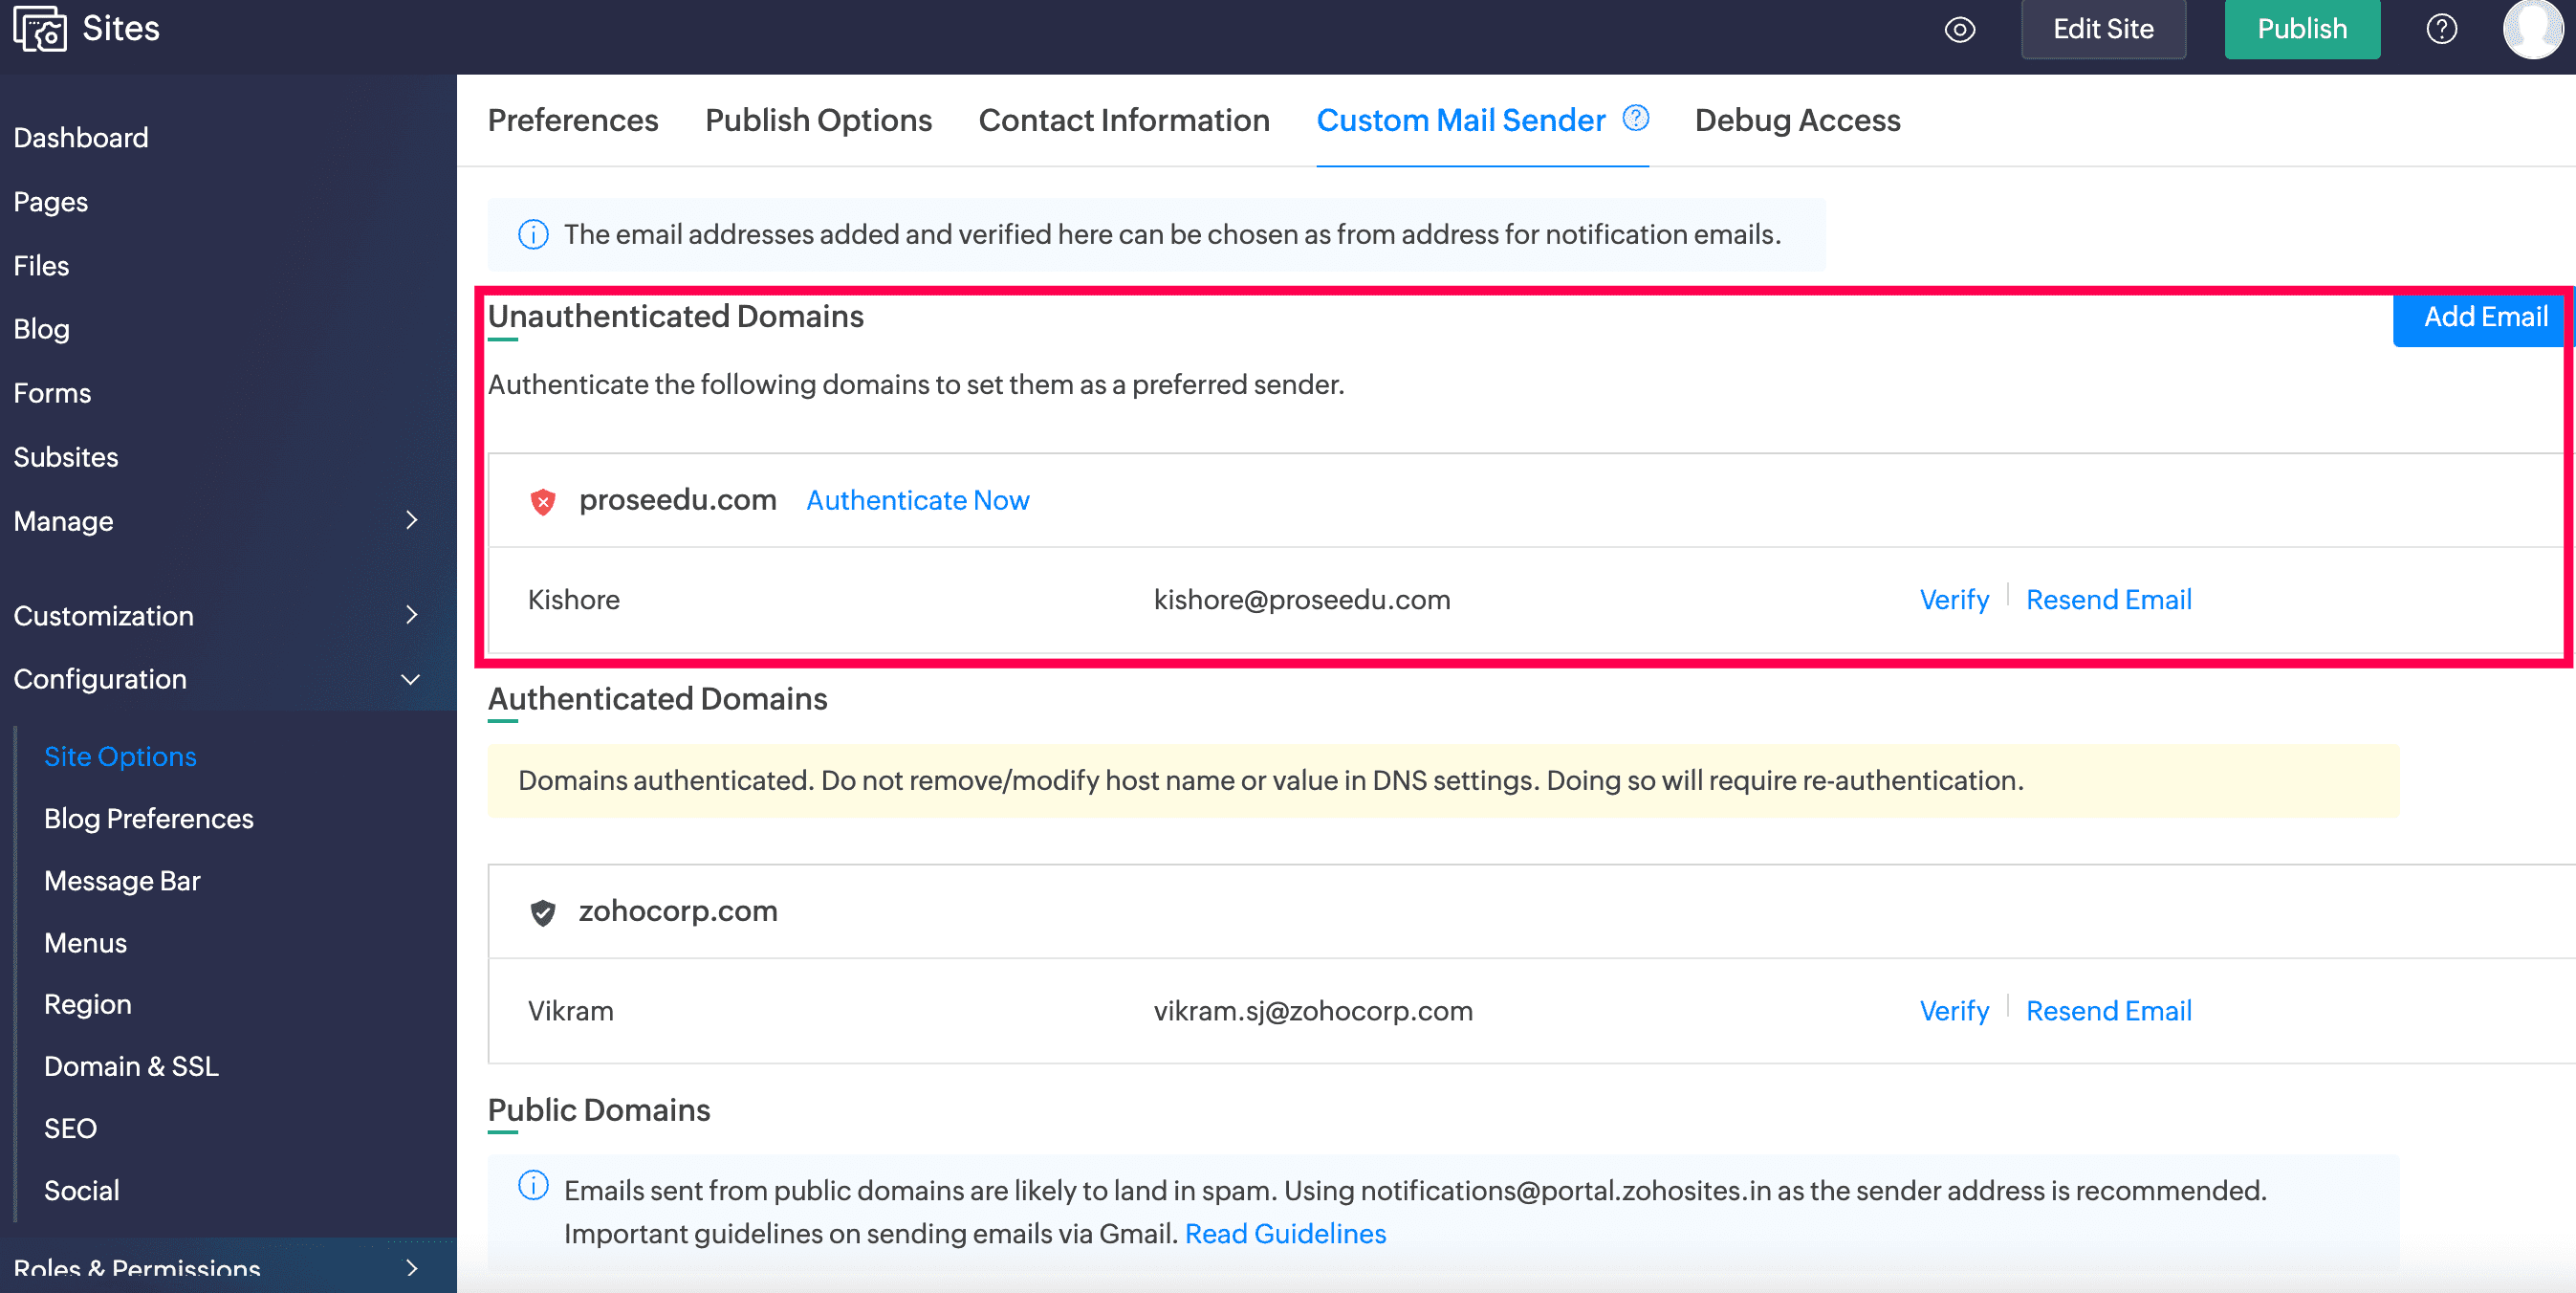
To authenticate a custom domain:
- Click Authenticate Now beside the email address.
- Copy HOST NAME and VALUE. Add it to DKIM in the DNS settings of your domain provider. After doing so, click Validate to authenticate the custom domain of your website. This may take some time to reflect. If authentication fails, try after 15 minutes.
Notes: Once authenticated, the custom email address will be listed under Public Domains, and will be available for email mapping.
To verify a public domain
- Click Verify.
- Provide the verification code and click Validate.
- Click OK, Got It. Your email will be verified and can be set as your preferred sender email.

Users who delete their email can add it again and not have to reauthenticate it. As long as you do not remove the DKIM record from the DNS domain manager, all you will have to do is verify your email again.
Notes: The verification code is only valid for seven days.