Tip #31- Organize and manage devices like a pro with Zoho Assist’s Groups feature- 'Insider Insights'
Hello Zoho Assist Community!
We’re excited to share some valuable tips and best practices to help you get the most out of Zoho Assist. This week, we’re focusing on how to enhance your unattended access sessions using the Groups feature.
Imagine you’re a super admin managing a large number of devices. To make your job easier, you can group these devices based on criteria such as region, operating system, business unit, and assigned technicians.
Why use groups? Grouping devices helps you organize and manage a large list of devices, making them easier to access and identify. You can create groups in two ways:
Static group: Manually add devices to a group.
Dynamic group: Set criteria, and devices will automatically be assigned to the group based on those criteria.
How to implement groups:
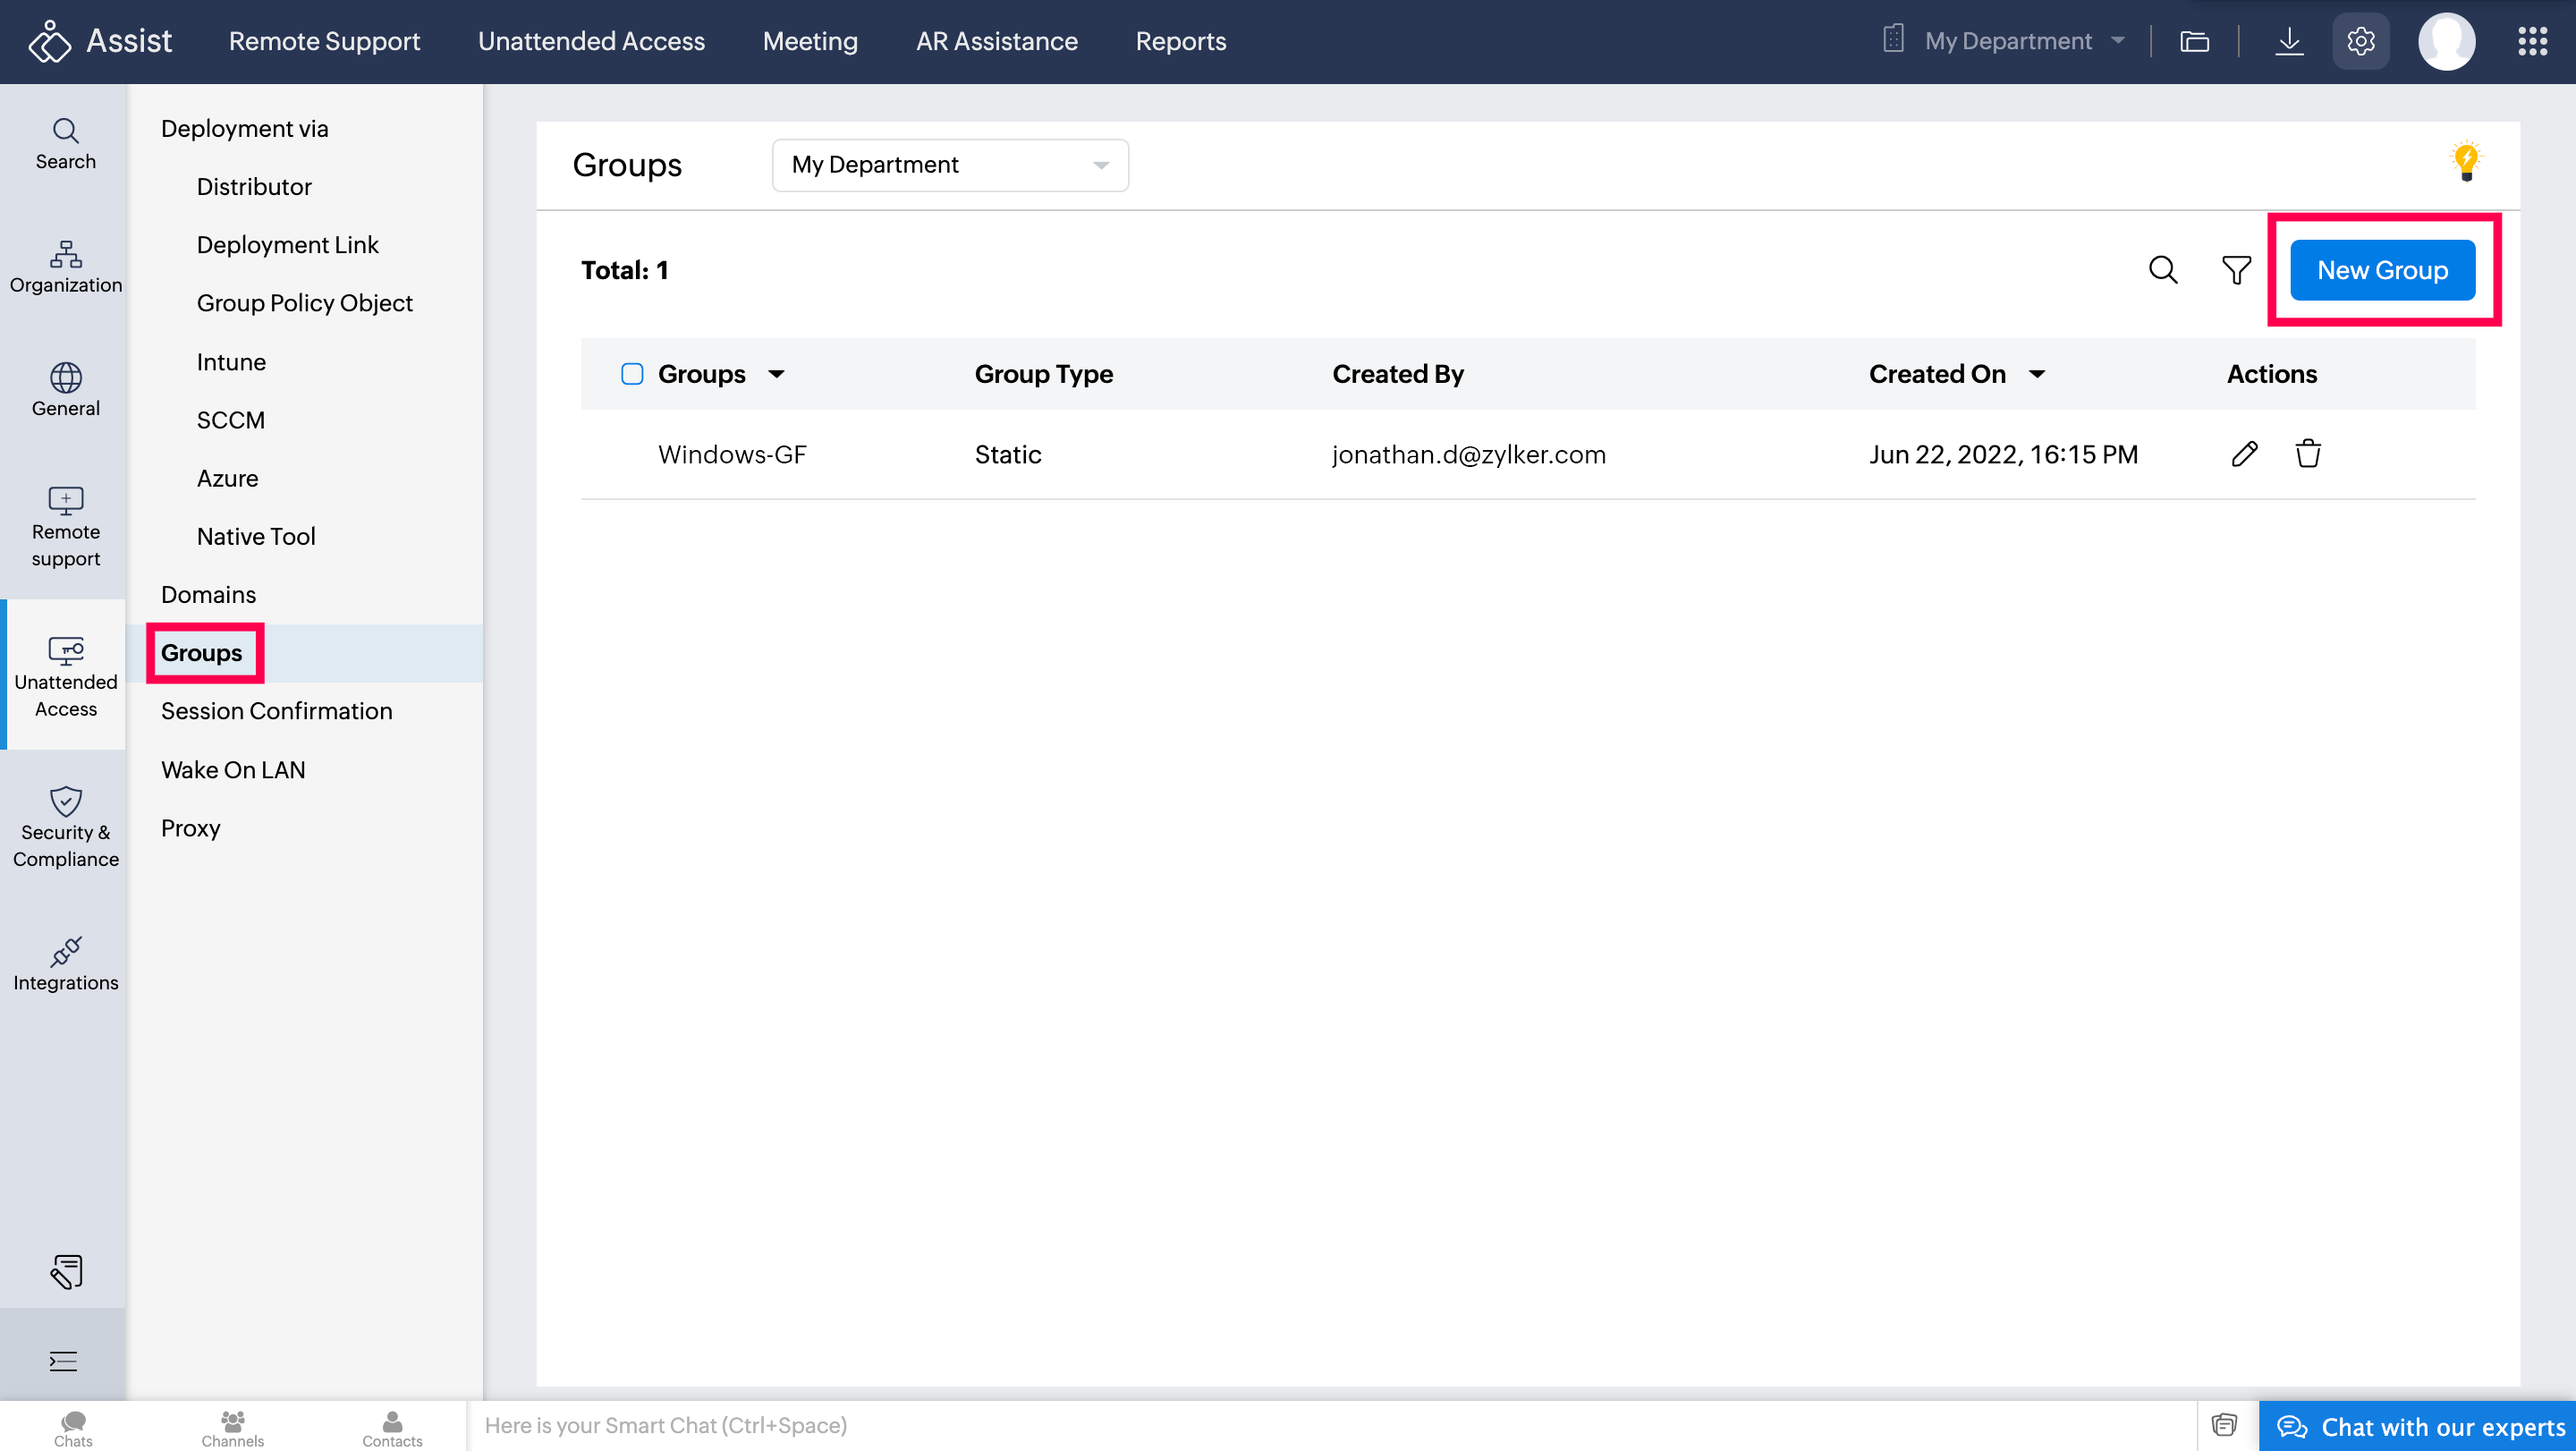
Navigate to Unattended Access.
Click Settings and then Groups.
Click New Group and enter details such as group name and description.
Select Static Group or Dynamic Group based on your needs.
Click Add Device and then Create Group.
Your group will now be listed and ready to use!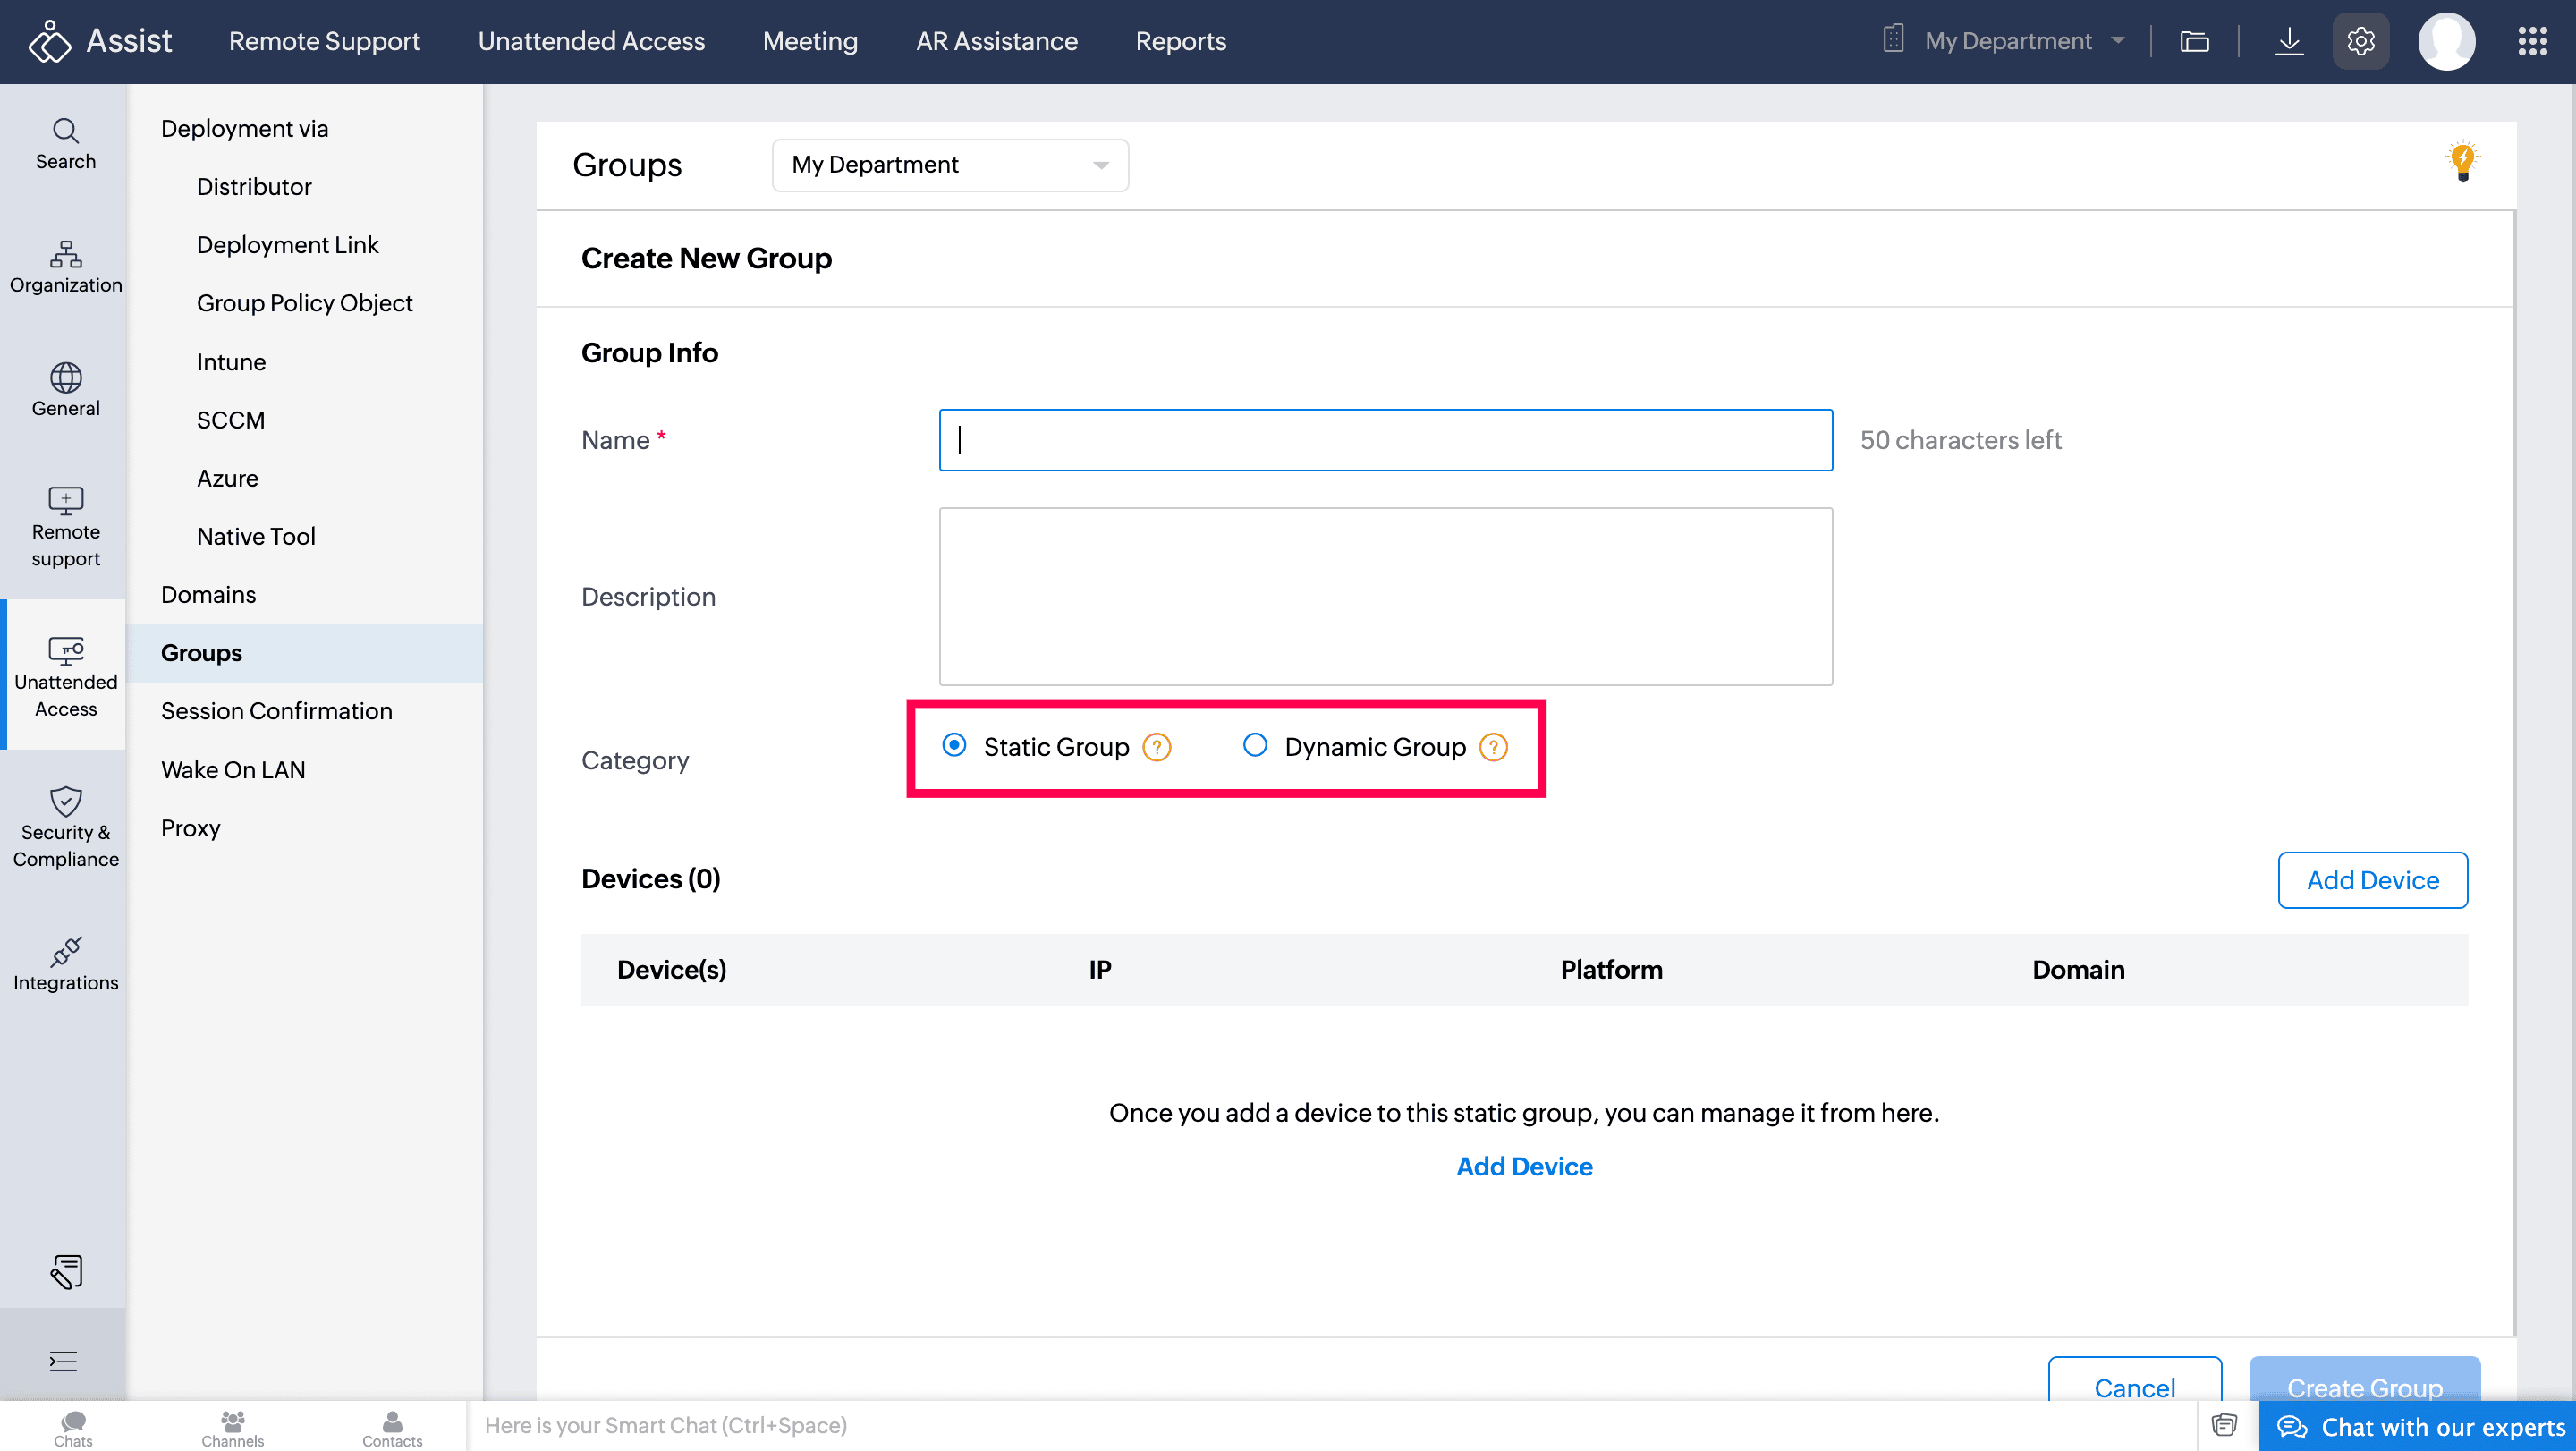
Managing Groups:
To rename or move devices between groups, click the Edit icon next to the group.To delete a group, click the corresponding Delete icon. When deleting a group, you have the option to reassign the devices to another group as needed.
By using the Groups feature in Zoho Assist, you can streamline device management to make your IT operations more efficient. Give it a try and see the difference!