Accounting on the Go Series-44:Managing Project Transactions in Zoho Books Mobile App
Hello users,
How are you all doing? We’re almost nearing 50 features in our series, and we hope each one has been helpful in making your Zoho Books experience more efficient. Today, we’re excited to talk about a feature that enhances your project management on the go: creating transactions under a project in the Zoho Books mobile application.
In the Zoho Books iOS app, you can create various transactions under a project, such as: New Invoices, Recurring Invoices, Retainer Invoices, Expenses. Whereas in the Android app, you can create an Invoice and Retainer Invoice for now.
Imagine you're a project manager at a bustling marketing agency, juggling client meetings, site visits, and workshops. One of your key projects involves organizing a major marketing event. While on a supply run for this event, you need to track expenses promptly to manage your budget effectively. With the Zoho Books mobile app on your phone, you can quickly access the project linked to the event. This allows you to record expenses immediately, ensuring that your project's financial records stay current.
Similarly, on an Android device, if you need to request an advance payment from a client for this project, you can conveniently send a retainer invoice directly from your phone.
How it works in Zoho Books iOS app:
➤ Open the Zoho Books app.
➤ Tap on “More.”
➤ Scroll down and select “Projects.”
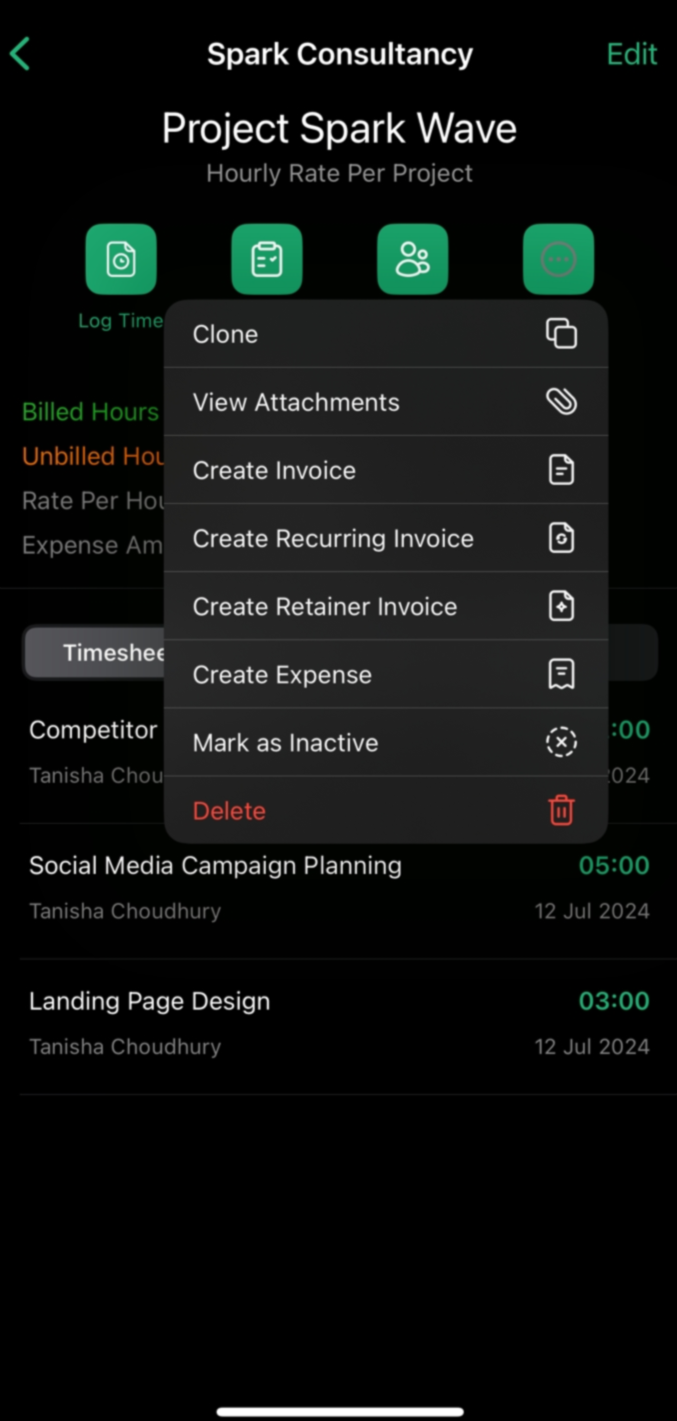
➤ Open the desired project and tap on “More.”
➤ Choose the desired action to create a new transaction.
➤ To create an expense, tap on “Create Expense” and you will be redirected to the expense creation page.
➤ Enter the expense details, such as the expense account and amount.
➤ The customer and project will be auto-selected. You can mark it as “Billable” by switching the toggle.
➤ Save the expense.
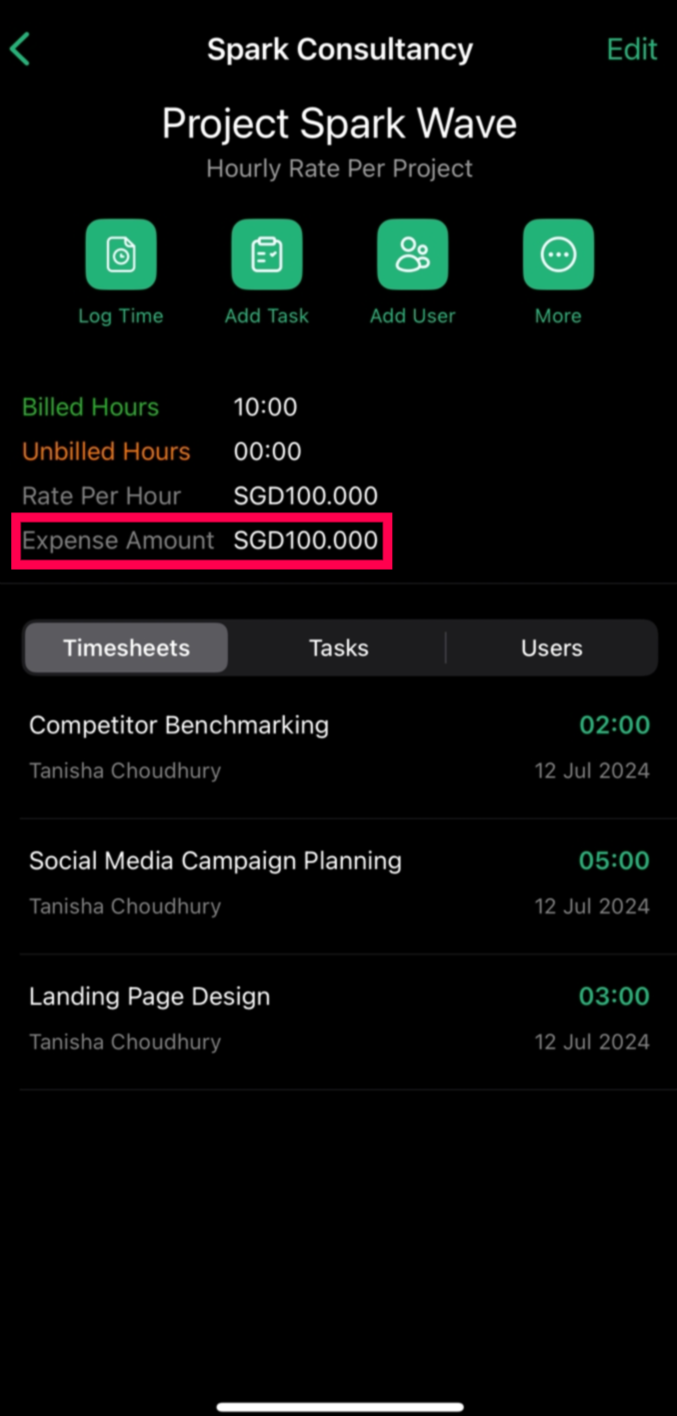
➤ The expense will now be reflected under the “Expense amount” in the Projects section. You can generate relevant reports later in the web app.


How it works in Zoho Books Android app:
➤ Open the Zoho Books Android app.
➤ Go to the navigation drawer in the left side and head to Time Tracking >> Projects.
➤ Locate and open the desired project.
➤ Tap on "More."
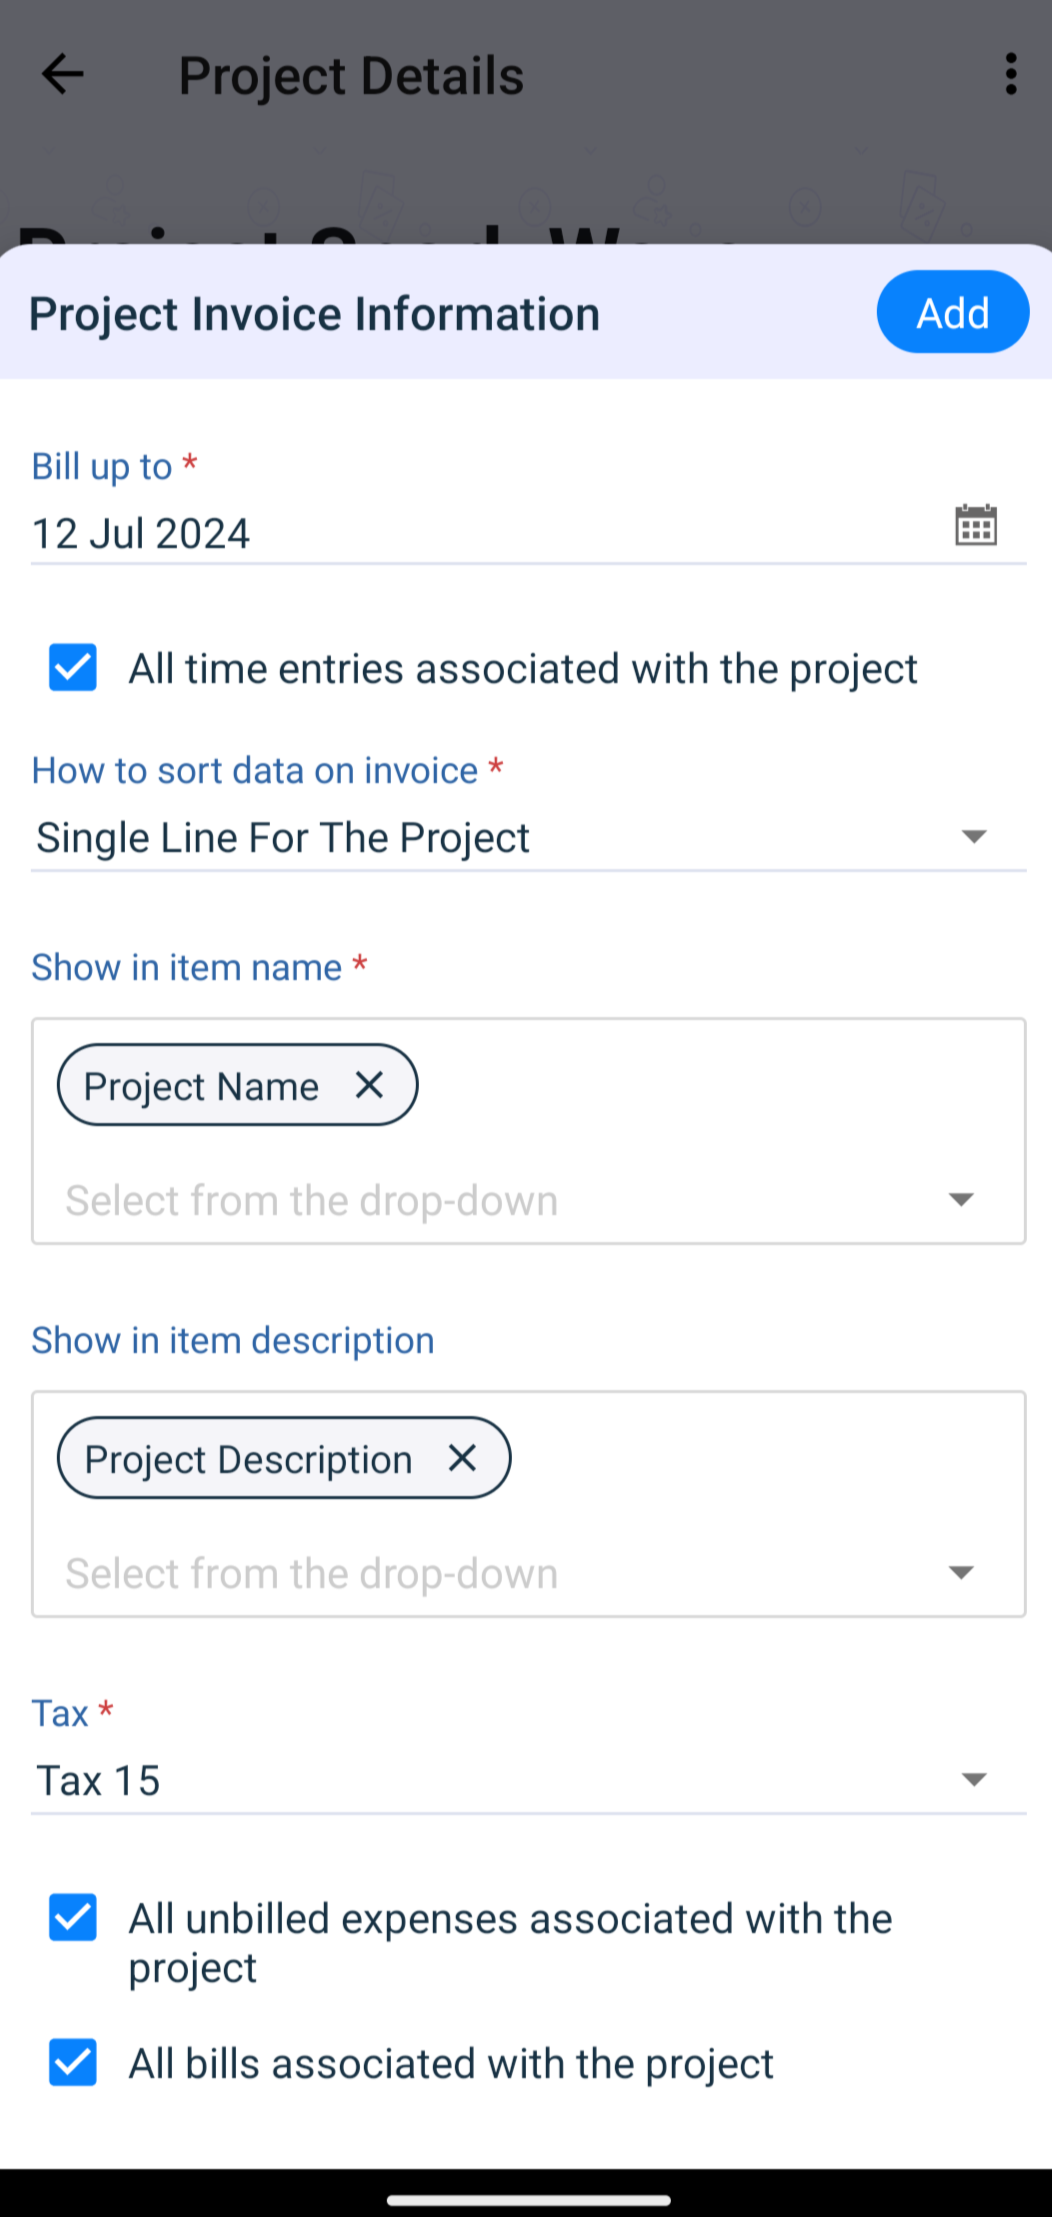
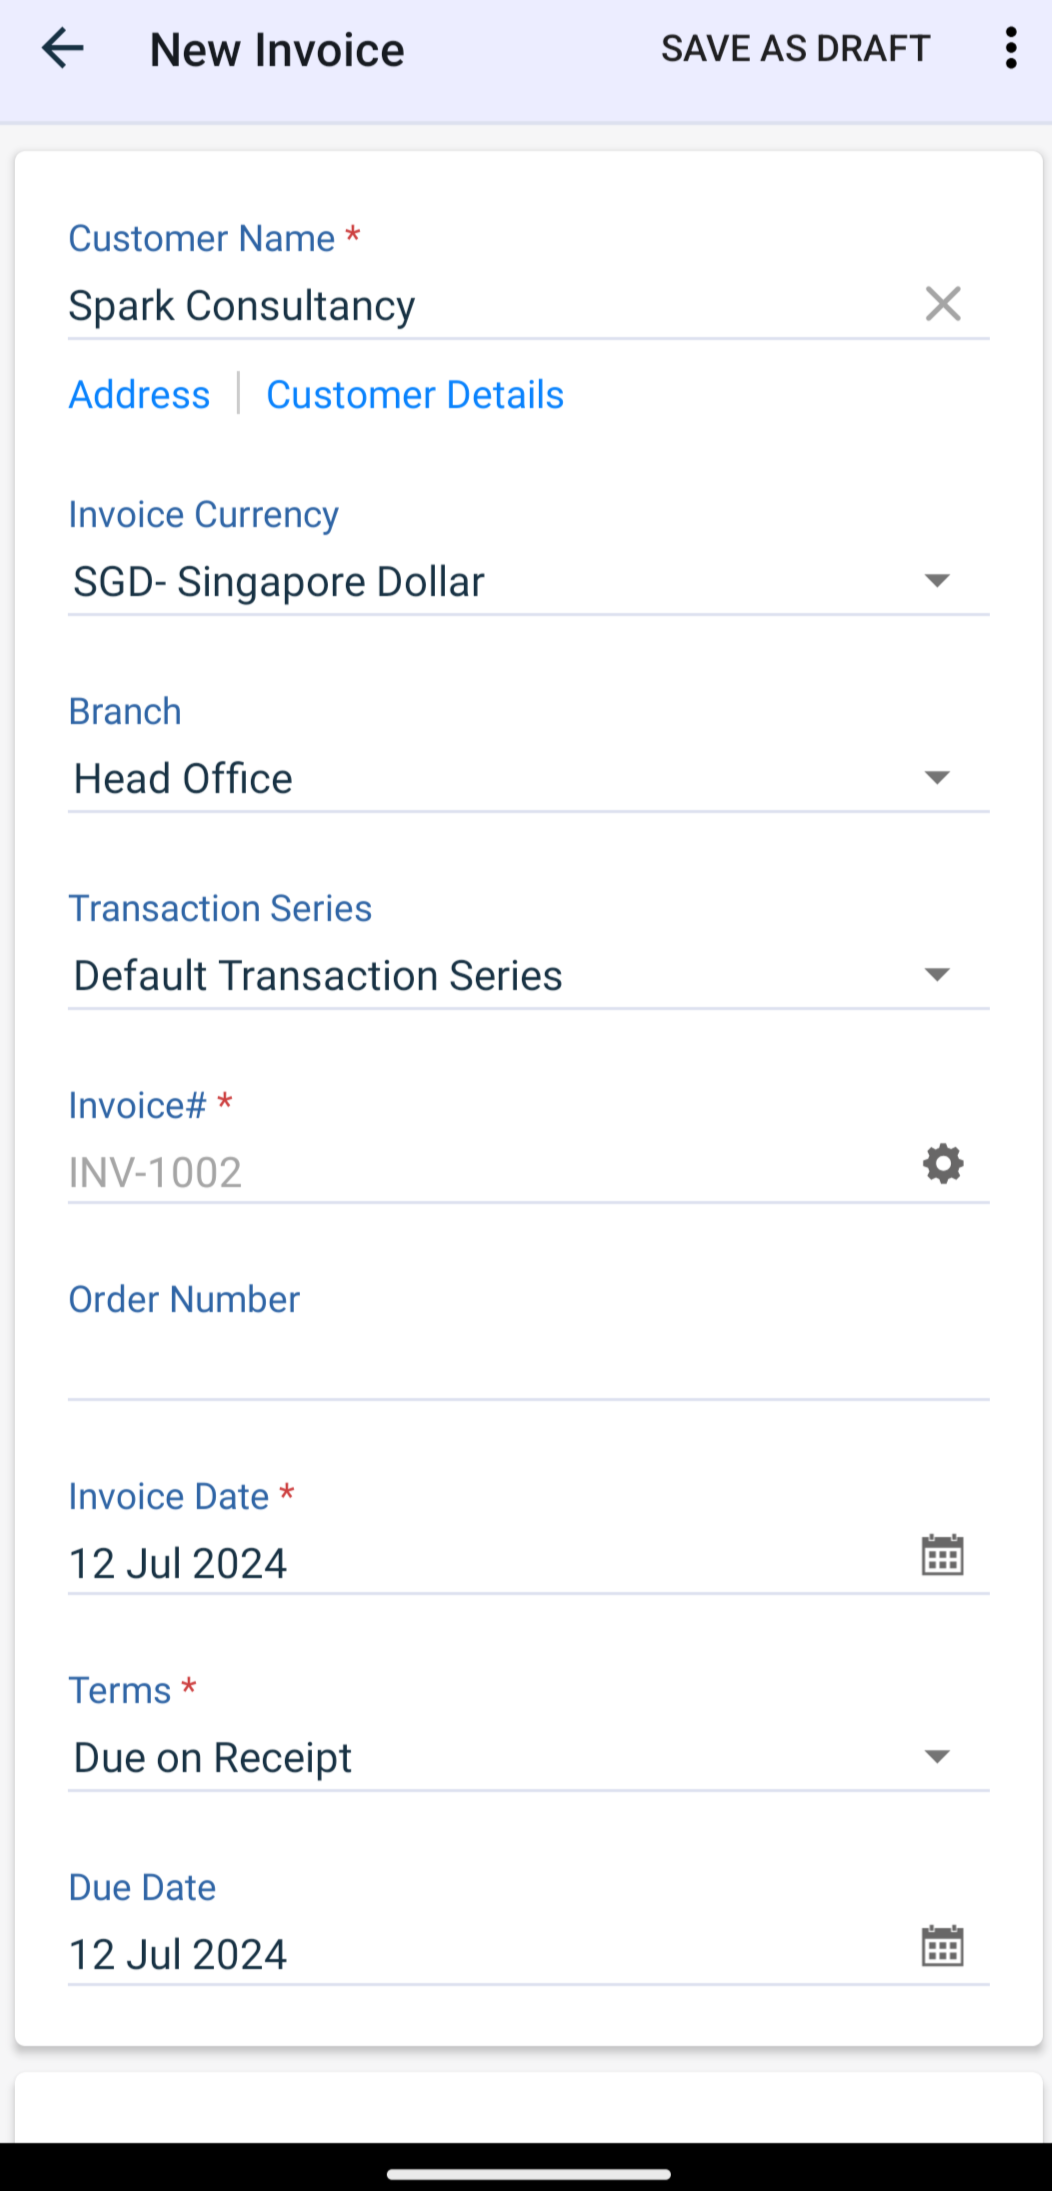
➤ Choose "New Invoice" to initiate a new Invoice.
➤ Configure the necessary preferences applicable to these Invoices.
➤ Add any additional details if required.
➤ Save and send the Invoice to your customer.


Leveraging these features allows you to manage your project finances more efficiently, ensuring that all transactions are accurately tracked and recorded even if you are on the go.
If you haven’t yet, please download the mobile application from this link or scan the aQR code below to make your on the go accounting experience a breeze.

Regards,
Tanisha Choudhury