Authenticating the email source consists of the following steps:
Step 1. Add your company's domain or subdomain
Adding your company's domains or subdomains is the first step for email authentication. Domain verification helps to ensure that the domain from which the emails are sent is authentic and trustworthy. To facilitate this, you have to add your company's email address and the domains or subdomains in Zoho CRM.
Step 2. Verify the domain details
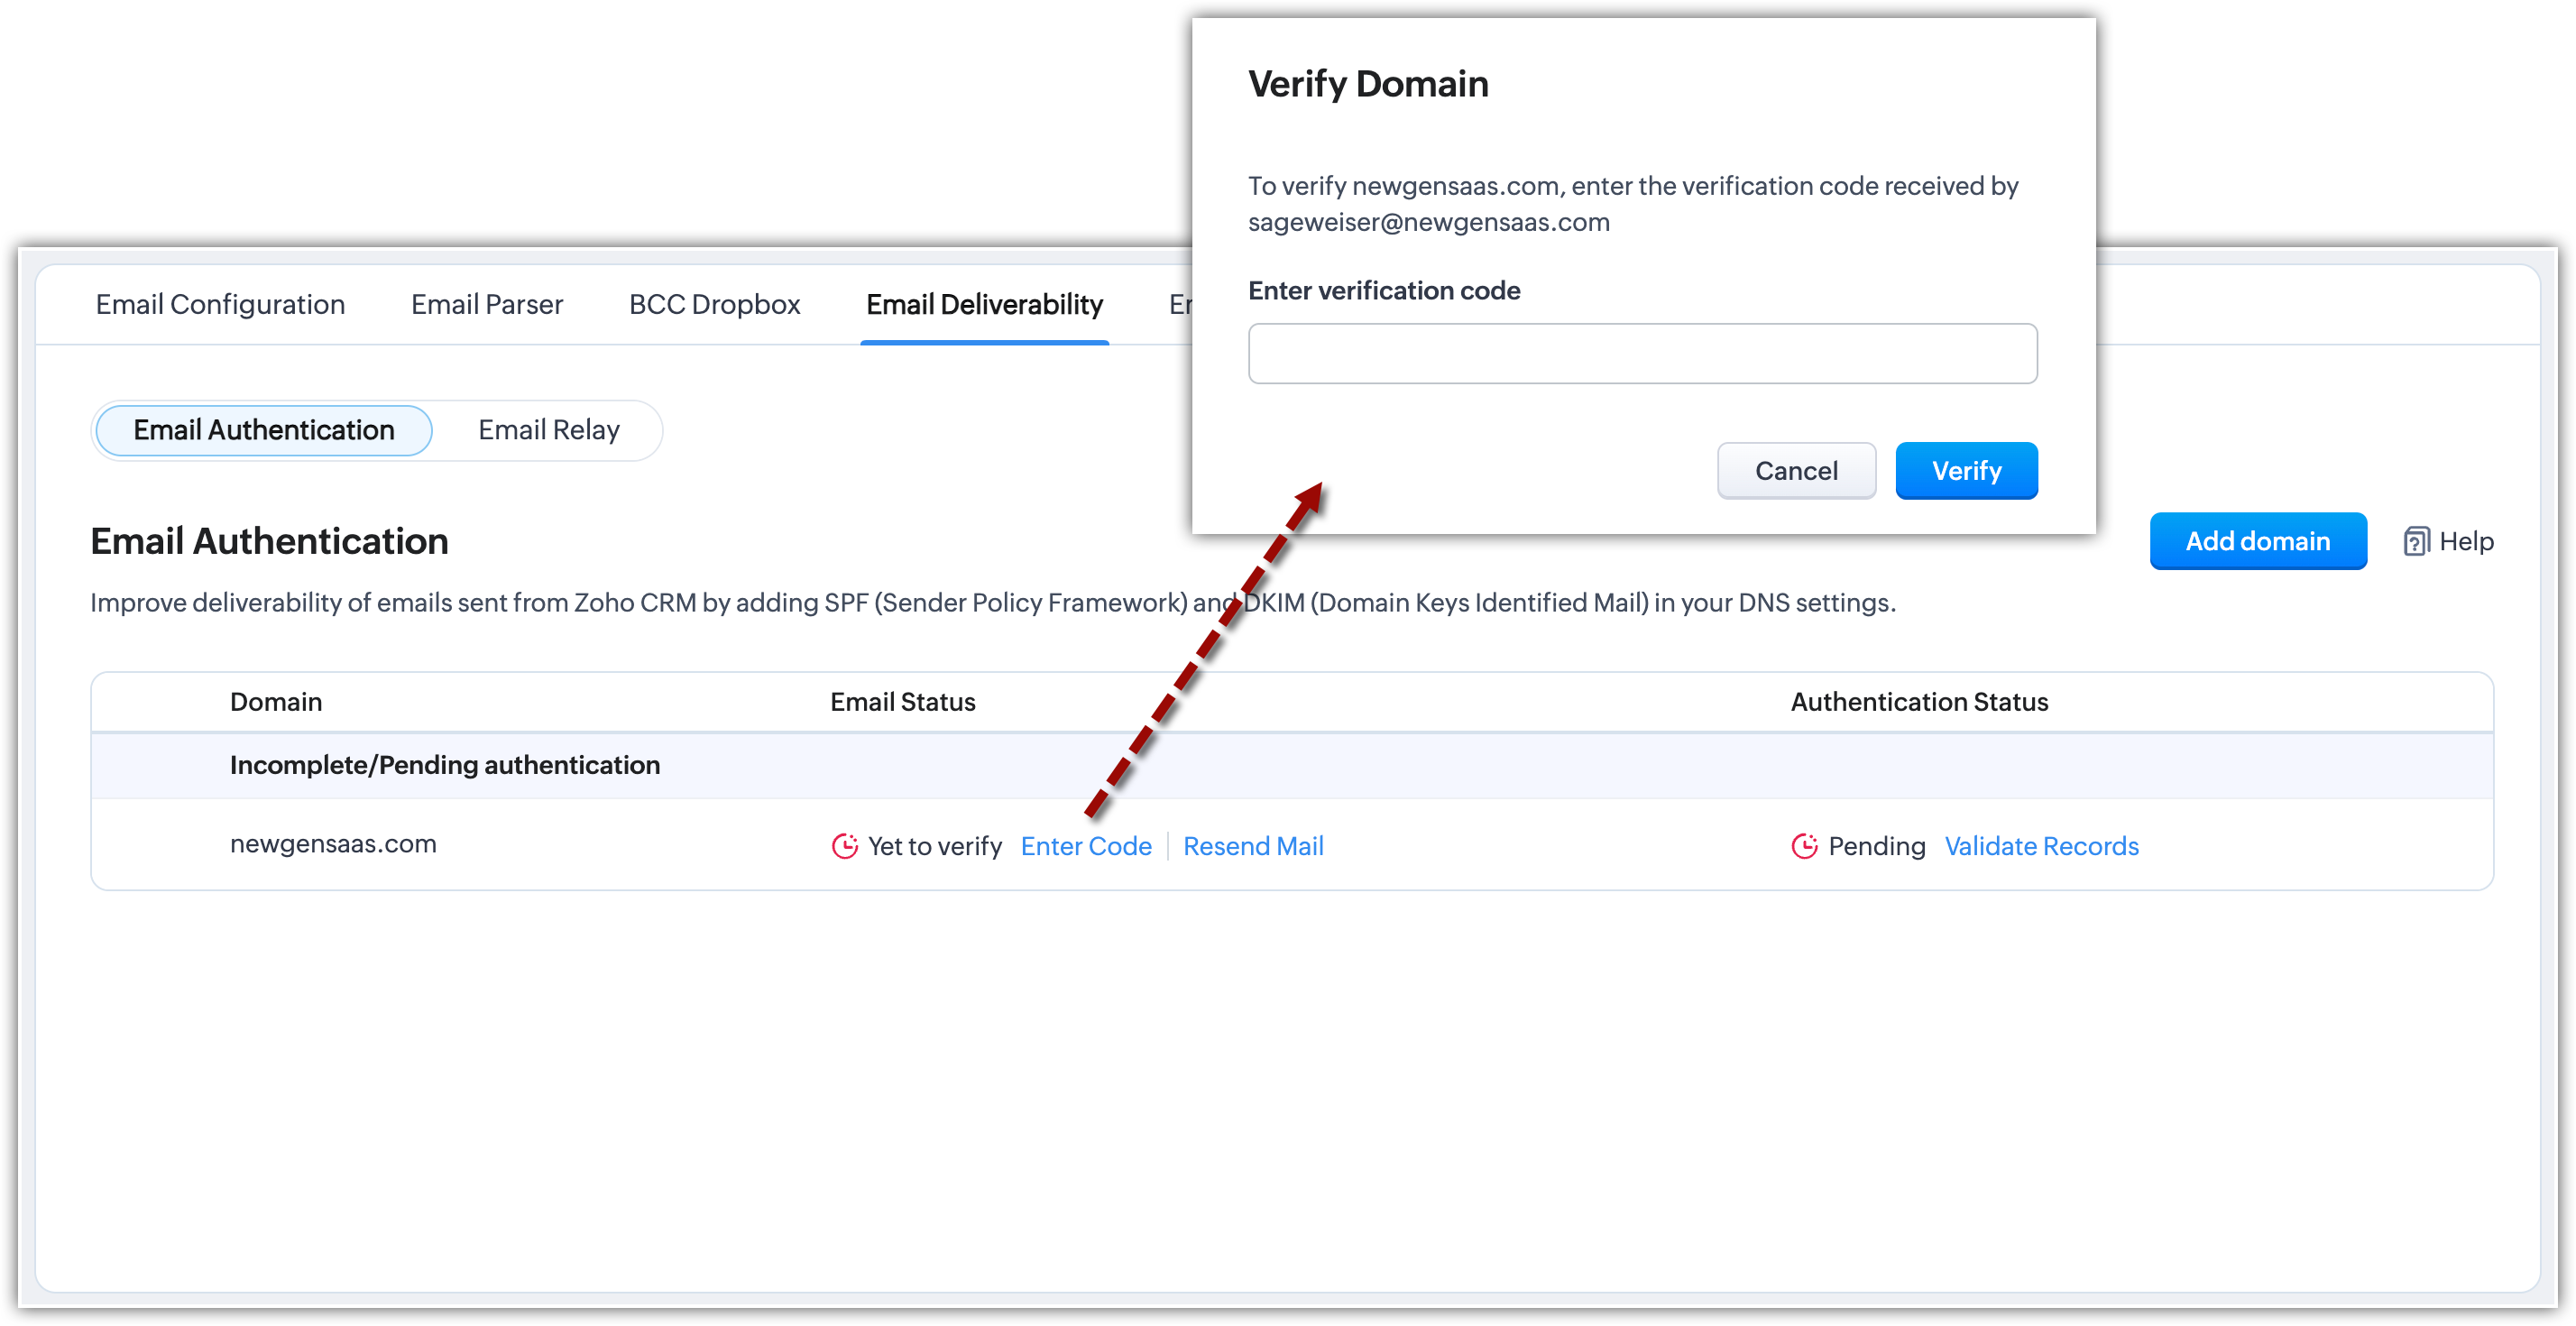
Once you add the domain, a verification code is generated and sent to the email address that should be entered to verify the domain details. The verification email is valid for 15 days, in case you do not receive an email or you have exhausted the validity period, you can use the Resend Mail link.
Step 3. Validate the records
Once the domain and subdomains details are verified, you need to add DKIM (Required) and SPF (Recommended) records in your DNS settings.
DKIM - DKIM is used to ensure that the message has not been altered in transmission. It uses public key encryption to authenticate the email messages. It is mandatory to add DKIM records in your domain's DNS settings to have better email deliverability. See Also DKIM Configuration
SPF - This authentication standard allows sending domains to define which IP addresses are allowed to deliver email messages on behalf of the domain. In addition to DKIM, we recommend that you add SPF records to your domain to provide further security against spoofing attacks and helps prevent emails from your domain being marked as spam. See Also SPF Configuration
 Note
Note
- Mass emails and emails sent from the organization email address are always sent from Zoho's server.
Add Your Company's Domain
To add your company's domain
- Go to Setup > Channels > Email > Email Deliverability > Email Authentication.
- In the Email Authentication tab, click + Add Domain.

- In the Add Domain page, enter the Email Address.
-
Click Add Domain.
Verify the Domain Details
To verify the domain and subdomain details
- Go to the Domain and click Enter Code.
- In the Verify Domain popup, enter the Verification code sent to your email.

-
Click Verify.
Validate the Records
To validate the records
- Go to the Domain and click Validate Records.

- In the Authenticate Domain popup, copy the SPF or DKIM record code.
- Access your domain management portal, where you've acquired your domain, and log in.
- Paste the SPF and DKIM codes in the DNS settings.
To learn more about configuring settings in your domain managers, click here.
- Click Validate Record in Zoho CRM, once the codes are added to your DNS settings.
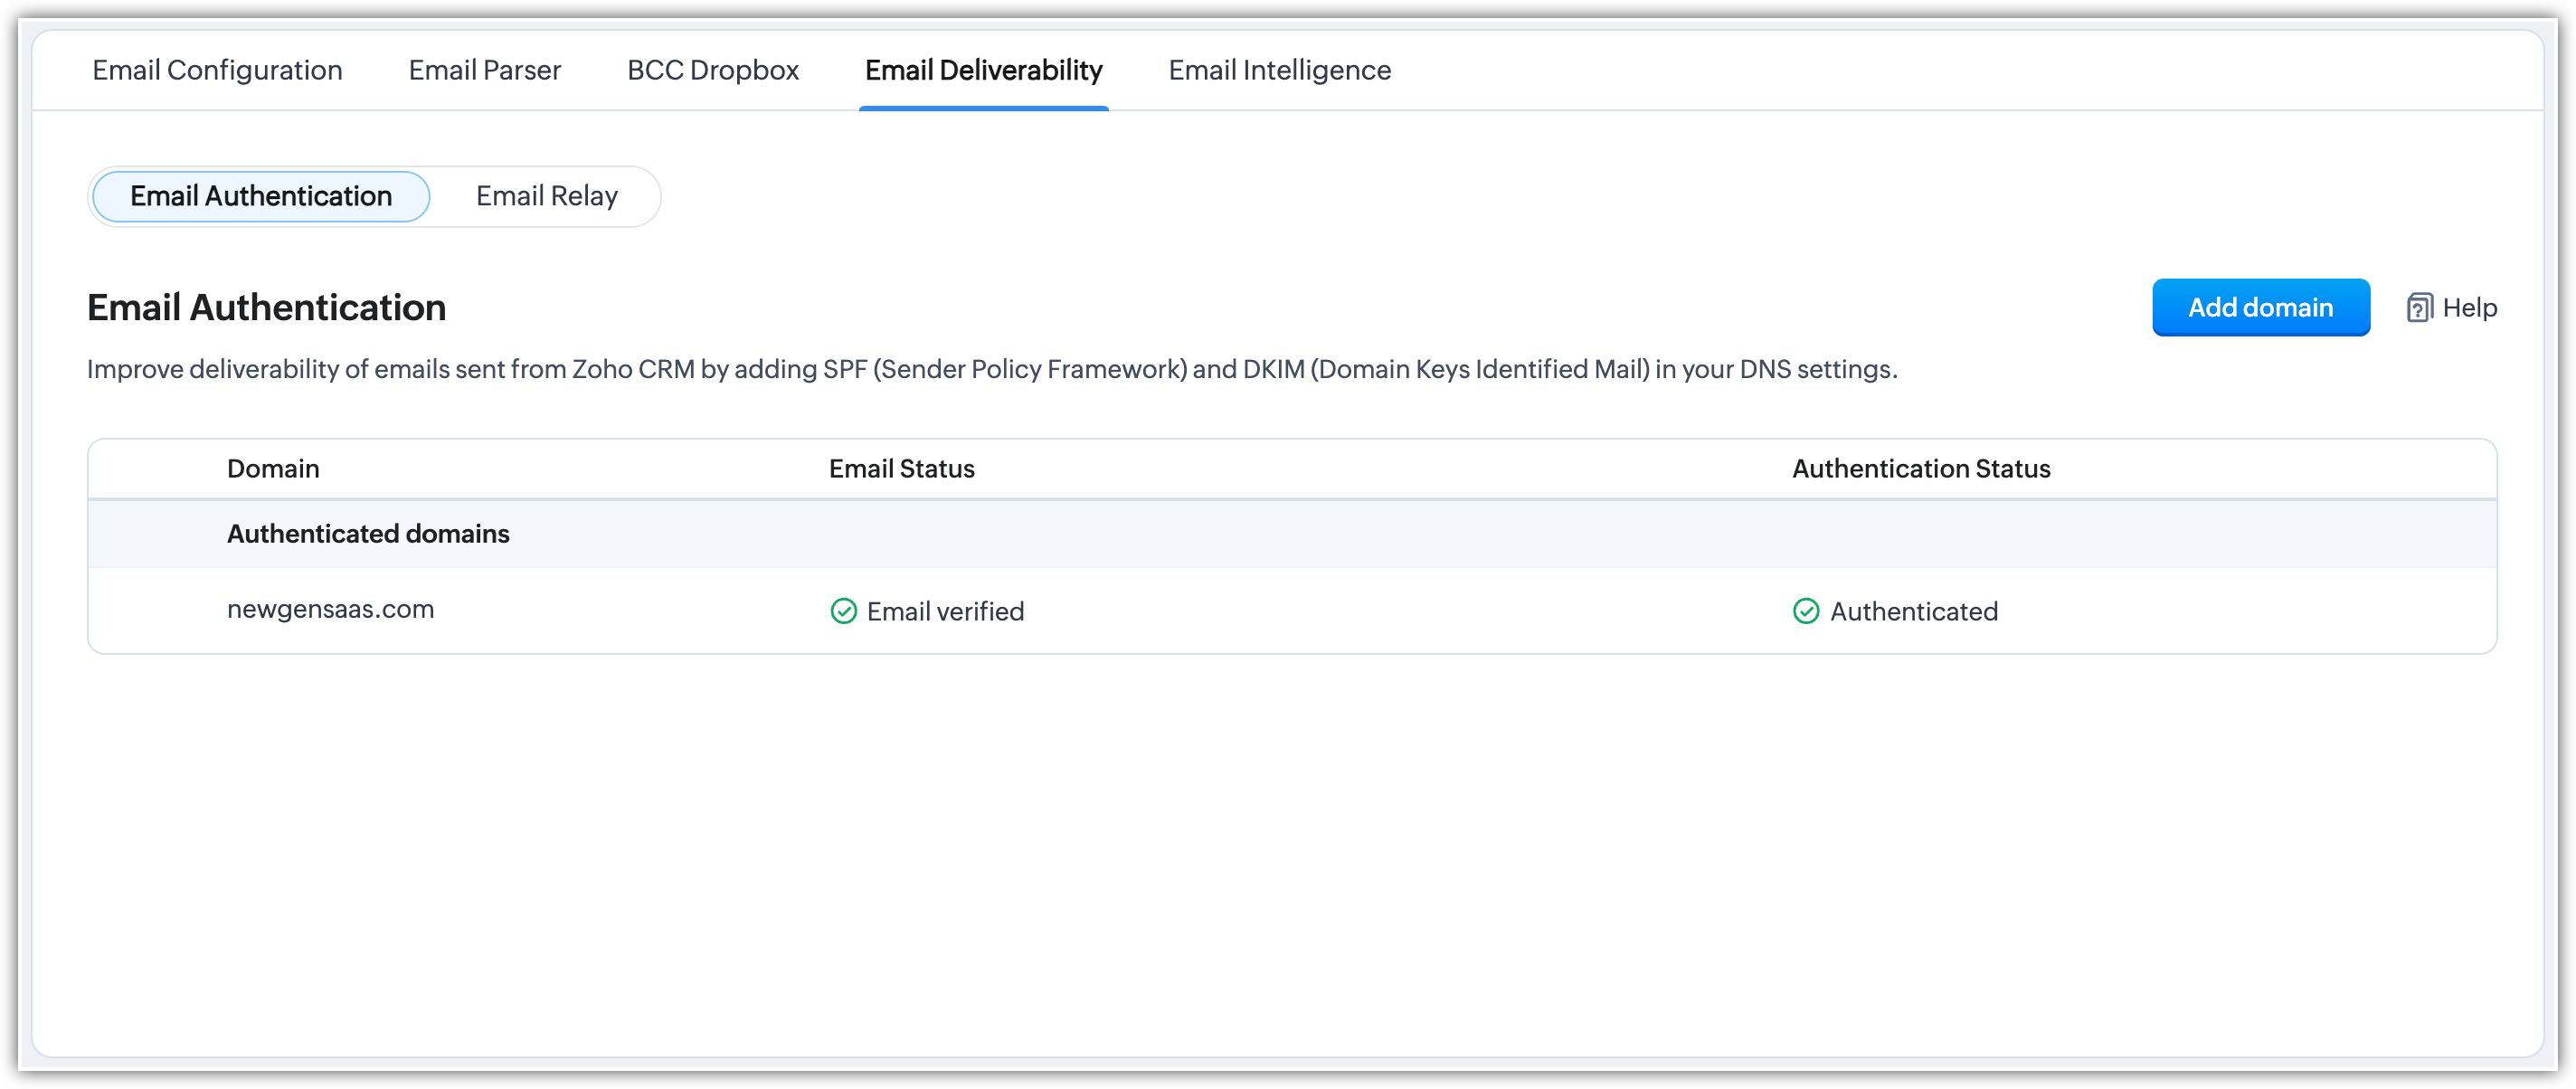
Then you will have successfully authenticated your domain.


Note:
Zoho CRM's SPF and DKIM records are uniform and compatible with those of other Zoho products; i.e., authenticating your domain once for any Zoho product secures email sending within Zoho CRM. If a domain is authenticated via another Zoho service, this will be indicated next to the domain's authentication status.
- Authenticated domains are identified automatically every 48 hours.
- Domains authenticated outside Zoho CRM within this period will update their status within 48 hours.
- This feature requires at least one domain to be authenticated in Zoho CRM via SPF or DKIM to initiate the automatic process.

 Note
Note 


