Tagging Records in CRM
Tags in Zoho CRM are usually easy to create. Tags are not just a simple category, they can be more powerful, since you can add multiple tags to a single record. You can also create tags in multiple locations in your CRM account, if required.
You can add tags in the following places:
- Specific record
- Bulk records
- Imported records
- Records added via web form
- As instant action through workflow rules
- As Blueprint actions
Tag a specific record
Once a record is created in your CRM, you will able to add new tags to them.
To add tags in record details page,
- Login to your Zoho CRM account and go to any module (Leads, Accounts, Contacts etc.)
- Select a record from the list view where you want to add Tags.
- Click Add Tags.
- Add relevant Tags and click Save.
You can also click on any tag to view the records associated to that particular tag.
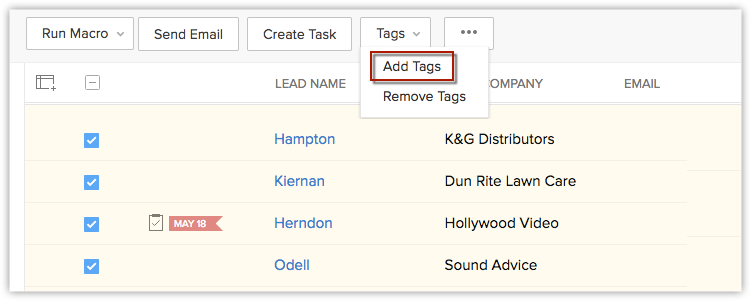
Tag bulk records
You can add multiple Tags to multiple records as a single action in your Zoho CRM account.
To add Tags to multiple records
- Choose the module (such as Leads, Contacts, or Deals), where you want to add Tags.
- Select all or multiple records based on your requirements.
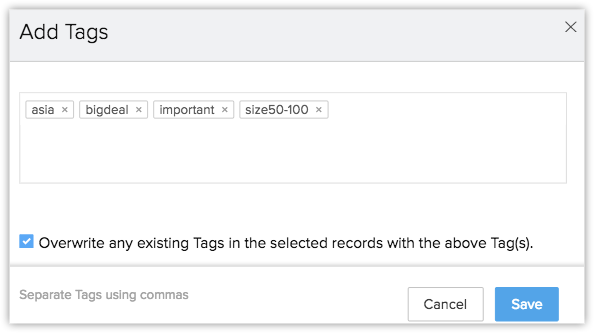
- Now under the Tags dropdown, select the Add Tags option.
You will be shown tag suggestions (list of existing tags will be shown) everytime when you add tags in your CRM account.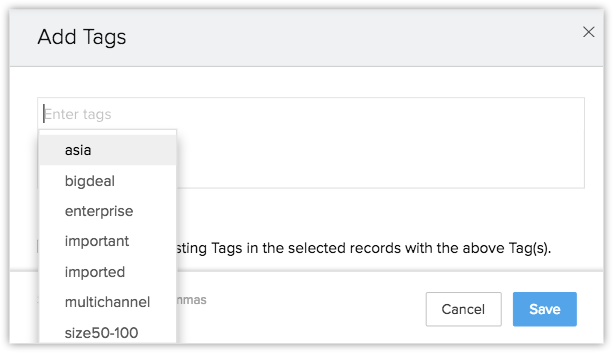
Once saved, the Tags will be added to all the records that are selected in the List View page.
Tag imported records
Add tags while you import records into your CRM account. You can either map the tags from your CSV files or add default tags to the imported records.
- Choose the module where you want to import records.
- In the Import [Module] page, select the required options and click Next.
- In the Map Import Fields to Zoho CRM page, click Fields Mapping.
- Map the tag fields from FIELDS IN FILE and FIELDS IN ZOHO CRM. This way the mapped tag get imported while importing the records.
- Choose the module where you want to import records.
- In the Import [Module] data page choose the required options and click Next.
- In the Map Import Fields to Zoho CRM page, click Assign Default Value.
- Choose Tag under CRM Fields and enter for the required tags under DEFAULT VALUE.
See also Importing Data.
Tag records added via a web form
Web forms is where you capture data about your website visitors and sync those data in your CRM account. You might have multiple web forms in your account, such as a contact us form, a landing page, or a sign in form. Adding tags to records through each web form will help you filter them in a better way. You can perform a global search or use advanced filters to list records that are captured from the respective web form. See also Setup Web Forms
To add tags while creating a web form,
- Go to Setup > Marketplace> Web Forms.
- You will have an option to Add Tags, while creating a webform. Add Tags based on your requirements and click Save.
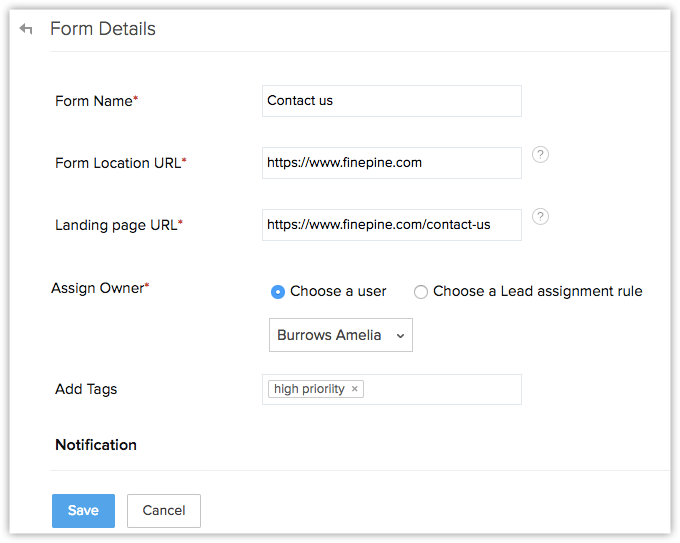
The relevant tags will be added and associated to the records created via the related web forms.
Color coding of Tags
Automate tagging records (using workflows)
In Zoho CRM, Workflow Rules are a set of actions such as alerts, tasks and field updates, which will be executed when certain specific conditions are met. See more about creating workflow rules here.
You can add tag as an Instant Action while creating workflow rules in Zoho CRM. For example, if you're setting up a Big deal alert rule, you can create an action to add tags like bigdeal, hotdeal, probability100%, etc., Whenever the workflow rule is executed with the specified criteria, the respective tags will be added to the record automatically. Please note that, the tags will be added only till the maximum limit allowed and if there are existing tags, new tags can be added only till the specified limit (See tag limits).
To set tag as an instant action, do the following:
- Go to Setup > Automation > Workflow Rules.
- In the Workflow Rules page, click on the rule for which you want to create an instant action.
- Click Edit to modify the rule settings.
- Under Instant Actions section, choose Tag and add the required tags to be associated with the workflow rule

Whenever the rule criteria is met, the relevant tags will be associated to the records automatically.
Automate tagging in a process (using blueprint)
Blueprint in Zoho CRM is an online replica of your offline business process. It helps you to automate routine actions and guide your team members through the entire execution of your business process. Read more about Blueprint here.
While designing your blueprint, you can define actions to be automated at the completion of your transition. These actions will be automatically executed when specified criteria is met. Learn more about blueprint transition settings here.
You can add tags as one of the actions to be automated in your business process.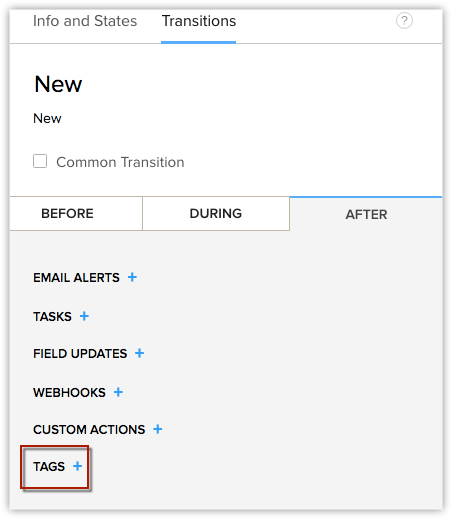
For example, a "qualified" tag can be defined in the transition for a deal in qualification stage.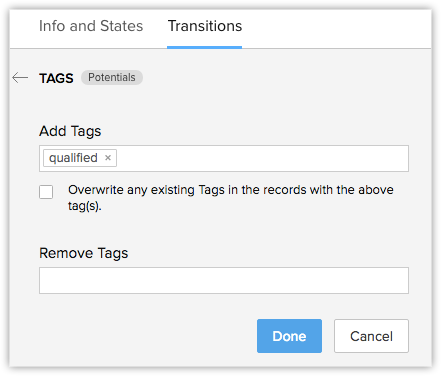
Whenever a deal is in qualification stage, the relevant tags will be associated to the deal record automatically.
Please note that, you can add tags will be added only till the maximum limit allowed and if there are existing tags, new tags can be added only till the specified limit (See tag limits).
 Note
NoteWhile adding tags to your records in CRM, you can choose to overwrite the existing tags with new tags. For example, you may require to add a set of relevant tags for particular actions through workflows. If there are few existing tags and are not relevant to that particular action, you can overwrite them with new tags, if necessary. Overwriting tags will replace all the existing tags with the newly updated tags.
Also, you can overwrite tags only while adding them via blueprint, workflows and to multiple records.