Kaizen 223 - File Manager in CRM Widget Using ZRC Methods
Hello, CRM Wizards!

Here is what we are improving this week with Kaizen.
we will explore the new ZRC (Zoho Request Client) introduced in Widget SDK v1.5, and learn how to use it to build a Related List Widget that integrates with Zoho WorkDrive. It helps users to preview and upload files directly from the record’s detail page.
Why ZRC?
ZRC is a unified client for making REST calls across all developer-facing components in Zoho CRM. It is currently supported in Widgets and CScript, and will soon be available for other features within the Developer Hub as well.
It simplifies external API usage with:
- async/await support
- Auto JSON parsing
- Unified API client for Zoho CRM developer tools (currently supported for CScript and widgets)
- Stronger error handling
Business Problem
Zylker, a real-estate company, stores documents, images, and property videos for each lead in a third-party cloud storage platform.
However, some of these files exceed 20 MB, making the CRM’s built-in file upload field unsuitable. Their team also needs the ability to preview and upload files directly from the Lead detail page.
Solution Overview
Zylker can build a Related List Widget integrated with their third-party cloud storage platform using ZRC methods.
This widget will allow users to:
- Fetch and display files inside the folder linked to the Lead.
- Preview files (images, PDFs, videos) inside the widget.
- Upload new documents to the same folder.
- Create new subfolders to keep the data organized.
- Navigate subfolders using breadcrumbs.
To keep the demo simple, let us walk you through on building this widget for listing, previewing and uploading files using Zoho WorkDrive.
Prerequisites
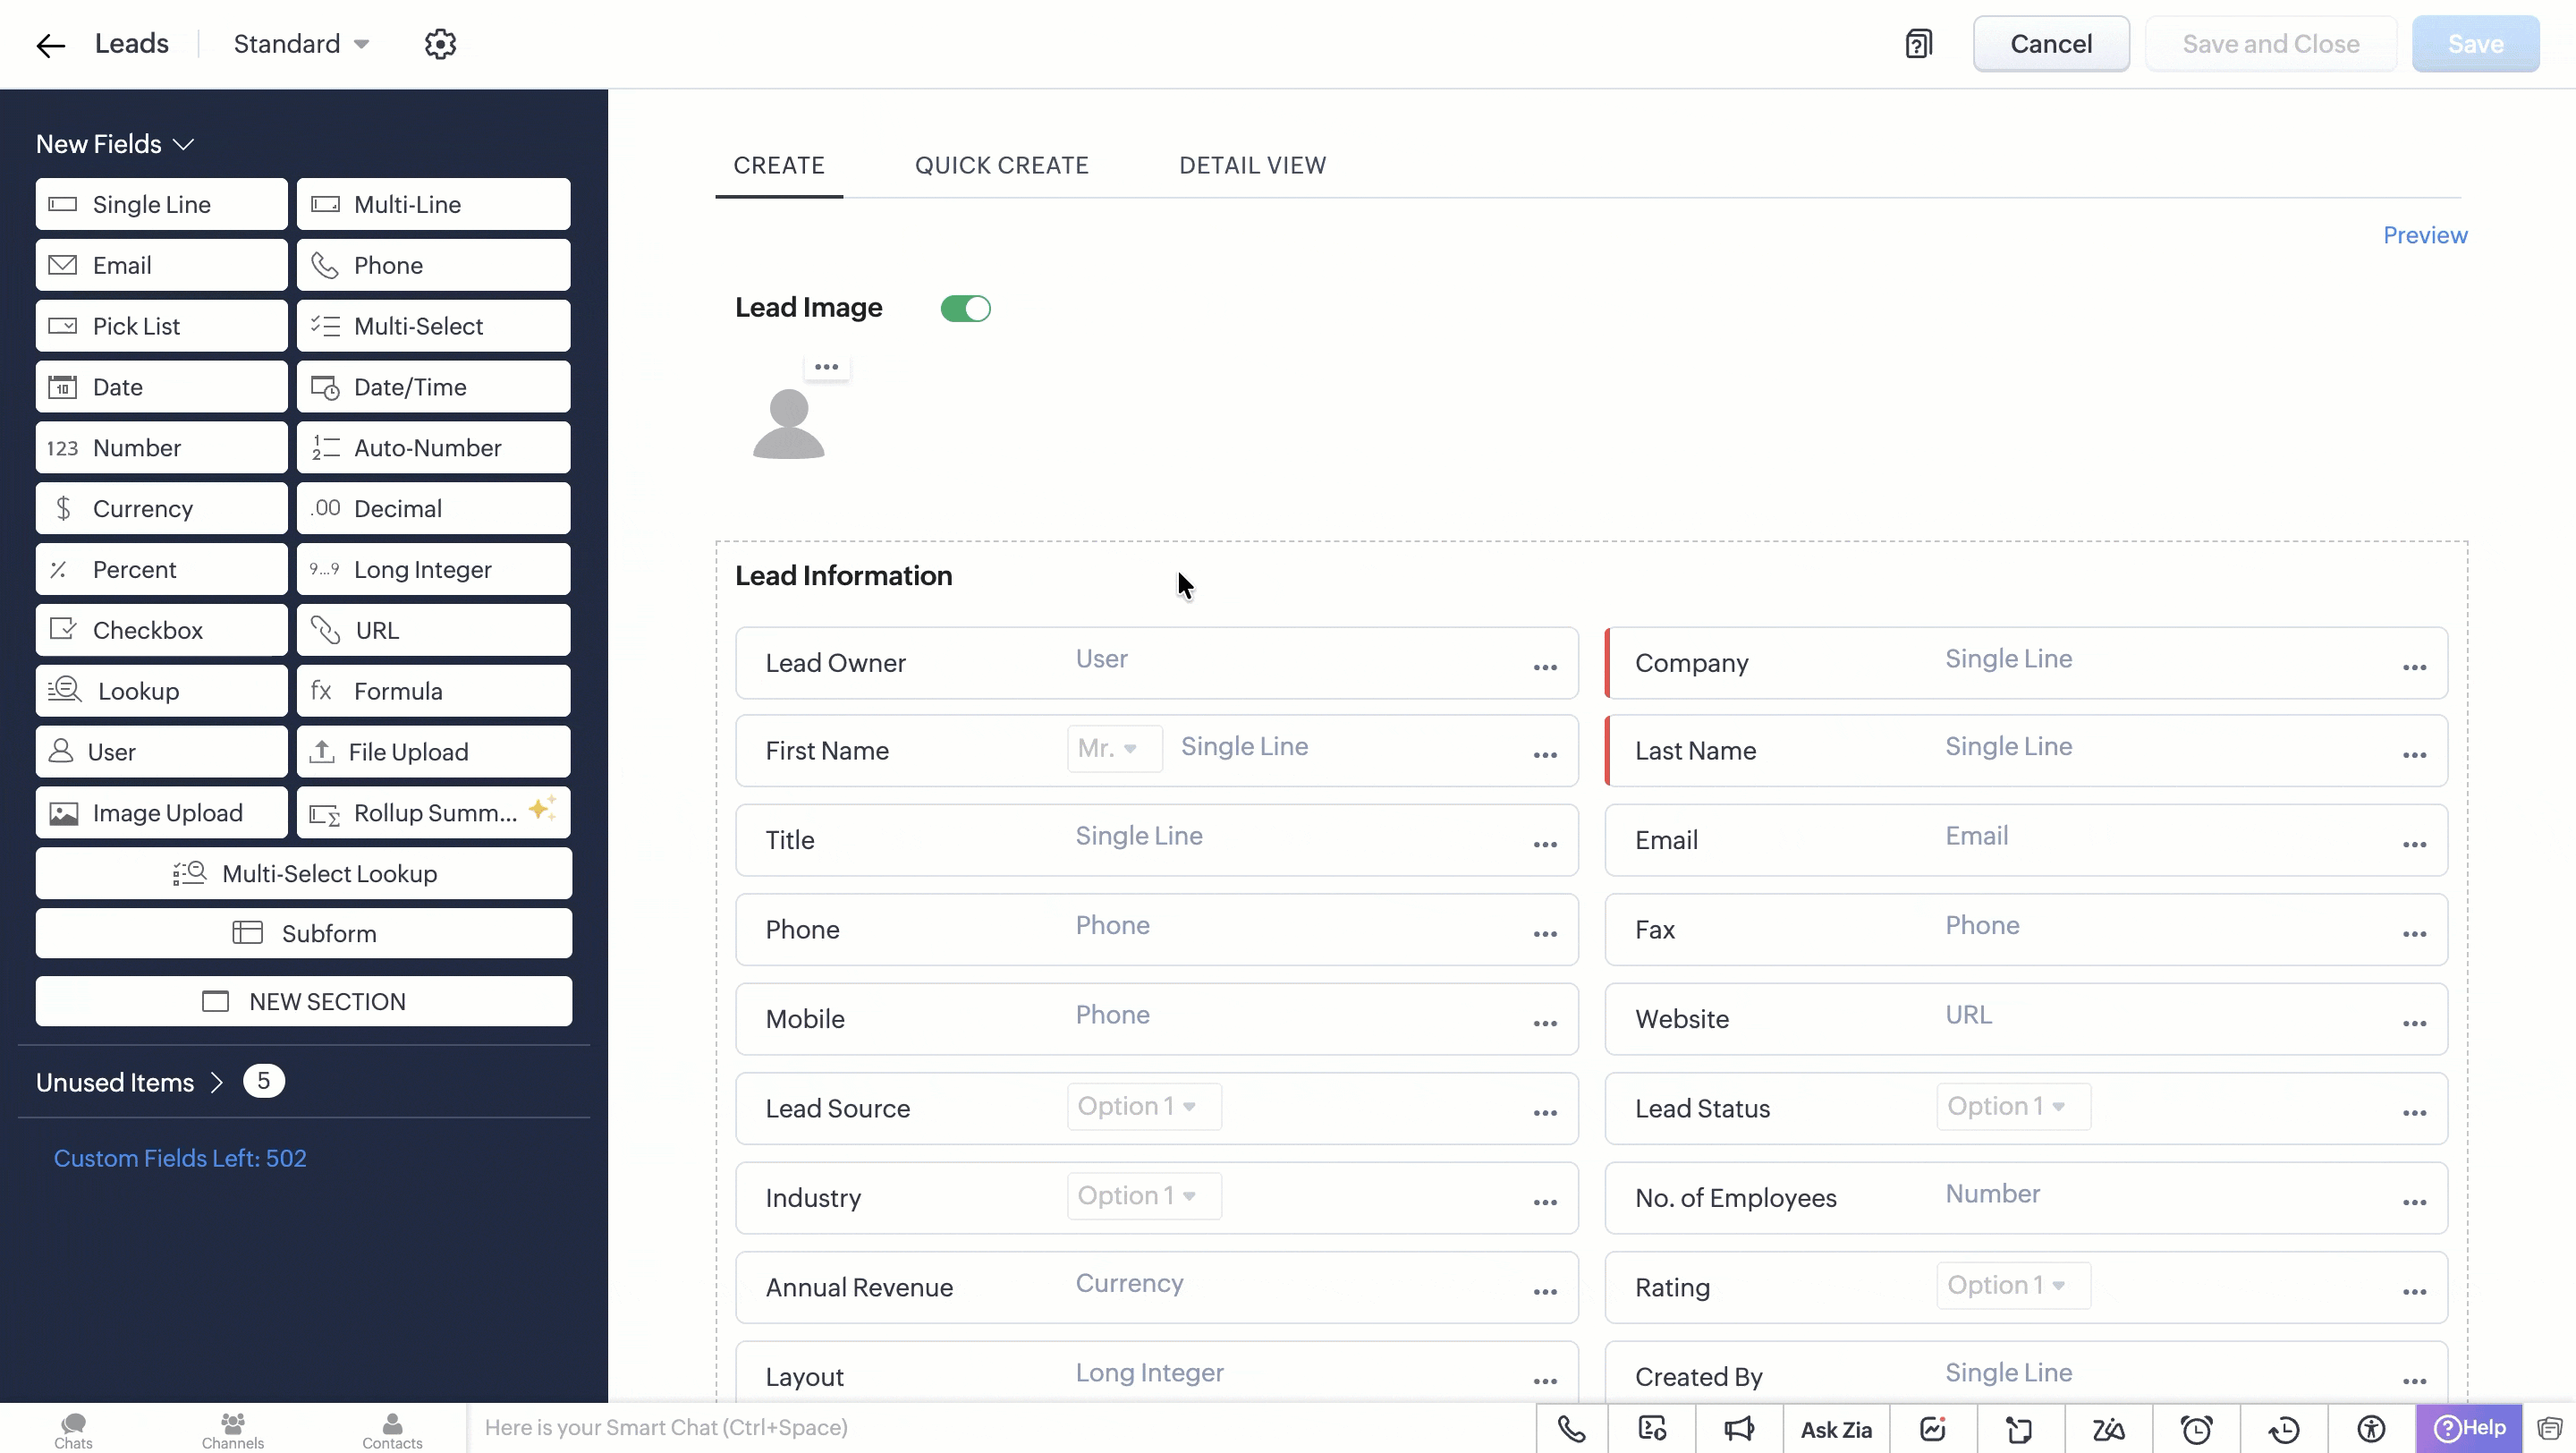
1. Create a Custom Field
Create a Single Line field named WorkDrive Folder ID in the Leads module. Check out the Working with Custom Fields document for guidance.
This stores the folder ID created for each lead through workflow rule that we build in the next steps.
2. Create WorkDrive and CRM Connection
- Go to Setup > Developer Hub > Connections and click Create Connection.
- Choose Zoho WorkDrive with the scopes WorkDrive.files.CREATE and WorkDrive.files.READ.
- Click the Create and Connect button and proceed to authorize the connection.

- Similarly, choose Zoho CRM with the ZohoCRM.modules.ALL scope and create the connection.
Refer to the Connections help doc for more information. Store the Connection Link Name to use while making API calls.
3. Automate WorkDrive Folder Creation
- Go to Automation > Workflow Rules in the Setup page and click Create Rule.
- Create a Workflow Rule with the following details:
Module: Leads
Trigger: On Record Creation
Condition: All Records
Action: Custom Action (Deluge Function)
Function Logic:
1. Create a new folder in the WorkDrive combining the lead's record ID and First Name as the folder's name. Use the Invoke URL task to make the Create Folder API call.
responseMap = Map(); attributeInfo = Map(); dataInfo = Map(); headerMap = Map(); headerMap.put("Accept","application/vnd.api+json"); // First Name and Record ID from the argument AttributeInfo.put("name",Name + recordId); // Parent folder ID under which you want to maintain the lead folders attributeInfo.put("parent_id","e8gn06f2d7b3a48044090b7217524be95c9ac"); dataInfo.put("attributes",attributeInfo); dataInfo.put("type","files"); responseMap.put("data",dataInfo); folderCreateResponse = invokeurl [ url :"https://zohoapis.in/workdrive/api/v1/files" type :POST parameters:responseMap.toString() headers:headerMap connection:"workdrive_oauth_connection" // Connection Link Name created in the prerequisites ]; info folderCreateResponse; |
2. Retrieve the folder ID from the API response.
3. Update the Lead’s WorkDrive Folder ID field with this folder ID using Update Records API call.
requestBody = Map(); dataList = List(); record = Map(); // Set field values record.put("WorkDrive_Folder_ID",driveId); // Add record to list dataList.add(record); // Wrap data requestBody.put("data",dataList); updateLead = invokeurl [ url :"https://zohoapis.in/crm/v8/Leads/" + recordId type :PUT parameters:requestBody.toString() connection:"crm_oauth_connection" ]; info updateLead; |
Assign values to the arguments using merge fields while associating the function with Workflow Rule.
Now every Lead has its own WorkDrive folder before the widget loads.

Note:
The complete code snippet for the deluge function is attached to the post for your reference.
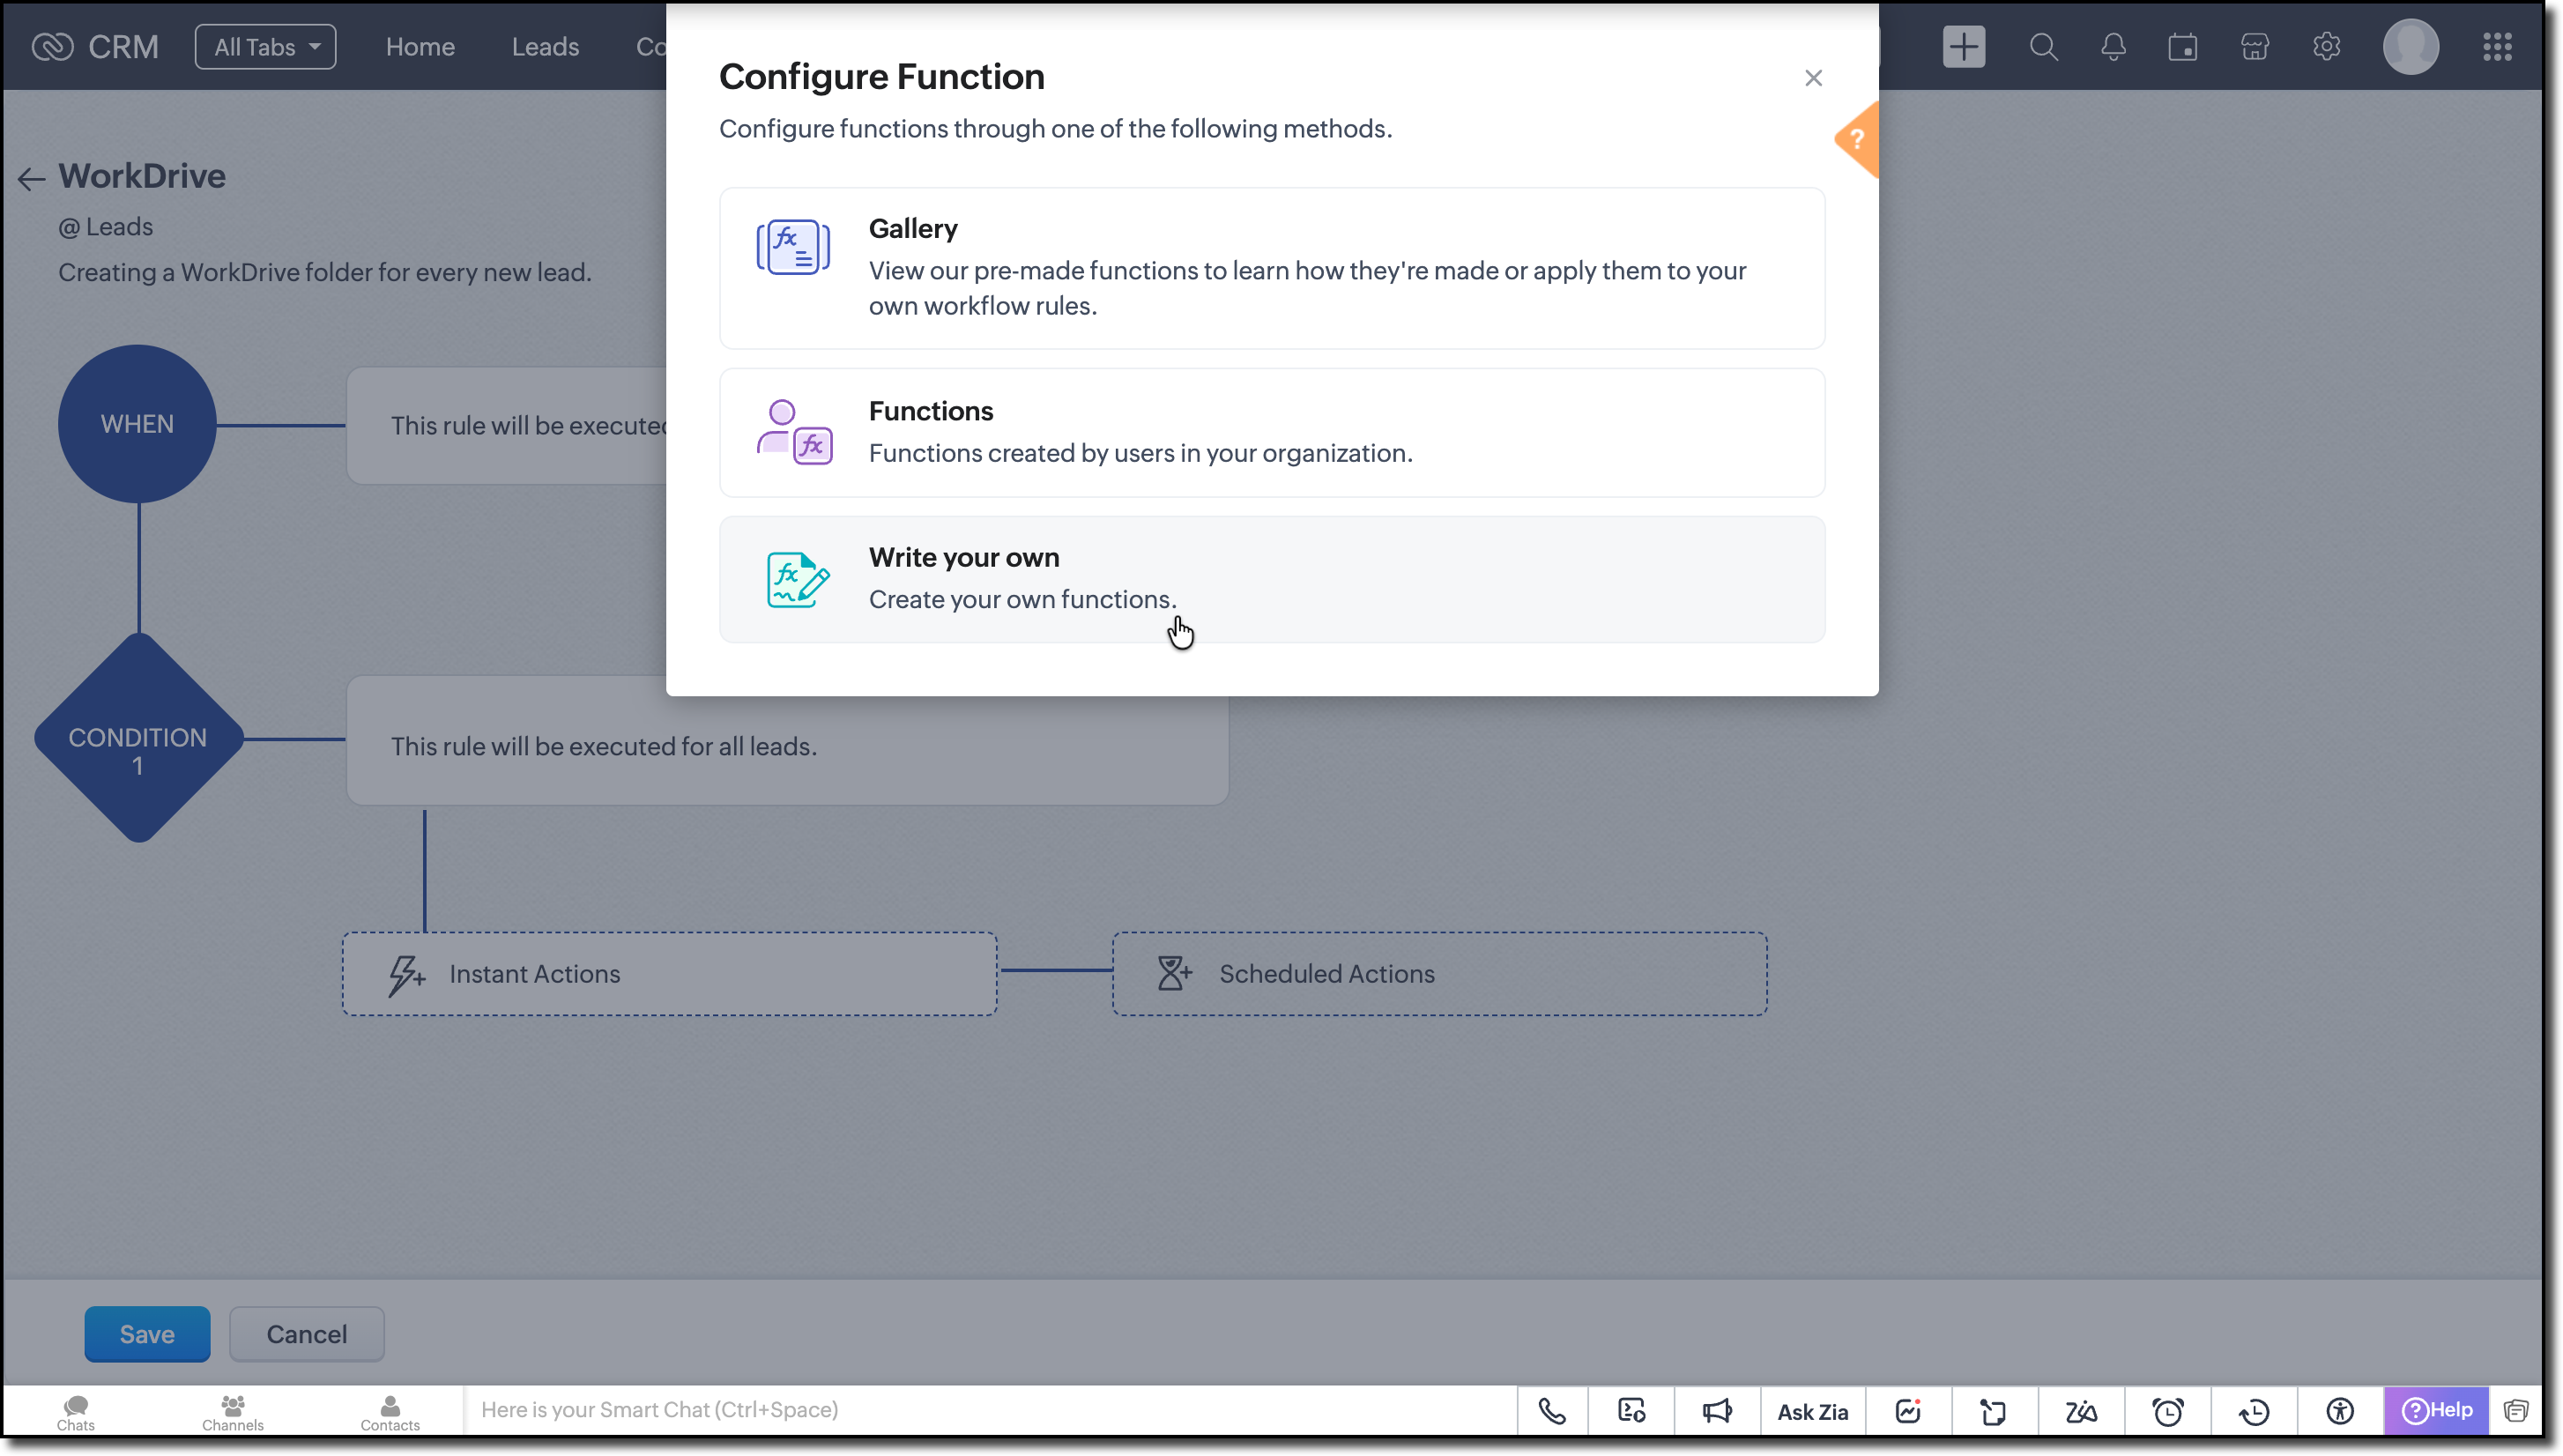
Building the Related List Widget
Step 1: Initialize the Widget Project
Review the basics from our earlier Kaizen on CLI Installation, Creating a Widget Project, and Internal hosting of the same.
Step 2: Develop your Widget
After setting up the widget project using CLI, implement the following code logic for the case we are discussing:
- Get the current record's ID from the PageLoad event.
- With the record ID, fetch the lead details using the GET Records API call using the GET ZRC method as shown here.
// data.Entity and data.EntitiyId are the module and record ID from PageLoad const response = await zrc.get( "/crm/v8/" + data.Entity + "/" + data.EntityId ); var workdriveFolderId = response.data.data[0].WorkDrive_Folder_ID; |
- Extract the WorkDrive Folder ID from the response to get the list of files from the folder.
- Since we'll be using WorkDrive APIs multiple times, let’s create a reusable instance with the Connection Link Name and API's base URL. This way, we avoid repeating the same setup for every API call.
Following is sample of how to create a custom instance:
workDriveZrc = zrc.createInstance({ baseUrl: "https://www.zohoapis.in/workdrive/api/v1", connection: "workdrive_oauth_connection", }); |
You can also check out the Create Instance in the requestConfig help section to learn more.
- Now, let us make the GET List of Files/Folder API call using the newly created ZRC instance.
let apiResponse = await workDriveZrc.get( "/files/" + workdriveFolderId + "/files", { headers: { Accept: "application/vnd.api+json", }, } ); |
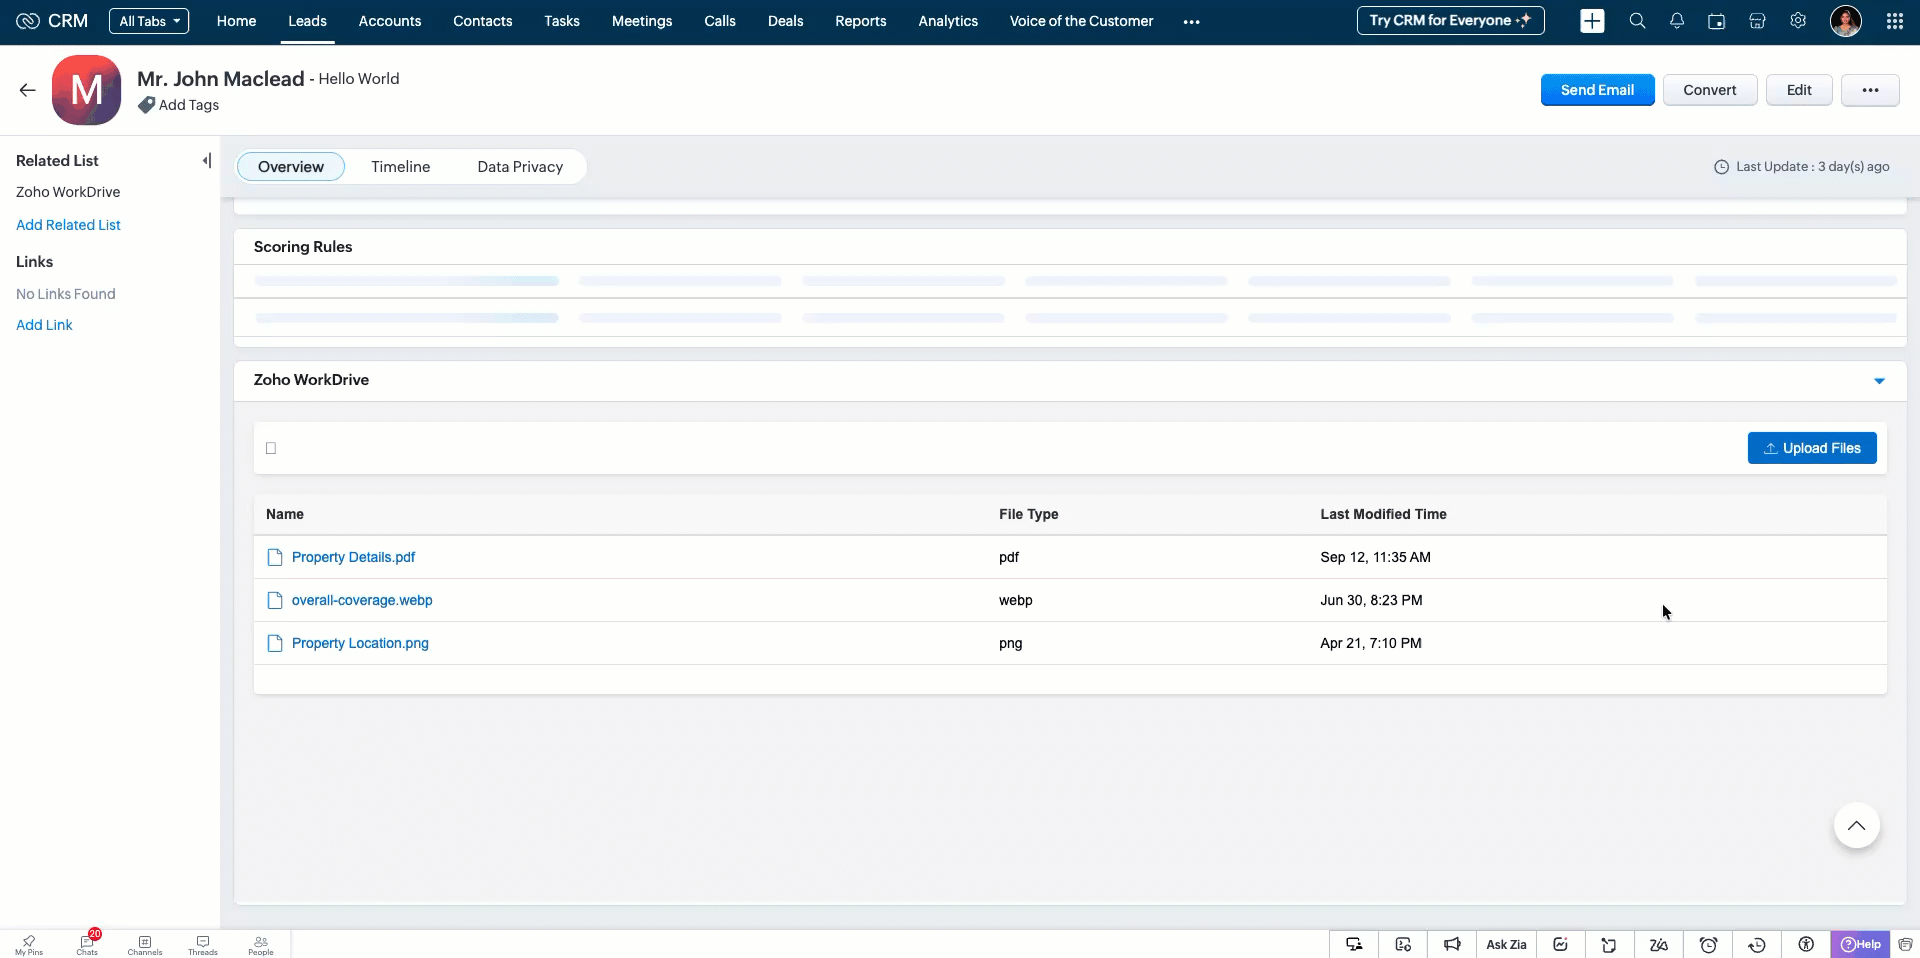
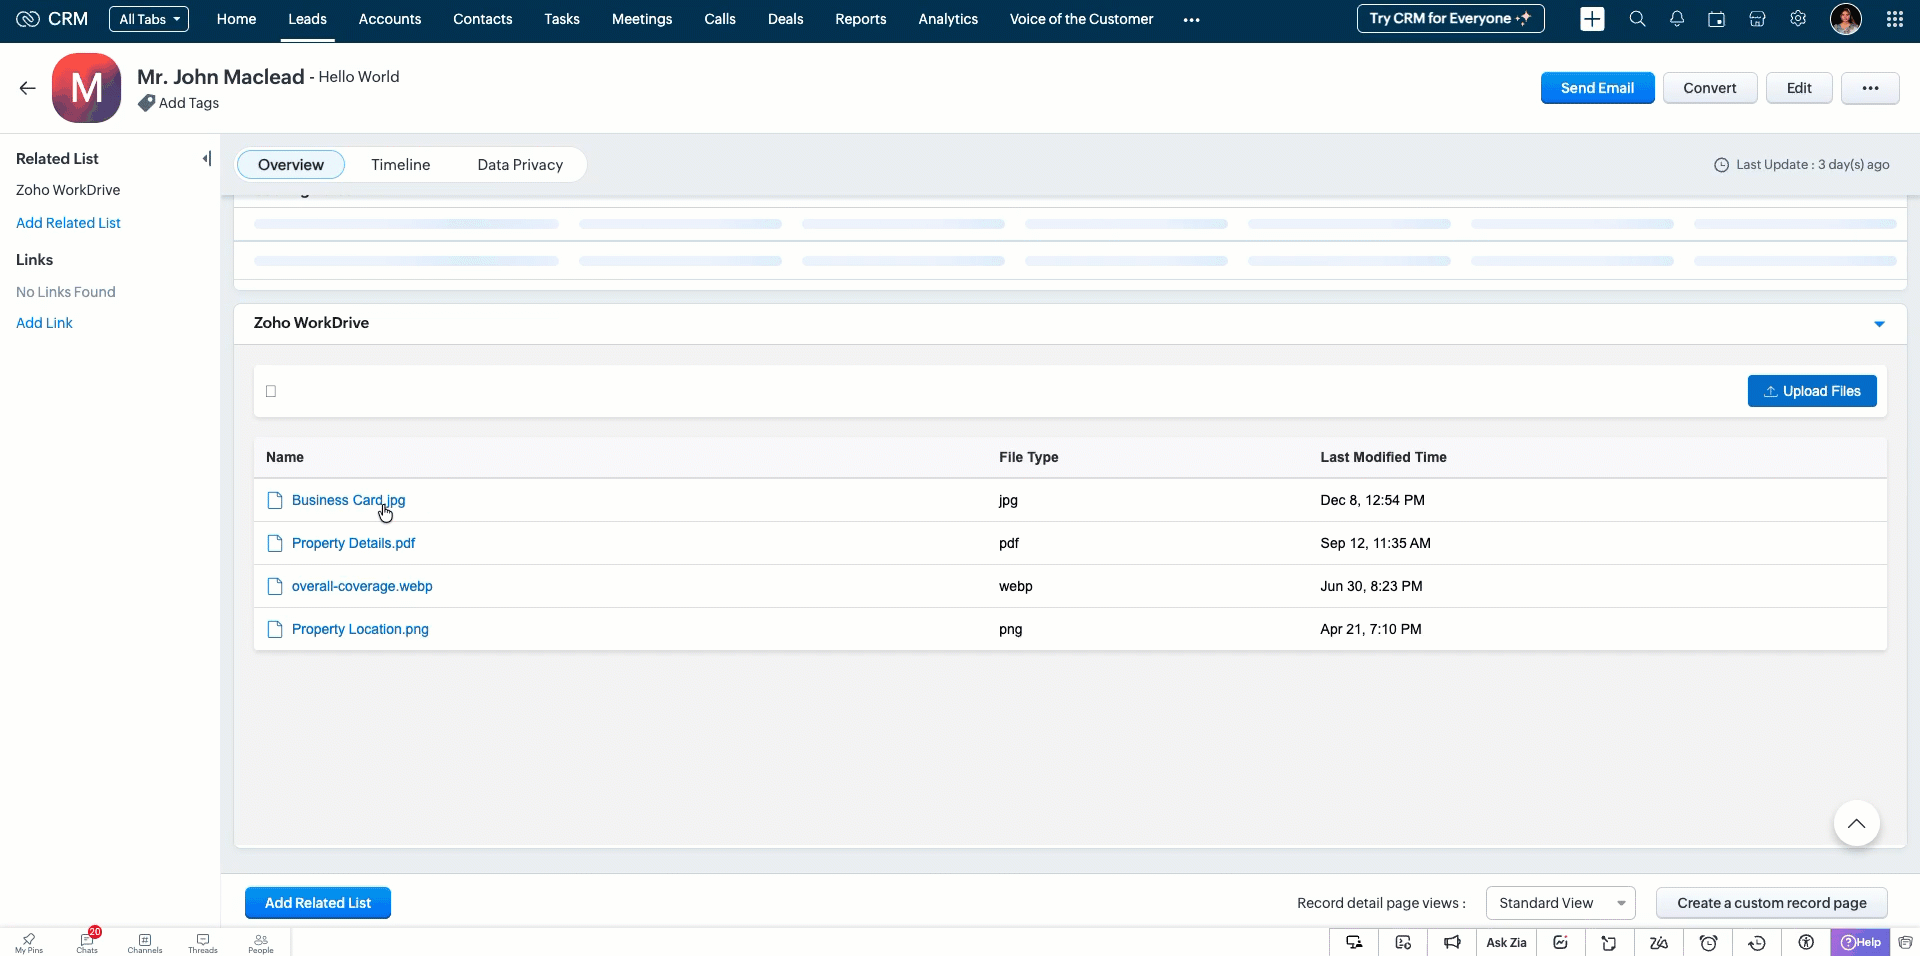
- Display the file details like File Name, Type and Modified Time in a table from the API response. Save the File ID in a variable for displaying preview.
- When user clicks a particular file, use the file ID to fetch the preview URL using the GET Preview Meta Data API. Then load the preview URL in an iframe to display the file.
try { const previewResponse = await workDriveZrc.get( "/files/" + resourceId + "/previewinfo", { headers: { Accept: "application/vnd.api+json", }, } ); parsed = JSON.parse(previewResponse.data); console.log("Preview Data:", parsed); // Extract the preview_url from the expected location previewUrl = parsed && parsed.data && parsed.data.attributes && parsed.data.attributes.preview_url || null; // Remove surrounding quotes if server wrapped the url in quotes if (typeof previewUrl === "string") { previewUrl = previewUrl.replace(/^"(.*)"$/, "$1").trim(); } } catch (err) { console.error("Error fetching preview info for resource:", resourceId, err); } function showPreview(previewUrl, fileName, permalink) { var modal = document.getElementById("modal-container"); var thumbnailFrame = document.getElementById("thumbnail-img"); var caption = document.getElementById("caption"); var workdriveLink = document.querySelector(".redirect-workdrive"); // Load the preview URL into the iframe thumbnailFrame.src = previewUrl; // Set the file name in caption and workdrive link caption.textContent = fileName; workdriveLink.setAttribute("data-link", permalink); // Show the modal modal.style.display = "block"; } |
- Create an Upload button for users to select files from their local. Convert the streamed files to blob and execute Upload API call using the custom ZRC instance.
async function workdriveUpload(file, fileType, fileName, folderId) { const fileBlob = new Blob([file], { type: fileType }); try { const formData = new FormData(); formData.append("filename", fileName); formData.append("parent_id", String(folderId).trim()); formData.append("content", fileBlob); const uploadResponse = await workDriveZrc.post( "/upload", formData, { headers: { "Content-Type": "multipart/form-data", }, } ); console.log("Upload response:", uploadResponse.data); return uploadResponse; } catch (error) { console.error("Error uploading file:", error); throw error; } } |
Step 3: Validate and Pack
Follow the steps given in the Widget help page to validate and package the widget.
Step 4: Upload to Zoho CRM
- Go to Zoho CRM > Setup > Developer Hub > Widgets and click Create New Widget.
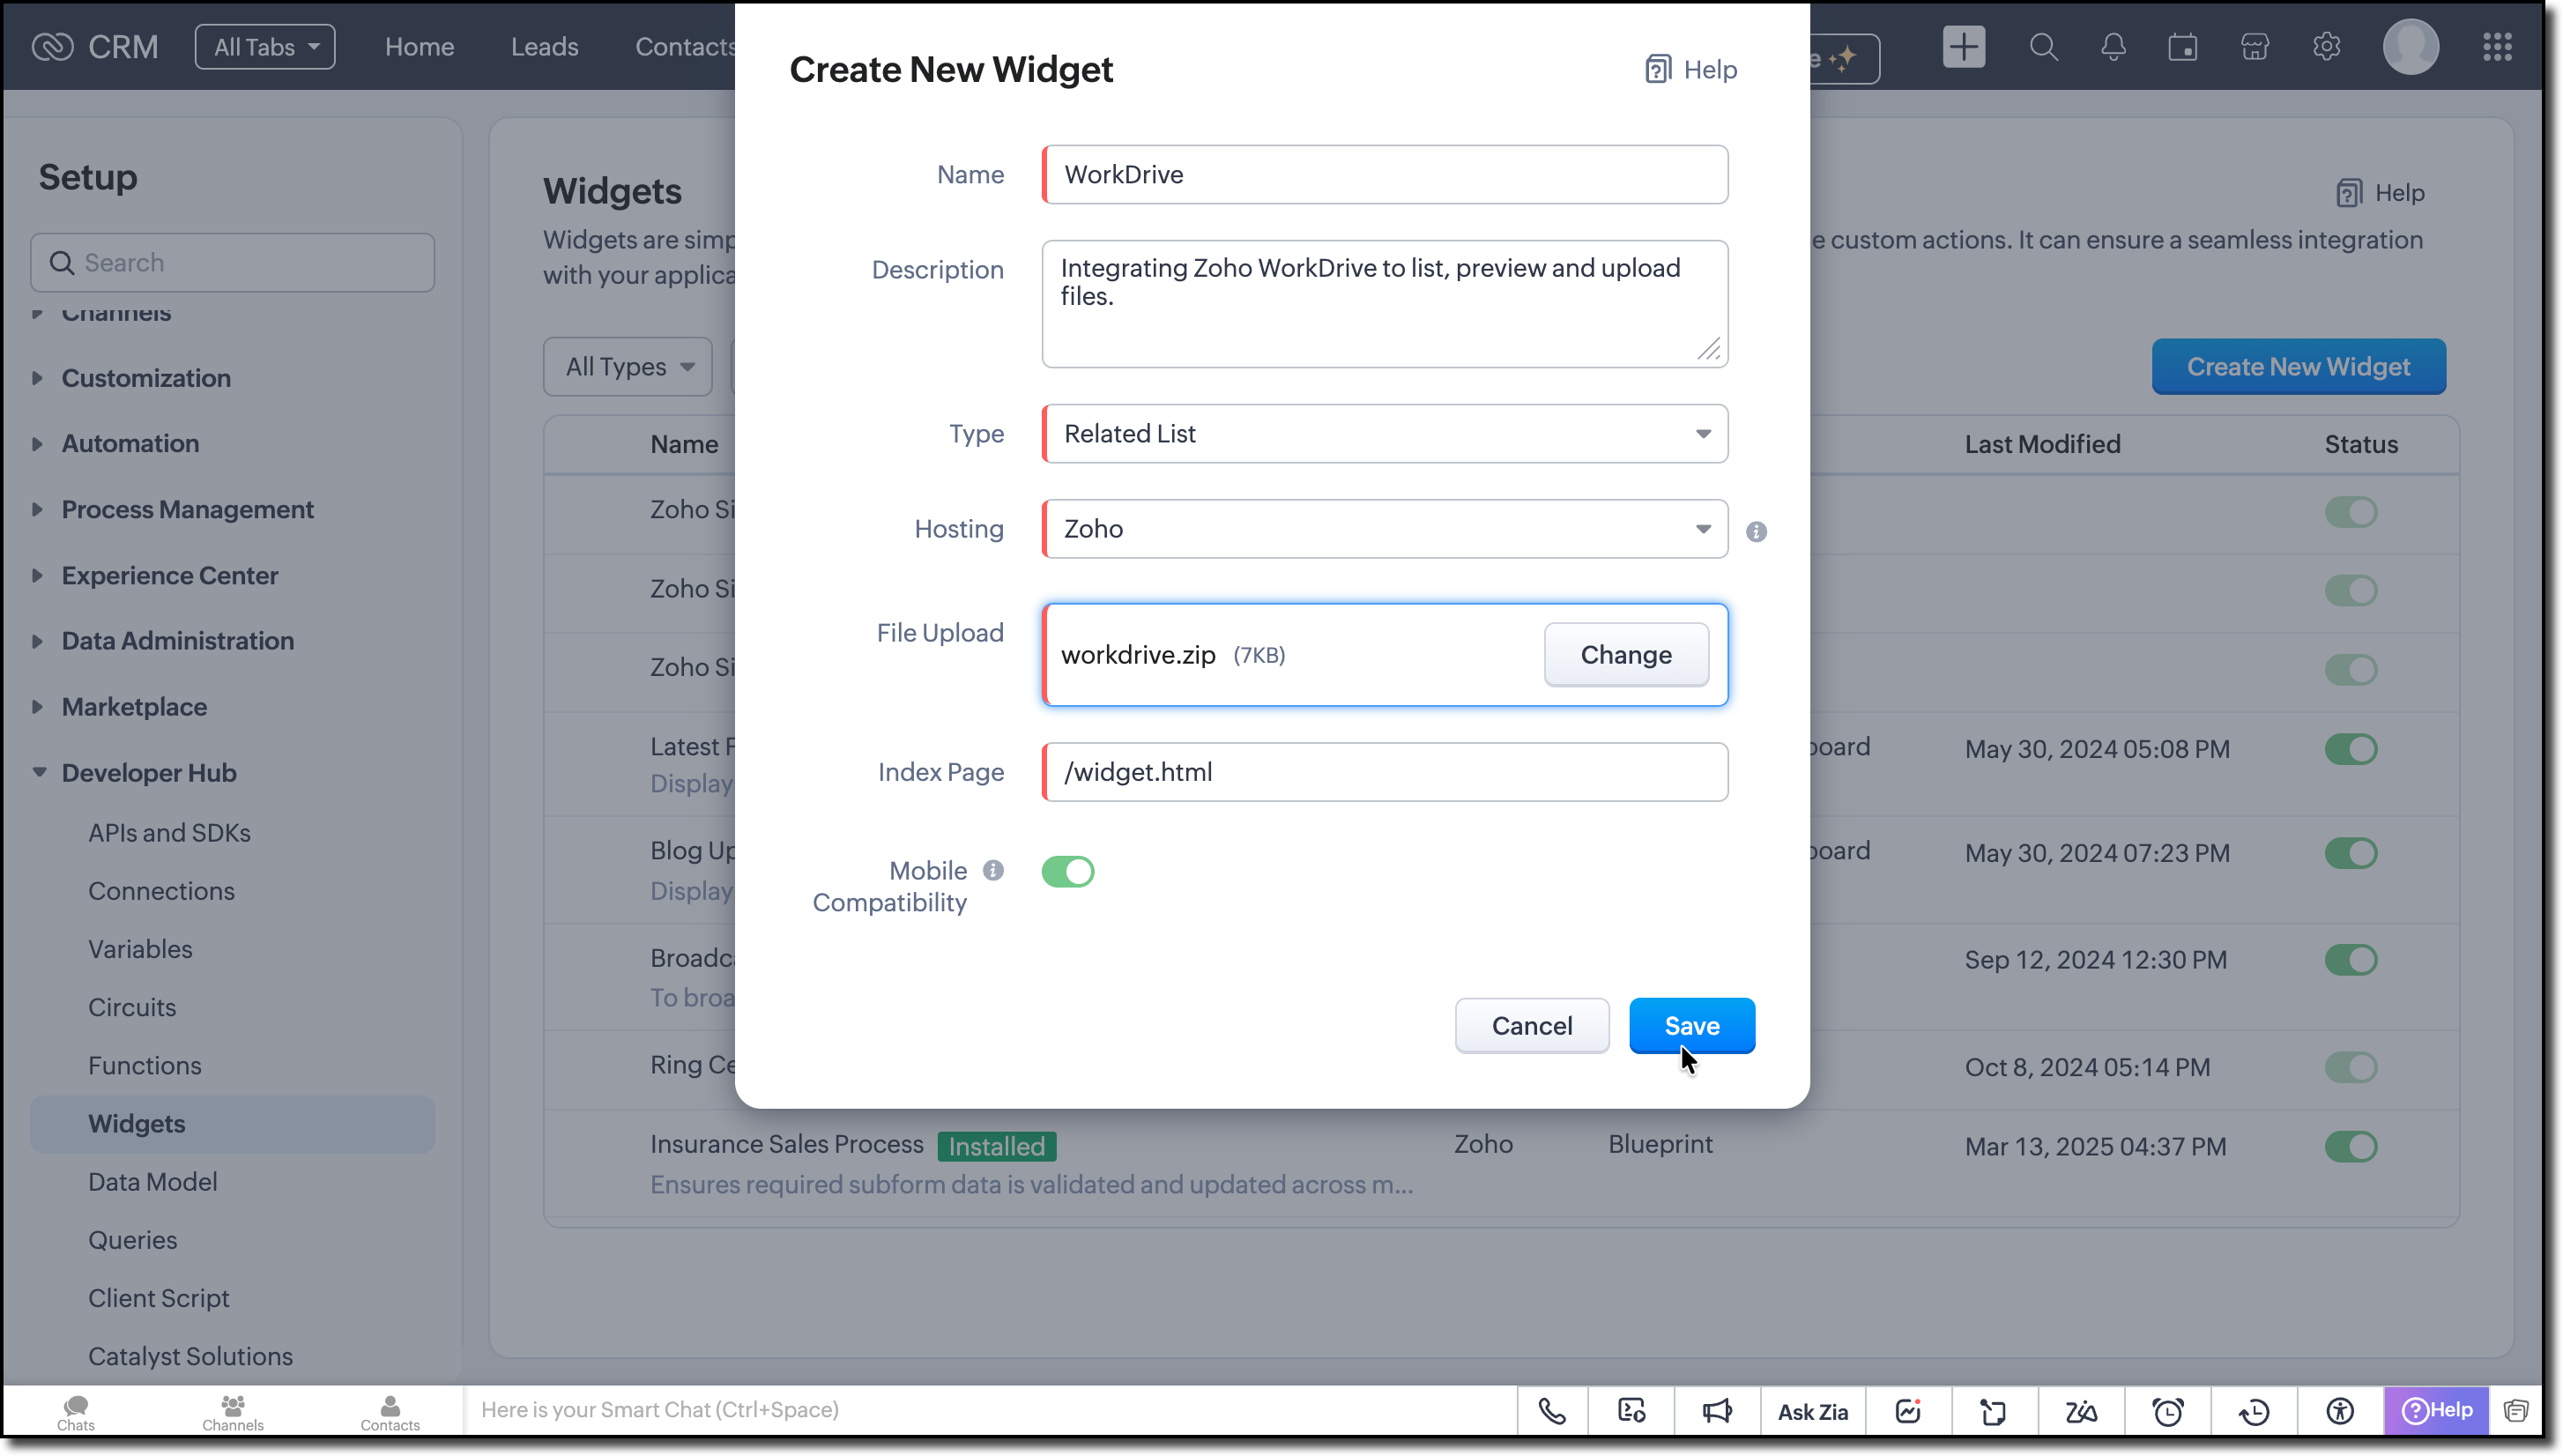
- Fill in the required details such as:
Name: Zoho WorkDrive
Type: Related List
Hosting: Zoho
File Upload: Upload the ZIP created in the dist folder within the widget project directory after packaging in the Step 3.
Index page: /widget.html
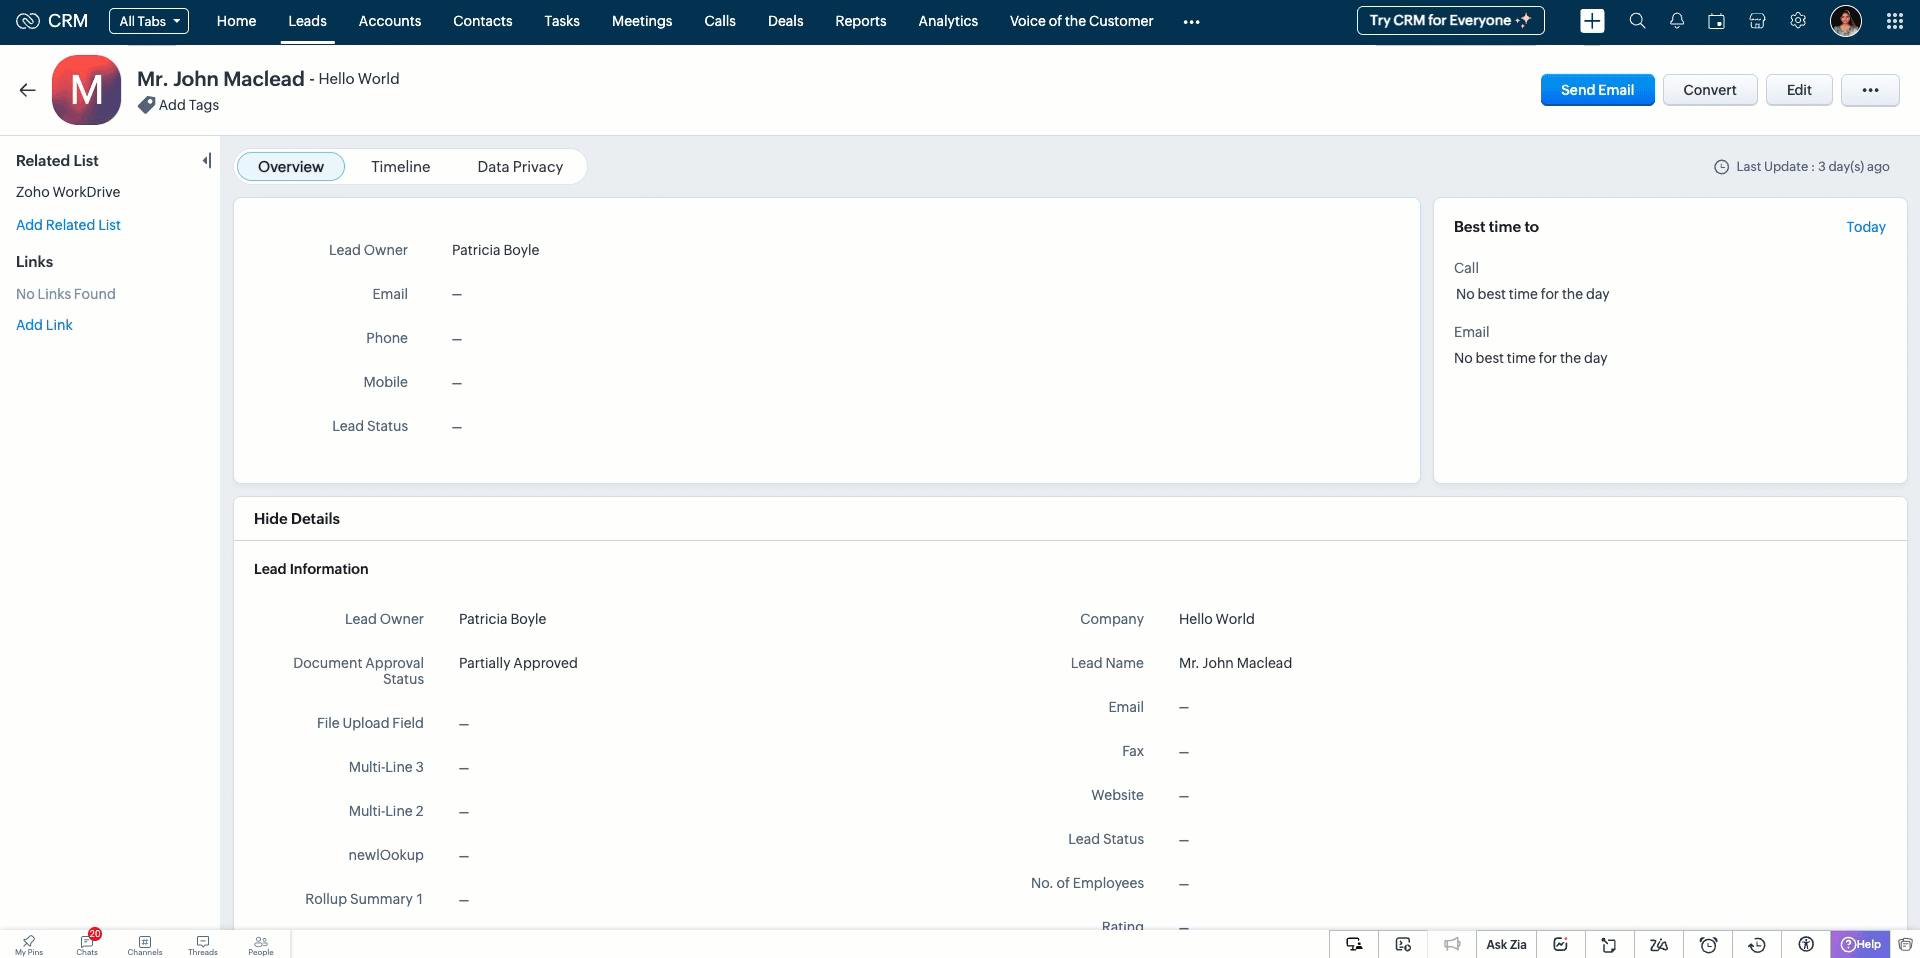
- Create a related list in the Leads module and associate this widget. Refer to the Customize Related Lists help page for more information on creating a related list.
Try it Out!
A complete working code sample of this widget is attached at the bottom of this post for reference.
Now let us see how this works from the Lead's detail page:
1. Listing the available files from Zoho WorkDrive on page load.
2. Uploading new files to the folder.
3. Previewing all the listed files.
We hope this Kaizen helps you explore the new ZRC capabilities and build seamless file-management experiences in Zoho CRM.
Have questions or suggestions? Drop them in the comments or write to us at support@zohocrm.com.
We will circle back to you next Friday with another interesting topic.
On to Better Building!
------------------------------------------------------------------------------------------------------
Related Reading
1. Widgets - An Overview, CLI Installation, Working with Widgets, ZRC Methods, Mobile Compatibility of Widgets and Kaizens
2. Connections - An Overview
6. CRM Customizations - Related Lists and Custom Fields.
------------------------------------------------------------------------------------------------------

Previous Kaizen: Client Script Support for Notes Related List | Kaizen Collection: Home