SlyteUI
Hello everyone!
Welcome to another interesting Kaizen post.
Today’s spotlight is on SlyteUI, the new UI builder designed to create powerful, intuitive user interfaces in minutes. Built for speed and simplicity, SlyteUI empowers teams to deliver high-impact experiences with minimal development effort, while still enabling deep customization through advanced coding capabilities. Click here to view the official SlyteUI announcement. SlyteUI can potentially address a wide range of business use cases and to begin, we’ll start with a quick and impactful example.
In this post, we’ll walk through a practical, real-world use case - Creating and reviewing Orders directly from the Detail page of Deals module.
In this Kaizen post,
1. What is SlyteUI
SlyteUI is a Component builder inside Zoho CRM that makes it much easier to create and embed custom user interfaces, from simple widgets to rich interactive screens within your CRM workspace. It blends the speed and simplicity of low-code with the power and flexibility of pro-code, so you can build useful CRM UI elements faster and smarter.
Currently, components built using SlyteUI are reusable and can be associated across related lists, web tabs, custom buttons, Client Script Containers ( popups, flyouts) and kiosks.
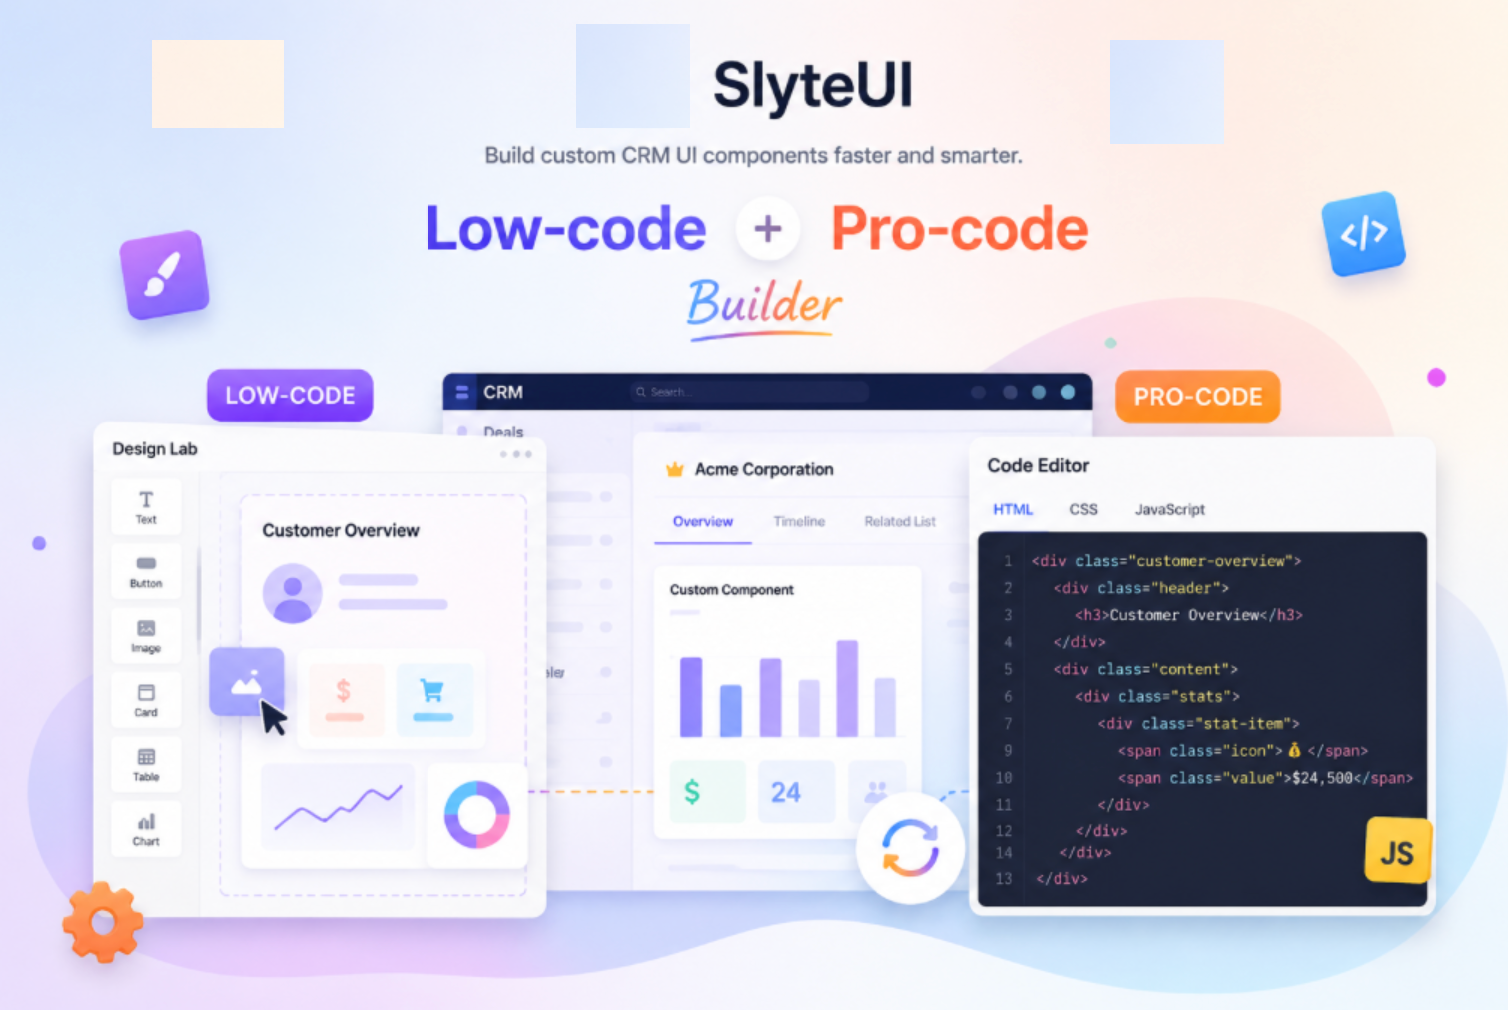
When you drag and drop a component onto the Art board in Design Lab, SlyteUI automatically generates synchronized HTML, CSS, and JavaScript files. Any configuration you make in the Design Lab is instantly reflected in the Code Editor, ensuring the visual design and code always stay in sync.
You can choose to:
1. Build using Design Lab’s low-code visual interface
2. Work directly in the Code Editor
3. Combine both approaches, depending on your comfort level and expertise.

2. Highlights of SlyteUI
- SlyteUI offers a dedicated IDE with drag-and-drop tools and a code editor.
- The SlyteUI Components automatically inherit the CRM’s theme, styles, and UI guidelines for visual consistency.
- It supports real-time data integration through Queries, enables deep CRM interaction using the ZDK client library, and allows event-based communication between components.
- It also supports externalized variables for dynamic field mapping and advanced capabilities such as data binding, lifecycle hooks, observers, expressions, and helpers. Click here to know more about SlyteUI.
If you are new to SlyteUI, it is recommended to explore the Design Lab and Components documentation first.
3. Use Case
At Zylker Industries, Sam, a Sales Manager, manages high-value deals and Orders. He needs to create or initiate Orders seamlessly at the time of Deal closure. To prevent duplicate Orders, Sam needs visibility into Orders already linked to the Deal. Navigating across multiple modules slows him down at a critical moment. Sam is looking for a way to create and review Orders from the Detail page of Deals Module.

4. Solution
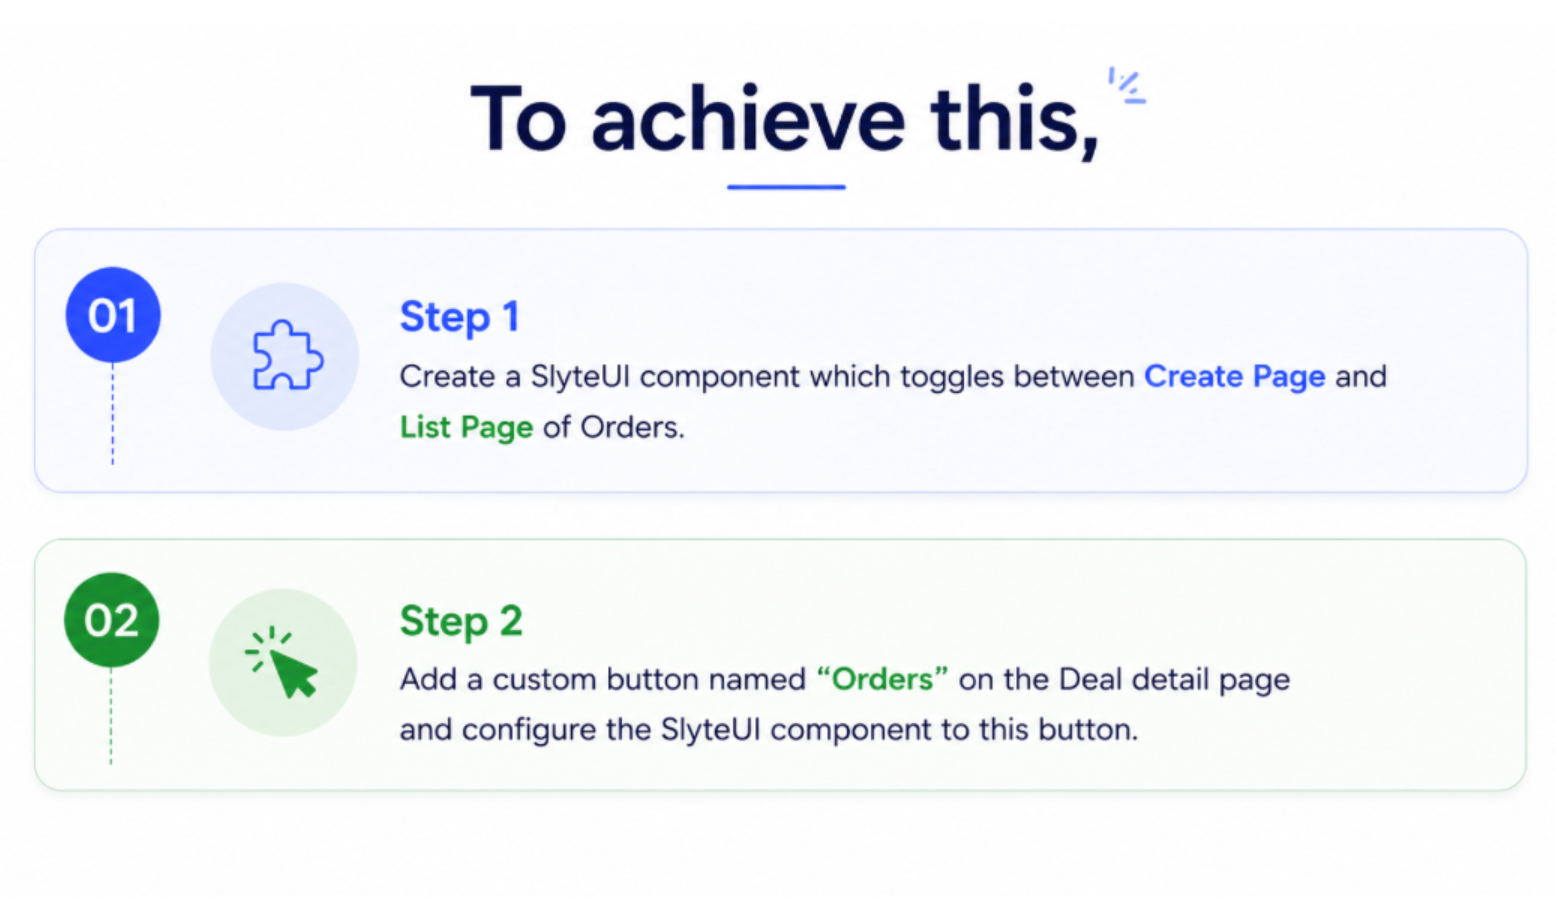
Step - 1. Create a SlyteUI component which toggles between Create Page and List Page
- Navigate to Setup → Developer Hub → SlyteUI.
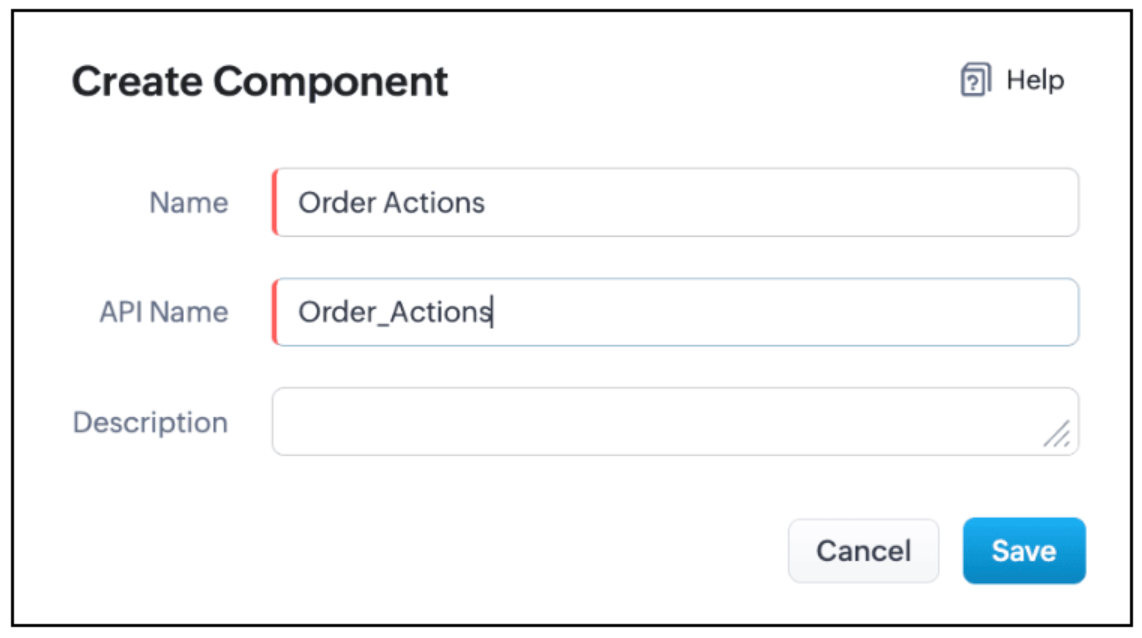
- Click New Component.
- Enter a name for the component and click Save. The SlyteUI IDE opens.
The following video showcases a guided, step-by-step implementation using SlyteUI.
- Drag and drop the Tabs component onto the Artboard and rename the first tab to Create Order.
- Drag and drop the Create Page component into the first tab and set Module API name to Orders.
- Switch to the next tab and rename it to List of Orders.
- Drag and drop the List View component into this tab and configure Module API name as Orders.
- Remove any additional tabs that are not required.
Step - 2. Add a custom button named “Orders” on the Deal detail page and configure the SlyteUI component to this button.
- Navigate to Setup → Customization → Modules and Fields.
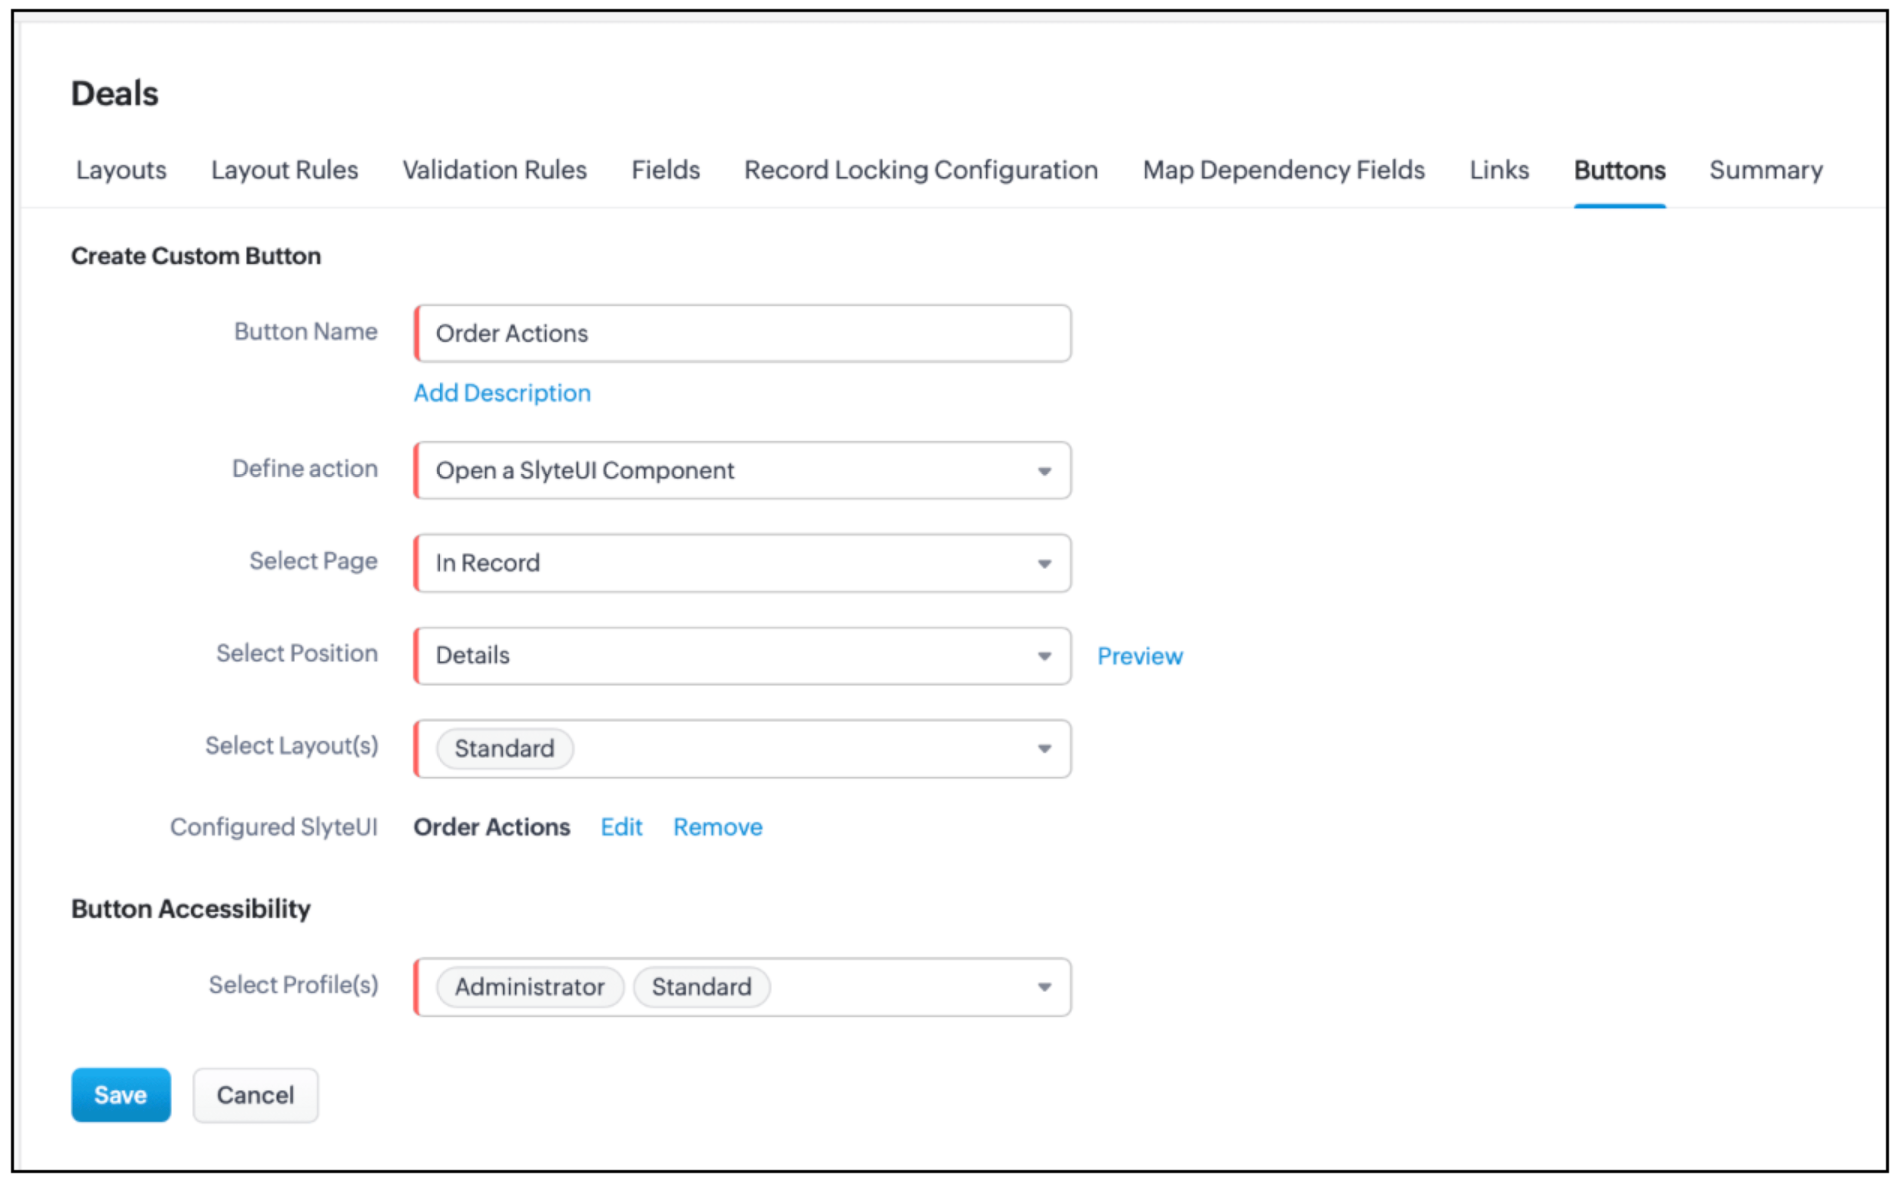
- Select the Deals module, open the Buttons tab, and click Create New Button.
- Enter the button name, add the SlyteUI component name, and configure the required details as illustrated below.
Here is how the SlyteUI implementation works.

Clicking the button opens a SlyteUI component within the Deal. You can create new Orders or review existing ones without leaving the page. Orders become part of the deal flow, ensuring speed, accuracy, and consistency.
5. Summary
How to create a SlyteUI Component?
How to use components - tabs, List View and Create Page?
How to add SlyteUI component on click of a button?
6. Related Links
Creating your first SlyteUI Component
