Integrate with WhatsApp Business Account
You can integrate your WhatsApp business account with Zoho Campaigns. You can manage your contacts, send them WhatsApp campaigns, and save WhatsApp content templates.
Prerequisites
Before you integrate your WhatsApp Business account with Zoho Campaigns, you need to meet the following prerequisites:
For new users:
- You need to have a WhatsApp Business account and dedicated phone numbers to use the WhatsApp Business API. You’ll receive an authentication code to the dedicated number to verify the number in our platform.
- You need to have created a personal Facebook account (linked to your business email) to send WhatsApp campaigns.
- You need to have a valid website for your business, and you’ll need to have a legal name and an address for your business that can be displayed in campaigns if required.
For existing users:
- If you already have a WhatsApp Business account connected with another provider, you need to disconnect it from that provider before you integrate with Zoho Campaigns.
- You need to turn off two-factor authentication in Meta before you proceed with the integration.

Note:
- If your WhatsApp Business account is restricted by Meta, you won’t be able to connect it with Zoho Campaigns. You can submit a request to Meta to review and resolve the restriction before you try integrating again.
- Only one WhatsApp Business account can be integrated with Zoho Campaign at a time.
How to integrate with WhatsApp business account? 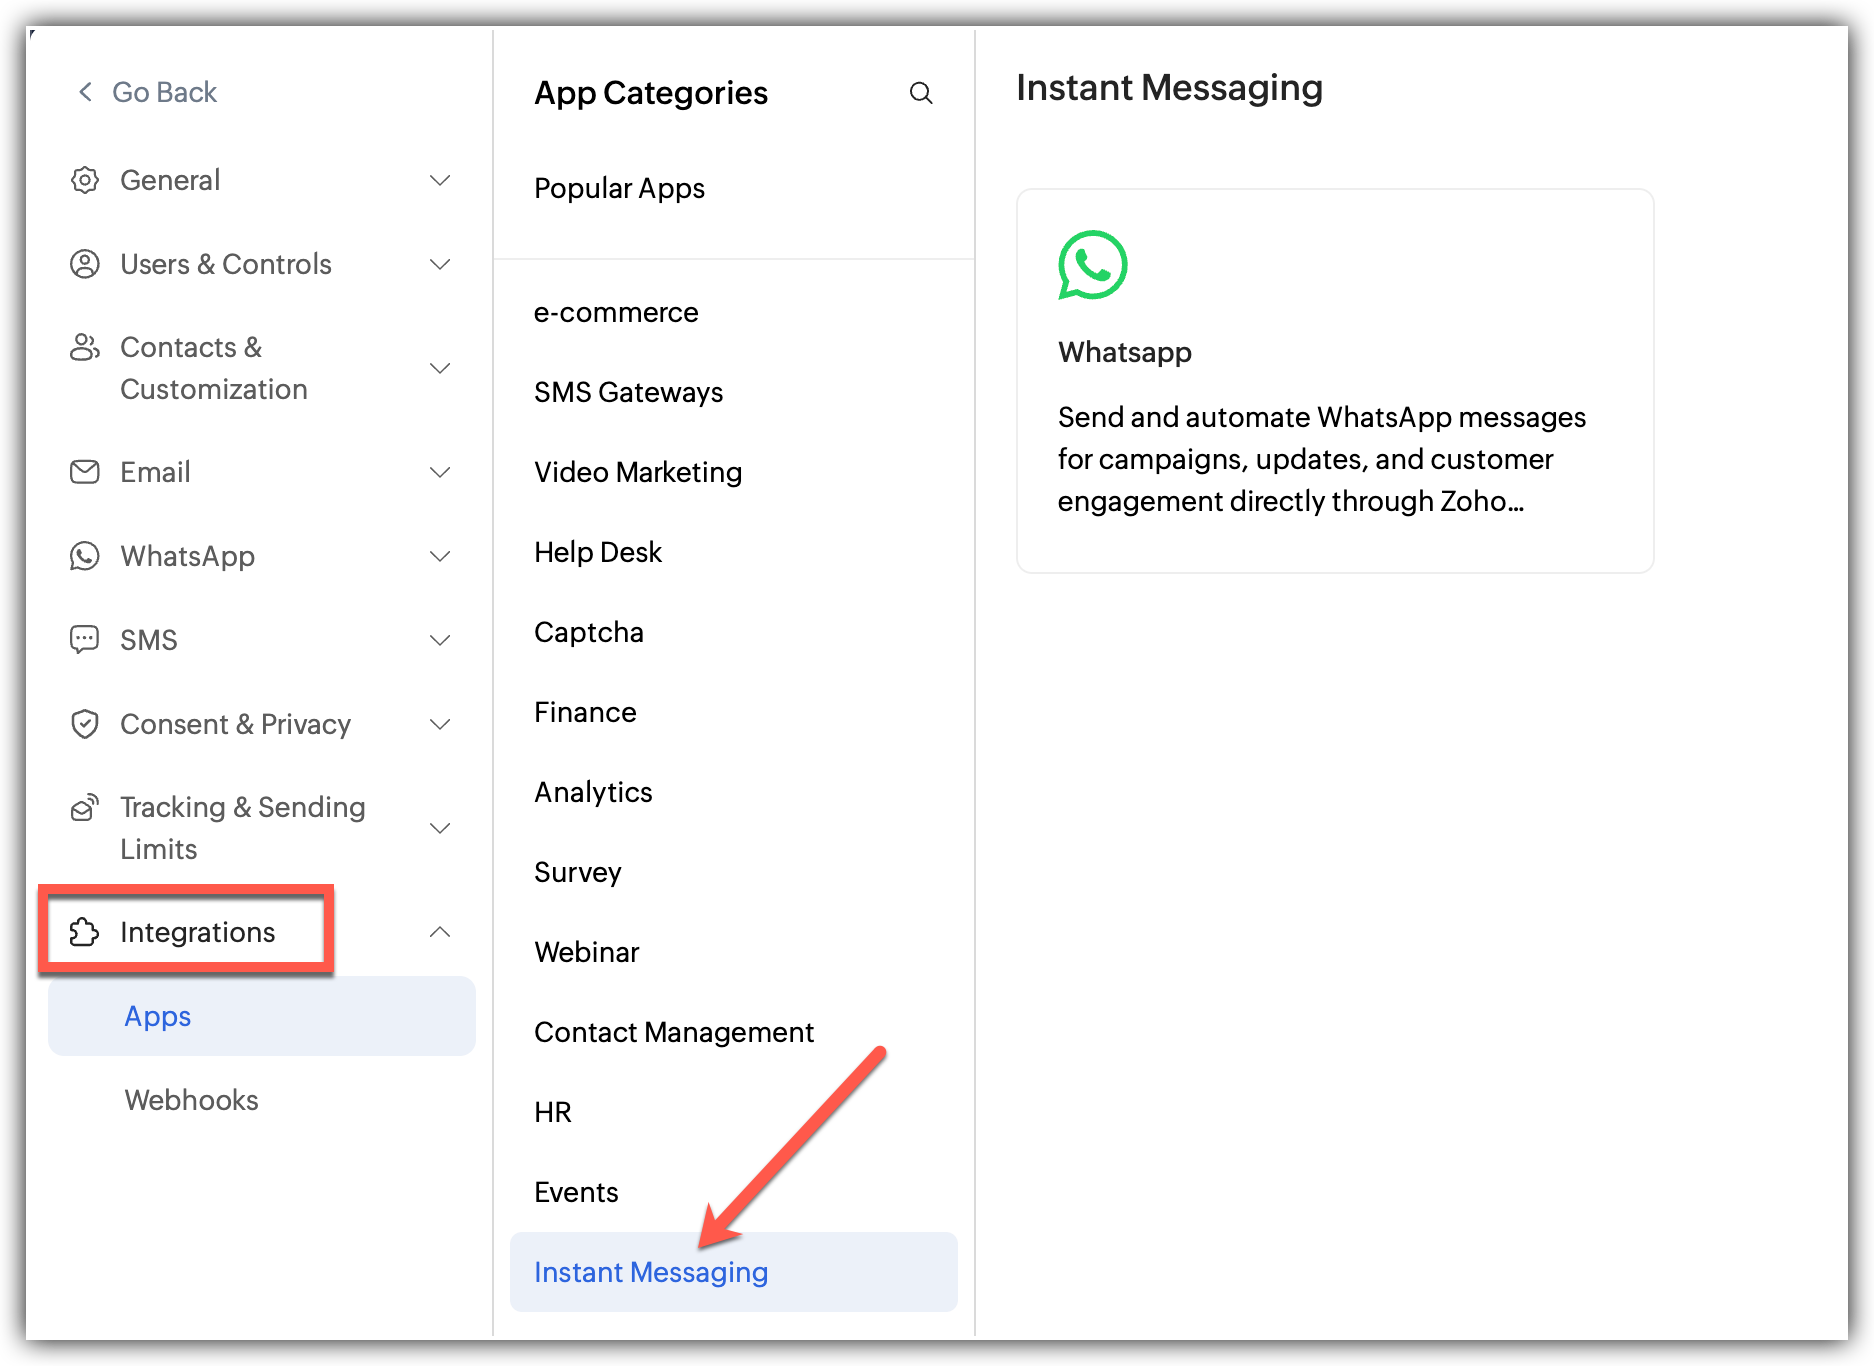
If you already have a WhatsApp business account:
- Click the Settings icon.
- Choose Apps under Integrations.
- Click Connect Apps.
- Select Instant Messaging from the available app options.
- Click WhatsApp and click Connect.
- Check the confirmation box and click Continue in the confirmation pop-up.
- You'll be prompted to login to a Facebook account. Enter the credentials to log in to the account that is linked to your business email.
- Once you login to Meta (Facebook), you can select an existing business account or create a new one. Choose select an existing business and select your business from the dropdown.
- Agree to the terms and conditions by clicking Next in the respective popup. Follow through the process and verify your business phone number.
If you are creating a new WhatsApp business account:
- Click the Settings icon. choose Apps under Integrations.
- Choose Apps under Integrations.
- Click Connect Apps.
- Select Instant Messaging from the available app options.
- Click WhatsApp and click Connect.
- Once you login to Meta(Facebook), you can select an existing business account or create a new one. Choose create a new business account option.
- Enter the details about your business and then proceed to create a business portfolio. The details are:
- WhatsApp business name
- WhatsApp business email address
- Website or profile page
- Country
- Agree to the terms and conditions by clicking Next in the respective popup.
- Choose a business account and create a new business profile.
- Create the WhatsApp business account by providing the following details:
- WhatsApp business account name (provided in the previous step
- WhatsApp profile display name
- Business category
- Business description and website (optional)
- Add the phone number for verification. This is the number that people will see when they chat with you. Click Next.
- The account will be integrated with Zoho Marketing Automation once you verify the phone number by entering the appropriate verification code.
- Click Save after reviewing Zoho Social's Terms and Policies.
Once you've integrated Zoho Marketing Automation with your WhatsApp Business account, you need to add phone numbers through which campaigns will be sent.
Add multiple phone numbers
You can add your phone numbers by following these steps:
- Click the Settings icon.
- Choose WhatsApp under Marketing Channels.
- Navigate to the Phone label and numbers section and click Add New Number.
- Click Add Number to log in to Facebook and add a new number.

Refer this document if you want to disconnect WhatsApp integration.