Setting up custom domain in portal
 This help page is for users in Creator 6. If you are in the older version (Creator 5), click here. Know your Creator version.
Please verify your unverified domains before Feb 10th, 2025 to ensure uninterrupted portal access and maintain security compliance.
To set up custom domain:
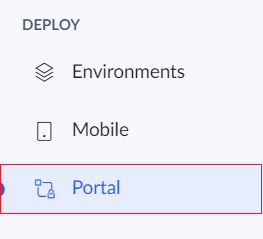
- Click Portal under the Deploy section.
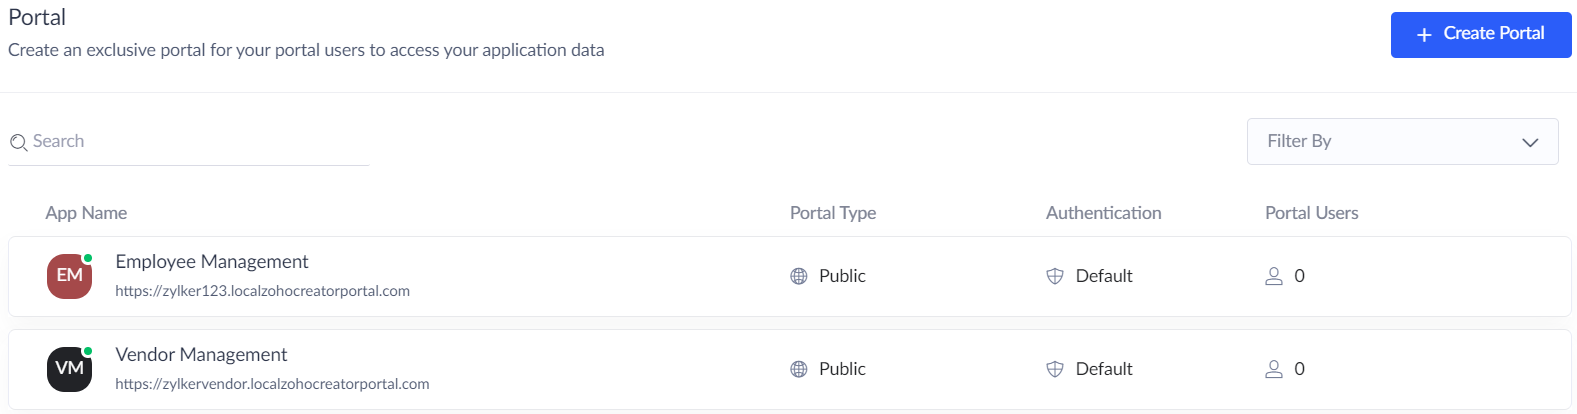
- A list of portals will be displayed. Click on the required portal.
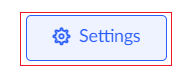
- Click Settings button.
- The Customer Portal Settings tab will appear.
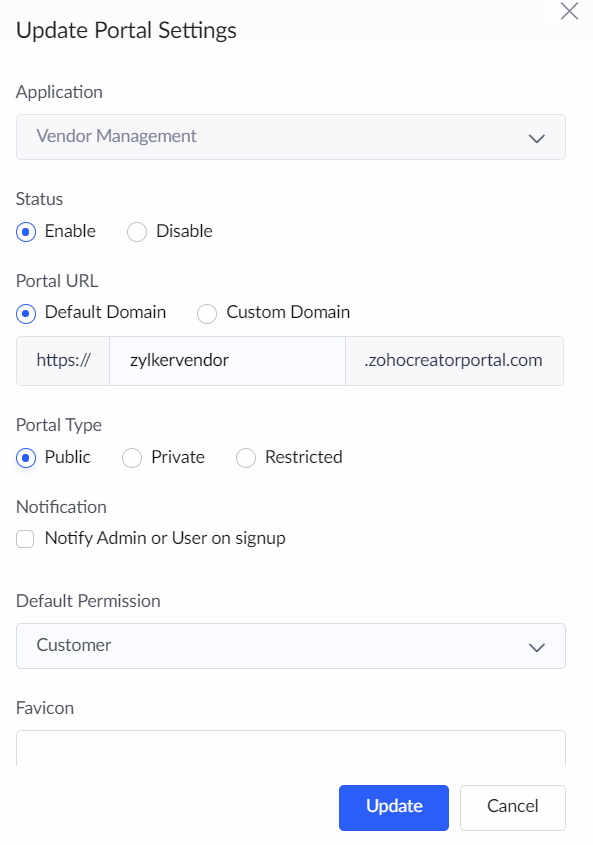
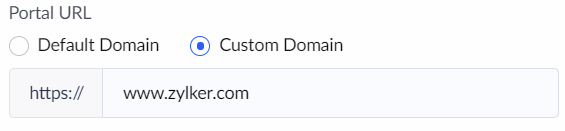
- Select Custom Domain under Portal URL, and enter the custom domain name, then click Update.
- The new domain name will be reflected in the customer portal page. The custom domain has to be verified before it can be used. Learn more.