Configure QuickBooks integration in approval process
To configure the action,
- Choose the form that you want to set the Approval process to and name the workflow. Click Create Workflow. Read more
- Add a new approver to the workflow. Read more
- Navigate to the required approval block in the approval workflow.
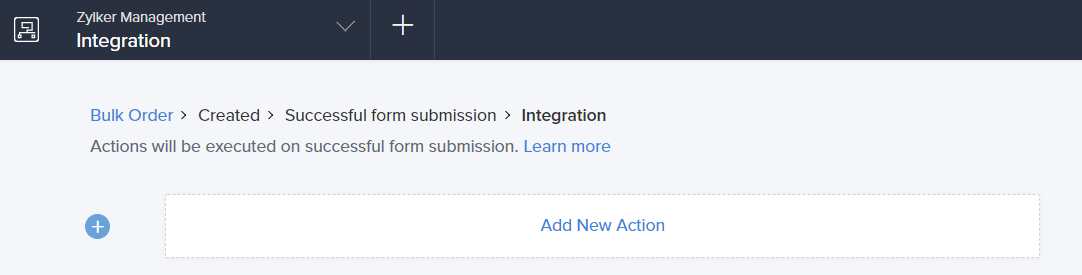
- Click the Add New Action icon. The Add New Action window will slide in from the right.
- Zoho Creator executes the action whenever there is an activity on the form. You can run the action for selected records by setting the criteria. Refer to the Set criteria page to learn more about setting criteria in a workflow.

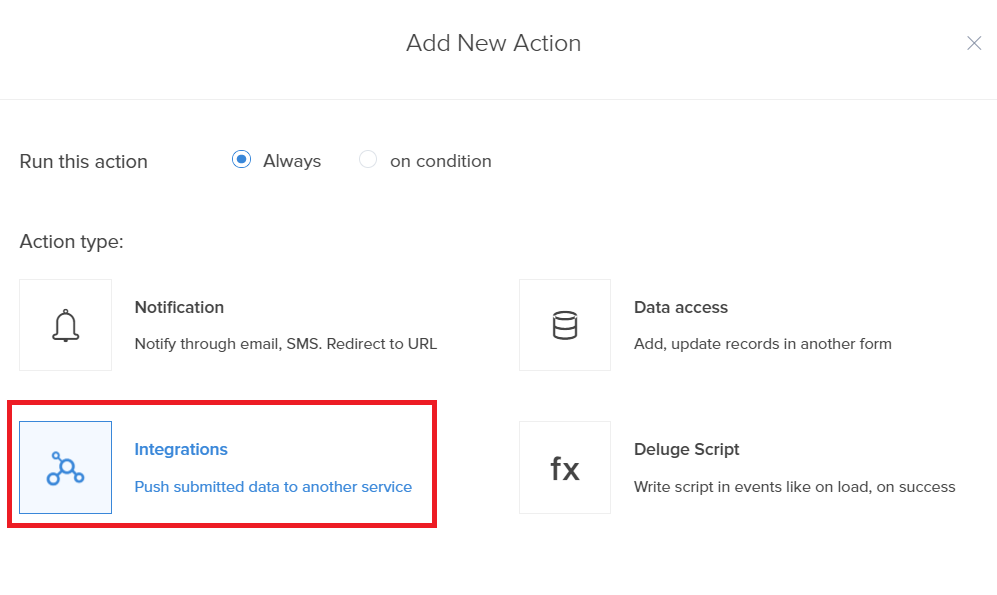
- Select Integrations action type.
- Choose QuickBooks from the Service list.
- Choose Add New Connection from the Connection drop-down field.

- Specify the Connection Name and click Authorise.

- The browser will open the QuickBooks login page on a new tab. Specify the Username and Password of your QuickBooks account and click Sign In.

- Click Connect to authorize Zoho Creator to access your Company's data in QuickBooks .

- Upon successful authentication, choose the QuickBooks module that you want to push the data to.

- Based on the selection made in the Module field, Zoho Creator lists the mandatory and other fields
- Mandatory fields - These are the required fields in the chosen QuickBooks module that must be mapped to a corresponding field in Zoho Creator. The drop-down lists the fields on your Creator form. Select the required field.
 Note: The mandatory fields vary based on the selected service and module.
 - Other fields - You can map fields in the chosen QuickBooks module to the fields in your Zoho Creator form. This is optional. Click Add icon to map more fields.

- Click Save.
- Click Done in the top-right corner of the screen.