Customizing Home Tab
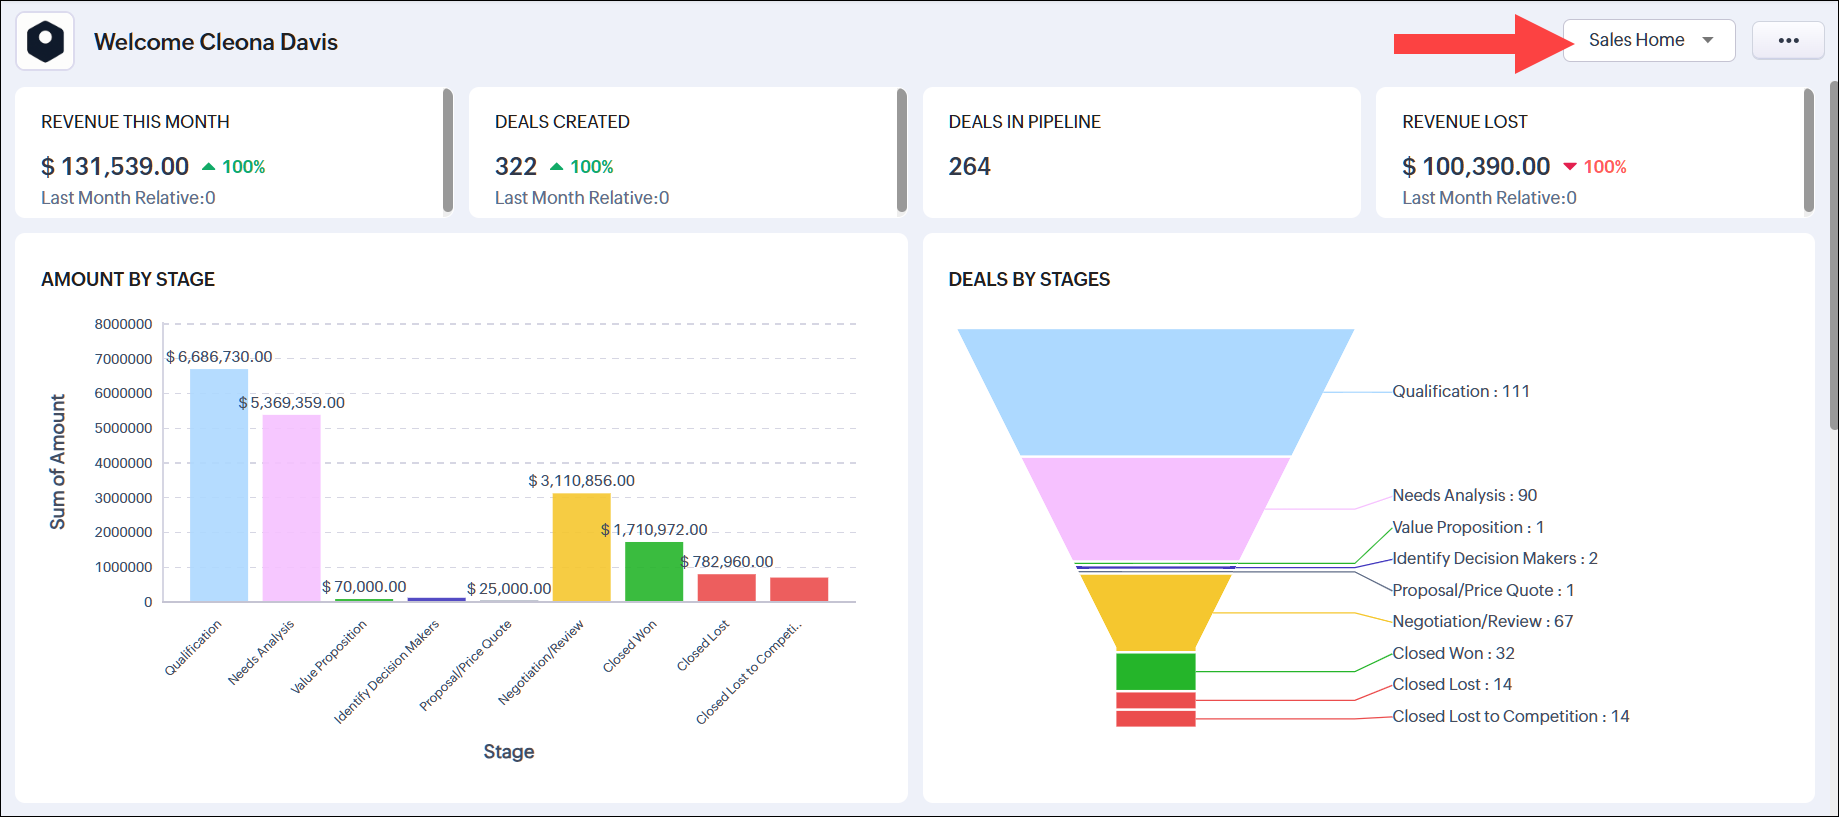
The Home tab of Zoho CRM is a quick indicator of the progress of all your CRM activities. It contains components from different modules such as Tasks, Deals, Dashboards and so on. One quick glance at the components of the Home tab will tell you how your sales activities are faring.
Besides indicating the progress of your CRM activities, the Home tab also serves as a great place to organize your day's work, as well as your teams'. This is possible by means of the four types of "Views" in the Home tab of Zoho CRM.
Classic View

User's Home Page
Individual users can customize the Home tab for their own account in User's Home Page. You can add components and build your homepage your way. These components can be dragged-and-dropped, resized and moved around to fit well on the page, enabling you to configure the layout the way you want.
Customized Home Page
You can also create and share a common view across roles and profiles based on what you want them to view. Using the Customized Home Page, you can add components you wish them to look at when they log into CRM. Once Customized Home page is created for a particular role or profile, the users associated with that role or profile will be able to access it when they log in to Zoho CRM.
Manager's Home Page
Switch between the Home Pages
To switch to other views
- Select the home tab in the list of modules in the sidebar.
- In the Home tab, click the drop-down at the top right corner.
- Select the desired view from the list that you want to switch to.
Create Customized Home Page
You can customize the Home page for users based on what you want them to look at once they log into Zoho CRM. You can share this Home page with multiple roles or profiles or groups or territories. They can switch to other views when required. Each time they log into the CRM, the last home page that was selected will be displayed.
To create Customized Home Page
- Go to Setup
> Customization > Customize Home Page.
Alternatively, you can also go to the Home Tab, click the drop-down on the top right corner and select Customize Home Page. -
Click + New Home Page.
- Click Dashboard.
-
Choose a Dashboard from the drop-down list and drag-and-drop the components that you want to add in the Home page.
- Click Custom Views.
-
Choose a Module from the drop-down list and drag-and-drop components to add custom view components.
-
Click Kiosk.
-
Drag-and-drop a kiosk from the list onto your homepage.
- Click Reports.
- Choose the category of reports from the drop-down list.
- Drag-and-drop the report of your choice onto your homepage.
- Click Voice of the Customer.
- Choose the category of VoCs from the drop-down list.
- Drag-and-drop the VoC of your choice onto your homepage.
- Click Agents.
- Drag-and-drop the agent you want onto your homepage. To view its stats, click Get Agent Insights on the component. Viewing insights uses your agent credits.
- Click Advanced Components.
- Drag and drop the components of your choice - My Open Activities, Rich Text, Quick Links.
- Resize or move the components around to organize the page once all the required components are added.
- Click Save & Share.
- In the Edit Properties popup, do the following:
- Specify a name for the customized home page.
- Add a description.
- Choose the roles and profiles of the users with which you want to share this page.
- You can share it with Users, Groups, Roles, Profiles, and Territories.
- Click Save.
 Note
Note
- Make sure that the home tab is added to your teamspace. Contact your admin/ teamspace admin if it has not been added.
- Once added, make sure that the customized home page is active, so that it can be accessed by the respective users. To do this, navigate to Setup
- To delete or edit the properties of a customized home page, hover over the respective customized home page from the list and click on the three dots
. You can select and execute the required action from the pop-up.
Add Components in User's Home Page
In the User's Home Page, you can add components of your choice. Each component will list data from various others modules like the Leads, Potentials, Dashboards etc.
To add components
- In the Home tab, go to the User's Home from the drop-down on the top right corner.
- Click
 More > Add Component.
 - In the Add Component pop-up window, do the following:
- In the Get from field, choose from
- Dashboard
- Custom View
- Widgets
- Kiosk
- Reports
- Voice of the Customer
- Advanced Components
- Agents
Dashboards
- Choose the Dashboard from which you wish to add the component and drag-and-drop it onto your Homepage.
Custom View
- Select the module and choose the required custom view. Drag-and-drop it onto your homepage.
Widgets (To know more about working with widgets click here.) - Dashboard
- Choose Widgets and drag-and-drop onto your homepage.
- You can add a widget from the list or click +Create New Widget to create a new widget.
- In create a new widget page do the following.
- Enter the Name, Description and choose the preferred hosting type from the drop down list.
- To host internally
- Select Zoho from the hosting drop down list.
- Upload the file of your application.
- Provide the index page URL for your application and click Save.
- Select Zoho from the hosting drop down list.
- To host externally
- Choose External from the hosting drop down list.
- Provide the Base URL for your application and click Save.
- Choose External from the hosting drop down list.
- Enter the Name, Description and choose the preferred hosting type from the drop down list.
- You can add a widget from the list or click +Create New Widget to create a new widget.
- Drag-and-drop the Kiosk you want onto your homepage.
- Select the category of reports you want and drag-and-drop the specific report of your choice to your homepage.
- Select the category of VoCs you want and drag-and-drop the specific one of your choice to your homepage.
Agents
- Choose Agents and drag-and-drop the agent you want onto your homepage. Every agent configured in your account is listed here. Unlike other components, an agent does not fetch its insights automatically. Click Get Agent Insights on the component to view its current stats. Viewing insights uses your agent credits.
- My Open Activities
- Rich Text
- Quick Links
-
Note
-
In the Classic View, you cannot customize the components. The number of records per page can be selected by the user.
-
Based on the Zoho CRM Edition, users can select the records per page.
-
Users can have access to multiple Home Pages. A user can have up to 10 home pages, five based on their role and five based on their profile. If you do not find a role/profile while sharing a Home Page, it might be because that role/profile already has five active or inactive Home Pages
View Recent Items
Once you log into Zoho CRM, on the bottom right corner of the page, click the Recent Items icon.
This displays upto 20 recent activities that were added/modified in CRM. You can click on any record to go to the record's details page.
Check Reminders
- Log in to your Zoho CRM account, click the Reminder icon at the bottom right corner.
- This displays the activity reminders in CRM. Scroll through the reminders to view more. Click on a reminder to see its details or Dismiss it from the list.
Note
- Recent Items, Reminders, Accessibility controls, Zia Voice Assistant, Sticky notes, Zia Notification, and Feedback icons are present across Zoho CRM on the footer irrespective of the module selected and not just on the Home tab.
Customize Column Headings in Components
In the Customizable view, the components that you add in the Home tab can be list views or data in the form of pipelines, pie charts or bar graphs, etc. For the List View components you can easily add, delete and reorder the columns. You need to make the changes for the list view and the same will be applied to the related components in the Home tab also.
To customize column headings
- Click the [Module] tab in the sidebar. (For eg. Leads, Contacts, Accounts, etc.)
- In the [Module] Home page, select the list view that you want to edit.
- Click the Edit link.
- In the Edit View page, select and move the fields to the Available Columns list box.
After selecting the columns you can change the order of the columns or remove unnecessary columns from the Selected Columns list box. - Click Save.
The changes will be applied to the related components in the Home tab.