Shopify
What is Shopify?
Shopify is an ecommerce platform that lets you build and manage your online store. You can integrate with the payment gateway of your choice, create discount codes and gift cards, and gain insight into your store's performance with accurate reports.
Important note

How to switch to the new authentication scheme?
- Log in to your Zoho Flow account.
- Switch off all your existing flows that involve Shopify triggers or actions.
- Navigate to Settings > Connections.
- Click Reconnect adjacent to your required Shopify connection.
- Provide the shop name and the API credentials, then click Authorize. Learn how to get the API credentials here
- If there are multiple connections, repeat the steps for them as well.
- Switch the flows back on that you switched off in step 2.
How to connect your Shopify account to Zoho Flow
- Select the required trigger or action. If you select a trigger, click Next.
- If there are no other Shopify connections in your account, click Connect. Otherwise, click New connection.
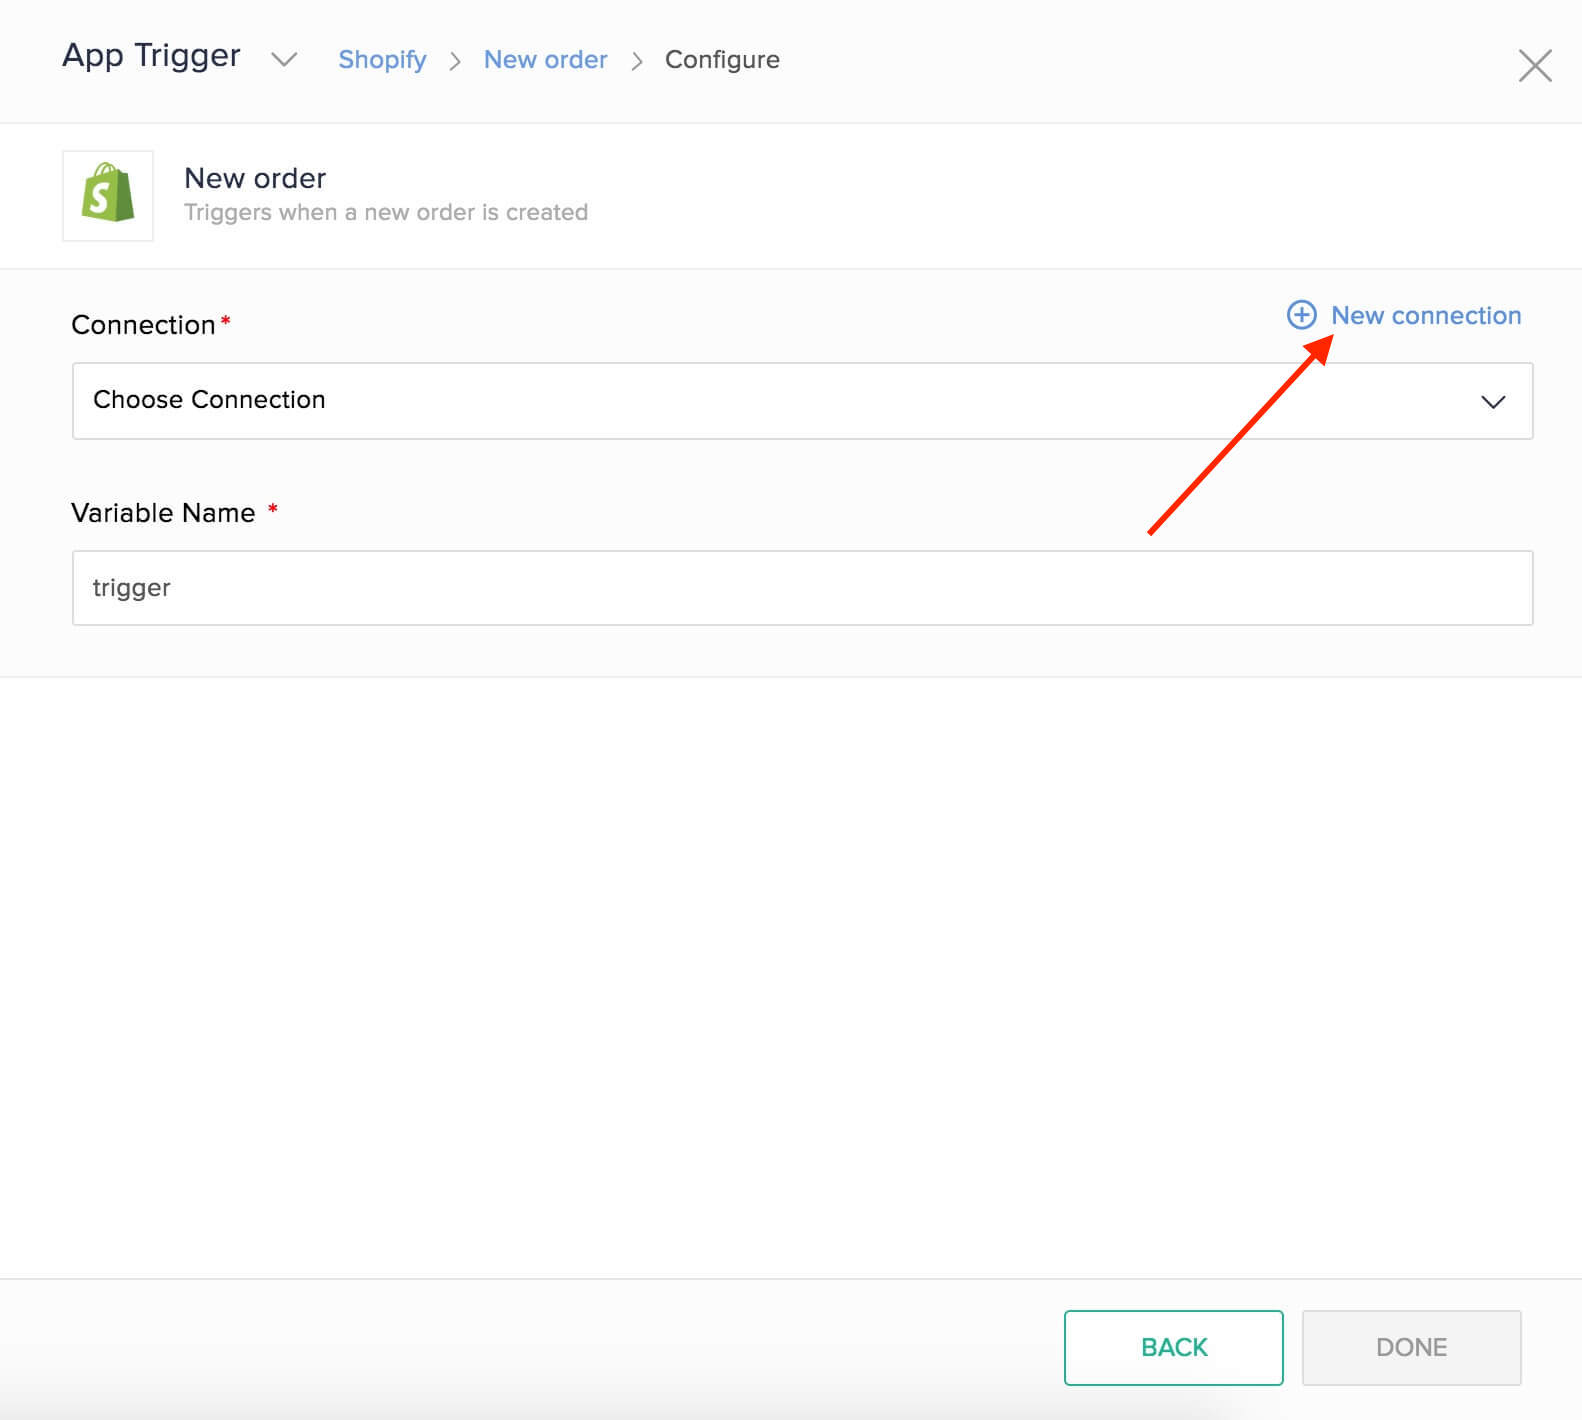
Alternatively, you can create a new connection by navigating to Settings, then Connections. Click Create connection and choose Shopify. - Enter a Connection name.
Finding the Shop ID of your Shopify store
- In a new browser tab, log in to your Shopify account, then click on your Shopify store to access the admin dashboard.
- In your browser's address bar, if the URL looks like https://example.myshopify.com/admin, then example is your Shop ID. Copy the shop ID and paste it in the Shop ID field in Zoho Flow.
Generating the API key, API Secret, and the Access Token
- Return to your Shopify admin dashboard.
- Navigate to the Apps menu in the left panel.
- In the dialog box that appears, click App and sales channel settings.
- Click Develop apps for your store.
- Then, click Allow custom app development. You'll need to confirm it once again by clicking on Allow custom app development.
- Click Create an app.
- In the dialog box that appears, provide a name for the app (for example, Zoho Flow), select the app developer, and click Create app.
- You'll now be taken to the app development settings page for the app, ie., Zoho Flow. Here, you need to configure the required API access scopes. To do so, navigate to the Configuration tab, then click Configure adjacent to Admin API Integration.
- Check all the required boxes for API scopes, then click Save.
Note: The following scopes are essential, and we recommend that you enable them: read_gift_cards, write_gift_cards, read_content, read_fulfillments, write_customers, write_inventory, read_locations, read_orders, read_draft_orders, write_price_rules, read_price_rules, write_orders, write_draft_orders, write_content, read_customers, write_products, read_products, read_product_listings - Once saved, navigate to the API credentials tab, then click Install app.
- When prompted to confirm, click Install. A new section, Admin API Access Token will appear.
- Click Reveal token once.
Warning: To protect your data, you’ll only be able to reveal your Admin API token once. Copy and save your Admin API access token in a secure place. - Copy the Admin API access token, API key, and API secret, then return to Zoho Flow, and paste it in their respective fields.
- Click Authorize. Your connection will be reconnected.
API documentation
Triggers and actions available in Zoho Flow
Triggers
Canceled order
Use this trigger to send updates of cancelled orders to customers, follow up with surveys, and notify your team to initiate refunds.
New blog
This trigger can help you announce on social media when you launch a blog.
New blog post
When your marketing team writes a new blog post, set up workflows to let your customers know and view the blog's metrics.
New customer
Welcome new customers with discount offers and add data to your CRM software with this trigger.
New order
Send a message to your team with order details, create an estimate, and add the data to your analytics software when a customer places an order.
New paid order
This trigger lets you automate sending invoices to customers, adding order details to a spreadsheet, and informing your team about new paid orders.
New product
Trigger workflows to notify customers who pre-booked the product, keep your inventory updated, and share details of the new product on social media.
Updated order
Keep your team notified about order updates, send a confirmation message to customers, and generate estimates or invoices based on the update, automatically with this trigger.
Actions
Create blog
When a blog topic is approved, use this action to create new blogs in Shopify.
Create blog post
With this action, you can post blogs periodically, or when a product is launched.
Create customer
Use this action to sync customer details with your CRM or add leads from marketing campaigns as customers.
Create order
Create orders based on payments, emails, or form submissions, depending on stock availability.
Create product
This action helps you create products in your shop with details from the inventory. You can also create a product in your shop based on a schedule trigger.
Create product variants
Create product variants based on form submissions or from a spreadsheet.
Fetch customer
When an order is placed, use this action to check if the customer is present in your CRM. If they are a new customer, add the details to CRM and welcome them with an email.
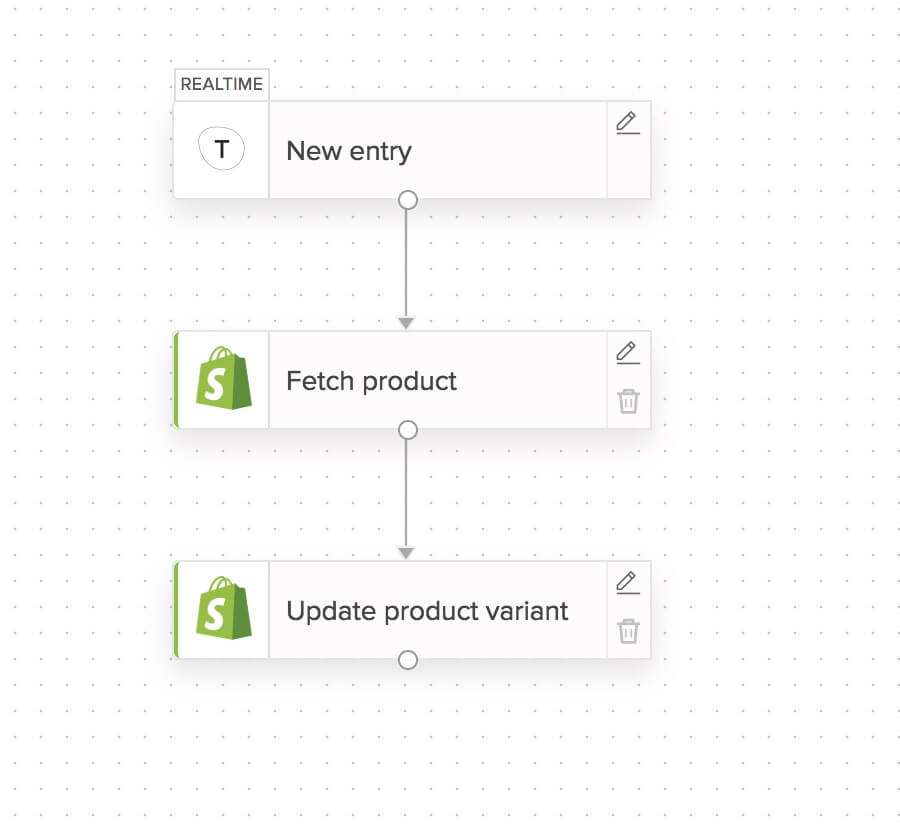
Fetch product
Fetch the product to update details, or to check if it is available.
Fetch product variant
Fetch the product variant to update details, or to check if it is available.
Send invite
You can use this action to invite leads to your shop.
Update customer
Keep your customer details updated with the details in your CRM and helpdesk software with this action.
Update product
Update product details from documents or sync data with your inventory using this action.
Update product variant
This action lets you update the product variant details based on a form entry or from your inventory.
Working with products and variants
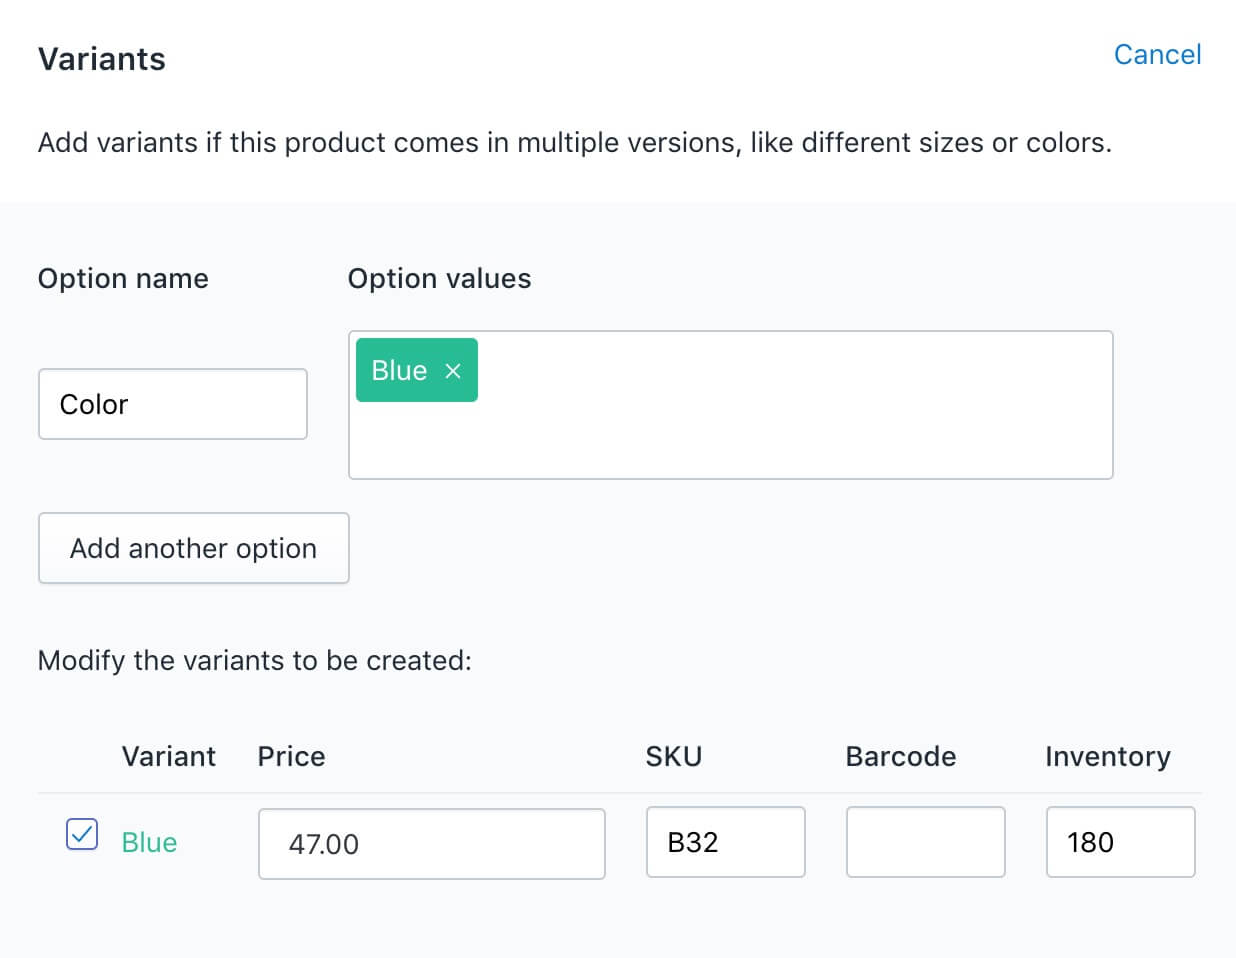
When you create a product without variants in Shopify (not via Zoho Flow), the price and inventory details are displayed as product details. When you create a variant, you enter the price and inventory details specific to each variant.
Using Flow to create products and variants in Shopify
Creating a product (without variants) in Shopify using Flow is similar to creating it manually. However, Shopify considers the price and inventory details to be the default variant's details. This is because a product must have at least one variant according to Shopify.
If you want to update details such as price, you need to fetch the product details, and use the variant ID to perform the update action.
When you're updating variant details, remember to enter the values in the Variant option values field in the same order as that of the options in Shopify. For example, if you have your options as Size and Color, ensure that you enter 3, Yellow, and not vice versa. This ensures that the values are entered in the right order in Shopify.
When you're creating the product using Flow, you can provide the option names and values for the variant. You can create a single variant in the Create product action. To create multiple variants, use the Create product variants action.
If you don't want to provide option names and values, you have to manually create options in Shopify before you can create or update variants using Zoho Flow.