Working with Certificates
This document provides complete instructions on working with the various operations related to certificates. Following the step-by-step procedures, you will be able to create, associate, download, activate, deactivate, revoke, edit, and delete certificates.

All certificate operations require necessary permissions. Refer to the Users and Profiles document for more details.

Refer to the Understanding Certificates document for more details on certificates.
Create Certificate
Zoho IOT Application provides two ways in which you can create a certificate.
- Create directly using the Create Certificate option in the End Application.
- Create while associating certificate using the Associate Certificate option for "Client Certificates with TLS for Authentication" selected MQTT devices.

Note: Certificates can be associated to MQTT Devices only. During device model creation, the authentication type must be selected as "Client Certificate with TLS".
To create a certificate directly in the End Application,
1. Access the End User Application.2. Select Devices > Certificates from the left pane.3. Click the Add Certificate button in the top-right corner.4. Provide the necessary details in the New Certificate form.
- Enter a unique name for the certificate, and a description.
- Select the policy to associate the certificate. A policy defines the set of actions that the gateway device is authorized to perform.
Note: New policies can be created using the Create Policy option in the application.5. Click the Add button. The certificate is created.Note: Certificates created using the Create Certificate option can be associated to a single device or multiple devices. But it is recommended to have a unique certificate for each device.
To create a certificate using the Associate Certificate option during registration of a newly created device,
Certificates can be created while creating a new MQTT device with authentication type as Client Certificate with TLS in the End Application.1. Create a new MQTT device.2. Choose Associate Certificate in the registered success window.The generated certificate, private key, and public key can be downloaded from this window. Ensure to save the downloaded file on the system in a specific folder.4. Select certificate in the popup to associate with the device.5. Click Confirm to associate the certificate.Note: For Zoho Edge Automate, certificates will be used in the docker command to deploy the Edge Agent in the Edge Device. Therefore it is important to save the certificate and key files in the installation directory of the Edge agent where the docker command will be executed.Note: Click the Download all as Zip link to download the complete set of certificate files. You can save the file as a password protected file.Warning: The certificate zip file contains the certificate, private, and public keys. Once the Certificate Details popup is closed, only the certificate key will be available for download. You need to generate the certificate files again in case of failing to download the zip file here.
Availability

All Certificate operations require necessary permissions. Refer to Users and Profiles document for more details.
Check Feature Availability and Limits
Check Feature Availability and Limits
Associate Devices(Gateways) with Certificates
The details about the gateway devices associated to a particular certificate are displayed in the Attached Gateways tab. You can associate a gateway device to the certificate from here using the Associate Gateway option.
To associate devices with certificates from Certificates page,
To associate devices with certificates from Certificates page,
1. Access the End Application.2. Click Devices > Certificates in the left pane.3. Click on the certificate name. This opens the Certificate Details page.4. Select the Devices tab, and click the Associate Gateway button.Note: The Associate Gateway button will not be displayed for a revoked certificate.5. Select the required device and click Confirm.
The certificate is now associated with the selected device.
Associated certificates can be disassociated from the gateway using the Disassociate button on top of the list view that is displayed on selecting the checkbox against a certificate.
Associated certificates can be disassociated from the gateway using the Disassociate button on top of the list view that is displayed on selecting the checkbox against a certificate.
Associate Policy with Certificate
A policy can be associated to a certificate from the Certificate List View or the Certificate Details page. The new policy associated will override the previous policy associations.

Warning: The change in policy for a certificate may impact the working of the devices where this certificate is used for connection. Please verify the impact before making the changes.
To associate a policy,
1. Access the End Application.2. Click Device > Certificates in the left pane. A complete list of certificates is displayed.3. Select the checkbox against the certificate for which you want to associate a policy.4. Click the Assign Policy button on the top.5. Select the required policy from the drop down list and click Assign.6. Select the Apply this changes immediately to the connected Gateway(s) option if you want to instantly associate the policy.7. Click Associate.
Download Certificate
The generated certificate contains the certificate, private key, and public key files. These can be downloaded during certificate creation process. The Download option available under the Actions menu in the Certificate screen will help you to download the .cert file only.
To download a certificate (.cert) file,
1. Access the End Application.2. Click Device > Certificates in the left pane. A list of all certificates is displayed.3. Select the checkbox of the certificate you want to download.4. Click on the Download button on top. The <device_name>.cert.pem file is downloaded.Alternatively, If you want to view the complete certificate details before downloading it, follow the below steps.1. Click the certificate name to view additional information from the Certificate Details tab. Verify the certificate details.2. Click Actions > Download. The <device_name>.cert.pem file is downloaded.3. Save the downloaded file on the system in a specific folder.
Activate/Deactivate Certificate
A certificate can be activated or deactivated anytime within the application. When a certificate is deactivated, the status of the certificate will be set as inactive. Any device associated to an inactive certificate will not be authenticated by the application. Therefore, it is necessary to ensure the dependency details of the certificate before deactivating.
To deactivate a certificate,
1. Access the End Application.2. Click Device > Certificates in the left pane. A complete list of certificates is displayed.3. Click the certificate name to view additional information from the Certificate Details page.4. Click Actions > De-Activate. The certificate is checked for any dependency.5. Click Check Dependencies to validate.6. Select the Disconnect the above Gateways checkbox to disconnect the gateways from the certificate before deactivating the certificate.7. Click Deactivate Certificate to deactivate the certificate. The status of the certificate will change from active to inactive.
To activate a certificate,
1. Access the End Application.2. Click Device > Certificates in the left pane. A complete list of certificates is displayed.3. Click the certificate name to view additional information from the Certificate details page.4. Click Actions > Activate. Changing the status to Active would enable the Devices to use the Certificate for authentication.5. Click Activate Certificate to activate the certificate. The status of the certificate will change from active to inactive.
Activating the certificate would enable the devices to use the certificate for authentication with the application.
Revoke Certificate
To revoke a certificate is to nullify it. The certificate is unassociated permanently from the device to which it was associated and the device will not be able to authenticate using the certificate any longer. To establish communication again, a new certificate must to created and associated to the device. The list of devices currently associated to the certificate being revoked is displayed for confirmation during the revoke process.
To revoke a certificate,
1. Access the End Application.2. Click Device > Certificates in the left pane. A complete list of certificates is displayed.3. Click on the certificate name to view additional information from the Certificate Details page.4. Click Actions > Revoke. The certificate is checked for any dependency.5. Click Check Dependencies to validate. The Revoke Certificate button will be enabled if there are no dependencies for the certificate.6. Click Revoke Certificate to revoke and nullify the certificate.Warning: The certificate will be revoked permanently and any device connected using this certificate gets disconnected.
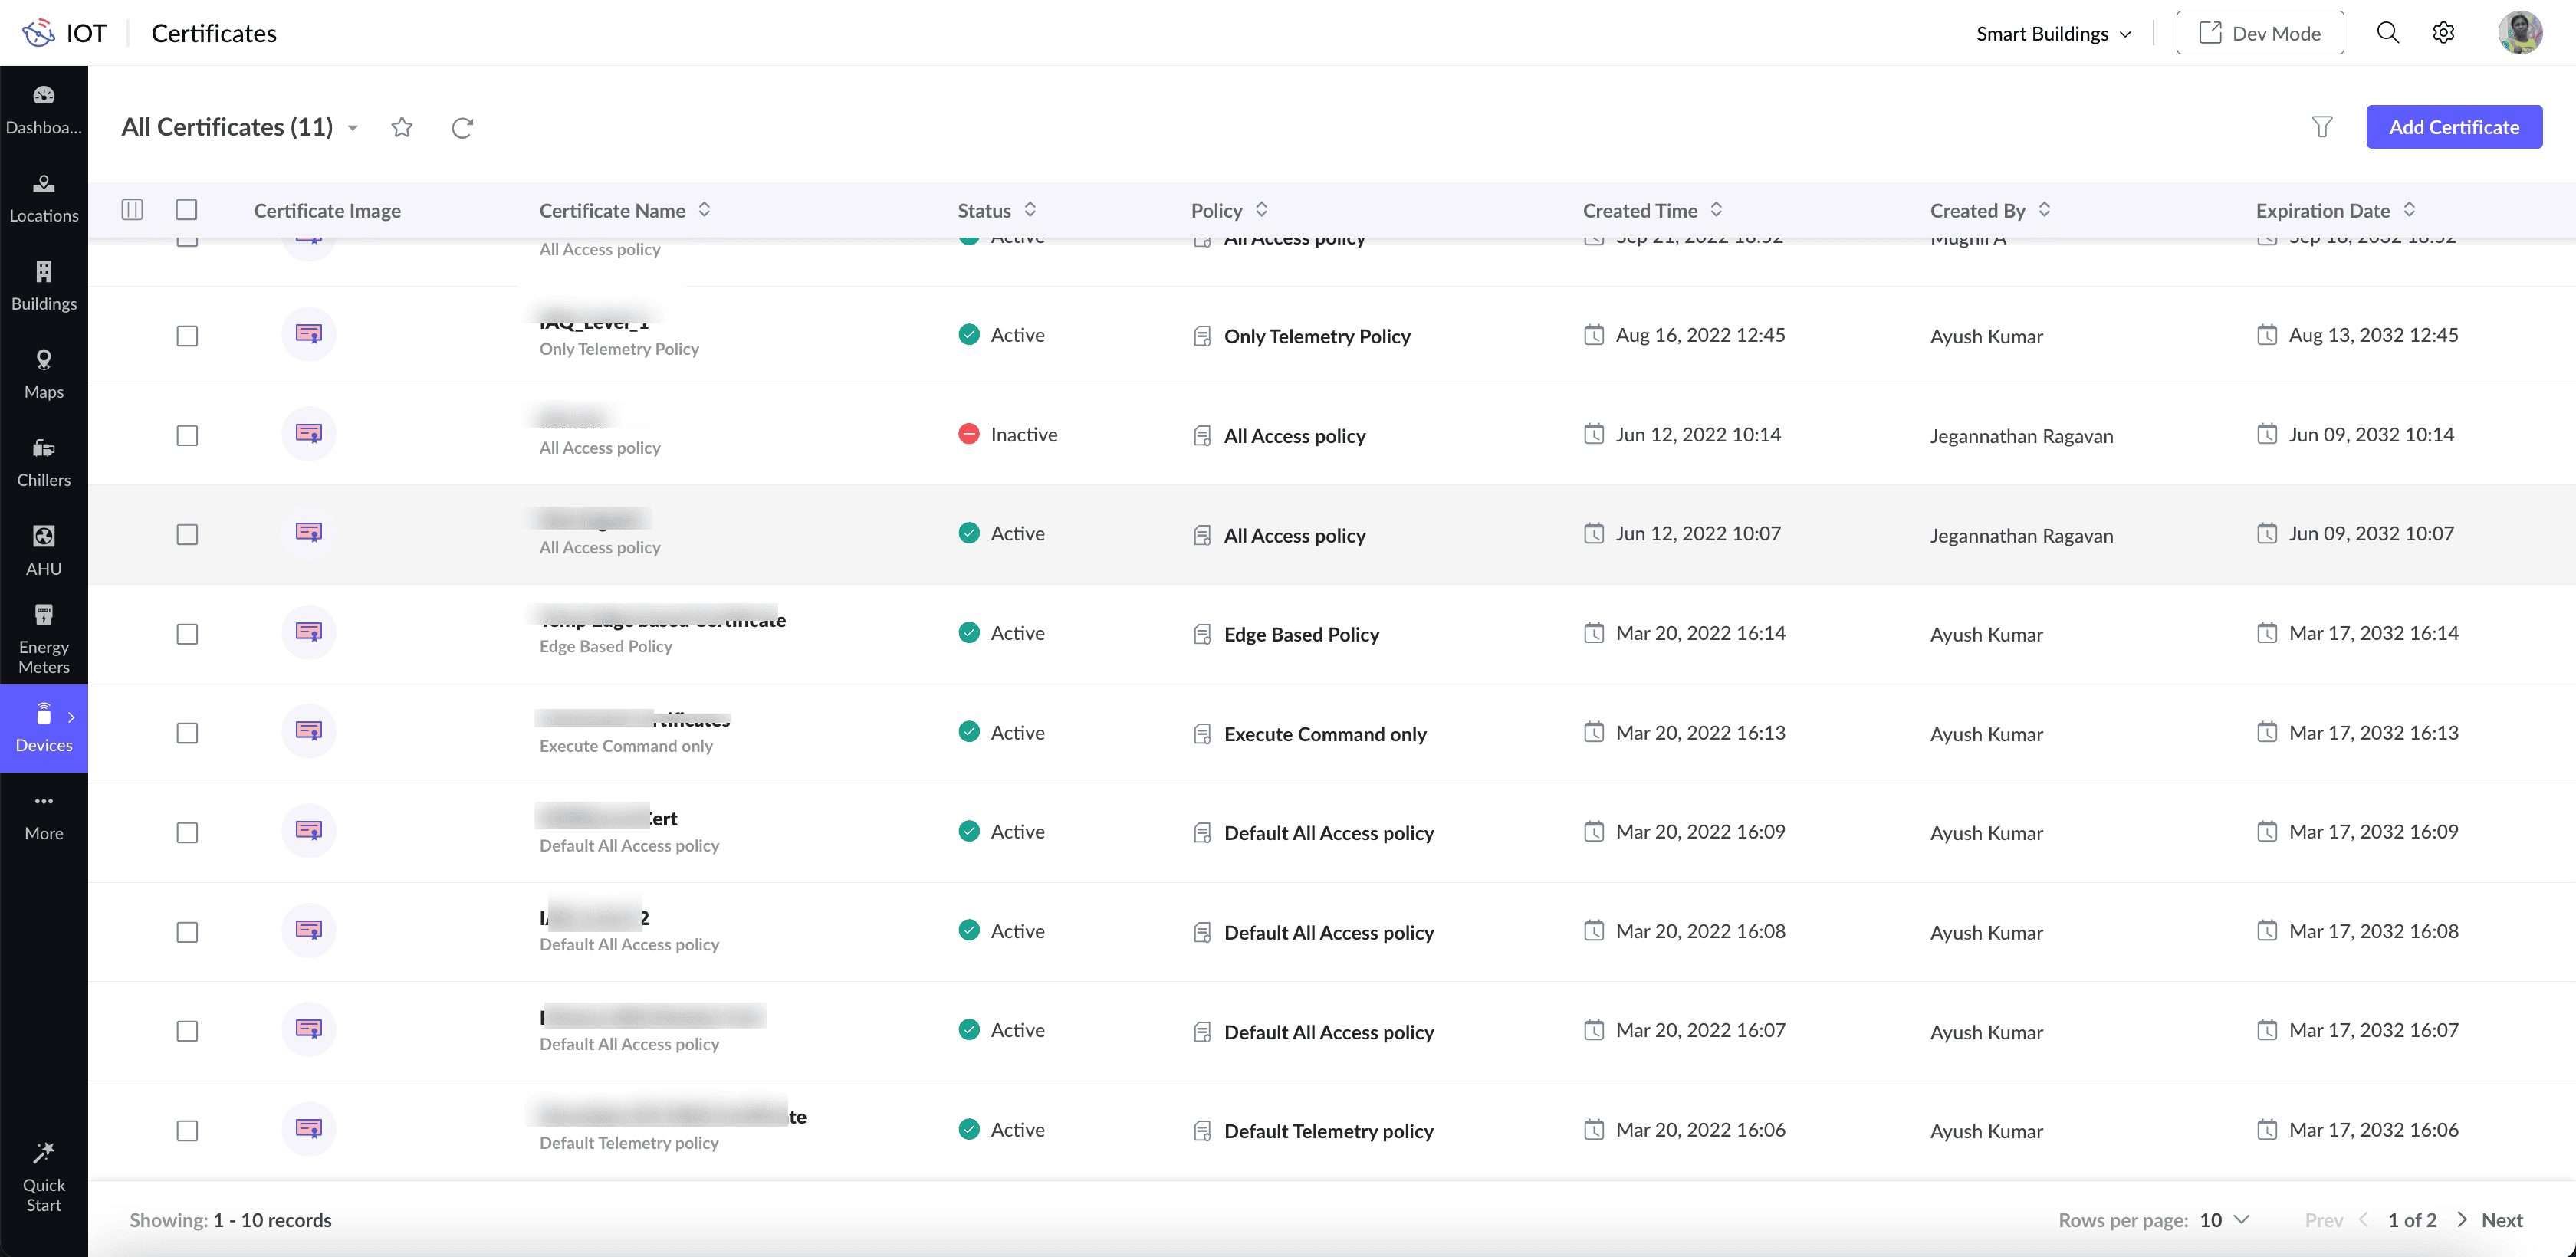
Certificate Views
The All Certificates list view displays all the certificates currently available in the application along with their statuses. The list view has provision to filter records and create custom views. Custom Views help to view a set of certificates based on conditions. Multiple actions such as Edit, Download, etc., can be performed on the certificate from this view.
The certificate details page is displayed by clicking on the certificate name and the policy details page is displayed by clicking on the policy name respectively in this list view. More details on accessing the different views are provided below:
Custom View
1. Access the End Application.
2. Click Devices > Certificates in the application's main menu on the left. A complete list of certificates is displayed in the list view.
3. Click the drop down list in the "All Certificates" title and select a pre-defined or custom view.
4. Click on Add Custom View at the bottom of the drop down list to create new custom views.
Filtered View
Filtering based on certain criteria such as certificates created on a specific date, specific user etc, makes it easy to find the right certificate.
To filter and view certificates,
1. Access the End Application.
2. Click Device > Certificates in the left pane. A complete list of certificates is displayed in the list view.
3. Click the Filter icon to filter the view on certain criteria.
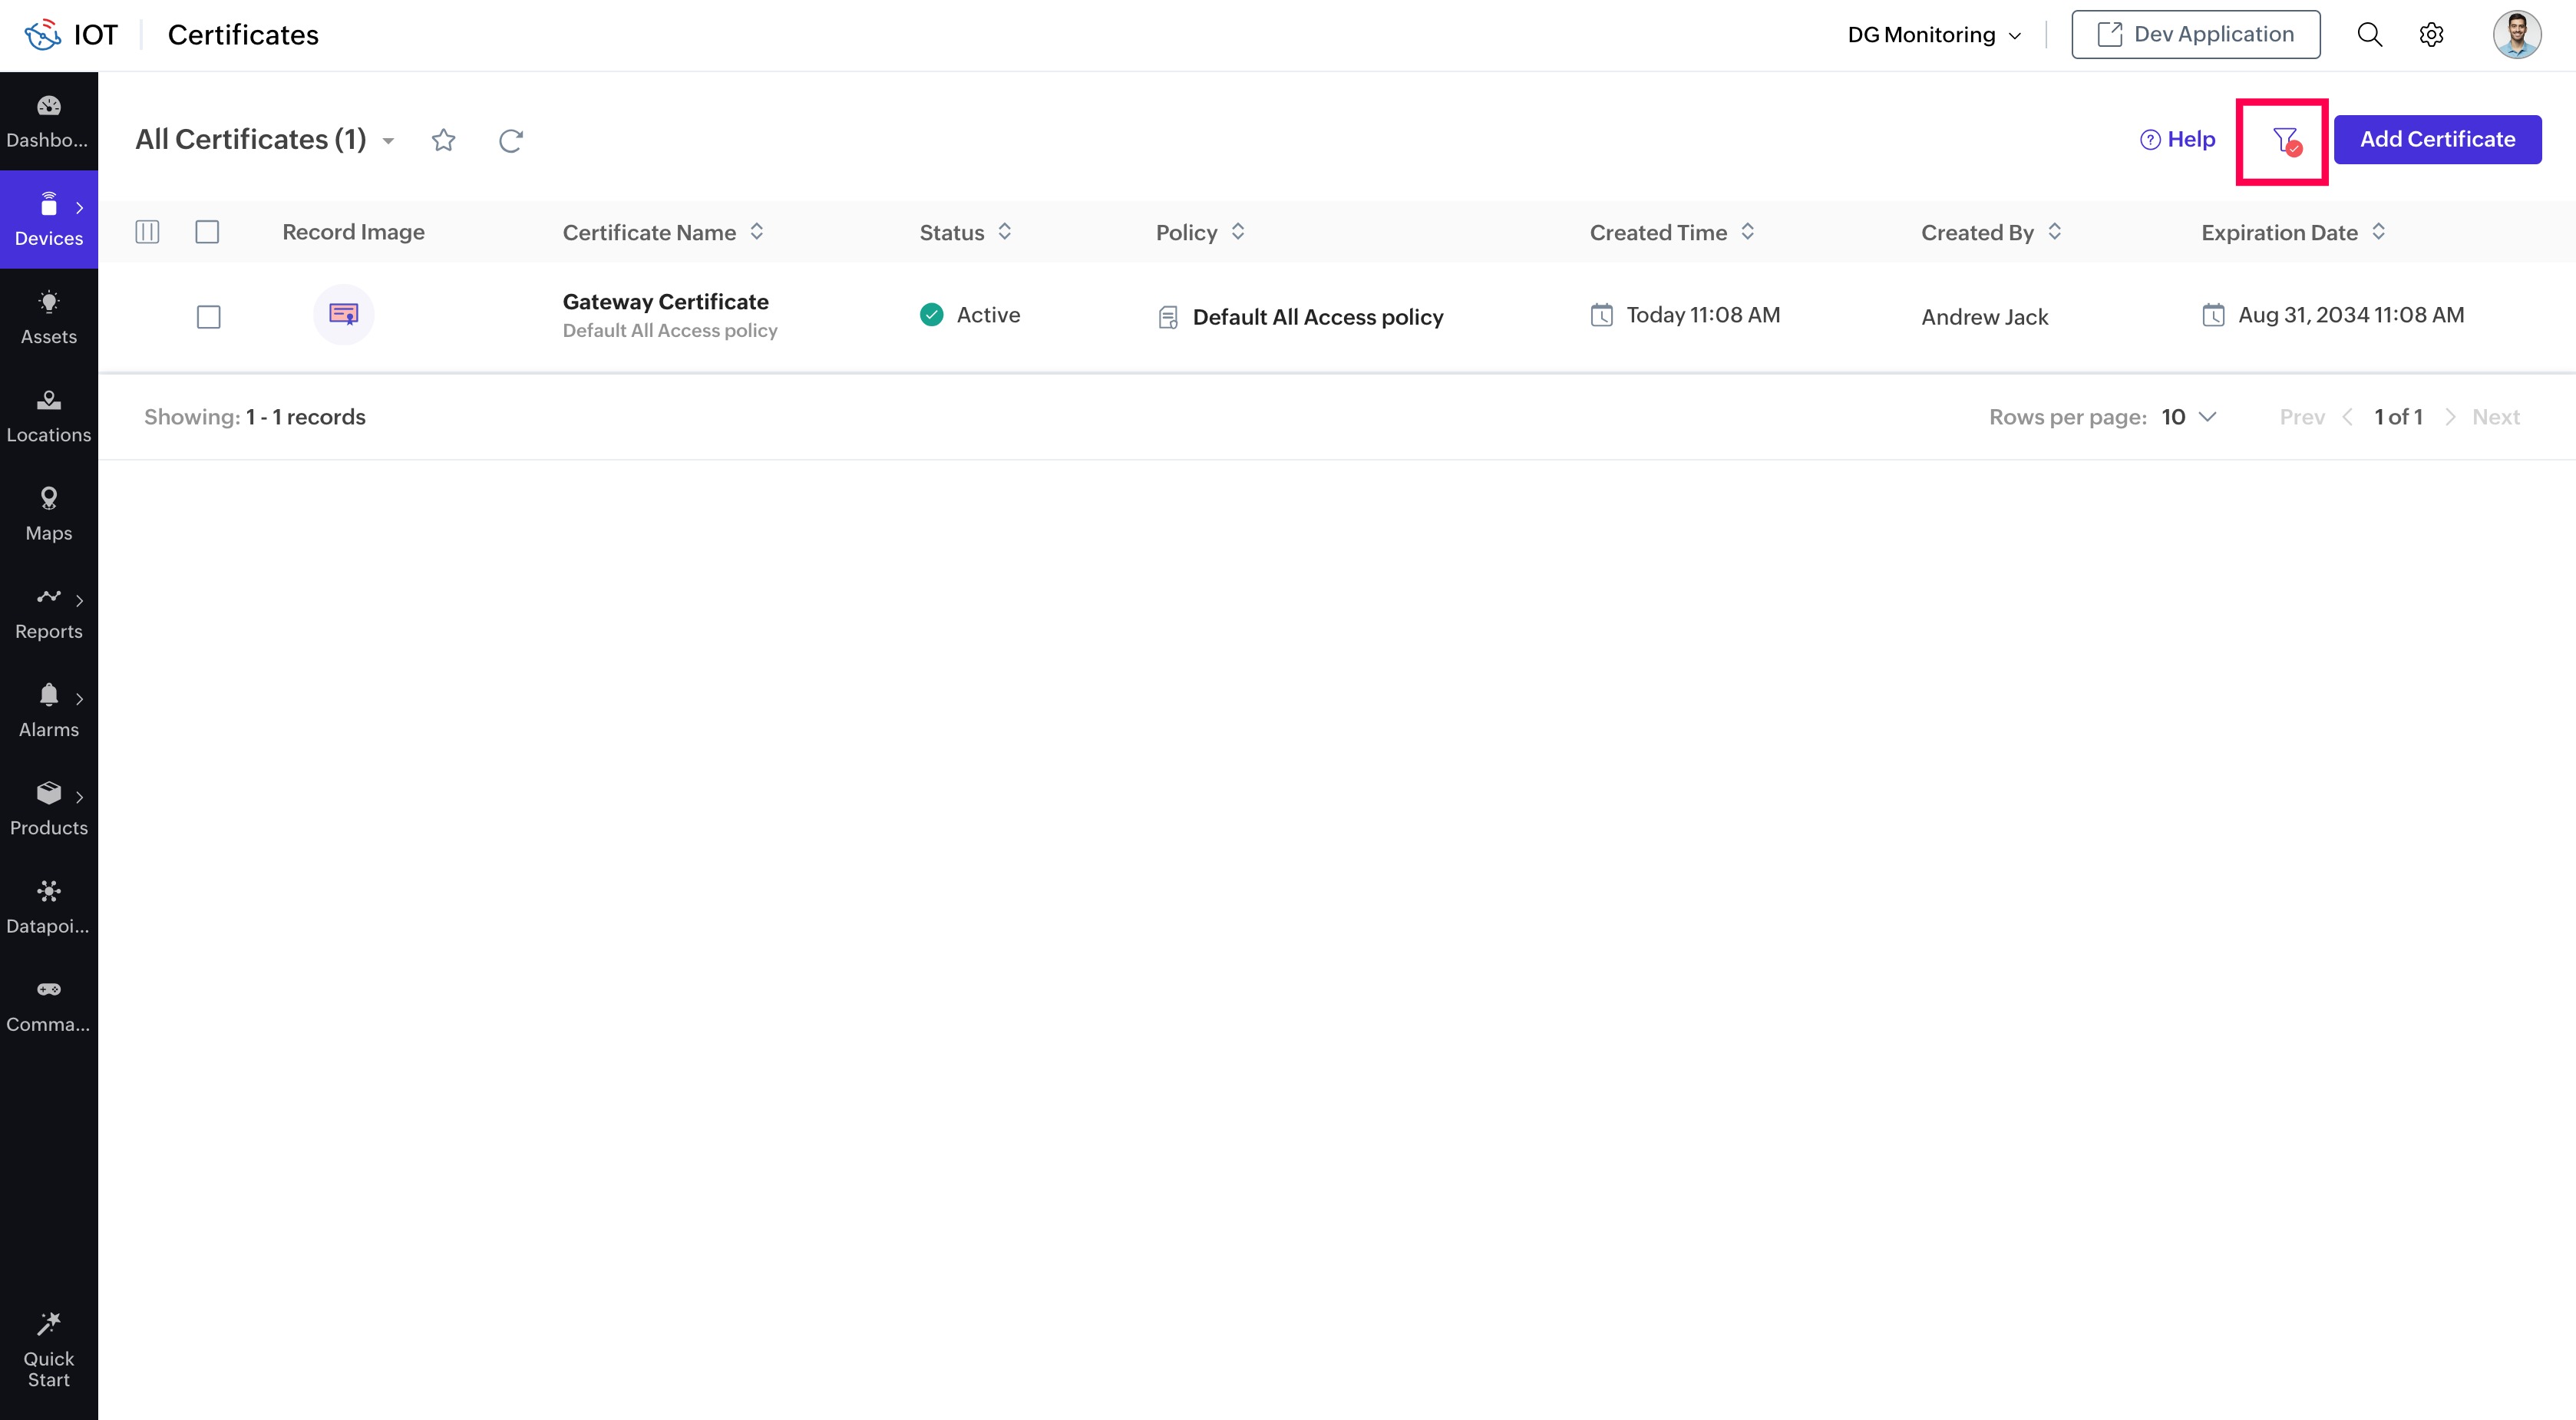
4. Certificates can be filtered using any of the available criteria. Select the checkbox against the property to filter, and provide the criteria value.

5. Click Apply.
The filter icon will have a red dot to indicate that the view is filtered.
Certificate Configuration View
Certificates associated to a device can be viewed from the devices view.
1. Access End Application.
2. Click Devices > Devices in the left pane. A complete list of devices is displayed in the list view.
3. Click Actions > Certificate Configuration in the Device details page. The list of available certificates associated to the device is displayed in a list view.
4. Click the certificate name to view its details. You can associate or create a certificate from this screen by using the buttons on the top right corner.
Certificate Details View
1. Access the End Application.
2. Click Device > Certificates in the left pane. A complete list of certificates is displayed.
3. Click the certificate name to open Certificate Details Page.
i. Certificate Details tab
All details about the certificate such as status, description, creation and modification time, expiry date/time, etc., is displayed in the Certificate Details tab.
ii. Attached Gateways
The gateways associated to this particular certificate are displayed in the Attached Gateways tab. You can associate a gateway to the certificate from here using the Associate Gateway button.
iii. Timeline
The activities performed on the certificates can be viewed in a time line from this tab.
Edit Certificate
A Certificate can be edited from the details page.
To edit a certificate,
1. Access the End Application.2. Click Device > Certificates in the left pane. A complete list of certificates is displayed.3. Select the checkbox of the certificate you want to modify.4. Click the Edit button on the top. You can modify the description or the policy associated as required.
Alternatively, you can click the certificate name to view additional details of the certificate in the tab views, and follow the below steps:1. Click Actions > Edit.2. Modify the description or the policy associated as required.3. Click Update to save the changes.
Delete Certificate
Any unassociated certificate can be deleted. The application will check for any dependencies and delete only if there are no devices associated to the certificate.
To delete a certificate,
1. Access the End Application.2. Click Device > Certificates in the left pane. A complete list of certificates is displayed.3. Select the checkbox of the certificate which you want to delete.4. Click Delete on the top. The dependency check popup is displayed.5. Click Check Dependencies to display any dependent devices. All devices connected to the certificate are displayed. The certificate can be deleted only if it is not associated to any device.6. Click the Delete button.The selected certificate will now be removed.
Alternatively, if you want to view the complete certificate details before deleting it, follow the below steps.1. Access the End Application.2. Click Device > Certificates in the left pane. A complete list of certificates is displayed.3. Click on the certificate name to view additional information from Certificate Details page.4. Verify the certificate details.5. Click Actions > Delete. The dependency check popup is displayed.6. Click Check Dependencies to display any dependent devices. All devices connected to the certificate are displayed. The certificate can be deleted only if it is not associated to any device.7. Click the Delete button.The selected certificate will now be removed.
See Also