Connect Zoho Notebook MCP with ChatGPT
Overview
ChatGPT is an AI assistant that supports MCP, allowing you to connect external tools and services directly into your conversations. By adding Zoho Notebook as an MCP server in ChatGPT, you can create notes, search your knowledge base, and capture ideas without leaving your browser.
This is especially useful for knowledge workers who want to save research findings, action items, or conversation highlights directly into Zoho Notebook while working with ChatGPT.

Info: ChatGPT supports MCP through its browser-based settings via the Create App flow. This guide walks you through the complete setup process.
Before You Begin
- Your Zoho Notebook MCP server must be configured. Complete Part 1 first.
- You need your MCP Server URL from the Zoho MCP Server Console.
- A ChatGPT Plus or higher account with Developer mode enabled is required.
Steps to Connect Zoho Notebook MCP with ChatGPT
Step 1 — Enable Developer Mode
1. Open ChatGPT in any browser and log in to your account.
2. Navigate to Settings > Apps > Advanced settings.
3. Enable Developer mode. Once enabled, a Create App button will appear in the console.
Step 2 — Create the MCP App
4. Click Create App. A New App pop-up will appear.
5. Fill in the following details:
Field | Value |
Connection Name | Zoho Notebook (or any name you prefer) |
Description | Optional — add a short description for reference |
MCP Server URL | Paste your MCP URL from the Zoho MCP Server Console |
Authentication | Select OAuth |

Tip: To get your MCP Server URL, log in to the Zoho MCP Console at mcp.zoho.com and follow the steps in the Zoho MCP setup guide.
6. Select the checkbox I understand and want to continue and click Create.
Step 3 — Authorise the Connection
7. Once you click Save, you will be directed to the Zoho MCP authorization screen on your local host. Click Allow.
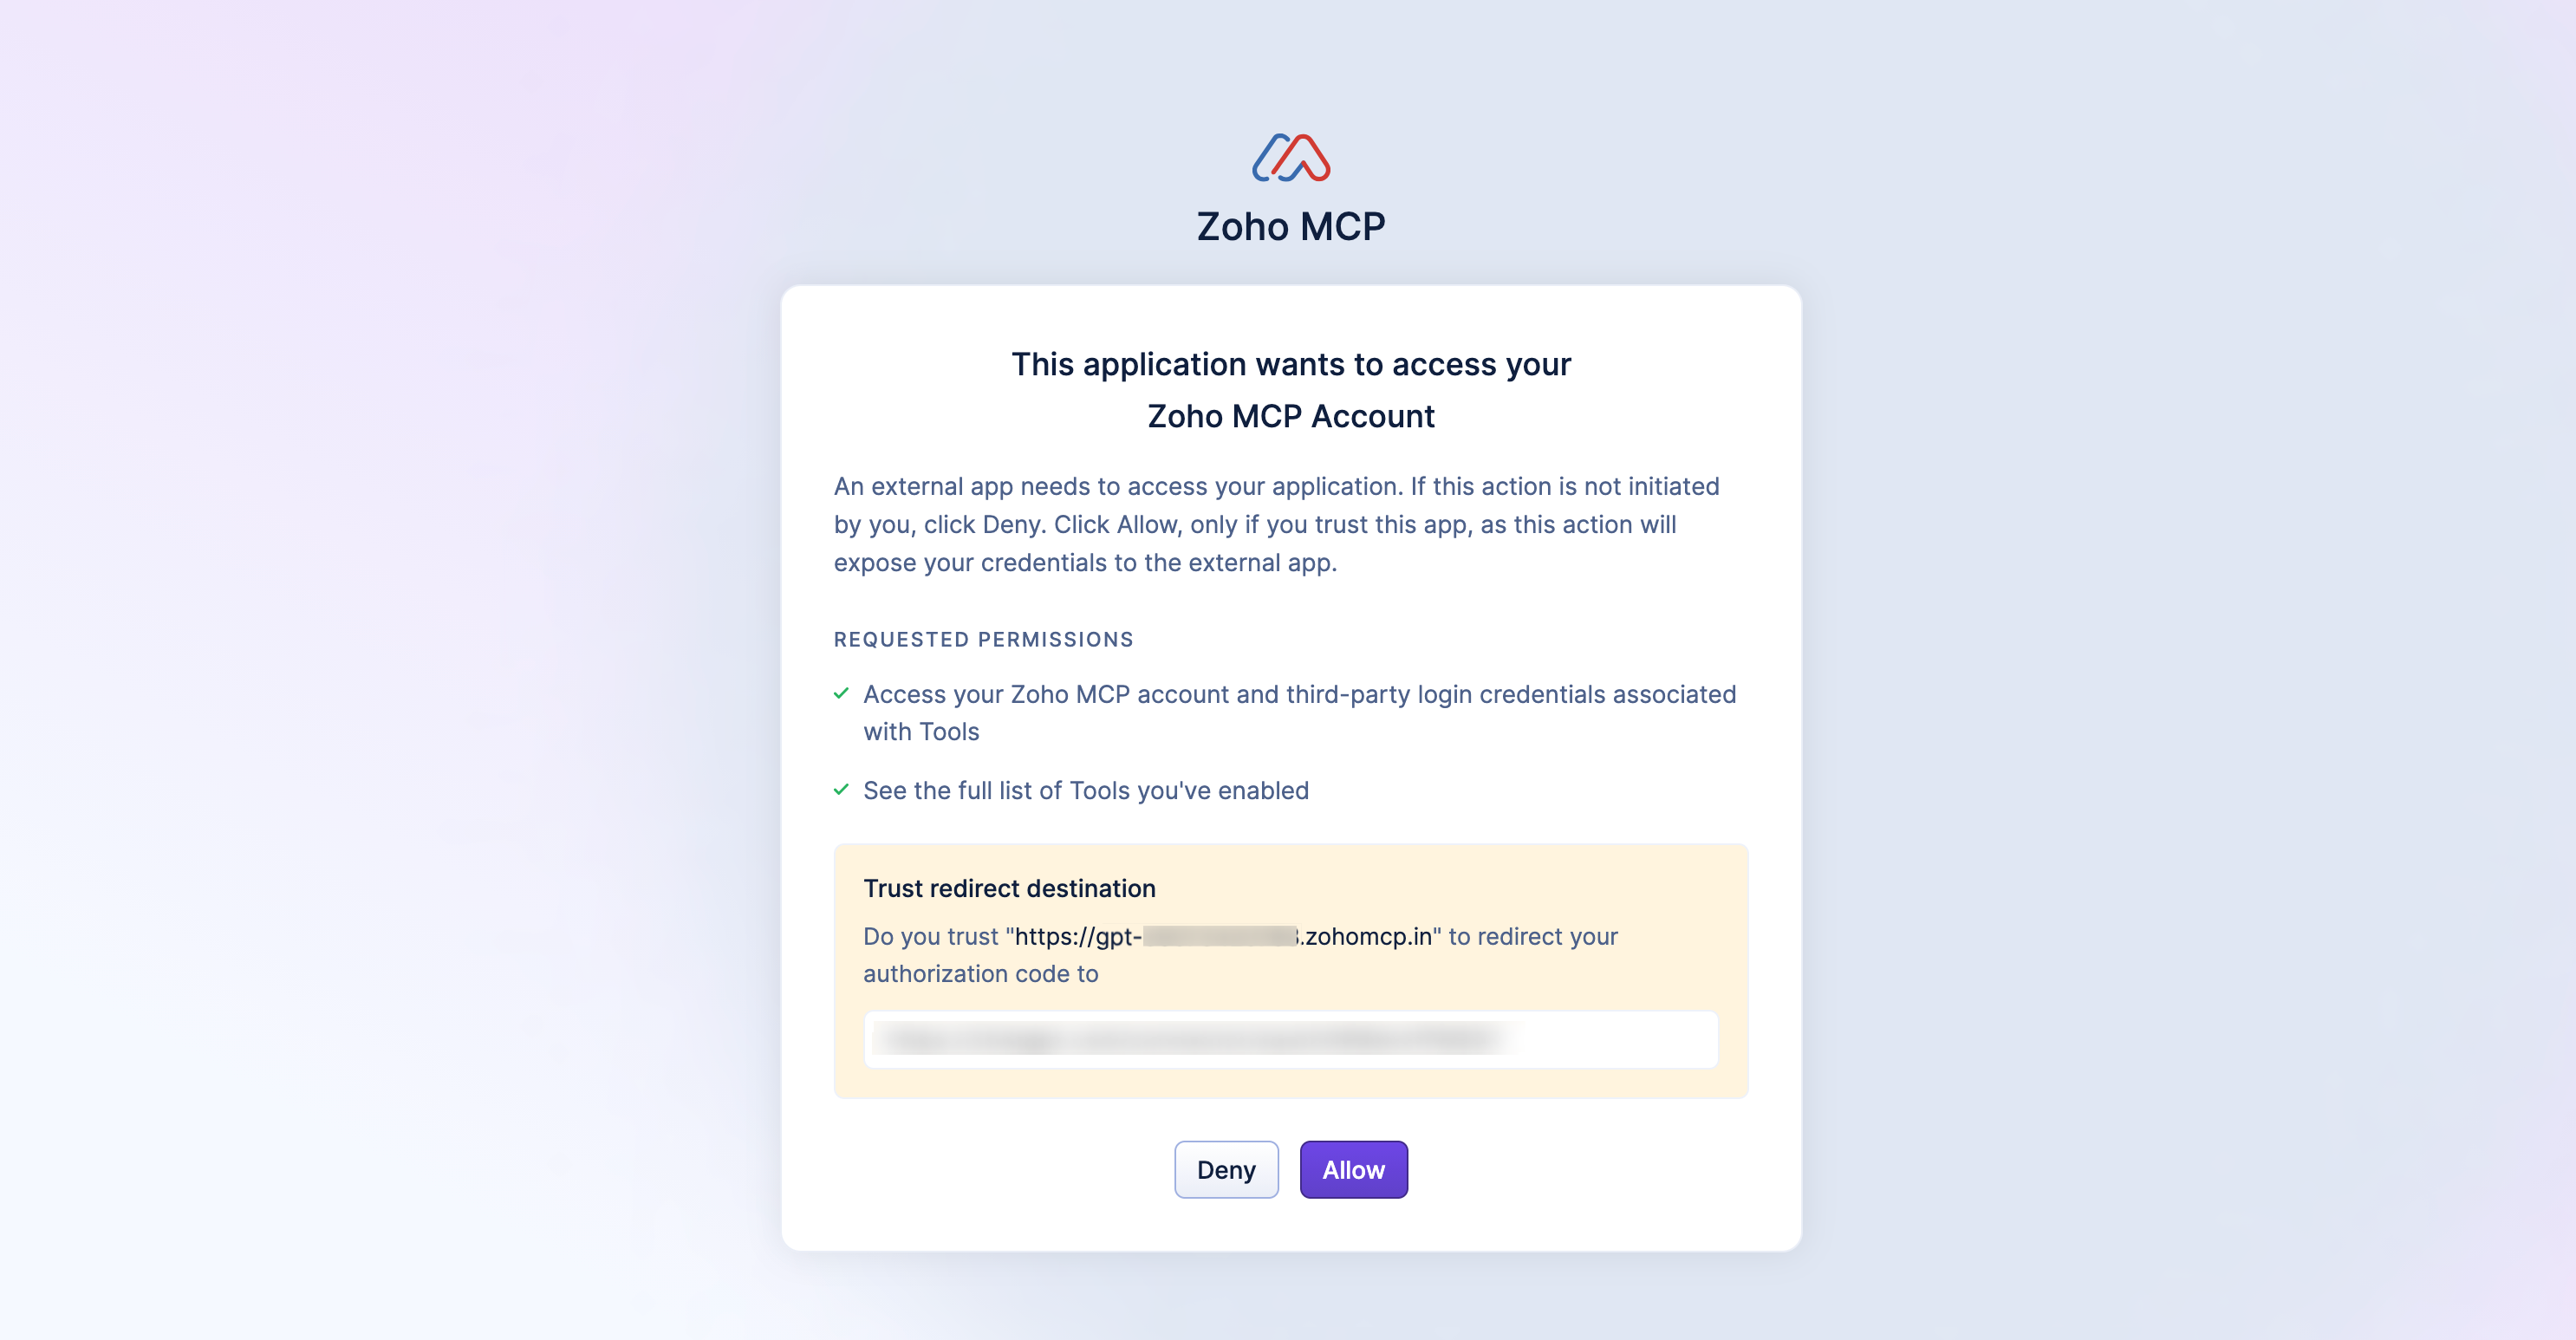
8. On the MCP authentication page, select the checkbox to grant the required permissions and click Accept. The MCP server is now connected.
Step 4 — Review and Confirm
9. Click on the created app name to view the selected tools list under Actions.
10. Quit the settings panel to return to the ChatGPT console and view your configured Zoho Notebook MCP server.

Success: You will now be able to invoke your configured Zoho Notebook MCP server with ChatGPT acting as the MCP client.
Practical Uses
- Ask ChatGPT to create a new note in Zoho Notebook directly from your conversation.
- Search your Notebook for past notes on a topic without leaving ChatGPT.
- Summarise a long document and save the summary as a note in Zoho Notebook.
- Log action items or decisions from a ChatGPT conversation into a Notebook.
- Retrieve and review notes to give ChatGPT additional context for a task.
Troubleshooting
Problem | Solution |
Create App button is not visible | Ensure Developer mode is enabled under Settings > Apps > Advanced settings. |
Authorization window does not open | Check that your browser is not blocking popups. Try allowing popups from chatgpt.com. |
Connection error with the MCP URL | Verify the URL matches your data centre: .com (US), .eu (EU), .in (India). |
Zoho Notebook tools not appearing in Actions | Re-open the app settings and confirm the MCP Server URL was saved correctly. |
Developer mode not available on my plan | Developer mode requires ChatGPT Plus or higher. Free and Go plans do not support MCP connections. |
Frequently Asked Questions (FAQ)
1. What can I do with Zoho Notebook MCP in ChatGPT?
You can use natural-language prompts in ChatGPT to interact with your Zoho Notebook content and perform actions supported by the available Notebook MCP tools.
2. Do I need to connect Zoho Notebook every time I use ChatGPT?
No, Once Zoho Notebook MCP is successfully connected and authorized, you can continue using it unless the connection is removed or requires reauthorization.
3. What Zoho Notebook data can ChatGPT access through MCP?
ChatGPT can access only the Notebook data and actions supported by Zoho Notebook MCP, based on the permissions you authorize while setting up the connection.
Need Further Assistance?
If you have any questions or need help, feel free to reach out to us at support@zohonotebook.com, we're happy to assist you.