Creating spaces and organizing categories
Understand Spaces
Spaces are topic-based hubs inside your community. They help members join the teams, projects, or interest areas that matter most to them. A space can represent a team, a project, or even a shared interest area within the community.
Before you create a space, choose the access type that best matches how members should discover, join, and participate in it.
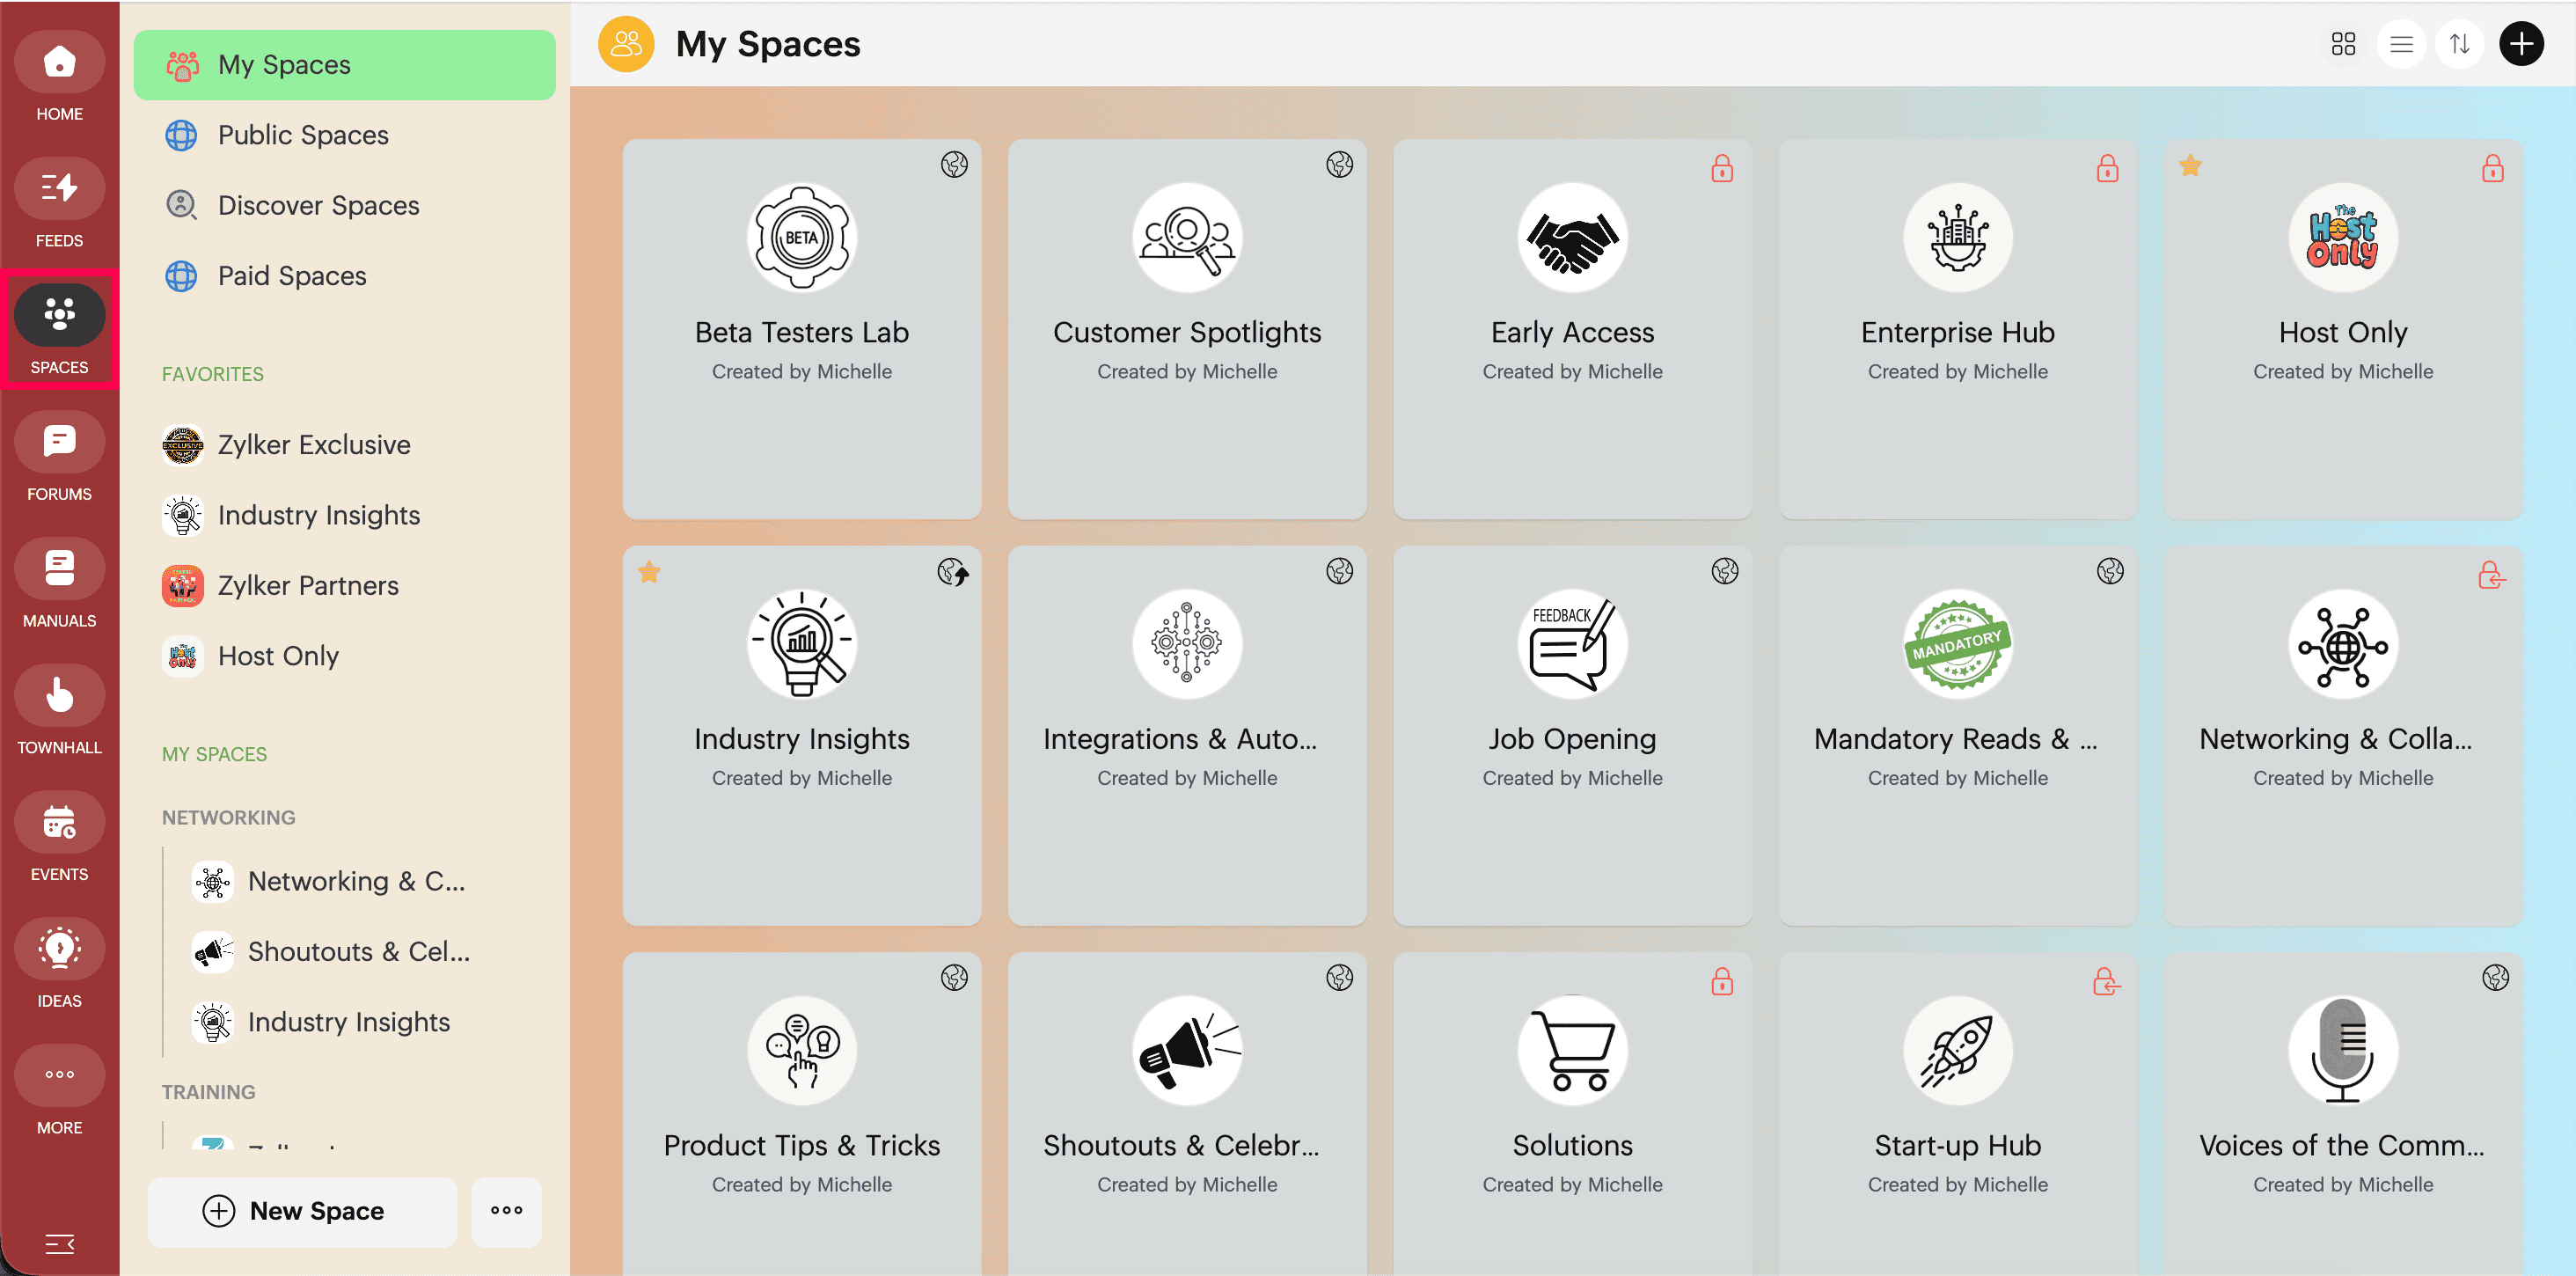
Creating a Space
- Click + New Space at the bottom of the left navigation panel, or click the + icon in the top-right corner of the Spaces module. Both open the same setup flow.
- Enter the Space Name in the Create new Space setup window.
- Choose the appropriate Space Type.
- Click Create.
Understand access types
Before you create a space, choose the access type that best matches how members should discover, join, and participate in it.
- Public – Members can view these spaces under Public Spaces. They can participate in feed discussions and access web tabs without joining the space, but they must join the space to access other resources, such as manuals and events. After the space is created, space admins can further control how members join it from Settings > General.
- Private – Private spaces are not discoverable to members. However, a member of the private space can share its URL with a non-member so they can request to join. Members can access resources and participate only after joining the private space.
- Restricted – Restricted spaces are not discoverable to members. Only members added by a space admin can access the space under My Spaces, use its resources, and participate in discussions.
- Paid – Members can view these spaces under Paid Spaces. They can access the space, engage in discussions, and use its resources only after subscribing to it.
 Note: After a Public space is created, space admins can further control how members join it from Settings > General > Moderation. They can choose Allow anyone to join the Space, Users can request to join this Space, or Only admins can add users to this Space.
Create categories and organize spaces
Categories help you organize spaces clearly in the left navigation panel.
- Click the three-dot menu at the bottom of the left navigation panel.
- Select Manage Default Category.
- Click + New Category to create a new category.
- Enter a name and description if needed, add the relevant space, and click Create.
- To add a space to an existing category, click the + icon in the category listing and click + Add Space.
|
- Use the vertical three dash option to re-order the categories.
- To Edit or Delete a category, use the three-dot menu for that category.
Note: The categories you create under Manage Default Category are visible to all members in the same order in which they are organized.

Next: Continue with Managing spaces in Zoho CommunitySpaces to access centralized space controls and manage archived or deleted spaces.