Zoho Bookings
Zoho Bookings integration helps customers and prospects schedule appointments with you from your Zoho Sites' website. It lets you communicate with them effortlessly and enables you to manage appointments booked from your Zoho Sites website.
Integrate Zoho Bookings App
- Click the Add
icon in the top-left corner of your builder, then select Element.
- Click Apps.
- Drag the Zoho Bookings app and drop it on your page.
- If you are a new user and do not have a Zoho Bookings account, create a workspace by entering your Business name, Industry, and Service. Click Create.
- If you are an existing Zoho Bookings user, choose an option from the Select workspace dropdown menu, then click Add.
- Click on the form you inserted.
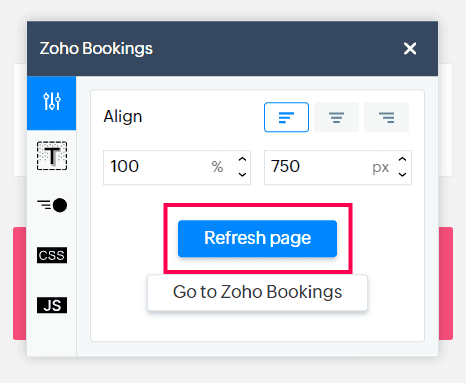
- Click the Settings
icon. From here, you can change alignment, update pixel size, and go directly to the Zoho Bookings page.
Switch workspace
If you have more than one workspace and wish to switch to a different one:
- Click Select workspace
- Choose the option you want in the Select Workspace dropdown menu, then click Add.

The Change Workspace button will not be visible to you if you only have one active workspace listed in your Zoho Bookings account.
Fix broken bookings page
Customizing your Bookings page domain name or URL from your Zoho bookings account will cause the form on your website to break. You can fix this by clicking on the form, then clicking Refresh page.
To learn how to set a custom domain for your Zoho Bookings page, click here.
Deactivate Zoho Bookings form
- Click on the Zoho Bookings form you inserted.
- Click the delete
icon.
- Click Delete in the pop-up box.
Once deleted, the Bookings element cannot be restored.