Creating an action item

This page is relevant for all report types except pivot chart and pivot table.
To create an action item:
- Navigate to Design page.
-
Click the web, mobile, or tablet icon to create action item for the required mode.
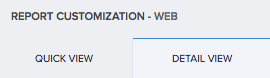
- Select Quick View or Detail View tab. Ignore this step for spreadsheet report.
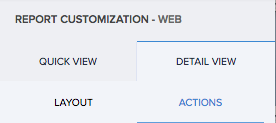
- Select the Actions section.
- Click the plus icon for one of the following:
- For single record
- For right click of record
- For Multiple Records
- Enter the name of your action item.
- Select the event at which the workflow must run.
- A pop-up will be shown to set condition, if you have selected On Condition option. Specify the criteria in the Set Condition popup and click Done.
- Select when to execute the workflow. If you want to execute the workflow directly after clicking the action, Select Once or Select After Confirmation, If you want to show the confirmation message as a pop-up when the user clicks the action item in the report.
- When you select After Confirmation, you will be shown a pop-up, where you need to enter the message to show in the confirmation popup to the user.
- Enter the name of the workflow.
- If you are creating an action For Multiple Records, you will be shown two options additionally to choose whether to execute the action for each record or for the collection of record.
- Click the Create Workflow button. The workflow builder appears
- Click Add New Action.

- Select when to run the action. If you have selected the On Condition option, additional fields will be shown to set criteria. Specify the criteria.
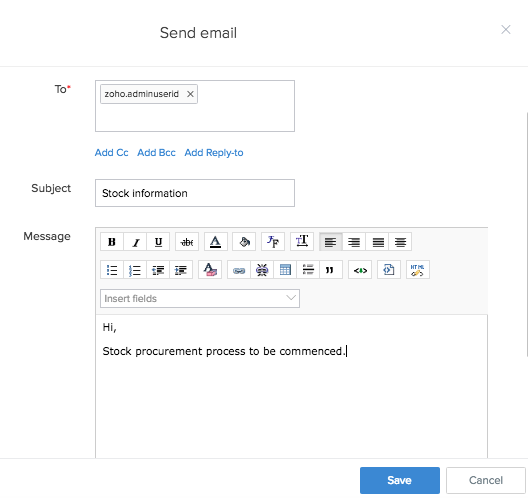
- Select the required Action Type.
 Note: For Multiple Records, if the action is selected to execute on the collection of records, the function selected in the deluge script action item must have a form object as argument.
- Define specifics pertaining to the action.
- Click Done.
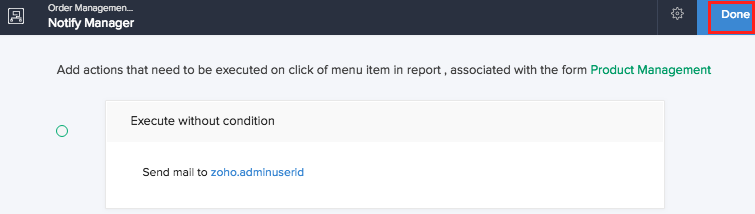
- Click Create button. The action will be included in the report.
- In live mode the action item will be displayed as shown below,
- For single record
- For right click of record
- For Multiple Records
 Execute Action for Each Record will repeat the workflow for every single record (Ex: If 3 Selected Records selected the workflow would run 3 times), whereas Execute Action for Collection of record will run the function only once regardless of the selection of multiple records.
Related topics
- Understand quick view actions in list report
- Understand quick view actions in spreadsheet report
- Understand quick view actions in calendar report
- Understand quick view actions in timeline report
- Understand quick view actions in kanban report
- Understand quick view actions in map report