Setting up OTP Verification via WhatsApp
When you configure WhatsApp OTP verification, respondents who access your form via public links will be required to enter their mobile number that is registered with WhatsApp to receive a One-Time Password and verify it before they can access the form.
Before you configure to send WhatsApp OTP Verification, ensure that you have certain pre-requisites fulfilled:
- You must create your Meta and WhatsApp Business accounts.
- Create or select your WhatsApp Business profile.
- Verify your WhatsApp business number.
- Create a new channel in Zoho Forms account Control Panel.
- Create a WhatsApp message template and send for WhatsApp approval. We strongly recommend using the AUTHENTICATION message template, which is exclusive for sending OTPs via WhatsApp.
Know more about setting up these pre-requisites.
To configure WhatsApp OTP verification,
- In your form builder, navigate to Settings > Spam Control.
- Click OTP Verification and click Configure Now.
- In the pop-up, select WhatsApp.
 Note :
1. The template you choose must contain a minimum of 1 placeholder.
2. Templates used for OTP verification should not contain dynamic headers.OTP Expiry Settings- OTP expiration time: Set the time within which a respondent is required to enter the OTP verification code in minutes. Select the 'Set the same expiration time for OTP session' checkbox to apply the same time limit to the OTP session on the verification page.
- Number of OTP resend requests allowed: You can set the number of times a respondent can opt to resend the OTP code to their phone.
- Show OTP resend option after: You can set the time interval after which the resend OTP option has to be displayed for the respondents to request for new OTP code.
- OTP validated form expiry: Choose whether you would like to set up expiry for an OTP validated form. Upon checking Yes, you'll be able to configure the expiration time limit and the message displayed when the form link expires.
- Map OTP-verified phone number to a form field: You can pre-fill a phone field in the form with the verified mobile number by selecting the required form field from the dropdown.
 Make sure to include Country Code in the the Phone field Properties in your form builder.You can choose to use the prefilled value of the selected field for OTP verification by selecting the checkbox as shown above. The value can be prefilled from integrated sources like CRM/ Dynamic prefill from Webhooks/ Field Alias/ Static Prefill URLs.
Note :
- The following properties configured for the selected Phone field will be applied to the phone number entered by the respondent for verification:
- Field Format
- Allowed Country codes
- Default Country code
- Input Range
- Allow only numbers validation
- No Duplicates validation
- Phone input confirmation
- If you want to restrict your respondent from editing the pre-filled Phone field in the live form, select the Disable Field option under Phone field Properties.
- If the phone field is pre-filled through an integrated service or Field Alias, it cannot be modified on the OTP page. The OTP will be sent exclusively to this pre-filled value.
11. Instructions & Consent: You can configure Instructions and Consent Declaration for your form respondents in the OTP verification page as well.
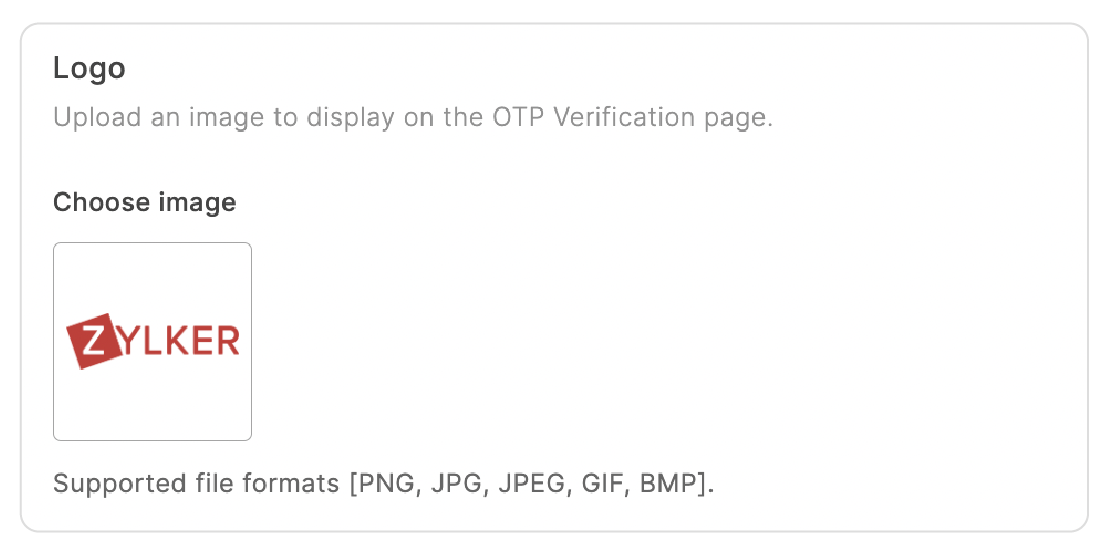
12. You can upload your logo to display it on the OTP verification page for consistent branding. To add a logo, click the Choose Image option in the Logo section and select your logo file.
Supported File Formats: PNG, JPG, JPEG, GIF, BMP
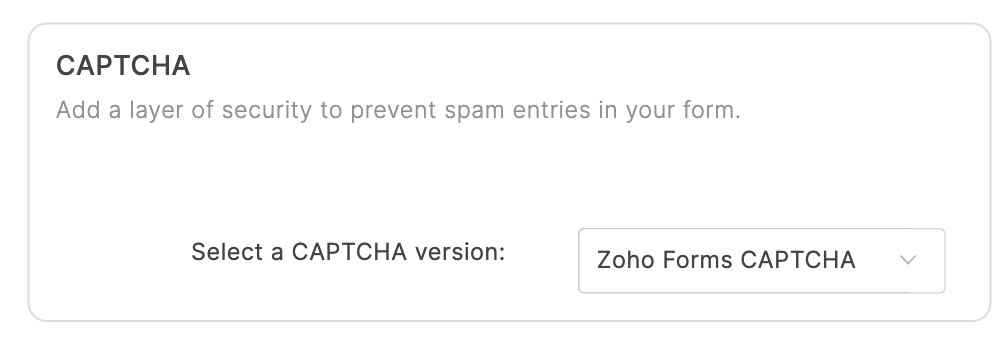
13. To add an extra layer of security and prevent spam entries, you can include a Zoho Forms CAPTCHA under Spam Control and evaluate if it is a human or a bot that is filling your form. Learn more
14. Click Save.
Note:
- The option to configure OTP Verification is available only in our paid plans.
- To ensure that your WhatsApp OTPs are successfully delivered, it is necessary to purchase the IM credits Add-On from the store in addition to your existing Zoho Forms subscription.
- If you have changed the ownership of your form, the configuration for WhatsApp OTP Verification may not work as intended. The new owner must reconfigure the OTP Verification via WhatsApp.
- OTPs were not received
- Form entries were not submitted after the OTP was received.
Plan wise limit for the maximum number of forms that can have OTP configuration:
Basic - 25
Standard - 100
Professional - 200
Premium - 200
Express - 200
Zoho One Enterprise - 200
Zoho One Enterprise Trial - 3
OTP Audit for Non-Submitted Records
You can check the status of OTP delivery in WhatApp when:
To do this,
- Click the OTP Audit: Non-submitted Records in the top-right corner of the OTP Configuration - WhatsApp page.
- Here, you will find the Message Id, and the Time of OTP Generation for each phone number entered in the OTP verification page.
- Under the Verification Status column, you will find if the OTP has been verified, and a link to the OTP-Verified form if the OTP was verified but the form was not submitted.

If you choose to translate your form into different languages, the OTP verification messages displayed on accessing the form link will also be translated into the respective languages.