Customize your SalesIQ live chat with Custom CSS and blend it with your website design
Building your CSS
Where do I place the CSS code?
There are 2 methods to carry out Custom CSS on SalesIQ. Both methods are used for varying circumstances.
- Brand Personalization - The first method is by uploading the Custom CSS file in the Personalization area of the chat widget. This method is to be used when changes/modifications are to be made on the elements within the chat window. For example, changes in the messaging area, font used within the chat window, colour changes for the header or minimize button etc.
For this,
- Navigate to Settings > Brands > Personalization > Appearance tab.
- Scroll down to Upload custom CSS and click on Upload.
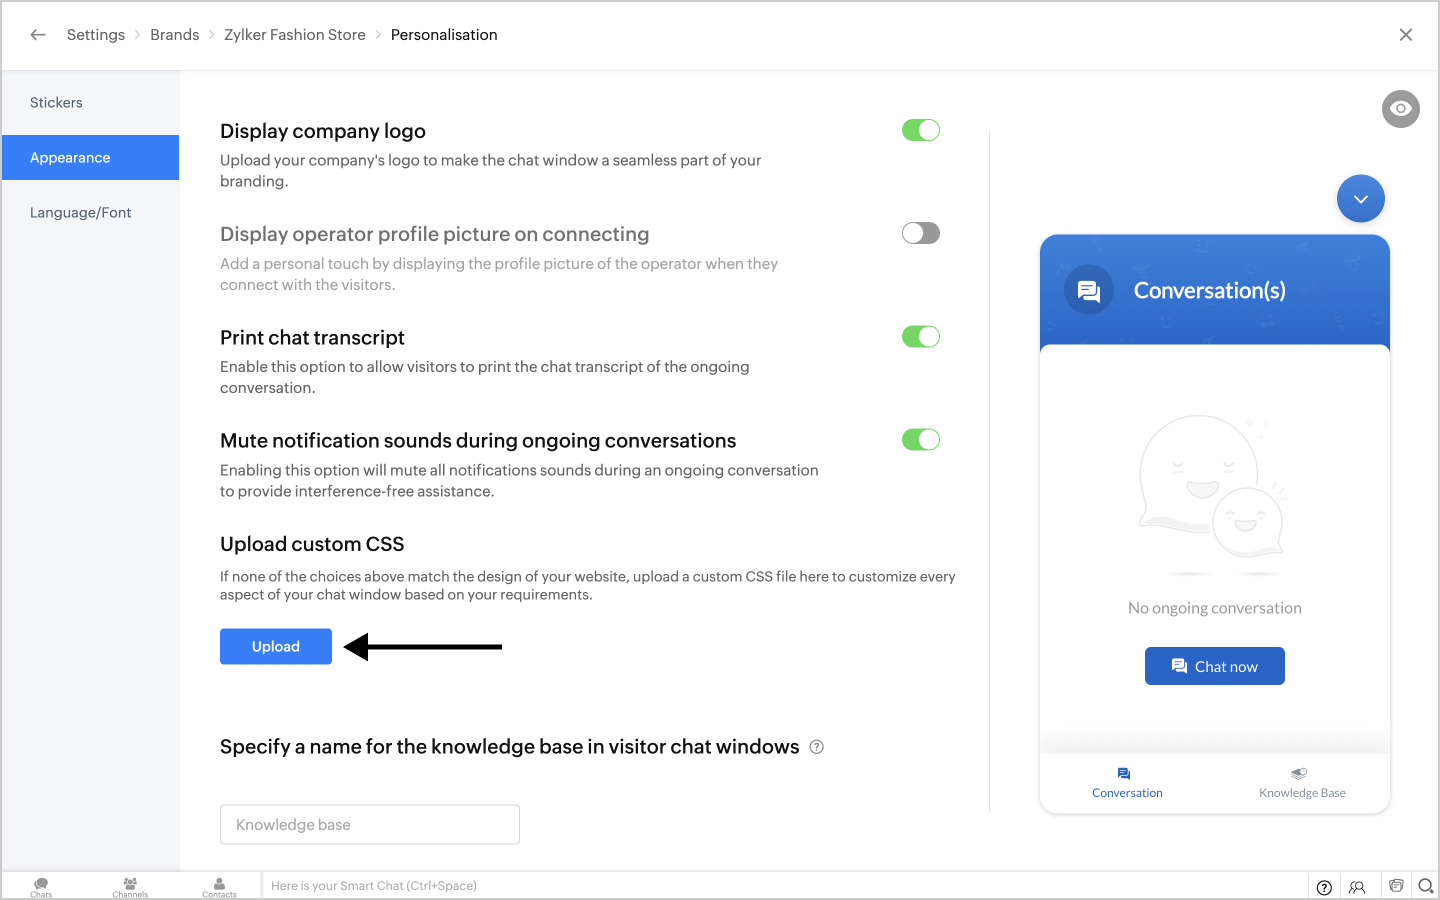
- Choose the required CSS file from the list.
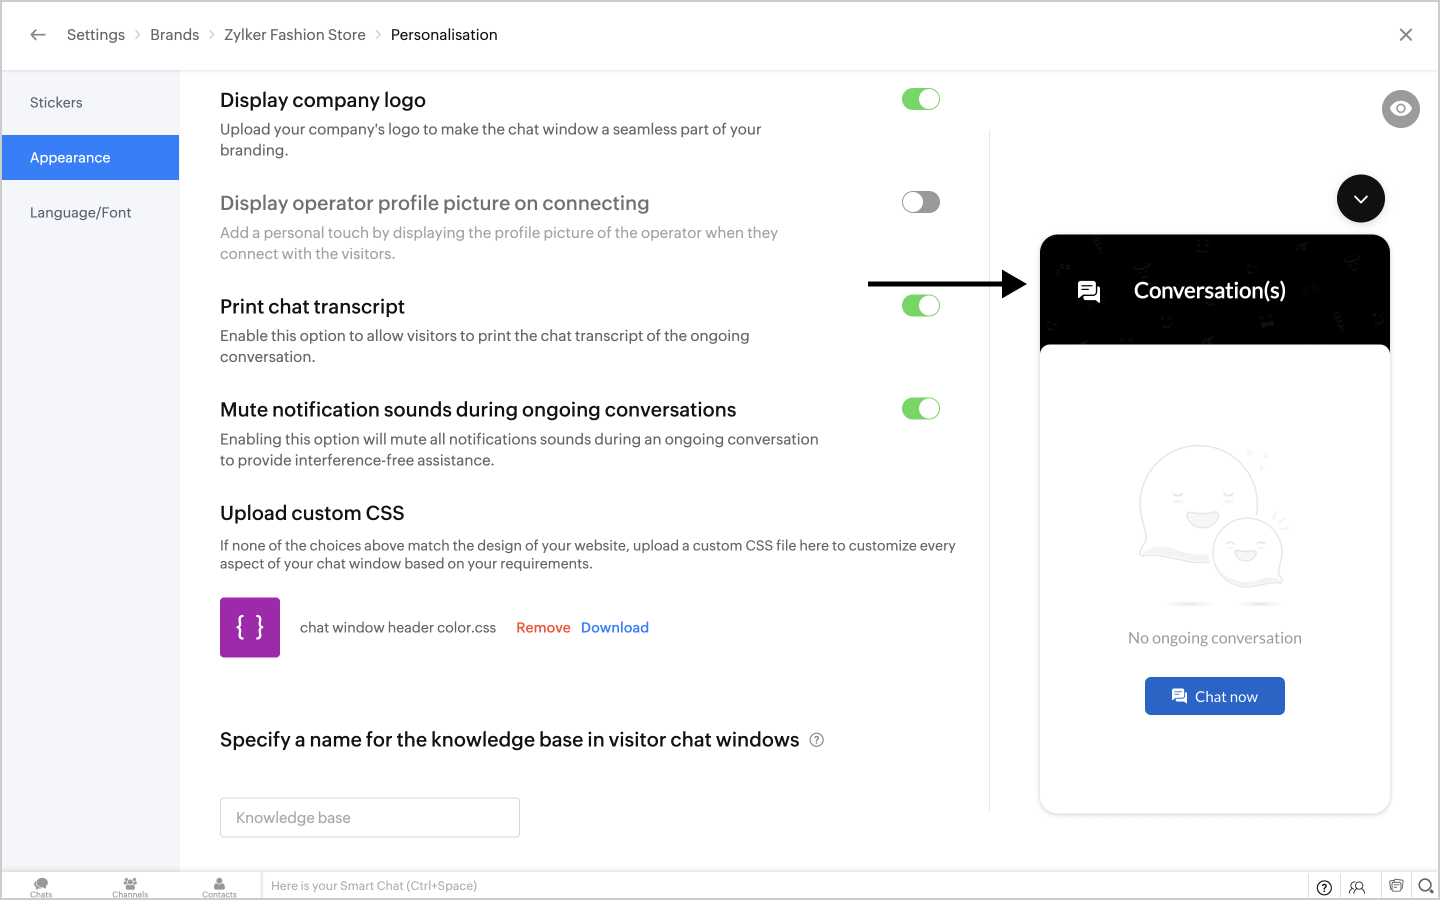
- The preview window on the right will immediately display the result of adding your Custom CSS code to SalesIQ.
Website Style sheet
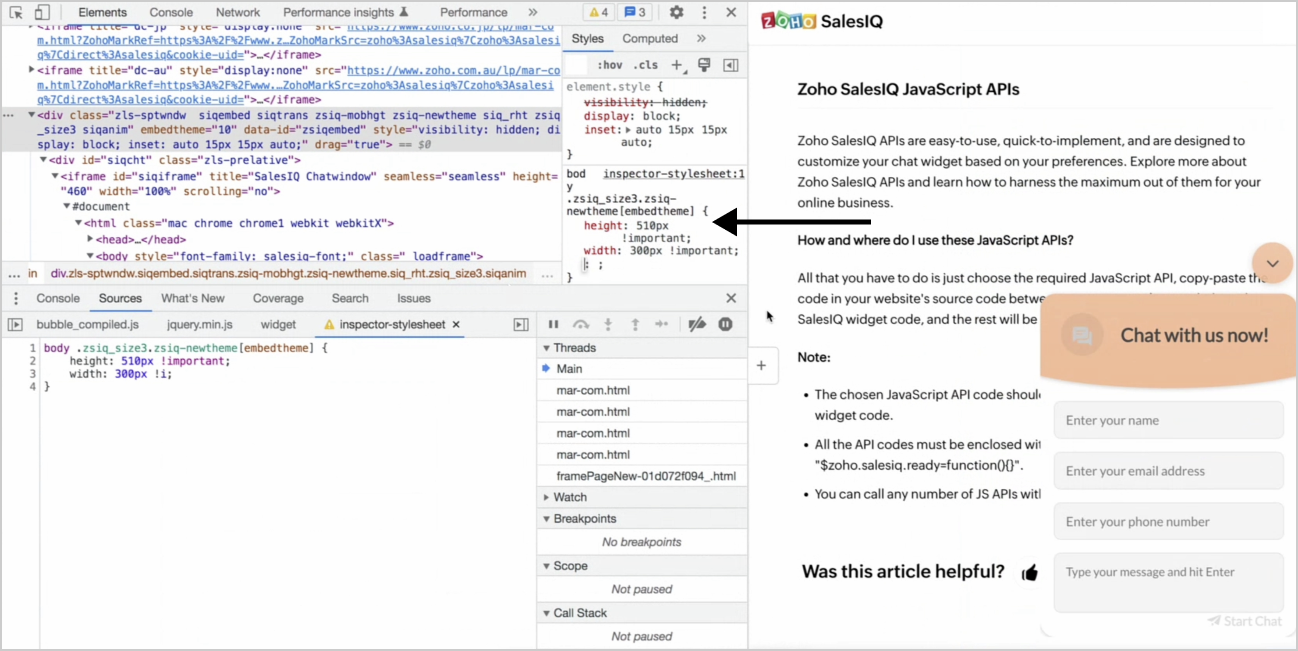
In this case, a Custom CSS for changing the height and width of the chat window has been added to the style sheet.
Tips for writing Custom CSS
The !important rule in CSS can be used to add more weightage to a property and override other previously added styling rules.
Extra CSS weightage can be added with a body tag, which will be another way to override all previous styling rules for the element.
Frequently asked CSS formats
We have taken note of some of the frequently asked queries and provided the custom CSS code here for your reference.
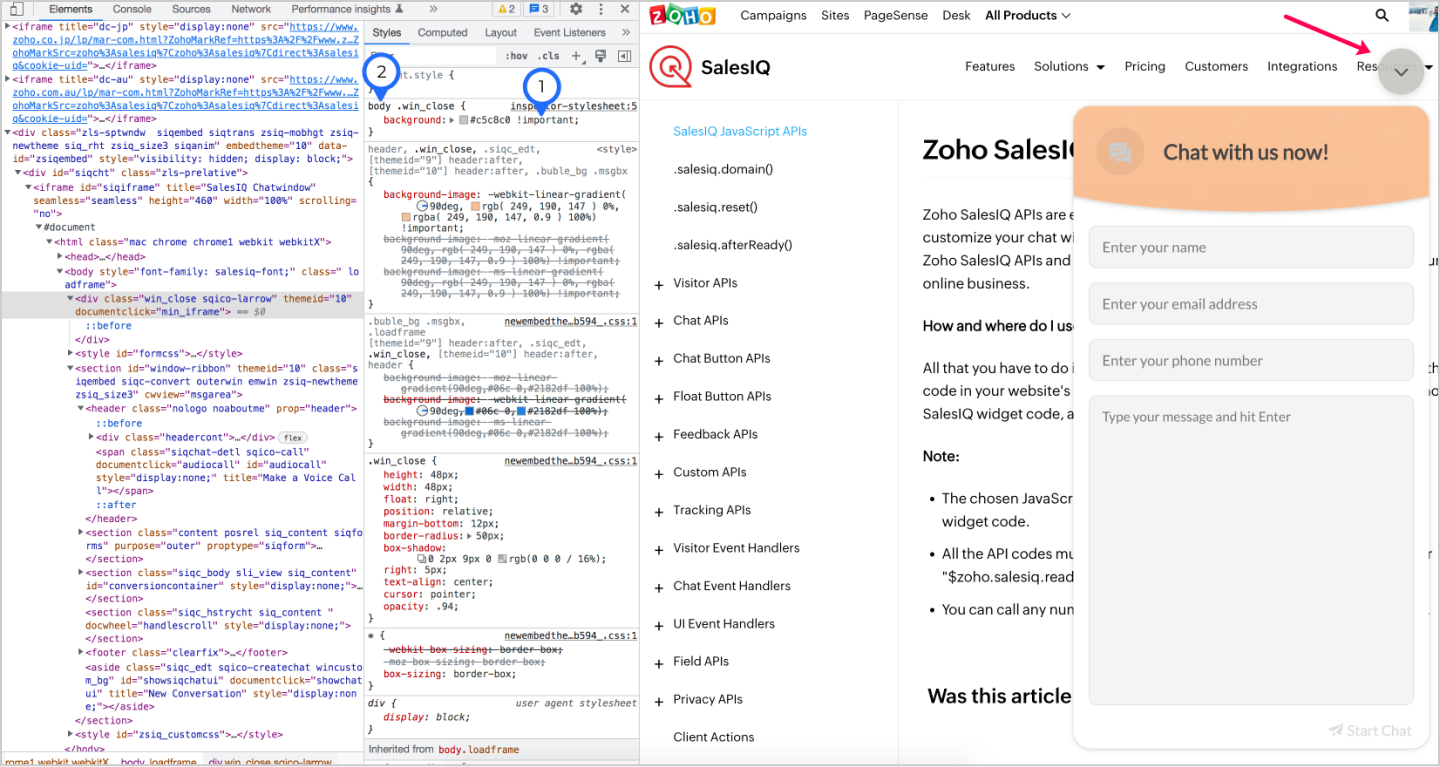
To change the header colour of the chat window.
- body header {
- background: #e2bb3c !important;
- }
To change the chat window dimensions on website.
- body .zsiq-newtheme.siqembed.zls-sptwndw {
- height: 500px !important;
- width: 400px !important;
- }
To change the chat widget colour.
- body .zsiq_flt_rel {
- background-color: #e2bb3c !important;
- }
To change the chat window dimensions on mobile alone.
- @media only screen and (min-width: 100px) and (max-width: 555px)
- {
- body .zsiq-newtheme.zsiq-mobhgt.siqembed {
- height: 80% !important;
- width: 80% !important;
- }
- }
To move the position of the chat widget.
- body .zsiq_floatmain {
- right: 40px !important;
- bottom: 40px !important;
- }