Quick start guide
How do I signup for Zoho Campaigns?
Using your Zoho Campaigns account
Setup your Account
How to access the Senders & Authentication section
How to add a sender address and domain
- Navigate to Settings (Gear icon in the top-right) -> Email -> Senders & Authentication.
- On the Senders & Authentication page, click Add Sender in the top-right corner.
- In the Add Sender Address panel, enter the Name (the sender name your recipients will see) and the Email Address you want to send from.
- Click the + icon to add another sender address under the same domain, if needed. You can add multiple addresses in one go, and use the delete (trash) icon to remove any row you don't want.
- Click Save.
 Note: Use an email address on your own domain (for example, heather.b@zylker.com) rather than a public address like Gmail, Yahoo, or AOL. Sending from your own domain improves deliverability and is required for authentication.
What happens after you add a sender
How to authenticate your sender domain
Note: DNS changes can take up to 24 hours to update globally. After publishing your records, give it some time before validating.SPF
- In the SPF section, set the Host Name as your domain (for example, zylker.com).
- Copy the TXT record shown and publish it in your domain's DNS.
- If you don't have an existing SPF record, add the record exactly as shown: v=spf1 include:zcsend.net ~all
- If you already have an existing SPF record, don't create a second one. Instead, add include:zcsend.net after v=spf1 in your current record, so it looks like: v=spf1 include:zcsend.net include:sender.zohobooks.com ~all
DKIM
- In the DKIM section, set the Host Name as shown (for example, 23441._domainkey.zylker.com).
- Copy the TXT record shown — it begins with k=rsa; p=... — and publish it in your domain's DNS.
DMARC
- Generate a DMARC record using a DMARC record generator such as the one at DMARC.org.
- Copy the generated record and publish it in your domain's DNS.
Custom Return Path (CRP)
 Important: The Custom Return Path can be configured only after you've configured SPF and DKIM. Until both are in place, the CRP section stays locked.
- In the Authenticate Your Domain window, expand the Custom Return Path section.
- Under Specify the Host Name, enter a host name (for example, zma), which becomes a subdomain of your domain.
- Copy the CNAME record shown and publish it in your domain's DNS against that host name.
- Click Validate CRP to verify the record, or Skip for now to configure it later.
Note: An MX record and an A record shouldn't already be published for this host name, or CRP validation will fail. An A record maps a name to a website's server; an MX record maps it to an email server. The CRP host name needs to be unused by either so its own record can take effect.To access SMS settings,
Click Settings icon at the top right corner of the screen.
Under Marketing Channels, click SMS.
Gateways
Zoho Campaigns includes its own built-in SMS gateway, which means you can send SMS campaigns without needing to rely on a third-party service. You can send SMS messages directly to contacts in the following countries:
United States (USA)
Canada
India
Register your sender ID
Sender addresses are the names or codes that appear instead of a phone number when someone receives your SMS. They help recipients recognize your brand and can improve the chances of your message being opened.
There are two common types of sender addresses:
Alphanumeric sender ID: This uses a mix of letters and numbers. It can include uppercase letters (A–Z), lowercase letters (a–z), and numbers (0–9). For example, ZylkerFest or 123Zylker.
Numeric sender ID: This shows a phone number made up of digits (0–9) when the message is received, such as +1 718 222 1234.
Before sending any SMS campaign, you need to register a sender ID. The registration process differs slightly depending on the country you are sending to.
To begin sender registration:
Click the Settings icon at the top-right corner of the screen.
Under Marketing Channels, click SMS.
Click the Gateways tab.
Choose either Zoho Campaigns' own SMS gateway or a third-party SMS provider.
If you choose a third-party provider, click Configure next to their name and follow their integration steps.
If you are using Zoho Campaigns' own gateway, click Start Sender Configuration.
Select your target country from the dropdown: USA, India, or Canada.
For Canada
To register a sender ID to send SMS campaigns to Canada,
Enter a combination of digits you would like the number to start or end with.
Click Search to view a list of available numbers.
Select a number from the list and click Purchase.
A monthly charge of $1 applies per number. Confirm the purchase when prompted.
For USA
You must complete 10DLC (10-Digit Long Code) registration to send SMS campaigns in the USA. This is required by US carriers to reduce spam and ensure message deliverability.
Learn more about how to complete the 10DLC registration
Once approved, you can start sending SMS campaigns to US contacts.
For India
You must complete the DLT (Distributed Ledger Technology) registration to send SMS campaigns in India. This is a government-mandated process for all commercial SMS senders in India.
Learn more about how to complete the DLT registration
Third-party SMS gateways
If you prefer to use a different provider, Zoho Campaigns also supports integration with several third-party SMS gateways. To configure them,
Click the Settings icon at the top right corner of the screen.
Click SMS under Marketing Channels.
Identify the third-party gateway you'd like to connect with and click the Configure button next to it.
An alternate way to integrate your Zoho Campaigns account with third-party SMS gateway is,
Click the Settings icon at the top right corner of the screen.
Click Apps under Integration
Select the SMS gateway and click Connect.
Subscriptions
You need SMS credits to send SMS campaigns using Zoho Campaigns. To purchase SMS credits,
Click Settings icon at the top right corner of the screen.
Click SMS under Marketing Channels.
Click the Subscriptions tab.
Click Buy more credits.
You'll be directed to the Zoho Store page where you can make your payments.
Preferences
The Preferences tab lets you manage key settings that affect how your SMS campaigns. You can enable options like unsubscribe links and link tracking to ensure a better recipient experience while also monitoring engagement more effectively.
Toggle the button to enable unsubscribe link: This lets you to automatically include an unsubscribe link in your SMS campaigns, allowing recipients to opt out easily. You can add URL prefix text, Unsubscribe URL, and the URL suffix text.
Toggle the button to enable SMS click tracking: This allows you to automatically shorten and track all links in your SMS campaigns to measure engagement.
 How to access: Navigate to Settings -> WhatsApp.
Overview
WhatsApp Business account details
- Account Name: The name of your WhatsApp Business Account.
- Account ID: The unique ID assigned to your account.
- Account Status: The current standing of your account with WhatsApp.
- Message Limit: The maximum number of messages you can send per day.
What are the various account status for a WhatsApp Business account?
- Approved: Your account is active and can send messages.
- Pending: Your account is under review and not yet ready to send.
- Flagged: Your account has quality issues, such as badly designed templates or spammy content that many recipients have reported as spam.
- Restricted: Your account has violated a policy, such as selling restricted goods, breaching selling policies, or sending malicious content.
Note: Keep your account in the Approved state to send campaigns without interruption. If your account is flagged or restricted, review your templates and content and follow WhatsApp's guidelines to restore it. Learn more about WhatsApp Business Account Quality and Policies.Phone Numbers
- Display Name: The approved display name from WhatsApp that your recipients will see.
- Phone Number: The number associated with the business name.
- Quality Rating: The status assigned to your phone number by WhatsApp based on how recipients respond to your messages. It can be High, Medium, or Low.
- Connection Status: Determines whether you can send WhatsApp campaigns using that specific number. It can be Connected, Disconnected, Pending, Restricted, or Flagged.
- Display Name Status: The review state of your display name. It can be Available Without Review, Approved, or Declined.
Note: A maximum of 20 phone numbers can be added in Meta and associated with the integration.How to associate a phone number in the WhatsApp integration
- Navigate to Settings [Gear icon at top-right corner] -> WhatsApp -> Overview.
- In the Overview section, click Associate number at the far right of the Phone Numbers table.
- In the Select Phone Numbers window, choose a number from your WhatsApp Business Account. You can see its Display Name, Display Name Status, and Connection Status before selecting.
- Click Associate number to confirm, or Cancel to go back.
Import contacts
Why do you need to import contacts?
What file formats are allowed?
● The mobile number should follow the E.164 format.
How do you import contacts from a file?
- Uploading the file
- Mapping the fields
Uploading the file
- From the Navigation Toolbar to the left, click Audience and select Contacts.
- Click the Import Contactsbutton at the top-right.
Choose the file to import.
- Click inside the box or drag-drop the file button to choose a file from your computer.
- Make use of the Download sample file option to view how data is specified in the file. Sample data for 100 contacts will be present.
- Choose how you would like to handle duplicate contacts under the Duplicate Handling section:
- Under the Associations section, you can choose the Subscription Type of your contacts between Marketing, Non-Marketing, or Unsubscribed.
- In the Add to List field, choose mailing lists to which these contacts need to be associated. A maximum of 10 lists can be associated here.
- Select the topics that you wish to associate to the marketing contacts in the Add to Topic field. A maximum of 25 topics can be chosen here. Choose the Lawful Basis for Communication as well if you've enabled GDPR Compliances under Settings -> Compliances.
- Click Continue at the bottom-right corner.
- In case you chose the wrong file for import, you can either use the Removebutton and choose the correct file.
Click the Remove button to remove and replace with another file.
- ● If you click the Import from Cloud button, you can import from Zoho WorkDrive or other cloud services like Google Drive.
Mapping the fields
How to map the fields
- Perform an analysis on what information from the import file you want to bring in for the contacts.
- Once you're in the field mapping screen, the Fields from File will be listed first on the left side. Observe the fields listed under the Zoho Campaigns Fields column to check if you're able to find suitable equivalent fields against which you can map the columns from your file.
- Proceed with mapping your file's fields against the fields from Zoho Campaigns by clicking the Select Fielddrop-down of each Campaigns field and selecting the column from your file.
Field mapping screen, where mapping Campaigns and file's fields take place.
- In case you're not able to find a suitable field from Zoho Campaigns to map, click the New Custom Fields button at the top-right to create custom fields.
- Click Continue at the bottom-right corner to proceed to the next step of the import process.
- If you haven't mapped some columns from your file, you'll see a pop-up showing a list of these columns. You can either click Map Fields to map them or if you don't want to map them, you can click the Proceed Without Mapping button.
- In the next screen, you'll see the import progress and summary. If you're importing a large volume contacts (say, 50,000), it will take some time for the import to get finished.
- Click the Pause button to pause an import so you can resume it later. Click the Done button at the bottom-right corner. The import will run in the background.
- You'll receive an in-app notification in the bell icon at the top-right corner once the import has completed.
- ● Example: You want to bring in the Date of Birth (a column in your file) data of your contacts but you can't find a suitable field to map. You can create a custom field in Zoho Campaigns with Date as the Data Type adjacent to this column. Click Create to create and map the custom field.
- Zoho Campaigns will automatically map fields from your file with the corresponding Zoho Campaigns Fields provided that the field names are the same. For example, if you have a field named Mobile in your file it will be auto-mapped to the Mobile field of the Contacts module under the Zoho Campaigns Fields.
- Zoho Campaigns doesn't allow group email addresses to be imported.
- ▪ The import summary
will hold details of the ignored contacts, which you can download as a .csv or .xlsx file and find the reason why they were ignored.
Import Summary
How do you read the import summary of an import?
How can you access import summary at any given time?
- From the Navigation Toolbar, click Audience and click Contacts.
- Click the 3-dotted button at the top-right corner and click Import Summary.
Here, you'll be able to view the list of import summary identifiable by the filename of the file you imported along with the date and time of import.
You can also get a quick overview of the Status, total contacts, newly added, update, and ignored contacts for an import. The ignored contacts list can be downloaded from here as well. - Clicking a particular summary will open its detailed view.
What are the statuses of import summary?
| Status | What it means |
| Completed | The import is finished and successful. |
| Incomplete | The file was uploaded but at the field mapping stage, import was stopped either by closing the tab or the browser window. You can click an incomplete summary and continue mapping to finish the import. |
| Queued | At any given time, you can run two imports simultaneously. If you try importing when there are two imports running, the subsequent imports will be placed in this status. These will get picked once the previous imports are completed. |
| In-progress | The import is underway. Click the summary to find the progress. |
| Paused | If you click the Pause button during the import, it will be paused. You can resume later by accessing this import's summary. |
| Failed | The import has failed. Please contact us at support@zohocampaigns.com with your Zoho account's user ID and Zoho Campaigns organization ID in which this occurred, so we can find the failure reason. |
Integrating Zoho Campaigns with Zoho CRM connects the two. CRM records sync into Zoho Campaigns automatically, so you can send targeted campaigns to your CRM audience without exporting a single CSV file, and marketing engagement data can flow back to Zoho CRM to help sales prioritize the right leads.
Overview
This doc walks you through:
Why you'd integrate Zoho Campaigns with Zoho CRM, and who it's for
Connecting your Zoho CRM account to Zoho Campaigns
Setting up a sync for a CRM module, including filtering which records sync and where they land
Mapping fields between Zoho CRM and Zoho Campaigns, in both directions
Managing your integration after setup: editing, pausing, re-initiating, and disconnecting
Why integrate Zoho Campaigns with Zoho CRM
If your organization uses Zoho CRM to manage leads or customers and Zoho Campaigns to communicate with them, integrating the two keeps everyone working off the same data. This is especially useful if a sales team qualifies leads before handing them to marketing, if you're running email campaigns for prospects who live in CRM, or if marketing and sales simply need to see the same activity on a contact.
Once connected, updates you make in Zoho CRM show up in Zoho Campaigns after the next sync, so you're not maintaining two versions of the truth. CRM fields like lead source, industry, or territory become available for segmentation without any manual list-building. And because engagement data can sync back to Zoho CRM, your sales team can see whether a lead opened your last campaign before they pick up the phone.
Without the integration, marketing typically maintains its own contact database that drifts out of sync with CRM, sales has no visibility into email engagement, and contacts risk getting duplicate or outdated communication. The integration exists to remove that gap.
Info: This integration uses a continuous sync model. Instead of a one-time import, Zoho CRM records stay in sync with Zoho Campaigns for as long as the sync is active, and you can control exactly which records, fields, and subscription rules apply.Before you start
Check the following before connecting your accounts:
You need an active Zoho CRM account. If you have multiple Zoho CRM accounts, only one can be selected for integration.
You must be the organization administrator in both Zoho Campaigns and Zoho CRM to set up the sync.
Connecting your Zoho CRM account 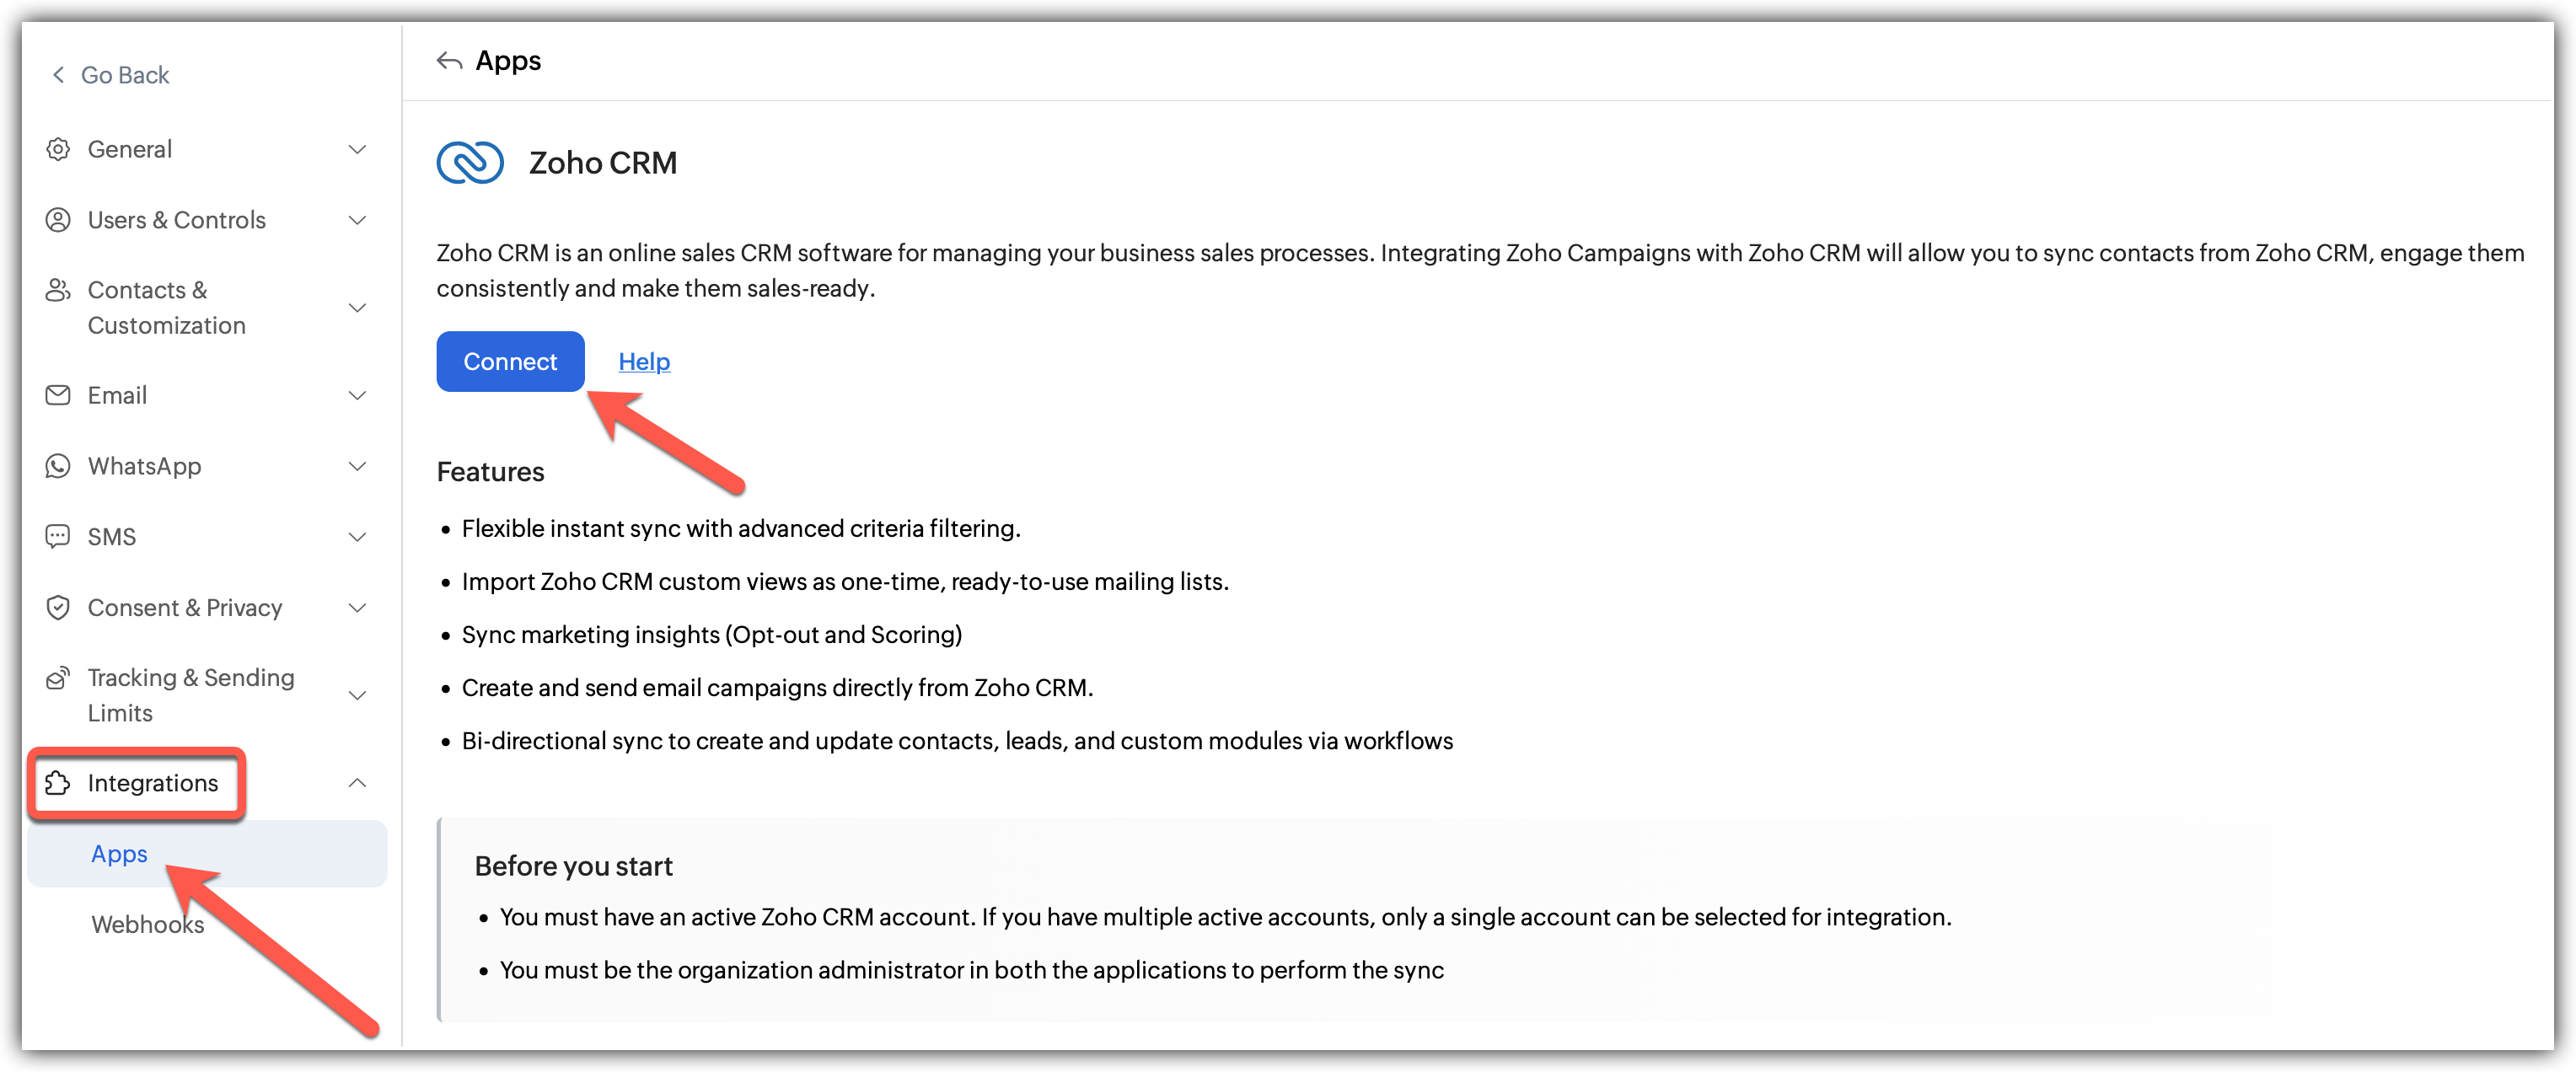
In Zoho Campaigns, go to Settings, then Integrations, then Apps.
Under Zoho, find the Zoho CRM card and click it.
On the Zoho CRM page, review the Features list and the Before you start requirements, then click Connect.
In the Integrate with Zoho CRM window, select your organization from the Select an organization to integrate with Zoho Campaigns dropdown.
Click Integrate.
You'll see a Zoho CRM connected confirmation, and the window automatically moves to the Setup Sync step.
Note: The organization you connect to here determines what's available in every later step, including which custom modules you can sync. For example, if you connect to a Zoho CRM organization called "Skyline Realty," you'll only be able to sync modules and custom modules that exist in Skyline Realty's account, not in any other Zoho CRM organization you might have access to.Setting up a sync
A sync connects one Zoho CRM module, either Leads, Contacts, or a custom module, to Zoho Campaigns. You can set up a sync for each module separately, and each one has its own module selection, record scope, subscription settings, and field mapping.
Choosing a module and record scope
From Select Module to Sync, choose Leads, Contacts, or Custom module.
If you choose Custom module, a second required field appears. Use the Custom module dropdown to pick the specific module you want to sync, for example, a "Property Enquiries" module built for a real estate business.
Choose how many records to sync:
All Records syncs every record from the selected module.
Specific Records lets you sync only the records that match criteria you define. This applies to new records only, so it won't retroactively remove or add records that already existed in the module before you set it up. To apply your criteria to existing records too, use Re-initiate Sync after setup.
Note: Custom module only appears as an option if the connected Zoho CRM organization has at least one custom module set up. If it doesn't, you'll only see Leads and Contacts in the dropdown. The custom modules listed also depend on which organization you connected to.If you choose Specific Records, the Add Contact Filter window opens:
In Group 1, choose a field, then a condition (for example, contains, is empty, starts with), and enter a value.
Click the + icon next to a condition to add another condition to the same group, or the trash icon to remove one.
Click Add a Group to create additional groups of conditions. When you add a second group, an AND/OR toggle appears between the groups, and a Criteria Pattern (for example, (G1 OR G2)) summarizes how the groups combine.
To customize how groups combine beyond a simple AND or OR, click Change Pattern and edit the pattern directly, then click Save.
Click Apply Filter.
Back on the Setup Sync screen, your filter appears as a tag with a Modify Filter link, so you can revisit it later without rebuilding it from scratch.
Choosing where synced contacts land
The Associations section controls what happens to contacts once they're synced.
Subscription Type. Choose Marketing if these contacts have given permission to receive marketing communication. They'll count toward your subscriber plan. Choose Non-Marketing if they haven't. Non-marketing contacts don't receive marketing communication and don't count toward your subscription plan.
Workspaces. If your Zoho Campaigns account has multiple workspaces, pick the one that should receive these contacts.
Add to List. Select an existing mailing list, or type a new name and click Create List to make one on the spot.
Add to Topic. Available only when Subscription Type is set to Marketing. Topics are grouped by category in the dropdown, and you can select more than one.
If you add contacts to a topic, a Lawful basis for communication field becomes required. Choose the basis that applies: Not Applicable, Consent, Legitimate Interest, Contract, Public Task, Legal Obligation, or Vital Interest. If you choose Consent, a Sync consent status from Zoho CRM checkbox appears, letting you keep consent records aligned between the two systems.
Setting sync rules
The Sync Rules section controls how unsubscribes and deletions in Zoho CRM affect your Zoho Campaigns contacts.
Opt-Out Field. Choose the Zoho CRM field where unsubscribe preferences are stored. Available options depend on the module: Leads offers Email Opt Out, Is Converted, and Locked; Contacts offers Email Opt Out and Locked. If you create a custom field in Zoho CRM for this module, it also becomes available as an option here.
Sync opt-out status. When enabled, unsubscribe status syncs for new and existing records based on your selected Opt-Out Field. Choose what happens to those contacts in Zoho Campaigns: Mark as Non-Marketing Contact, Mark as Unsubscribe, or Delete.
Sync deleted contacts. When enabled, records deleted in Zoho CRM trigger the same action in Zoho Campaigns: Mark as Non-Marketing Contact, Mark as Unsubscribe, or Delete.
Sync empty field values. When enabled, clearing a field's value in Zoho CRM empties that field in Zoho Campaigns too.
Click Save & next to move to field mapping.
Mapping fields between Zoho CRM and Zoho Campaigns
The Map Fields step controls which CRM fields carry over to Zoho Campaigns, and which Zoho Campaigns fields, if any, flow back to Zoho CRM.
Mapping CRM fields to Zoho Campaigns fields
Email and Mobile are mapped by default and can't be removed, since Zoho Campaigns needs at least one of them to reach a contact. Other default mappings, like First Name, Last Name, and Phone, can be edited using the dropdowns or removed with the trash icon. Click the + icon to add another field mapping.
For the Contacts module, field mapping is organized into tabs for the module itself and its related modules: Contacts, Accounts, and Deals. Each tab comes with a sensible set of default mappings (for example, Account Name, Industry, and Annual Revenue under Accounts; Deal Name, Stage, and Amount under Deals), and you can adjust any of them the same way. The Leads module doesn't have related-module tabs, since leads don't carry account or deal associations.
Click Add new field if the field you need isn't already listed. This lets you map a custom Zoho CRM field without leaving the field mapping screen.
Sending marketing insights back to Zoho CRM
Toggle Sync from Zoho Campaigns to Zoho CRM on to share marketing data, including opt-out status and contact scoring, with your sales team.
Under Zoho Campaigns, select the field you want to send, for example Email Opt-out or Contact Score (contact's total engagement score.)
Under Zoho CRM, select the field that should receive it.
Click the + icon to map another field.
 Warning: If the Zoho CRM field you're trying to map to doesn't exist yet, you'll see an error like "Please create the Contact Score field in Zoho CRM." Create the matching field in Zoho CRM first, then come back and complete the mapping.
Things to know before you save
Record owner information, including Name, Email, Role, Profile, Street, City, Zip, Phone, Mobile, Fax, and Website, syncs by default and can't be mapped separately in field mapping.
Mobile numbers must follow E.164 format to send SMS and WhatsApp campaigns.
A contact must have either an email address or a mobile number to sync successfully.
Click Save to finish. You'll see a confirmation once your sync and field mapping are saved.
Managing your CRM integration
Once a sync is set up, you can manage it from the Zoho CRM integration page under Settings, then Integrations, then Apps.
Viewing your connected account and modules
The page shows your connected Zoho CRM account and organization at the top, and a Modules table listing every module you've synced, its Status (Active or Paused), Mapped List, and Last Sync Time, along with who created it and when.
Adding a sync for another module
Click Create New Sync in the top-right corner. Since your account is already connected, this shortens the wizard to two steps: Setup Sync and Map Fields. Only modules that don't already have a sync appear in the Select Module to Sync dropdown, and, as before, Custom module only shows up if the connected organization has one available. For example, if you've already set up a sync for Leads, only Contacts and any unsynced custom modules show up when you create a new sync.
Editing an existing sync
Click the three-dot menu next to a module and choose Edit. This reopens the Configuration and Field Mapping tabs with your current settings, so you can adjust the record scope, associations, sync rules, or field mappings without starting over.
Pausing and resuming a sync
Click the three-dot menu next to a module and choose Pause Sync to stop it temporarily. No records will be added or updated through that sync while it's paused, though the configuration stays intact.
To bring it back, choose Resume Sync. New records will be added and existing records updated based on your current settings, including any changes you made while the sync was paused.
Re-initiating a sync
Choose Re-initiate Sync from the three-dot menu to fetch all matching records from Zoho CRM again from the beginning. This is useful if you've made significant changes to your filter criteria or field mapping and want the sync to reflect them across your entire contact base.
Note: Re-initiating a sync re-fetches every matching record, not just what's changed. For a large CRM database, this can take a while to complete.
Viewing sync history
Choose Sync History from the three-dot menu to see a log of every sync run, with the date and time it ran, the Total Records synced, how many were Added, how many were Updated, and how many were Skipped because they didn't match your sync criteria.
It is also tagged with a sync type: Initial for the first sync after setup, Resync for a re-initiated sync, Manual for a sync you trigger through lists, and Instant for a sync that fires right after a matching change in Zoho CRM.
Disconnecting Zoho CRM
Click the three-dot menu at the top of the page, next to Create New Sync, and choose Disconnect.
Alert: Disconnecting Zoho CRM stops all active syncs immediately. You won't be able to import further contacts from Zoho CRM, and you won't be able to share marketing activity, like opt-out status or scoring, with Zoho CRM. This doesn't delete contacts already synced into Zoho Campaigns.
Doing a one-time sync from a list
Beyond the continuous module sync covered above, you can also pull contacts into a specific list with a one-time, manual sync. Synced contacts are treated as new contacts and are also accessible from the Contacts module in Zoho Campaigns.
This requires the Zoho CRM integration to be set up first. If you haven't integrated yet, you can start that process directly from the list.
If Zoho CRM is already integrated
After creating the list, click Import from Zoho CRM.
In the slide-in window that appears, choose the Zoho CRM module and the Zoho CRM view you want to sync.
Click Sync to pull contacts from Zoho CRM into this list.
If Zoho CRM isn't integrated yet
After creating the list, click Import from Zoho CRM.
You're redirected to the Zoho CRM integration page under Settings, then Integrations, to set up the integration.
Once the integration is complete, return to the list and click Sync from Zoho CRM again.
Choose the Zoho CRM module and the Zoho CRM view you want to sync.
Click Sync to pull contacts from Zoho CRM into this list.
What are skipped contacts?
Skipped contacts are records that exist in your Zoho CRM module but don't make it into Zoho Campaigns during a sync. A record can be skipped for a few different reasons, and knowing what to check can save you time when a sync's contact count doesn't match what you expected.
Use these checks to avoid skipped contacts:
Check your subscription plan before syncing. If you're syncing more Marketing contacts than your Zoho Campaigns plan allows, contacts beyond the limit are skipped. Confirm your plan can accommodate the incoming contacts before you sync a large batch.
Make sure contacts haven't opted out in Zoho CRM. If Sync opt-out status is enabled and a contact is already opted out based on your chosen Opt-Out Field, that contact is skipped instead of added as an active subscriber.
Confirm contacts haven't been deleted in Zoho CRM. A record deleted in Zoho CRM won't sync into Zoho Campaigns, even if it previously matched your sync criteria.
Fill in mandatory fields. Every contact needs either an email address or a mobile number. Records missing both are skipped. Mobile numbers must also follow E.164 format.
Check that the module you're syncing from still exists. If a CRM module is deleted after you've set up a sync from it, every contact under that module is skipped until you point the sync at a different module.
Match data types in your field mapping. Mapping a text field to a number field, or a similar type of mismatch, causes affected records to be skipped. Keep field types consistent on both sides of the mapping.
Watch field length limits. If a field's value is longer than what Zoho Campaigns allows, that record can be skipped. Trim oversized values in Zoho CRM before syncing.
Note: You can see exactly how many contacts were skipped in a given run from the Skipped column in Sync History, covered earlier in this doc.CRM actions in Workflows
Beyond keeping contact data in sync, Zoho Campaigns lets you trigger actions in Zoho CRM directly from a Workflow. Two CRM actions are available:
Push Data, which sends contacts from Zoho Campaigns into a Zoho CRM module based on your workflow's criteria. See Push Data in Workflows for setup steps.
Create Task, which creates a task in Zoho CRM automatically when a contact reaches that point in your workflow. See Create Task in Workflowsfor setup steps.
Zoho Invoice
Features
- Sync customer details from Zoho Invoice to Zoho Campaigns automatically.
- Connect and manage data from multiple Zoho Invoice accounts in one place.
- Use invoice data to create more relevant and personalized campaigns.
- Send invoice updates and payment reminders without manual follow-ups.
Prerequisites
- You need an active Zoho Invoice account. If you have multiple accounts, you can connect only one account per integration setup.
- You must have administrator access in both Zoho Invoice and Zoho Campaigns. This ensures you have the required permissions to configure and manage the integration.
Integrate with Zoho Invoice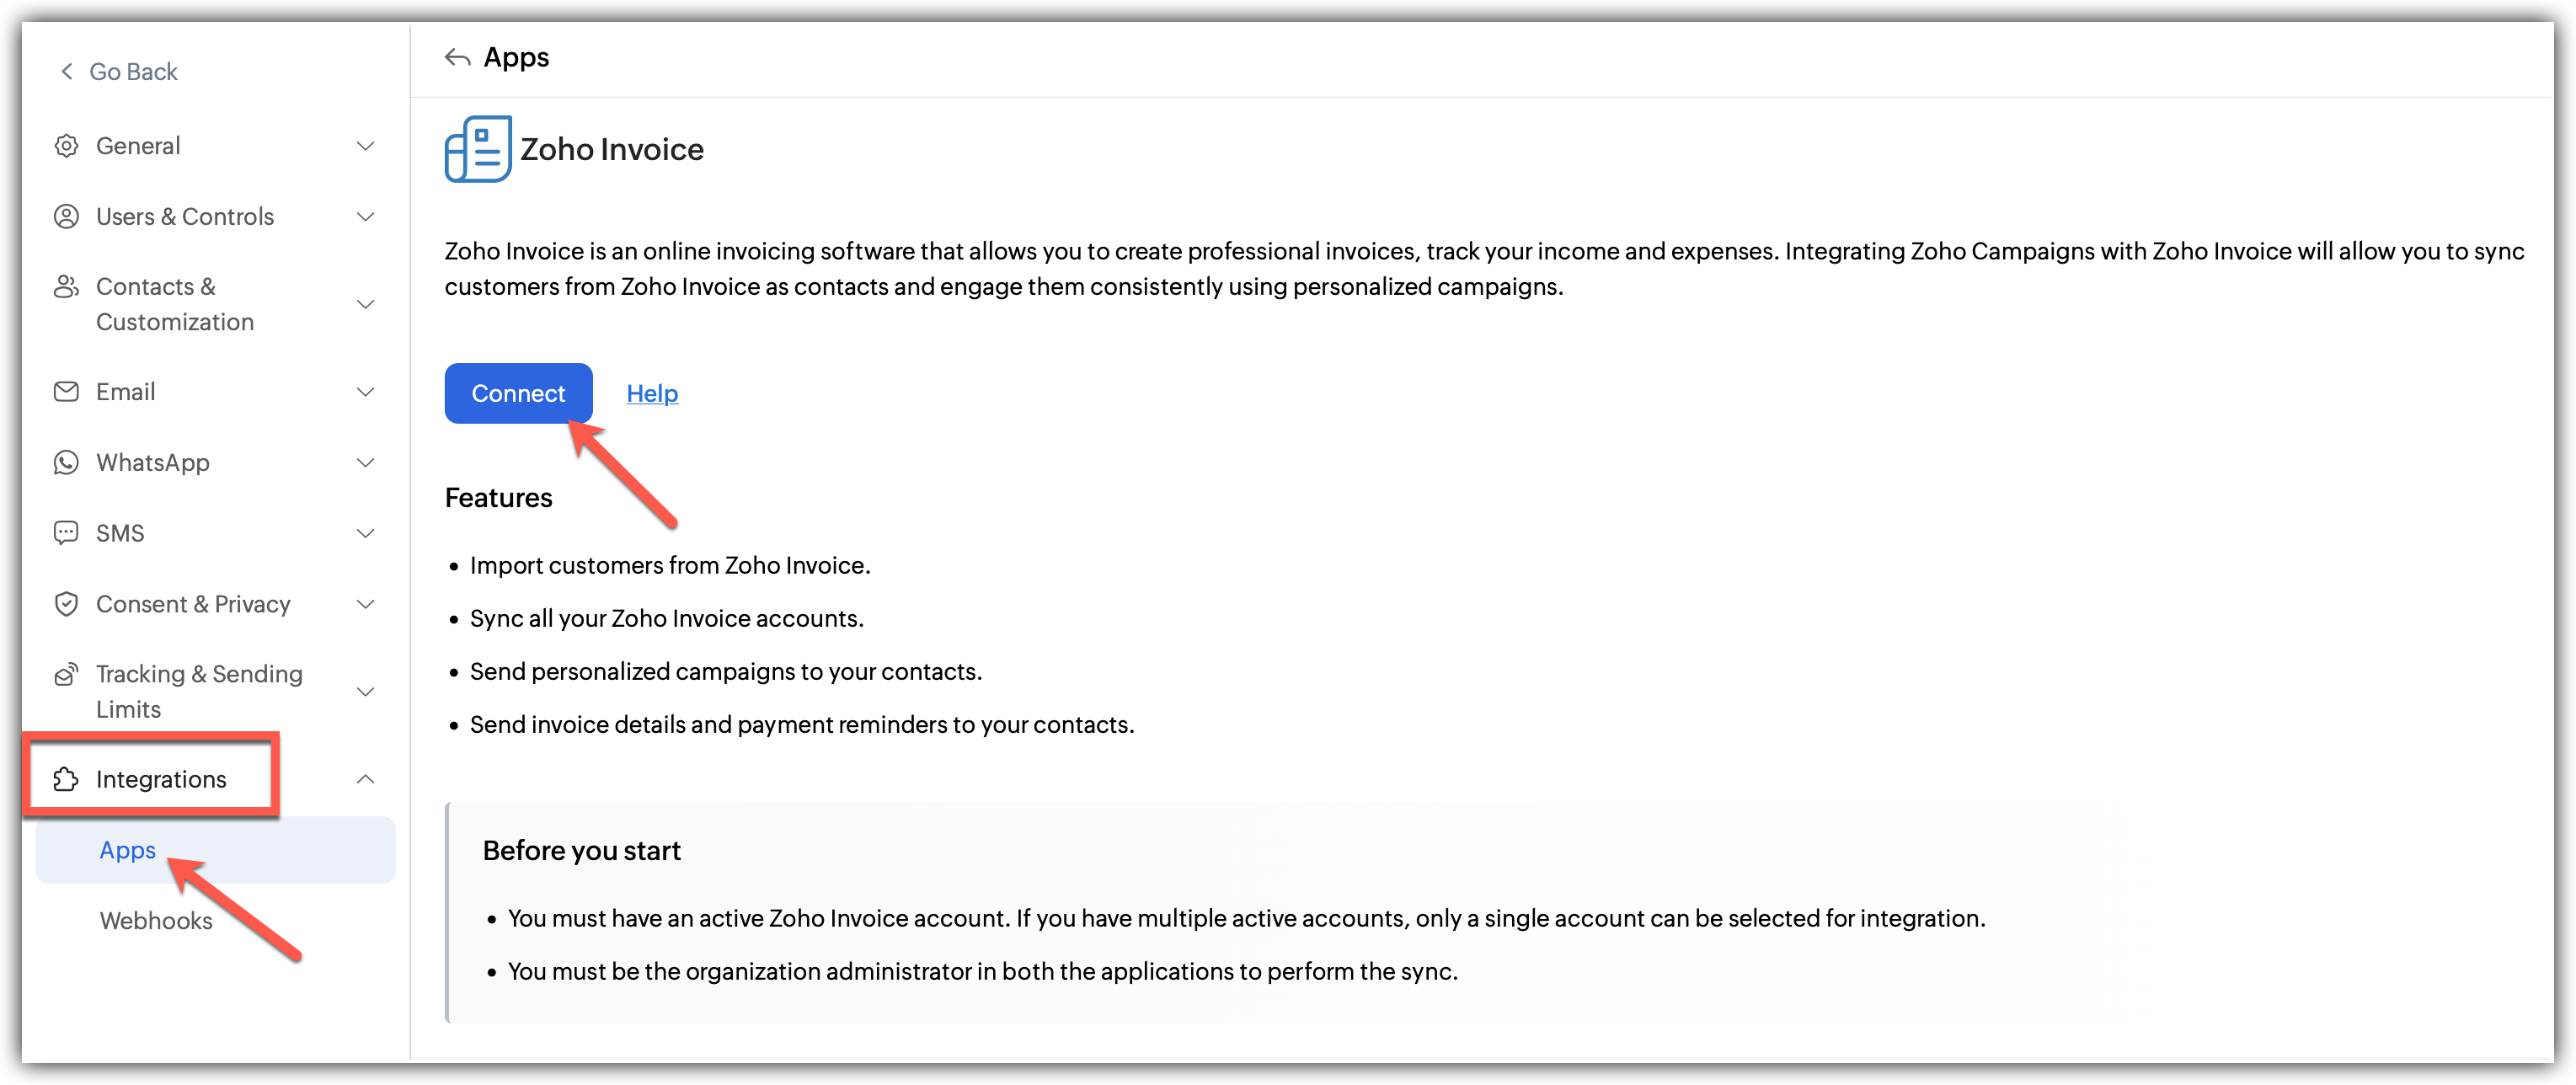
Click Settings icon on the top-right corner of the screen, then click Apps under Integrations.
Click Connect App on the top-right corner of the screen.
Click Zoho under Categories and then, select Zoho Invoice.
Click Connect.
A pop-up appears asking you to set up the sync settings:
1. Select the workspace that you want to map
2. Select where you want to sync to
3. Select the subscription type
4. Choose a topic for the imports if required
5. Select the sync frequency and the exact condition for it.
6. Toggle whether you want to update empty field value as per Zoho Invoice details.Click Save and Next.
Now, Map the fields from Zoho Invoice to Zoho Campaigns.
Click Save and your sync will be initiated.
Learn how to import contacts from Zoho Invoice
Denying access to Zoho Invoice
Click Settings icon on the top-right corner of the screen.
Choose Apps under Integration.
Click Zoho Invoice under connected apps.
Click the Disconnect option after clicking the three dots in the right.
A pop appears informing about the effect of disconnecting.
Click Proceed.
What happens if I deny my Zoho Invoice account Integration?
If you deny this integration,
Existing active syncs will be disabled.
You cannot import further contacts from Zoho Invoice.
You cannot send any type of promotional campaigns to your contacts from Zoho Invoice.
Post Integration
You can always go back and edit the Sync details and Field Mapping.
You can also view the Sync History which logs all the actions related to this integration including Total Records, Added, Updated, Skipped contacts.
Zoho Creator
Features
- Import contacts from Zoho Creator.
- Sync all your Zoho Creator accounts.
- Send personalized campaigns to your contacts.
Prerequisites
- You must have an active Zoho Creator account. If you have multiple accounts, only one account can be selected for integration.
- Only users with Administrator permission in both Zoho Creator and Zoho Campaigns can setup the sync.
Integrate with Zoho Creator 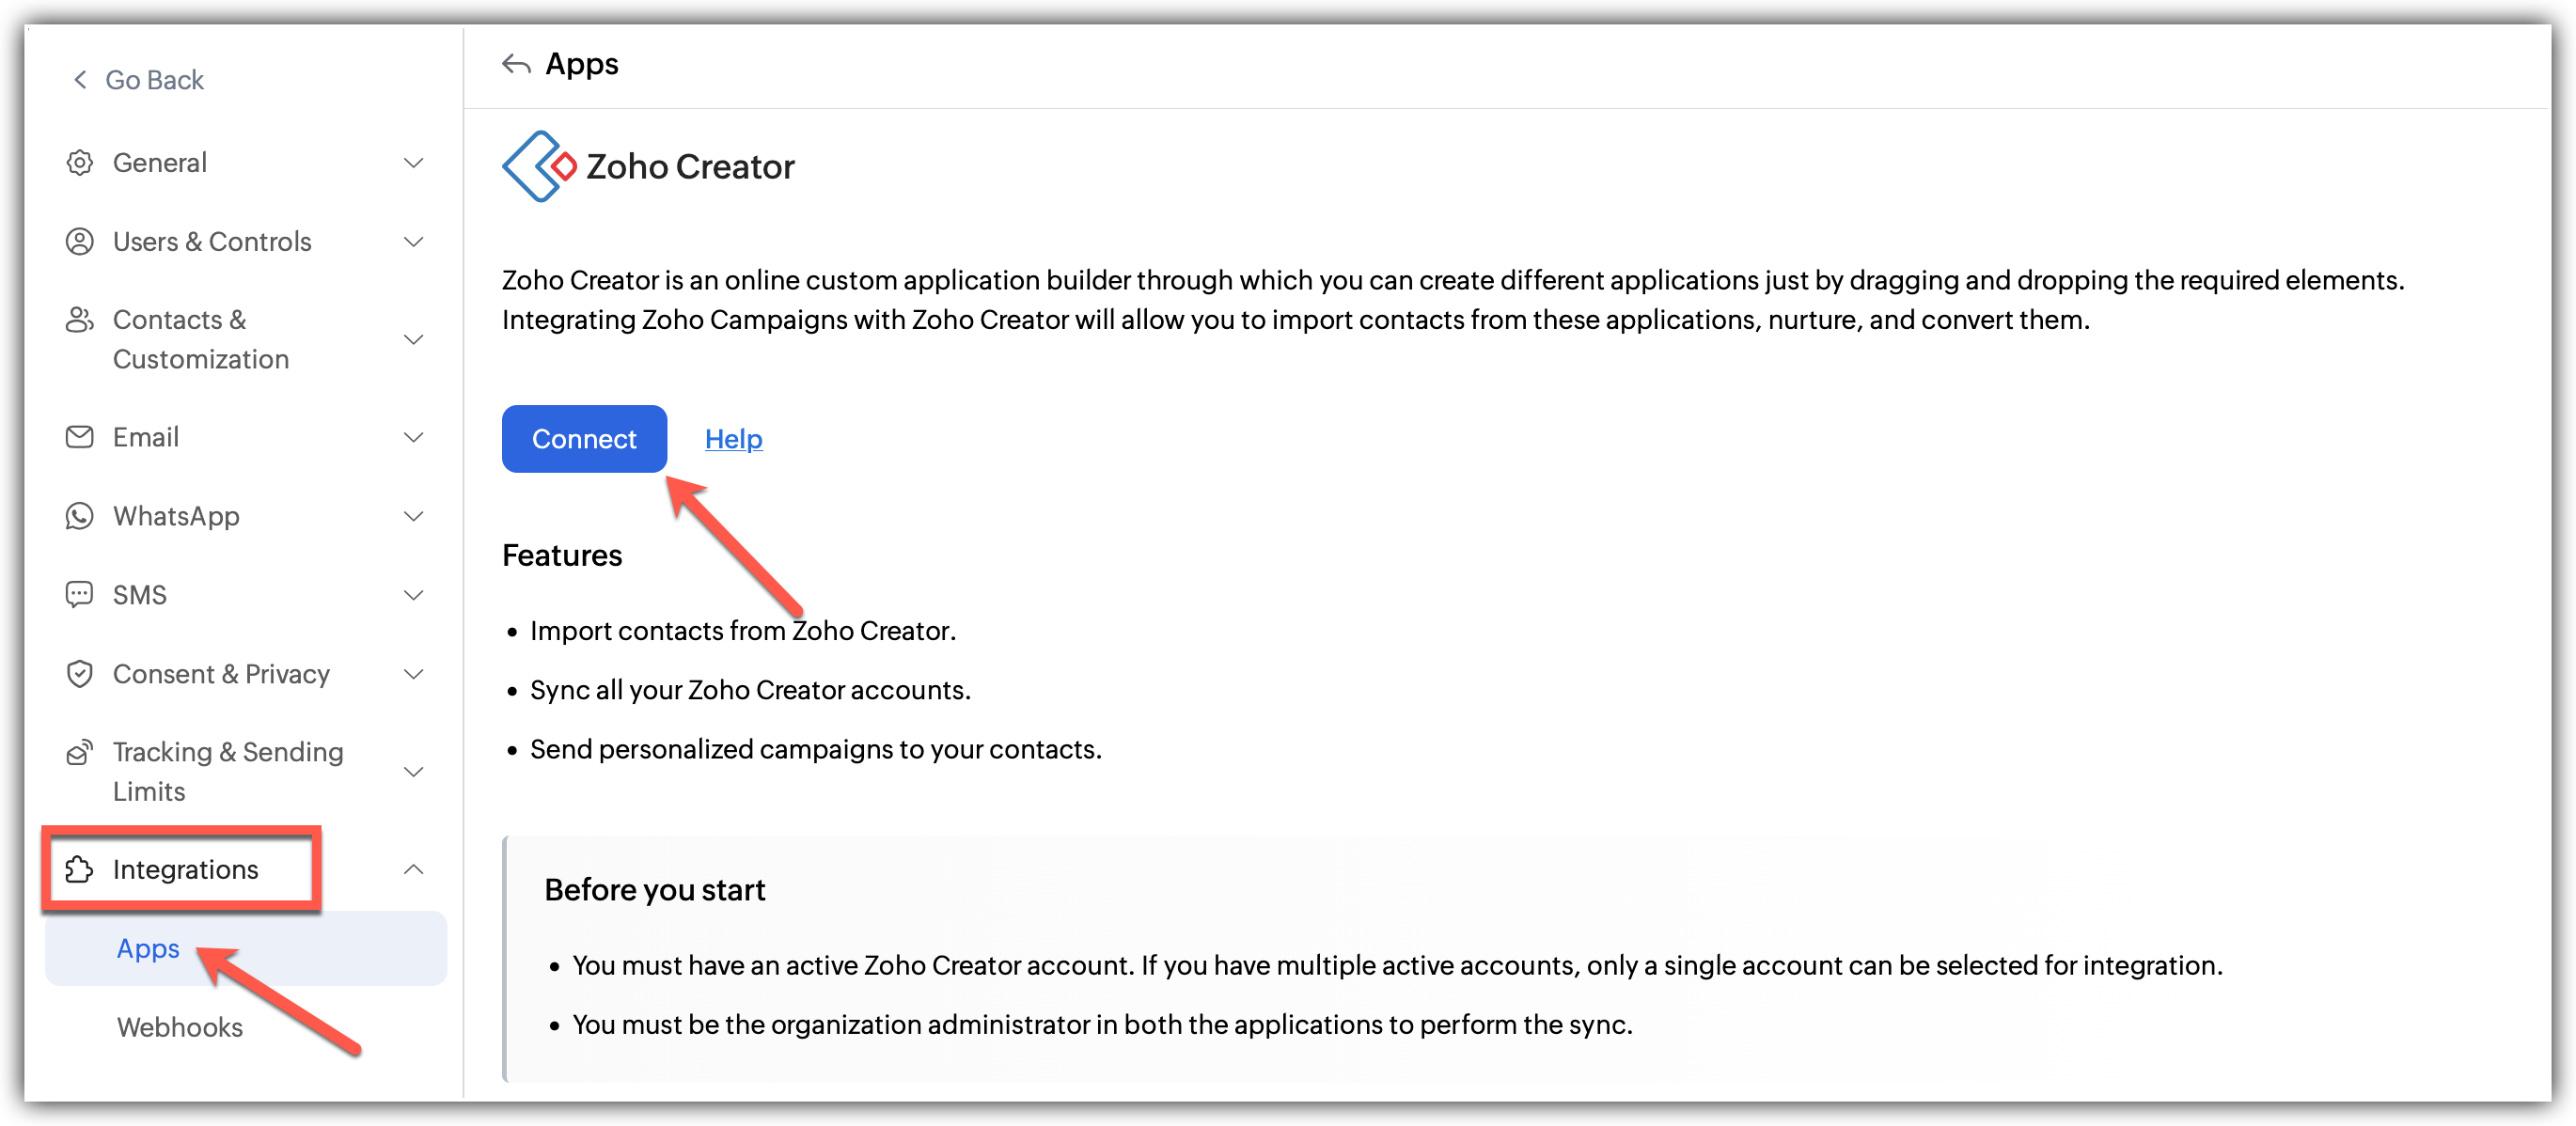
Click Settings icon on the top-right corner of the screen.
Choose Apps under Integration.
Choose Zoho Creator and click Create Sync.
A pop up appears to create a new sync.
Fill in the details of the sync:
1. Choose the Application to Sync
2. Select the list you want to sync to
3. Select the subscription type
4. Choose a topic for the imports if required
5. Toggle whether you want to update empty field value as per Zoho Creator details.
6. Select the sync frequency and the exact condition for it.
Click Next.
Now, Map the fields from Zoho Creator to Zoho Campaigns.
Click Save and your sync will be initiated.
Unlike other integrations, Zoho creator has two dropdowns–a source as well as a sub source aka an application and a form.
Learn how to import contacts from Zoho Creator
What happens if I deny my Zoho Creator account Integration?
If you deny this integration,
You cannot import contacts any further from Zoho Creator.
All active syncs will be disabled.
You cannot send any type of promotional campaigns to your contacts from Zoho Creator.
Denying access to Zoho Creator
You can either disconnect the Zoho Creator integration as a whole or you can just delete a particular sync from your list of syncs.
To disconnect the sync as a whole:
Click Settings icon on the top-right corner of the screen.
Choose Apps under Integration.
Under connected apps, Select Zoho Creator.
Click the Disconnect option after clicking the three dots in the right.
A pop appears informing about the effect of disconnecting.
Click Proceed.
At the integration page, you can view the syncs in a list view format under workspaces if multiple syncs are running simultaneously.
Also, individual integrations have a pause and delete sync options for easier accessibility.
Zoho Analytics
Features
- Import contacts from Zoho Analytics.
- Sync all your Zoho Analytics account details.
- Nurture your contacts using multiple channels in Zoho Campaigns.
- Schedule your nurturing plan using workflows.
Prerequisites
- You must have an active Zoho Analytics account. If you have multiple accounts, only one account can be selected for integration.
- Only users with Administrator permission in both Zoho Analytics and Zoho Campaigns can setup the sync.
Integrate with Zoho Analytics 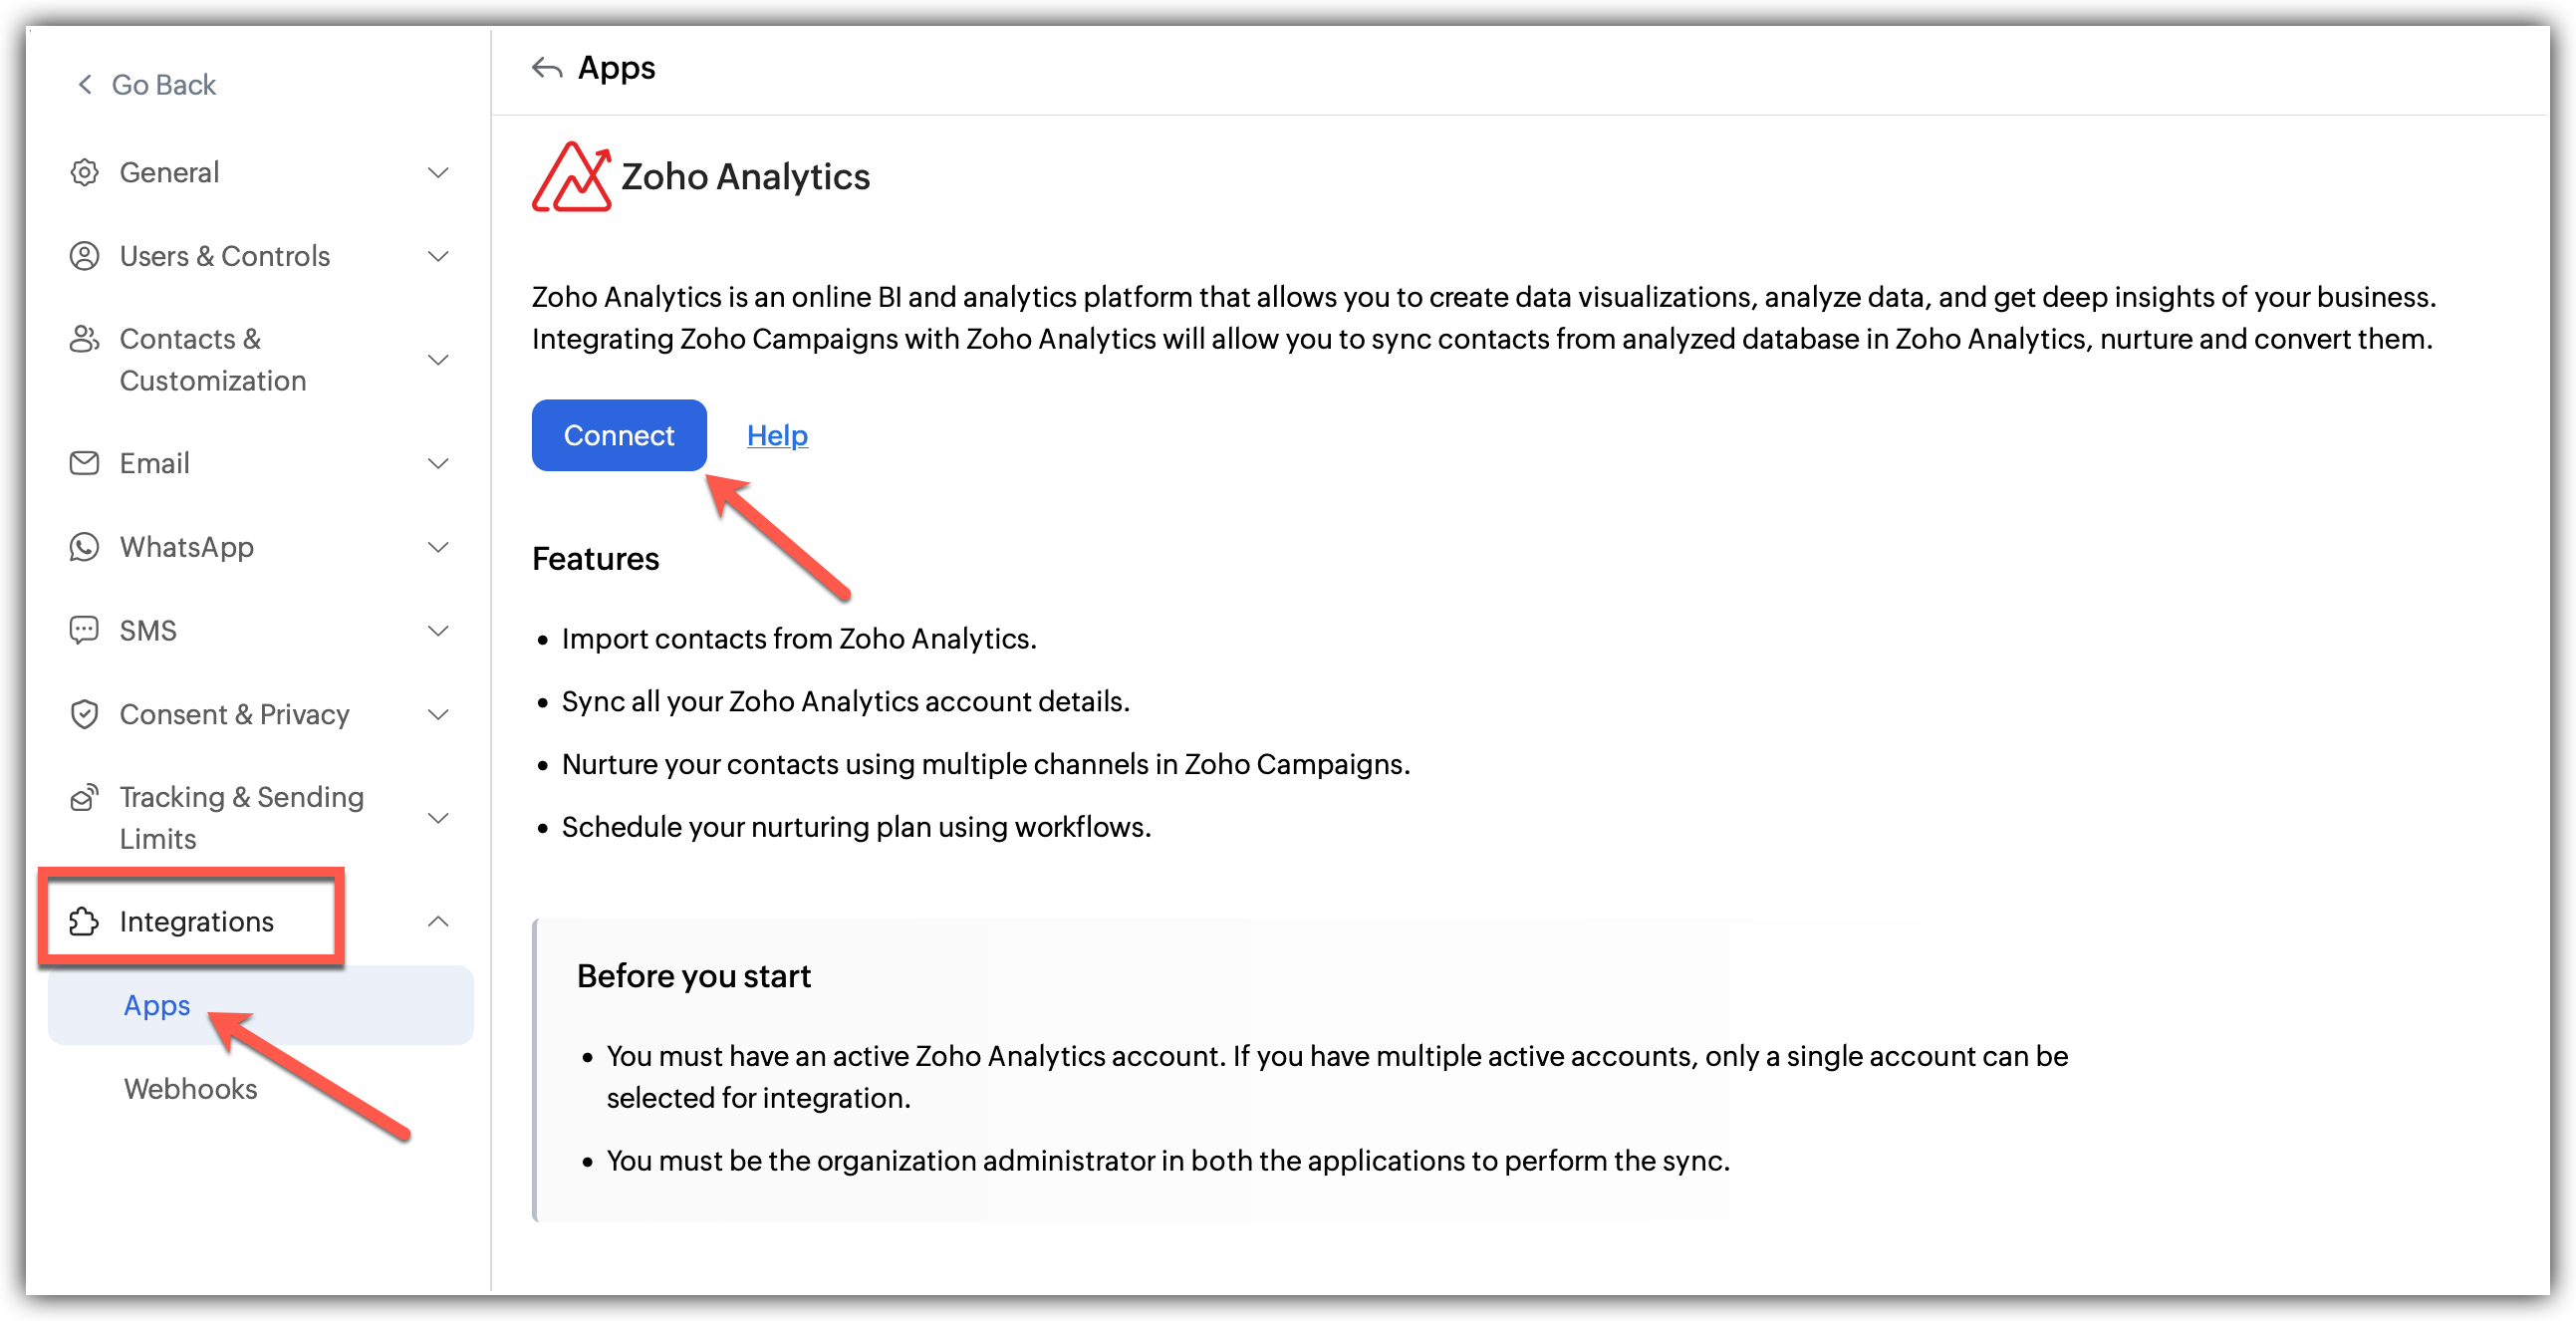
Click Settings icon on the top-right corner of the screen.
Choose Apps under Integration.
Select Zoho Analytics under Zoho and click Create Sync.
A pop up appears to create a new sync.
Fill in the details of the sync:
1. Choose the Analytics module that you want to sync.
2. Choose the Table Name and Select the Workspace under it.
3. Select the list you want to sync to.
4. Select the subscription type.
5. Choose a topic for the imports if required.
6. Select the Date, Sync frequency and the exact condition for it.
Click Next.
Now, Map the fields from Zoho Analytics to Zoho Campaigns.
Click Save and your sync will be initiated.
- Unlike other integrations, Zoho Analytics has two dropdowns–a source as well as a sub source aka an application and a form.
- Fields are not automatically pre-mapped in Zoho Analytics, so the data needs to be manually mapped to its fields during setup.
- The sync frequency date option is added for manual sync of data. The sync data will be fetched based on the time set in Sync frequency. Setting up a random time may cause improper sync issues.
What happens if I deny my Zoho Analytics account Integration?
If you deny this integration,
You cannot import contacts any further from Zoho Analytics.
All active syncs will be disabled.
You cannot send any type of promotional campaigns to your contacts from Zoho Analytics.
Denying access to Zoho Analytics
To disconnect the sync as a whole:
Click Settings icon on the top-right corner of the screen.
Choose Apps under Integration.
Under connected apps, Select Zoho Analytics.
Click the Disconnect option after clicking the three dots in the right.
A pop appears informing about the effect of disconnecting
Click Disconnect
Post Integration
At the integration page, you can view the syncs in a list view format under workspaces if multiple syncs are running simultaneously.
Also, individual integrations have a pause and delete sync options for easier accessibility.
Zoho Meeting
Features
- Import/sync webinar details along with registrants and attendees data into Zoho Campaigns.
- Send invitations, reminders, and follow-up campaigns to your audience through webinar based campaigns.
- Automate actions like reminders and follow-ups based on webinar sign-ups and participation through workflows.
- Use your mailing lists to promote upcoming webinars through targeted campaigns.
Prerequisites
- You must have an active Zoho Meeting account. If you have multiple accounts, only one account can be selected for integration.
- Only users with Administrator permission in both Zoho Meeting and Zoho Campaigns can setup the sync.
- If GDPR is enabled in your account, the Lawful basis for communication must be configured.
To integrate your Zoho Meeting account 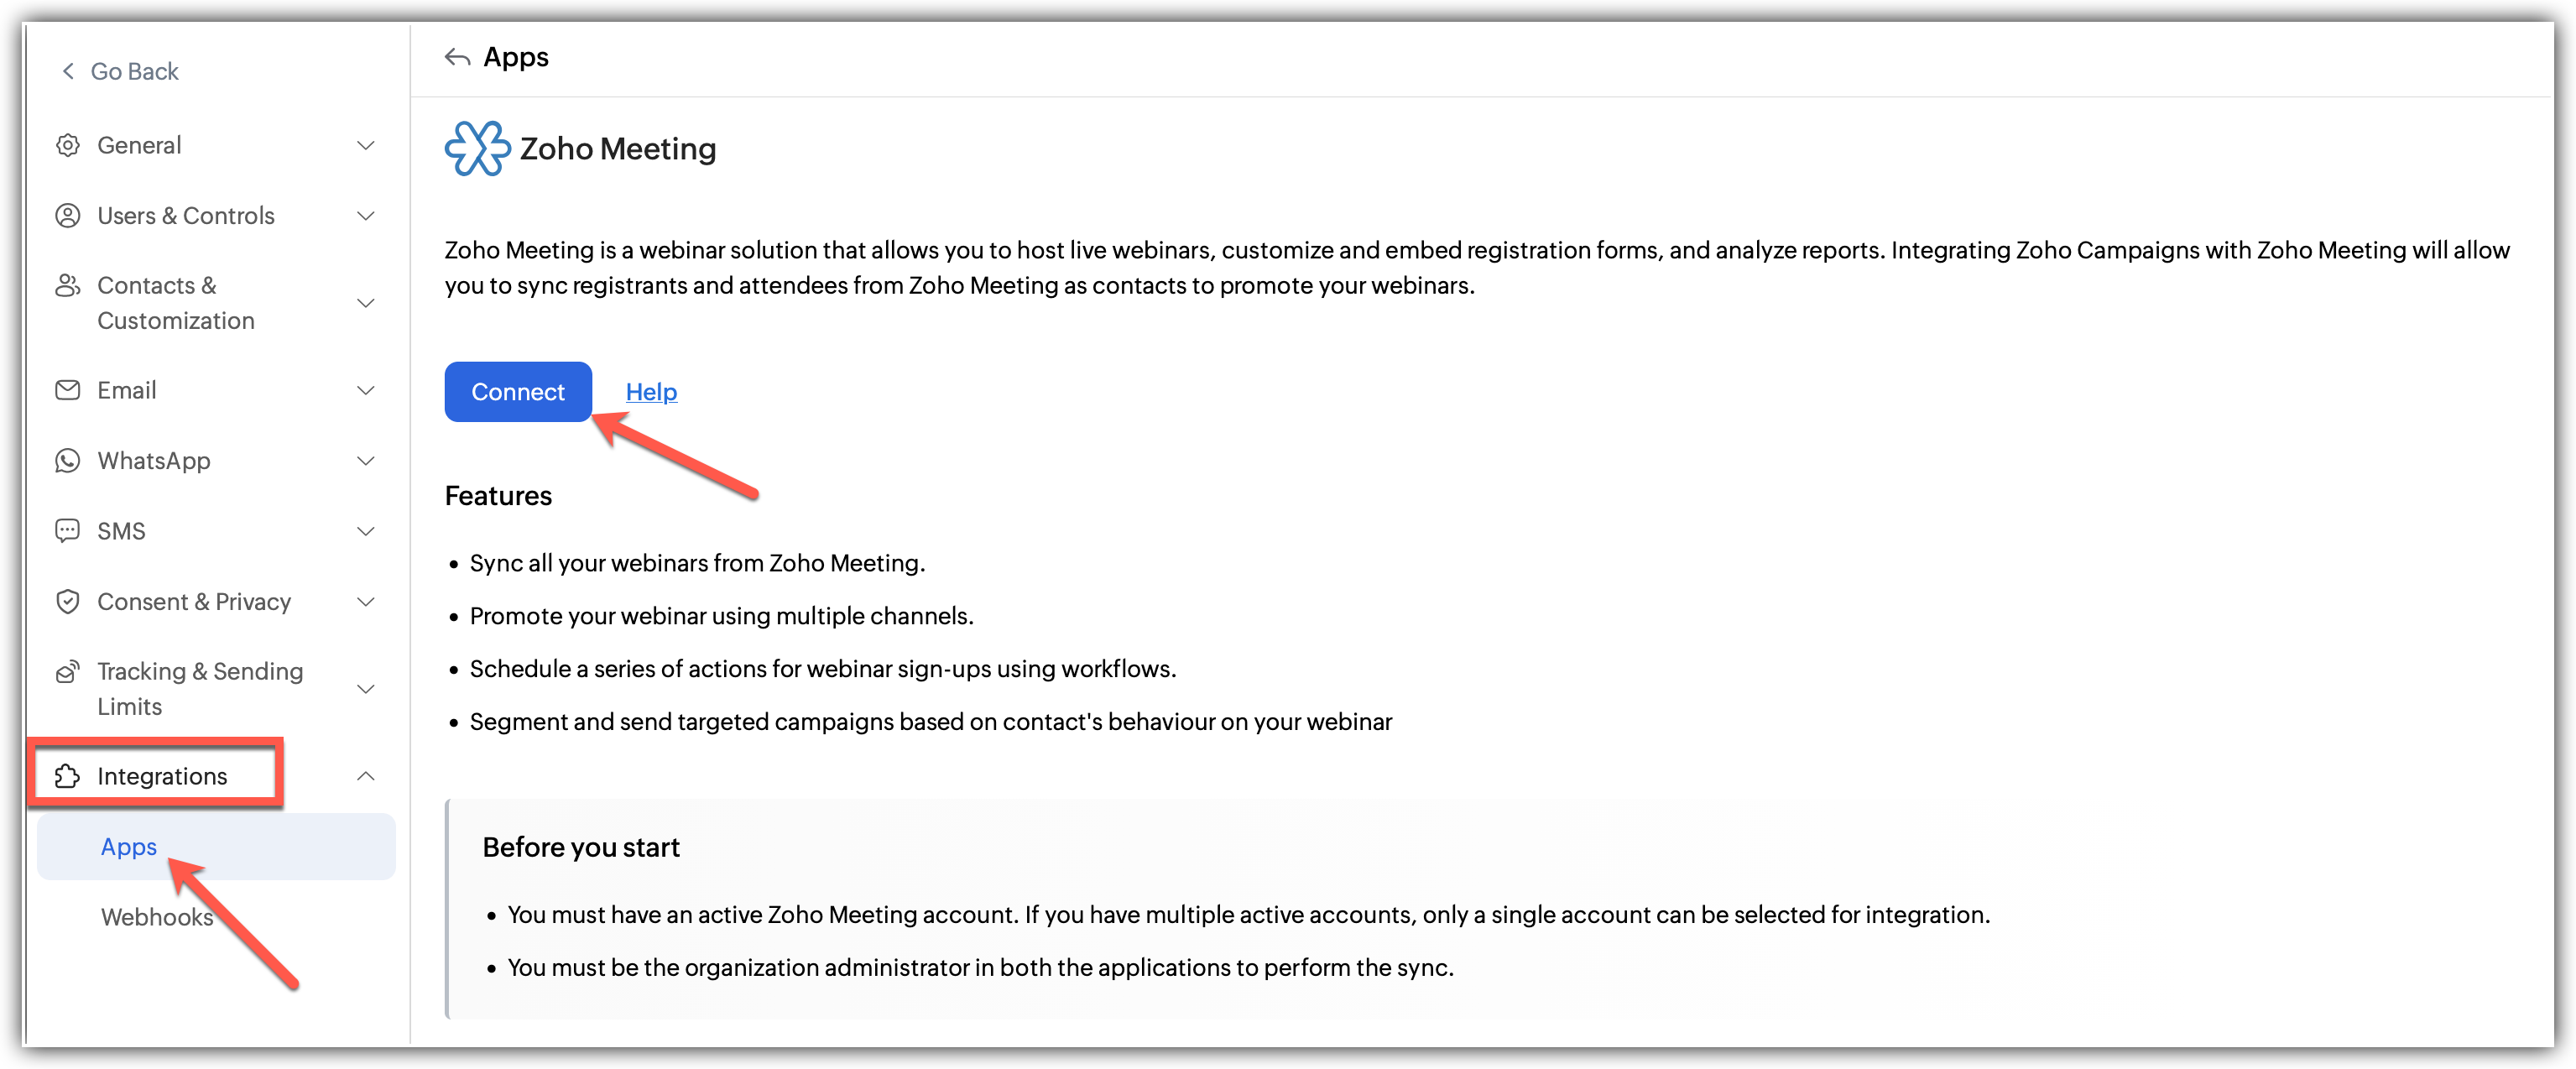
Click Settings icon on the top-right corner of the screen.
Choose Apps under Integration.
Select Zoho Meeting and click Connect.
A pop up appears to Integrate with Zoho Meetings
In the pop up:
1. Select the Organization to Integrate
2. Choose the Webinar you want to sync.
3. Enable the toggle button to Create new mailing lists for new events (Optional).
4. Select a topic to the webinar if required.Click Initiate to complete the integration.
All registrants and attendees will be synced to the All Contacts section in Zoho Campaigns.
What happens if I deny my Zoho Meeting account Integration?
If you deny this integration:
All active syncs will be disabled.
Scheduled webinar-based campaigns will be moved to draft.
You cannot import new registrants or attendees from Zoho Meeting.
You cannot send campaigns to your webinar audiences.
Denying access to Zoho Meeting
Click Settings icon in the top-right corner of the screen.
Choose Apps under Integration.
Under connected apps, Select Zoho Analytics.
Click the Disconnect option after clicking the three dots in the right.
A pop appears informing about the effect of disconnecting.
Click Disconnect.
Post Integration
- You can view the Sync history which has webinar specific sync details like status, registrants, attendees, etc.
- Sync activity is tracked and available for reference within the integration section.
Zoho Contacts
Features
- Import and sync contacts from Zoho Contacts into Zoho Campaigns.
- Keep your Campaigns contact list aligned with your Zoho Contacts data.
- Use your synced contacts for targeted email campaigns.
Prerequisites
- You must have an active Zoho Meeting account. If you have multiple accounts, only one account can be selected for integration.
- Only users with Administrator permission in both Zoho Contacts and Zoho Campaigns can setup the sync.
Integrate with Zoho Contacts 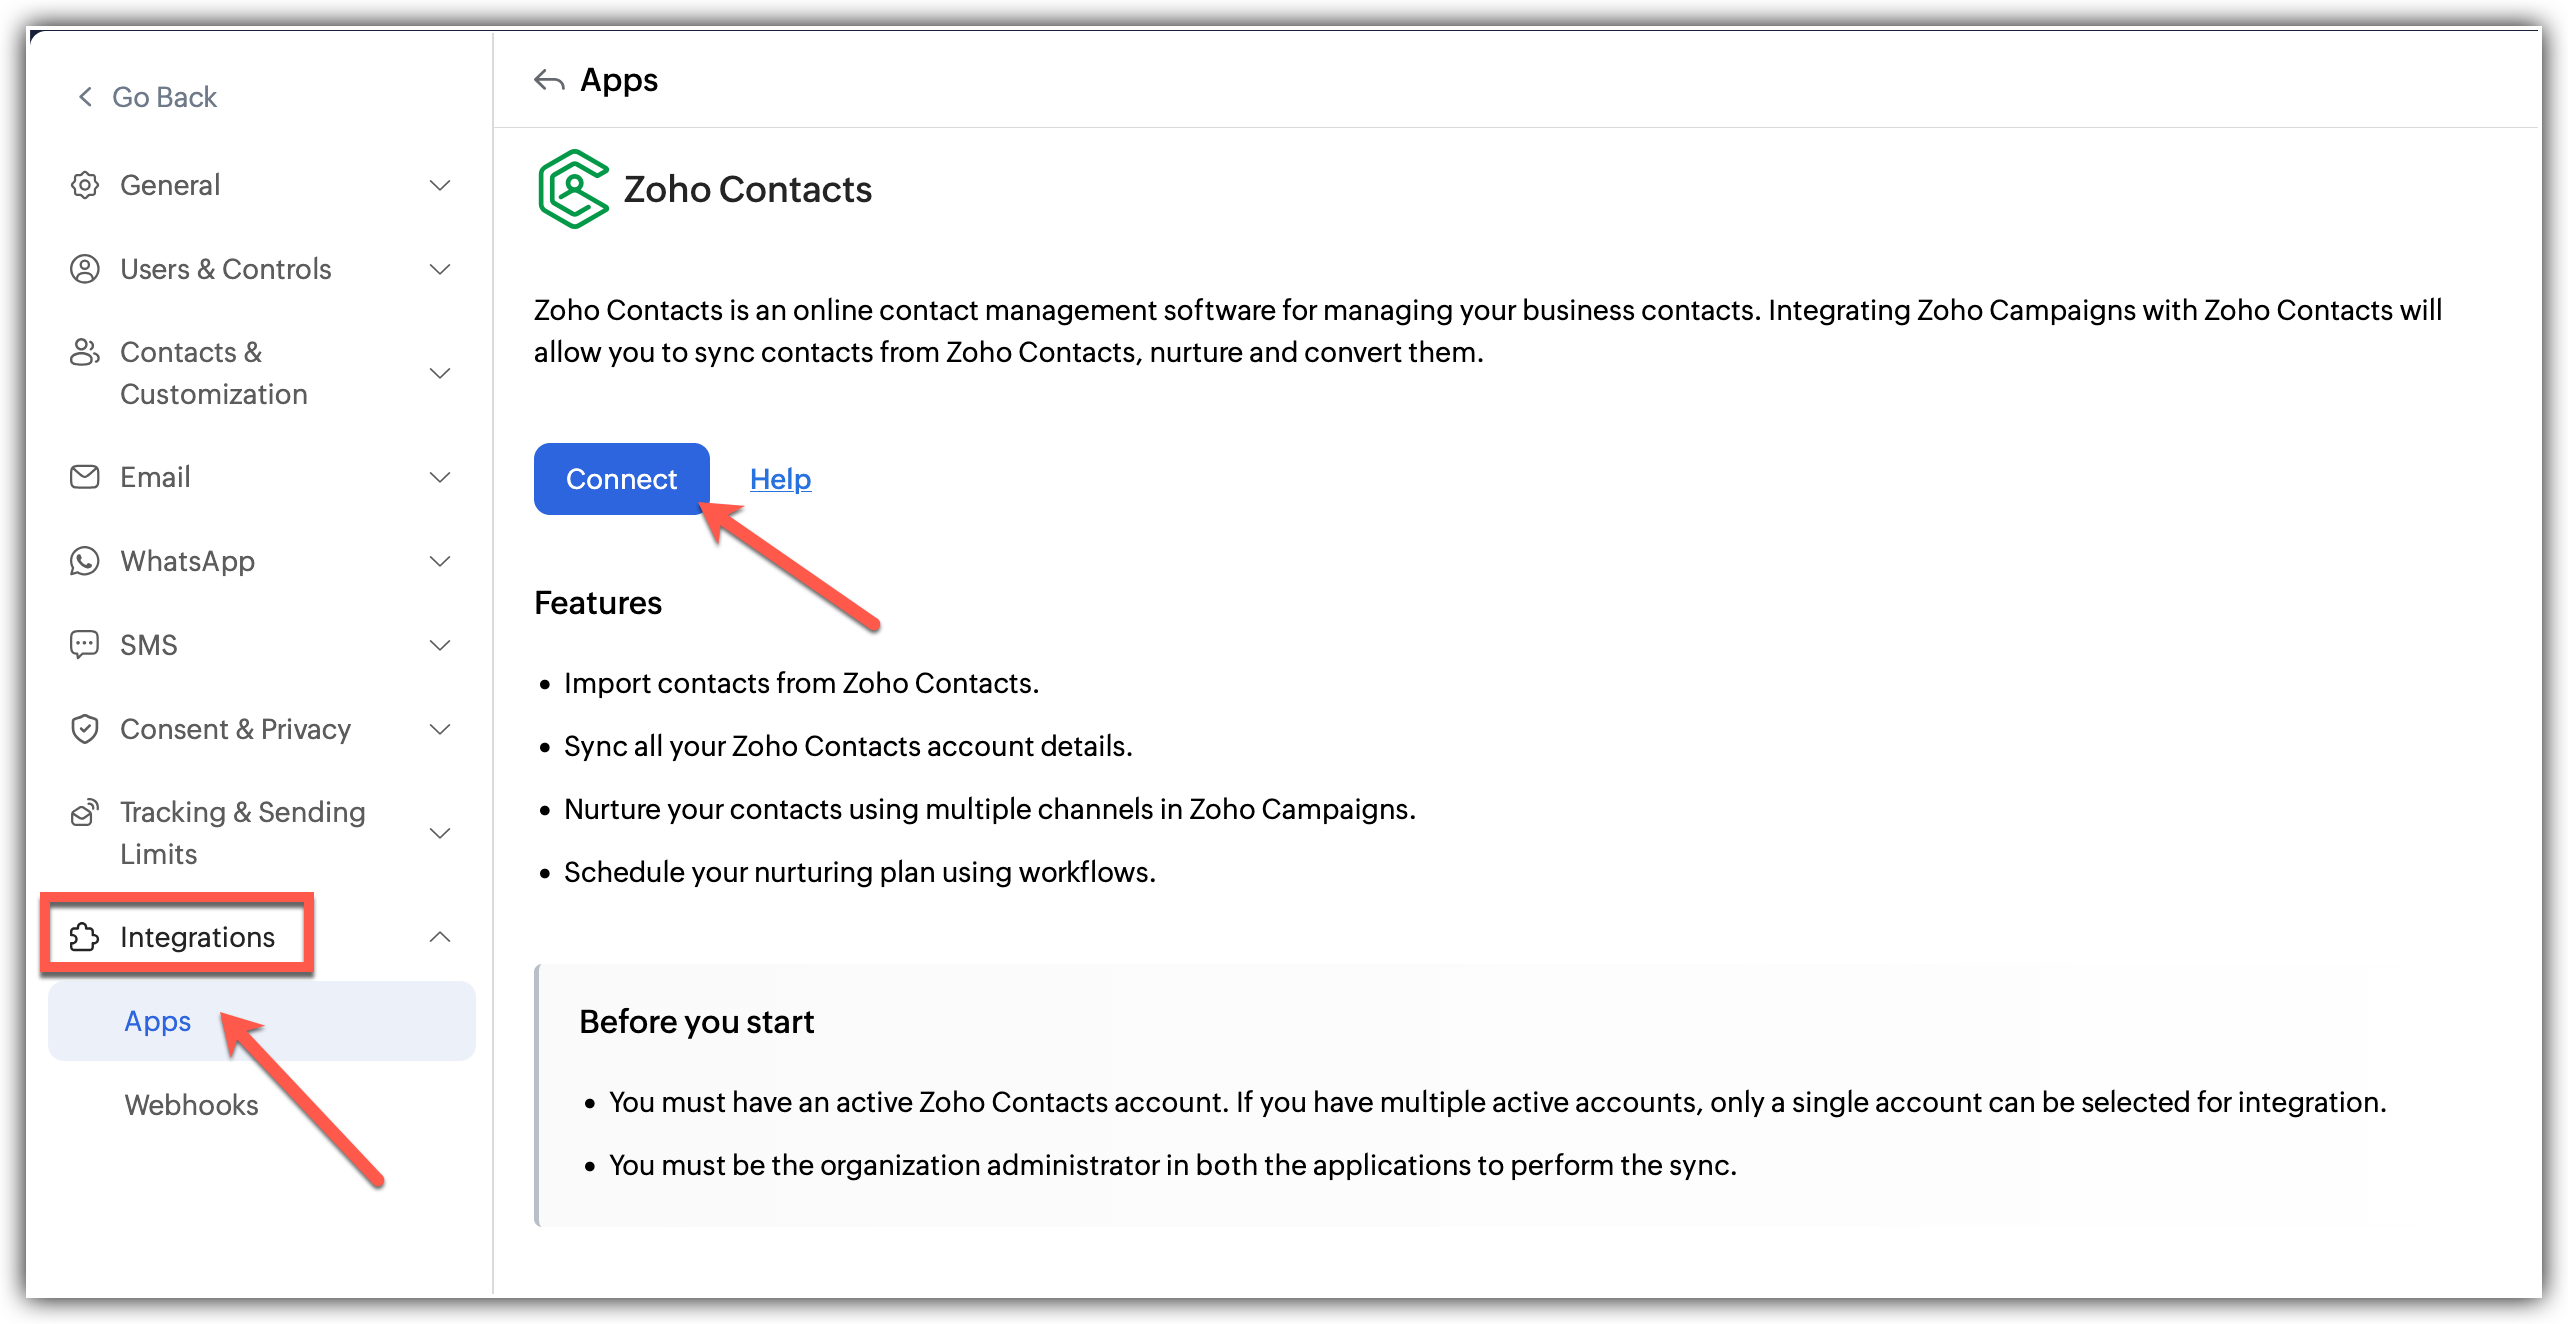
Click Settings icon on the top-right corner of the screen.
Choose Apps under Integration.
Select Zoho Contacts under Zoho Apps and click Connect
A pop up appears to create a new sync.
Fill in the details of the sync:
1. Select the workspace you want to sync.
2. Choose the Table Name and Select the Workspace under it.
3. Select the list you want to sync with(optional).
4. Select the subscription type.
5. Choose a topic for the imports if required(optional).
6. Configure the Sync Date, Sync frequency and the exact condition for it.Click Initiate once you are done
Learn how to import contacts from Zoho Contacts.
What happens if I deny my Zoho Contacts account Integration?
If you deny this integration,
All active syncs will be disabled.
You cannot import contacts from Zoho Contacts.
You cannot send campaigns to contacts synced via this integration.
Denying access to Zoho Contacts
Click Settings icon in the top-right corner of the screen.
Choose Apps under Integration.
Under connected apps, Select Zoho Analytics.
Click the Disconnect option after clicking the three dots in the right.
A pop appears informing about the effect of disconnecting.
Click Disconnect.
Post Integration
You can always go back and edit the Sync details and Field Mapping
You can also view the Sync History which logs all the actions related to this integration including Total Records, Added, Updated, Skipped contacts.
Zoho Books
Features
- Import customer details from Zoho Books into Zoho Campaigns.
- Build campaigns based on customer activity and transactions.
- Send updates and reminders without manual follow-ups.
Prerequisites
- You must have an active Zoho books account. If you have multiple accounts, only one account can be selected for integration.
- Only users with Administrator permission in both Zoho Recruit and Zoho Campaigns can setup the sync.
Integrate with Zoho Books 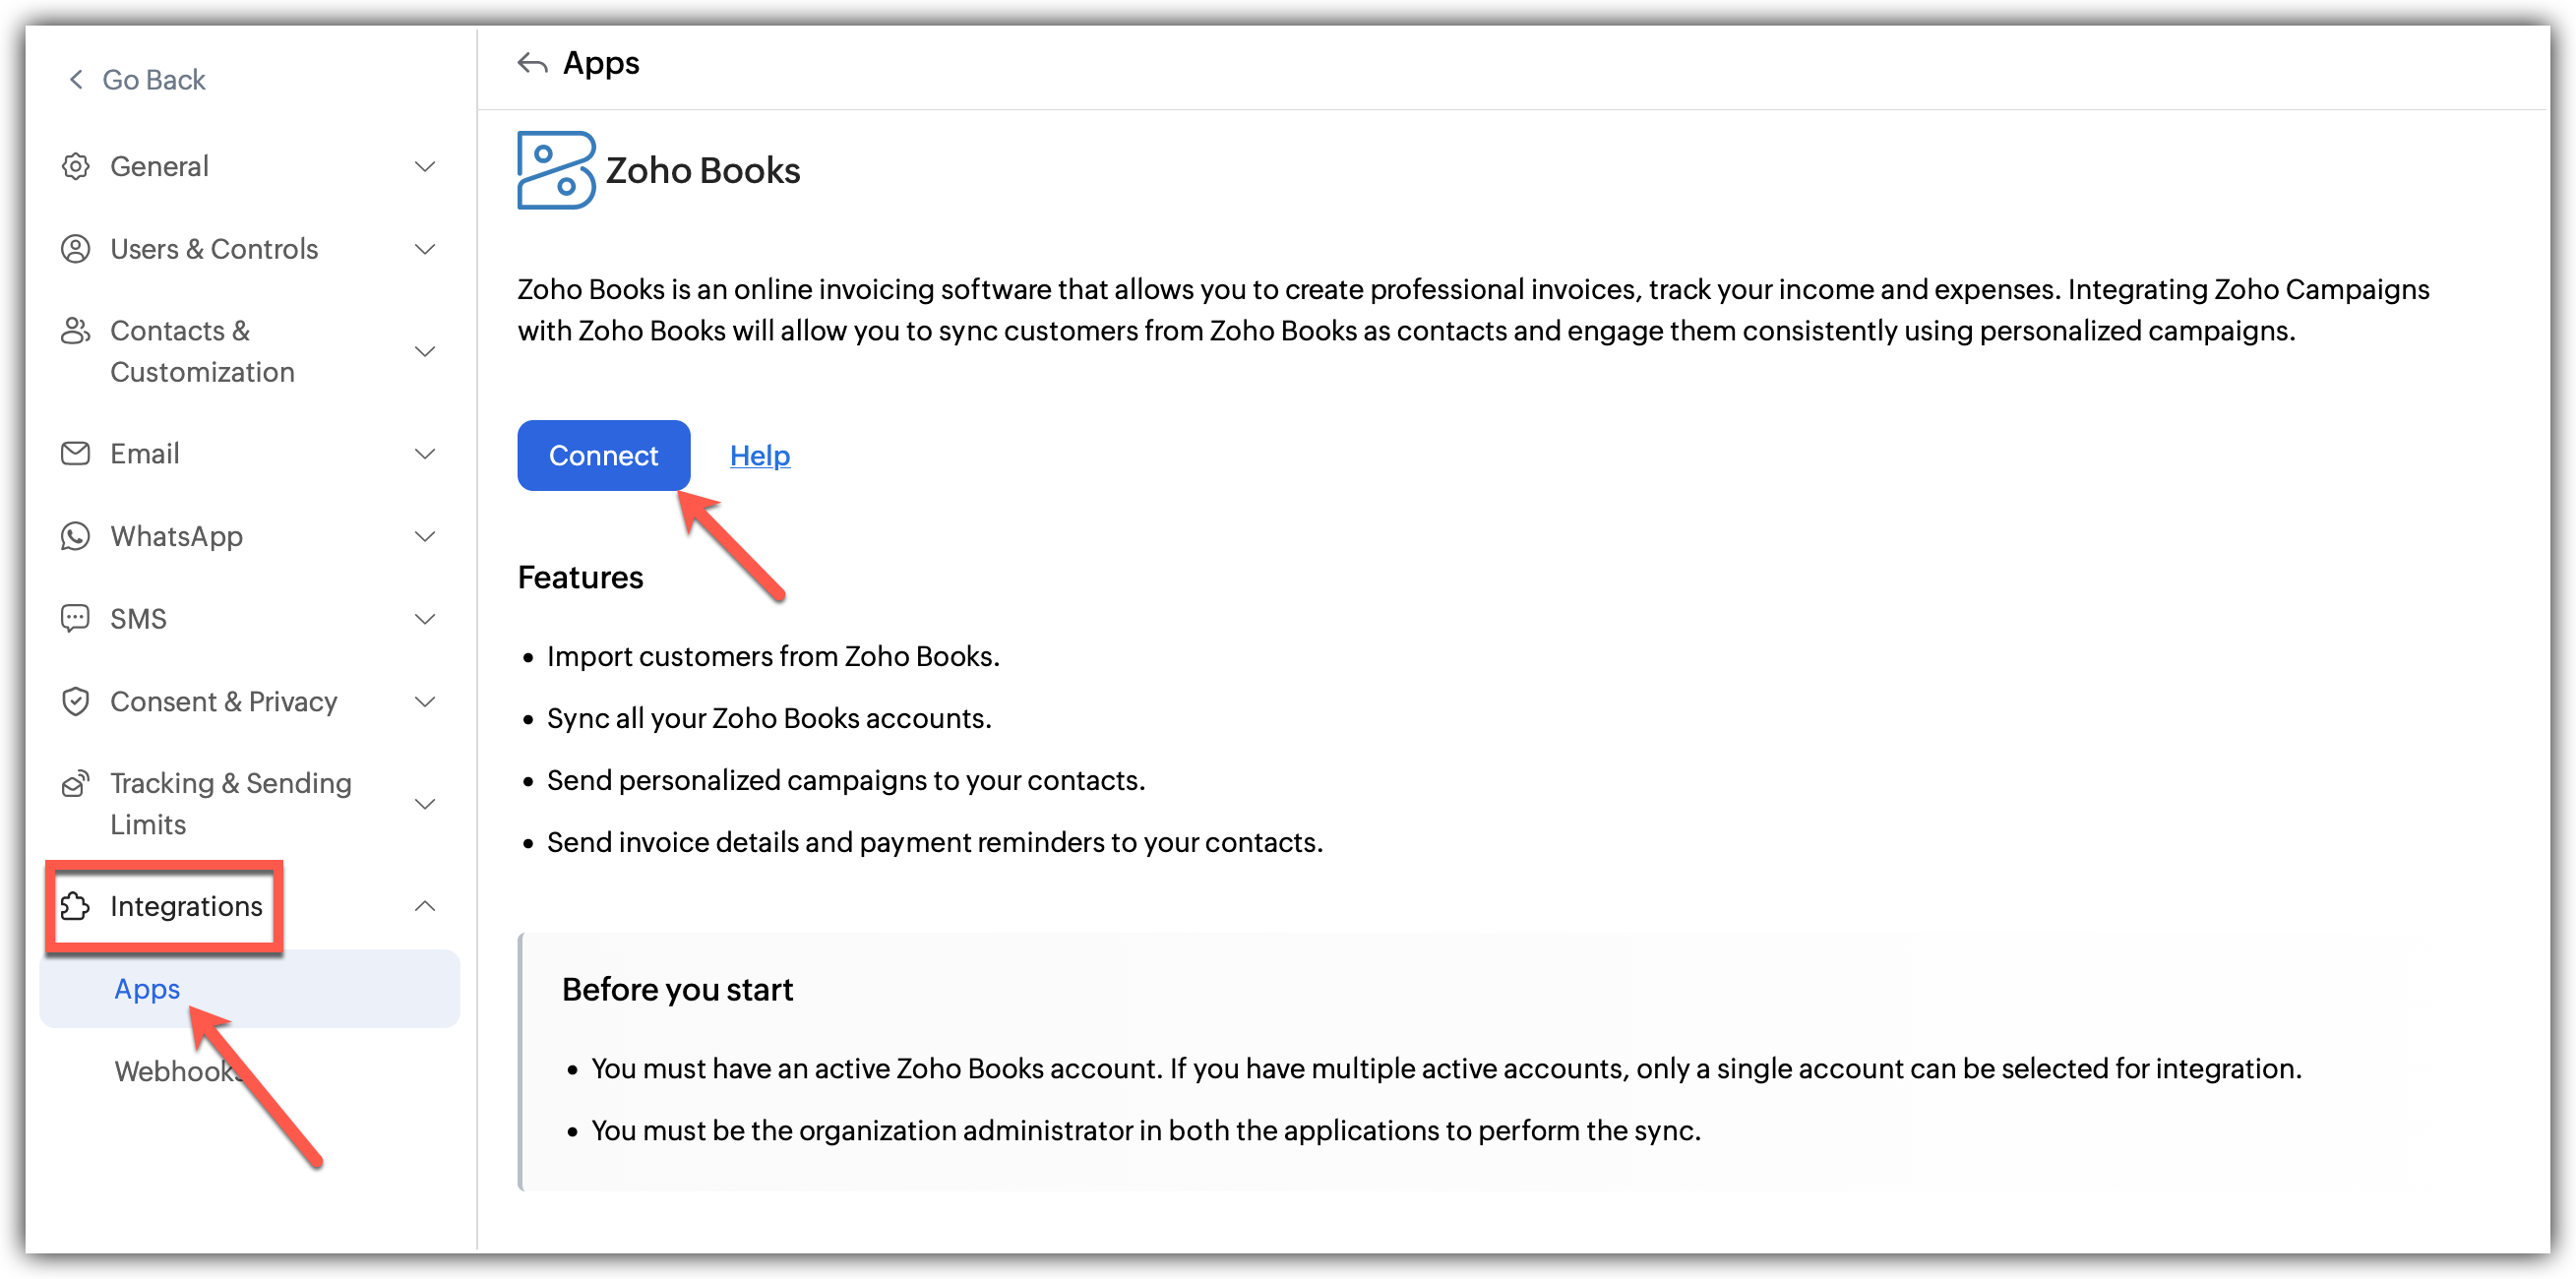
Click Settings icon on the top-right corner of the screen.
Choose Apps under Integration.
Select Zoho Contacts under Zoho Apps and click Connect.
A pop up appears to integrate and create a new sync.
After linking the account by choosing an organization to sync with Zoho Campaigns, proceed to the next step of configuring the sync.
Fill in the details of the sync:
1. Select the Books module you want to sync.
2. Select the Workspace under it.
3. Select the list you want to sync with(optional).
4. Select the subscription type.
5. Choose a topic for the imports if required(optional).
6. Configure the Sync Date, Sync frequency and the exact condition for it.
7. Toggle whether you want to update empty field value as per Zoho Books details.
8. Click Save and Next.Now, Map the fields from Zoho Analytics to Zoho Campaigns.
Click Initiate once you are done
Learn how to import contacts from Zoho Books
What happens if I deny my Zoho Books account Integration?
If you deny this integration,
All active syncs will be disabled.
You cannot import further customer data from Zoho Books.
You cannot send campaigns to synced contacts.
Denying access to Zoho Books
Click Settings icon in the top-right corner of the screen.
Choose Apps under Integration.
Under connected apps, Select Zoho Analytics.
Click the Disconnect option after clicking the three dots in the right.
A pop appears informing about the effect of disconnecting.
Click Proceed.
Post Integration
You can always go back and edit the Sync details and Field Mapping
You can also view the Sync History which logs all the actions related to this integration including Total Records, Added, Updated, Skipped contacts.
Zoho Recruit
Features
- Import candidates and contacts from Zoho Recruit.
- Use Campaigns to engage candidates at different stages.
- Sync campaign-related updates back to your recruitment workflows.
Prerequisites
- You must have an active Zoho books account. If you have multiple accounts, only one account can be selected for integration.
- Only users with Administrator permission in both Zoho Recruit and Zoho Campaigns can setup the sync.
Integrate your Zoho Recruit 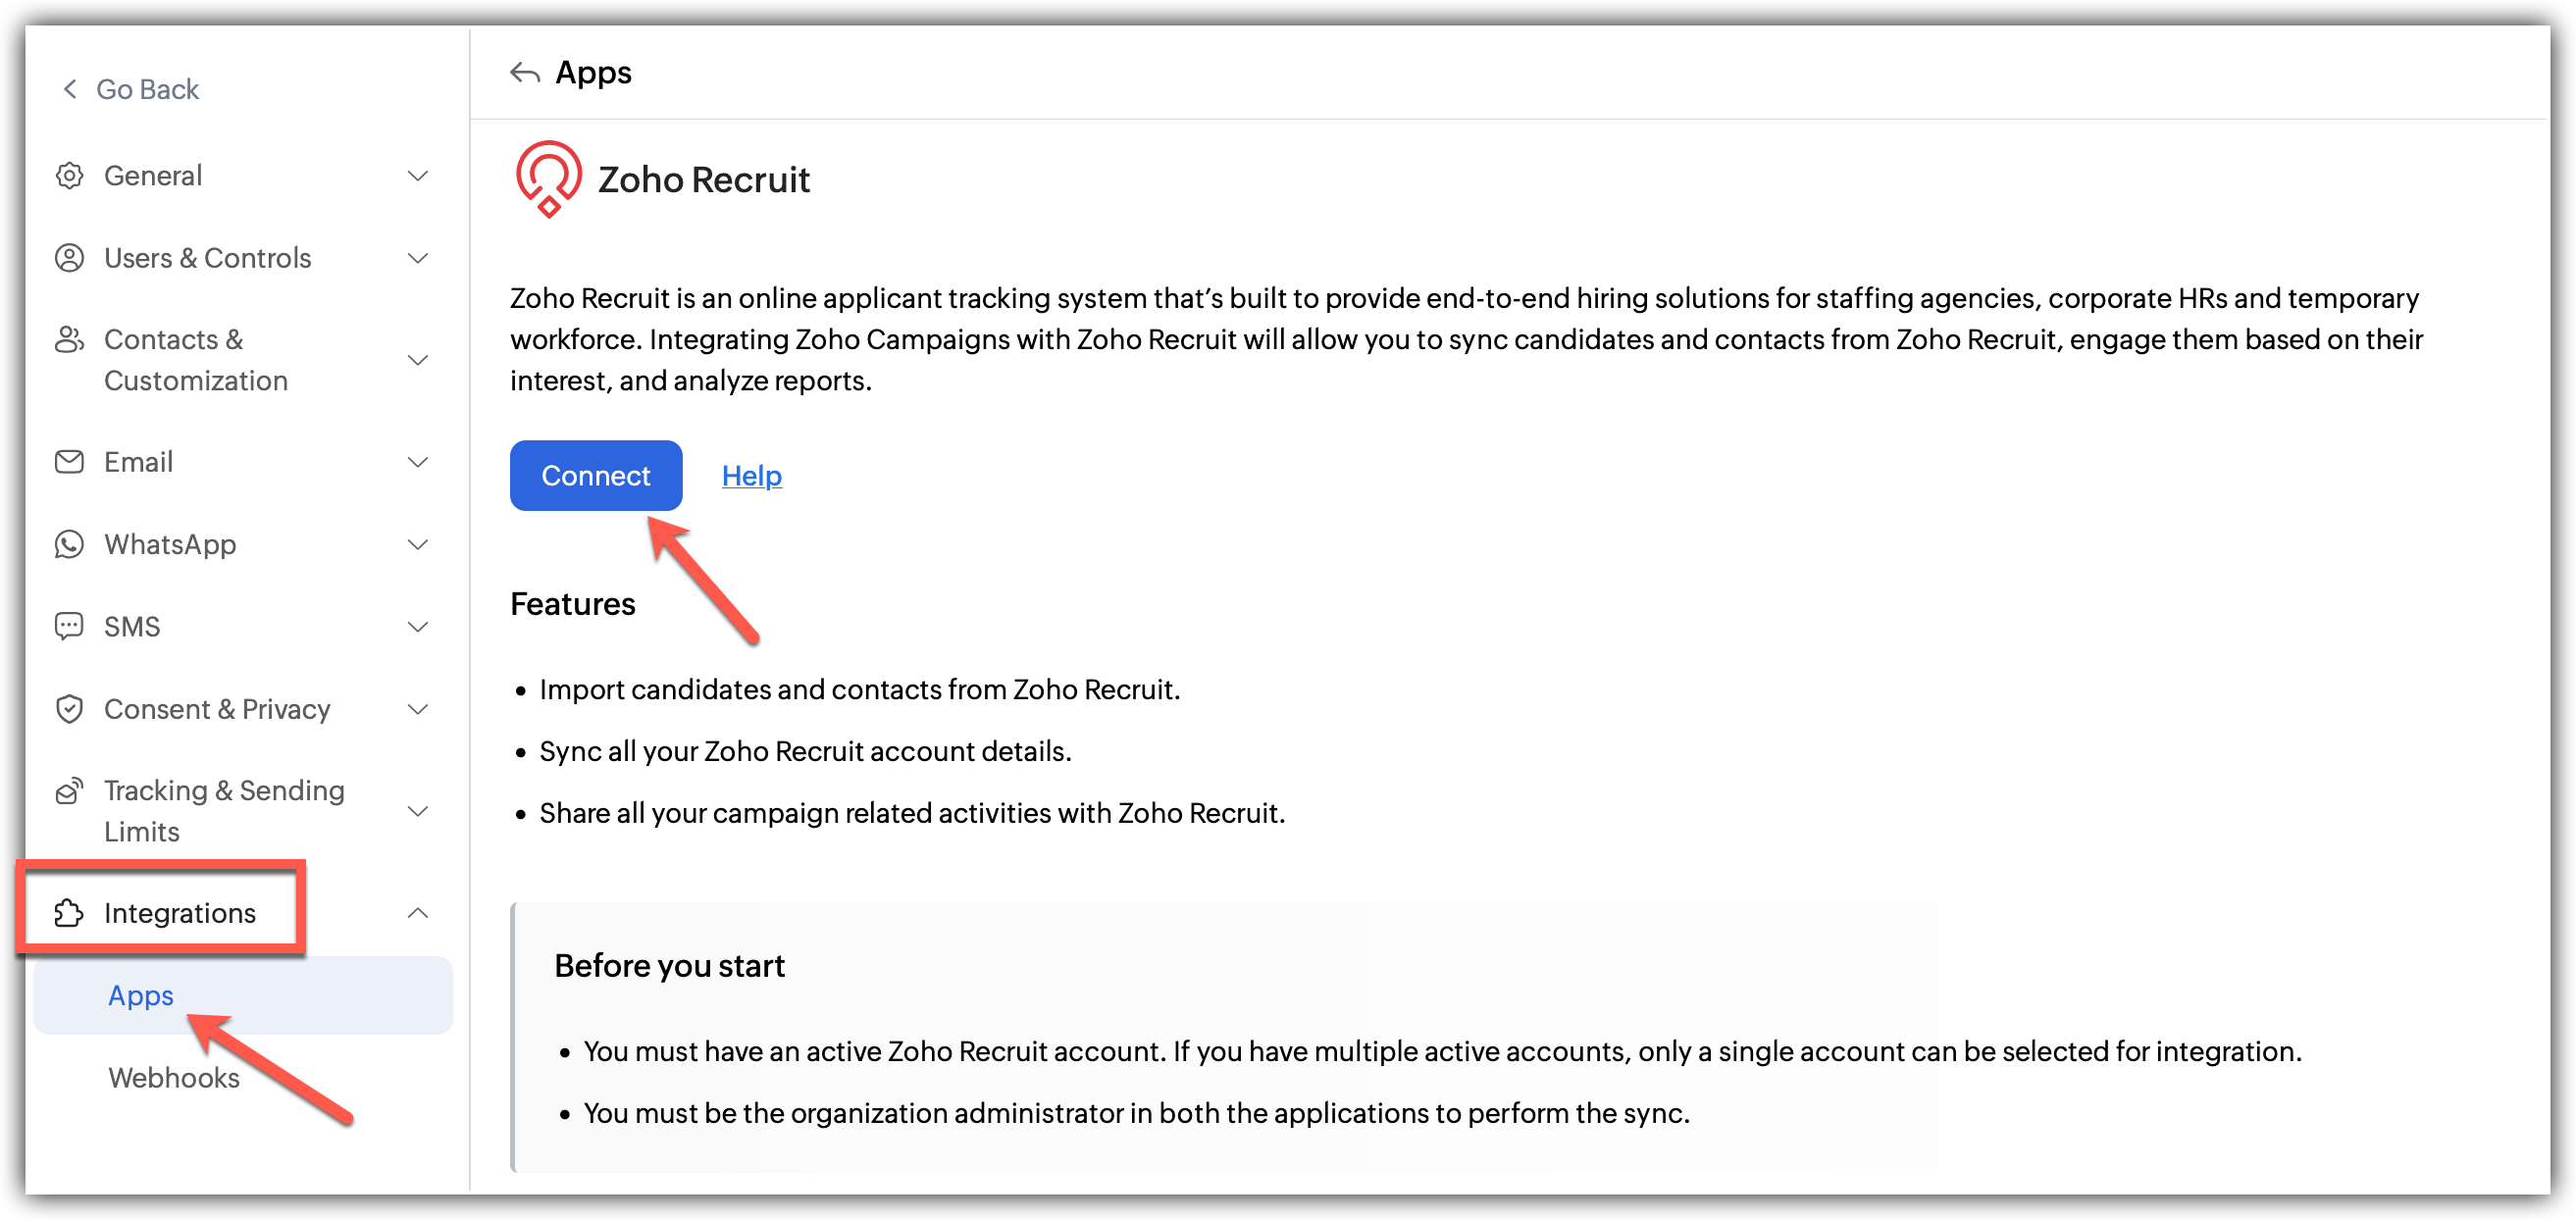
Click Settings icon on the top-right corner of the screen.
Choose Apps under Integration.
Select Zoho Recruit under Zoho Apps and click Connect
A pop up appears to integrate and create a new sync.
After linking the account by choosing an organization to sync with Zoho Campaigns, proceed to the next step of configuring the sync.
Fill in the details of the sync:
1. Select the Recruit module you want to sync.
2. Select the Workspace under it.
3. Select the list you want to sync with (optional).
4. Select the subscription type.
5. Choose a topic for the imports if required(optional).
6. Toggle whether you want to update empty field value as per Zoho Recruit details.
7. Under Advanced settings, Toggle whether to Exclude contacts who had opted-out and Remove contacts who opted out.
8. Click Save and NextNow, Map the fields from Zoho Recruit to Zoho Campaigns.
Click Initiate once you are done
Learn how to import contacts from Zoho Recruit
What happens if I deny my Zoho Recruit account Integration?
Campaign activity will no longer sync with Zoho Recruit.
You cannot import new candidates or contacts.
All active syncs will be disabled.
Denying access to Zoho Recruit
Click Settings icon in the top-right corner of the screen.
Choose Apps under Integration.
Under connected apps, Select Zoho Recruit.
Click the Disconnect option after clicking the three dots in the right.
A pop appears informing about the effect of disconnecting.
Click Disconnect.
Post Integration
You can always go back and edit the Sync details and Field Mapping.
You can view the Sync List showing all the modules running simultaneously and their details including Status, Mapped List and Last synced details.
Also, individual integrations have a pause and delete sync options for easier accessibility.
You can also make changes to the toggles excluding contacts who had opted-out and remove contacts who opted out from the dashboard.
Zoho Backstage
Features
- Import attendee and event details into Zoho Campaigns.
- Use campaigns to drive registrations and engagement.
- Set up workflows for event reminders and follow-ups.
- Track responses and campaign performance for your events.
Prerequisites
- You must have an active Zoho books account. If you have multiple accounts, only one account can be selected for integration.
- Only users with Administrator permission in both Zoho Recruit and Zoho Campaigns can setup the sync.
Set up integration with Zoho Backstage
The organization administrator performs the following procedure to integrate a portal of any user of the organization.
Click Settings icon on the top-right corner of the screen.
Choose Apps under Integration.
Select Zoho Backstage and click Connect.
A pop up appears to Integrate with Zoho Backstage
In the pop up:
1. Select the portal/Organization to Integrate
2. Choose the type of events you want to sync.
3. Enable the toggle button to Create new mailing lists for new events(Optional).
4. Select a topic to integrate (Optional).Click Initiate to complete the integration.
What happens if I deny/change my Zoho Backstage account integration?
If you deny/change Zoho Backstage integration:
All the active syncs will be disabled.
Scheduled event-based campaigns will be moved to draft.
You cannot import attendees or send campaigns to them.
Denying access to Zoho Backstage
Click Settings icon in the top-right corner of the screen.
Choose Apps under Integration.
Under connected apps, Select Zoho Backstage.
Click the Disconnect option after clicking the three dots in the right.
A pop appears informing about the effect of disconnecting.
Click Disconnect.
Post Integration
You can always go back and edit the Sync details and Field Mapping
You can also view the Sync History which logs all the actions related to this integration including Total Records, Added, Updated, Skipped contacts.
Zoho Desk
Features
- Import contacts from Zoho Desk into Zoho Campaigns.
- Send targeted communication based on support interactions.
Prerequisites
- You must have an active Zoho books account. If you have multiple accounts, only one account can be selected for integration.
- Only users with Administrator permission in both Zoho Recruit and Zoho Campaigns can setup the sync.
Integrate with Zoho Desk 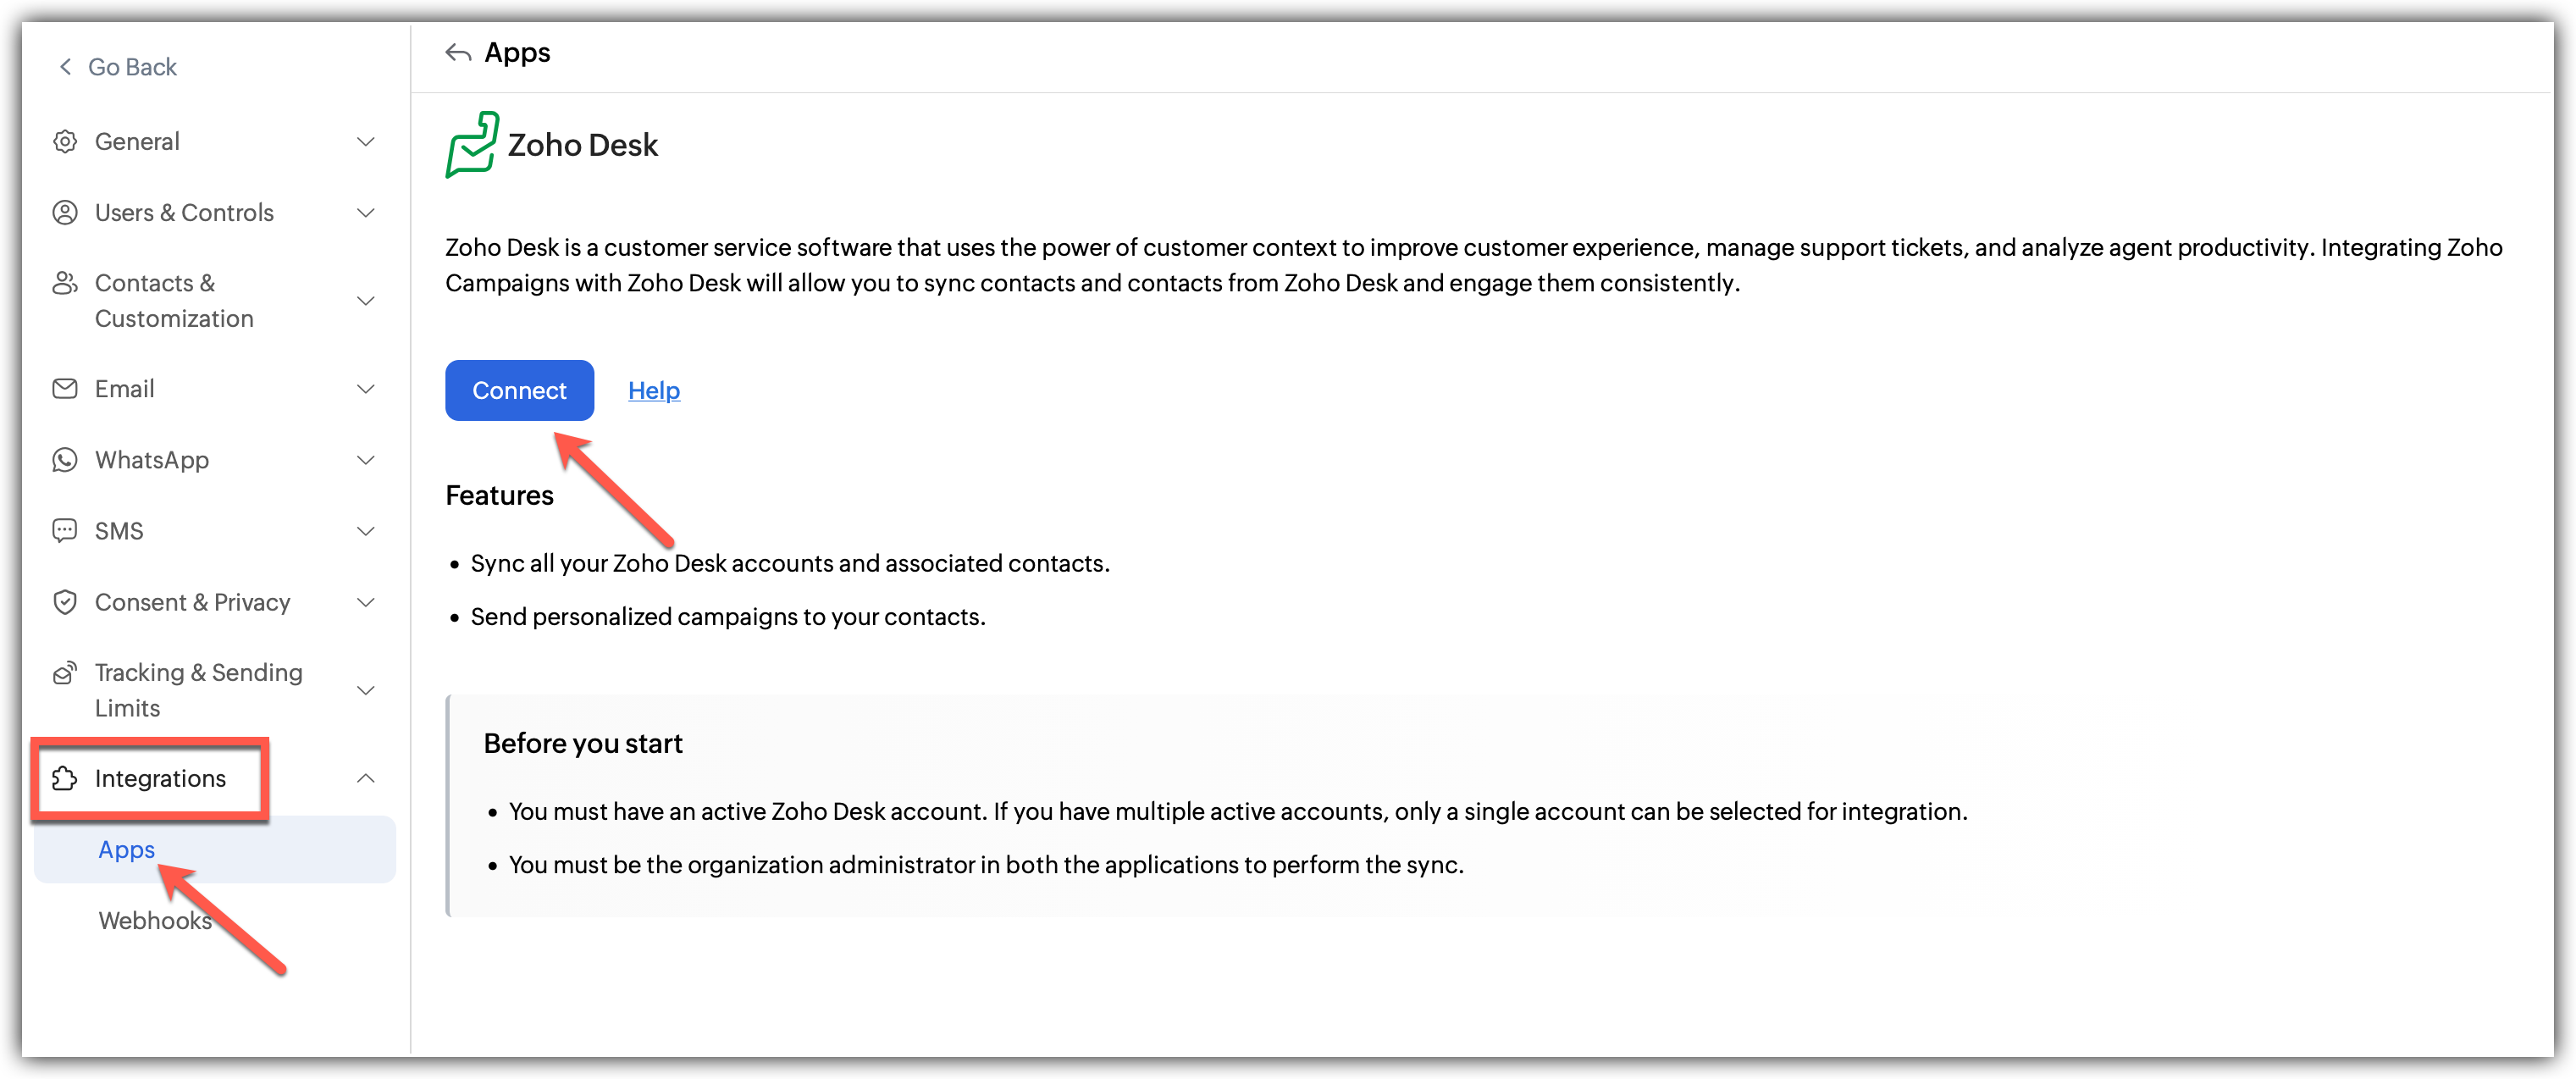
Click Settings icon on the top-right corner of the screen.
Choose Apps under Integration.
Select Zoho Desk under Zoho Apps and click Connect
A pop up appears to integrate and create a new sync.
After linking the account by choosing a desk organization to sync with Zoho Campaigns, proceed to the next step of configuring the sync.
Fill in the details of the sync:
1. Select the Desk module you want to sync.
2. Select the Workspace under it.
3. Select the list you want to sync with(optional).
4. Select the subscription type.
5. Choose a topic for the imports if required(optional).
6. Configure the Sync Date, Sync frequency and the exact condition for it.
7. Toggle whether you want to update empty field value as per Zoho Desk details.
8. Click Save and NextNow, Map the fields from Zoho Desk to Zoho Campaigns.
Click Initiate once you are done
Learn how to import contacts from Zoho Desk
What happens if I deny my Zoho Desk account Integration?
If you deny this integration,
All active syncs will be disabled.
You cannot import contacts from Zoho Desk.
You cannot send campaigns to synced contacts.
Denying access to Zoho Desk
Click Settings icon in the top-right corner of the screen.
Choose Apps under Integration.
Under connected apps, Select Zoho Desk.
Click the Disconnect option after clicking the three dots in the right.
A pop appears informing about the effect of disconnecting.
Click Proceed.
Post Integration
You can always go back and edit the Sync details and Field Mapping
You can also view the Sync History which logs all the actions related to this integration including Total Records, Added, Updated, Skipped contacts.
Zoho Flow
Features
- Integrate Zoho Campaigns with a wide range of third-party apps.
- Create workflows to automate data movement between systems.
- Track execution and performance of your workflows.
Prerequisites
- You must have an active Zoho books account. If you have multiple accounts, only one account can be selected for integration.
Integrate with Zoho Flow
Click Settings icon on the top-right corner of the screen.
Choose Apps under Integration.
Select Zoho Flow under Zoho Apps and click Explore.
You will be re-directed to Zoho Flow's page from where you can sign up and start utilizing Zoho Flow's workflow models and automations for Zoho Campaigns.
1. Click the + icon
2. Click the integration you want to connect .
3. Click Access Zoho Flow and start using the workflowsYou can also Create your own customized flows with Zoho Flow.
Denying access to Zoho Flow
The integration is fully handled through the Zoho Flow website and the integration or any active workflows can be denied only from the Zoho Flow website.
Bigin by Zoho CRM
Features
- Import contacts along with associated deal information.
- Engage contacts through campaigns and move them through your pipeline.
- Update campaign-related details for records in Bigin.
Prerequisites
- You must have an active Zoho Bigin account. If you have multiple accounts, only one account can be selected for integration.
- Only users with Administrator permission in both Zoho Bigin and Zoho Campaigns can setup the sync.
To integrate with Zoho Bigin 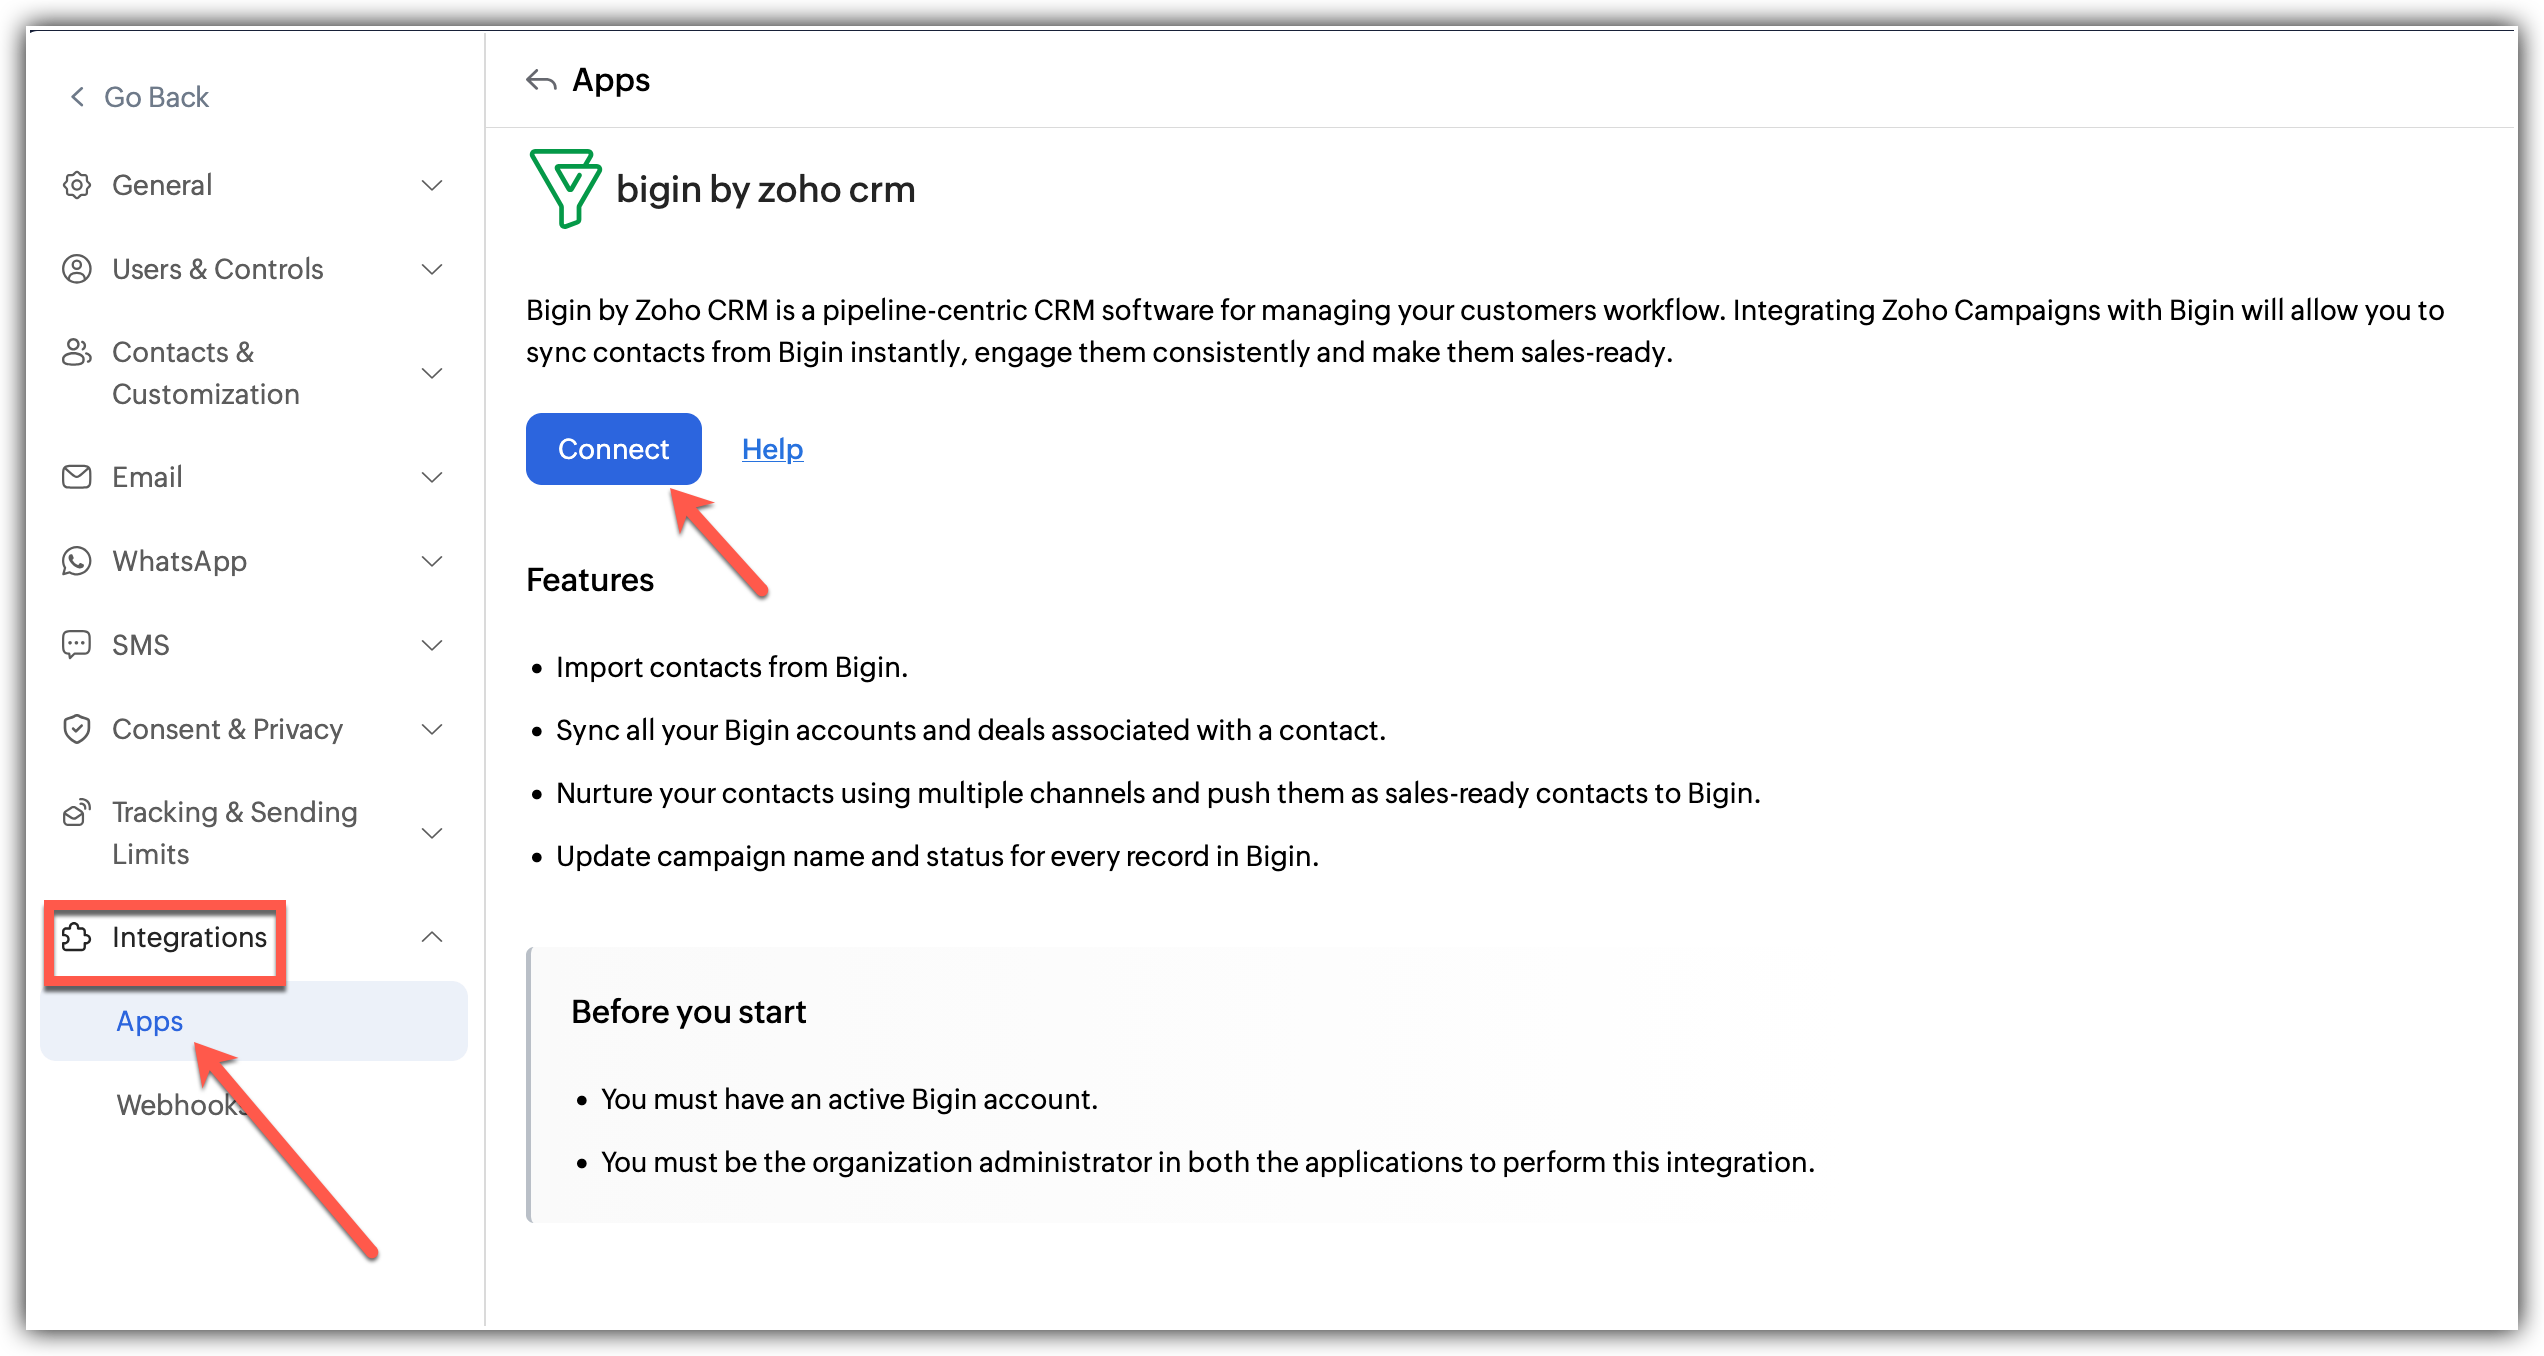
Click Settings icon on the top-right corner of the screen.
Choose Apps under Integration.
Select Zoho Bigin under Zoho Apps and click Connect
A pop up appears to integrate and create a new sync.
After linking the account by choosing an organization to sync with Zoho Campaigns, proceed to the next step of configuring the sync.
Fill in the details of the sync:
1. Select the Bigin module you want to sync.
2. Select the Workspace under it.
3. Select the list you want to sync with(optional).
4. Select the subscription type.
5. Choose a topic for the imports if required(optional).
6. Toggle whether you want to update empty field value as per Zoho Recruit details.
7. Under Advanced settings, Toggle whether to Exclude contacts who had opted-out and Remove contacts who opted out.
8. Click Save and NextNow, Map the fields from Zoho Bigin to Zoho Campaigns.
Click Initiate once you are done.
What happens if I deny my Zoho Bigin account Integration?
If you deny this integration,
You cannot import further contacts from Bigin.
All active syncs will be disabled.
Your existing syncs and settings may be deleted.
Denying access to Zoho Bigin
Click Settings icon in the top-right corner of the screen.
Choose Apps under Integration.
Under connected apps, Select Zoho Bigin.
Click the Disconnect option after clicking the three dots in the right.
A pop appears informing about the effect of disconnecting.
Click Proceed.
Post Integration
You can always go back and edit the Sync details and Field Mapping.
You can also view the Sync History which logs all the actions related to this integration including Total Records, Added, Updated, Skipped contacts.
Zoho Commerce
Features
- Sync customers, products, orders, and store details from Zoho Commerce into Zoho Campaigns.
- Create targeted email campaigns based on customer purchase behaviour and engagement.
- Segment customers using order activity, purchase history, and cart interactions.
- Automate follow-up emails, promotional campaigns, and customer journeys.
- Monitor and manage sync activities directly from Zoho Campaigns.
- Maintain updated customer and store information across both platforms.
Prerequisites
- You must have an active Zoho Commerce account. If you have multiple active accounts, only a single account can be selected for integration.
- You must be the organization administrator in both Zoho Campaigns and Zoho Commerce to perform the sync.
Integrate with Zoho Commerce
Click Settings icon on the top-right corner of the screen.
Choose Apps under Integration.
Select Zoho Commerce under Zoho Apps and click Connect
A pop up appears to integrate and create a new sync.
After linking the account by choosing an organization to sync with Zoho Campaigns, proceed to the next step of configuring the sync. Fill in the details of the sync:
Select the Workspace under it.
Select the list you want to sync with (optional).
Choose a topic for the imports if required (optional).
Now, Map the fields from Zoho Commerce to Zoho Campaigns
Click Save.
Upon integrating, your online store and the data in it (customers, products, store domain, currency used) will be connected and synced with Campaigns.
What happens if I deny my Zoho Commerce account Integration?
If you deny this integration,
- Store data will no longer be in sync with Zoho Campaigns.
- Any scheduled email campaign of e-commerce type will not be sent.
- Active/draft automations with e-commerce triggers will not function any longer.
To disconnect integration with Zoho Commerce:
Click Settings icon in the top-right corner of the screen.
Choose Apps under Integration.
Under connected apps, Select Zoho Commerce.
Click the Disconnect option after clicking the three dots in the right.
A pop appears informing about the effect of disconnecting.
Click Proceed in the confirmation popup.
Post Integration
You can always go back and edit the Sync configuration details and Field Mapping on the Edit icon available in respective tabs.
You can also view the Sync History which logs all the actions related to this integration including Total Records, Added, Updated, Skipped contacts.
Shopify
Integrate Shopify with Zoho Campaigns to sync your store data and automate customer engagement campaigns based on shopping activity.
Shopify is an e-commerce platform used to create and manage online stores. By integrating Shopify with Zoho Campaigns, you can sync store data and use it for customer communication and campaign management.
Features
- Sync customer, product, and order information from Shopify into Zoho Campaigns.
- Segment contacts using shopping behaviour, order details, and engagement data.
- Create personalized email campaigns based on customer activity and purchase history.
- Automate cart recovery emails, promotional campaigns, and follow-up workflows.
- Monitor sync activity and manage integration settings directly from Zoho Campaigns.
- Keep customer information updated automatically between Shopify and Zoho Campaigns.
Prerequisites
- You must have an active Shopify account. If you have multiple active accounts, only a single account can be selected for integration.
- You must be the organization administrator in Zoho Marketing Campaigns to perform the sync.
Integrate with Shopify:
Click Settings icon on the top-right corner of the screen.
Choose Apps under Integration.
Select Shopify under e-commerce Apps and click Connect
A pop up appears to integrate and create a new sync.
First, connect your Shopify store by entering your Shopify store URL and associated client information, Which includes:
Shopify store URL
Client ID
Client SecretClick Connect & Next.
Now, fill in the details of the sync by:
1. Select the list you want to sync with (optional).
2. Choose a topic for the imports if required (optional).Now, Map the fields from Shopify to Zoho Campaigns
Click Save.
Upon integrating, your online store and the data in it (customers, products, store domain, currency used) will be connected and synced with Campaigns)
What happens if I deny my Shopify account integration?
If you deny/change Shopify integration
The contacts in your Shopify account will not be imported.
Shopify campaigns in the draft cannot be sent, but campaigns that are scheduled or in progress or in testing will be sent as usual.
Recipients who have purchased your products won't be tracked.
e-commerce reports and the summary of your campaigns won't be generated.
To disconnect integration with Shopify applications:
- Click the Settings icon in the top-right corner of the screen.
- Choose Apps under Integration.
- Select Shopify under Connected Apps.
- Click the Disconnect option after clicking the three dots in the right.
- A pop appears informing about the effect of disconnecting.
- Click Proceed in the confirmation popup.
Post Integration
You can always go back and edit the Sync configuration details and Field Mapping on the Edit icon available in respective tabs.
You can also view the Sync History which logs all the actions related to this integration including Total Records, Added, Updated, Skipped contacts.
Creating a new custom or private app via Dev Dashboard
Login to Shopify using https://admin.shopify.com/ and access your store.
Access the Dev Dashboard either using the URL https://dev.shopify.com/ or, by accessing Settings at the bottom-left of your store -> click Apps from the left side menu -> click the Develop apps button at the top-right -> click the Build apps in Dev Dashboard button.
In the dashboard, click the Create app button at the top-right.
Under the Start from Dev Dashboard section, provide a name for your app. The name should be a maximum of 30 characters.
Click Create once done.
In the page that appears, you'll be prompted to create a version in the Versions section.
In this Versions page, provide the URL of your app in the App URLs field under the URL section and choose the Webhooks API Version as 2025-10.
Under the Access section, you must choose the API scopes that the app needs. Scopes are nothing but the permissions that the app should have.
You have to use the scopes below:
read_products
read_orders
read_content
read_customers
read_script_tags
write_script_tags
read_price_rules
read_discounts
read_all_orders
There are two ways you can use to select the scopes:
a. Click the Select Scopes option at the top-right of the Scopes field. Upon clicking, a window will appear.
You can place the cursor inside the search box to find the above-mentioned scopes.
Select them using the checkbox present before each scope. Once you've selected, click the Done button.
b. Type or copy the above-mentioned scopes inside the Scopes field separated by commas. You need to separate them by commas if there are more than one scope.
If needed, you can specify information under the POS and App proxy sections.
Click the Release button present at the top-right or bottom-right of the page.
In the window that appears, you can specify the version name and message (optional) and click the Release button or directly click it to create the app.
You should be able to see the latest version in the Versions page.
Now, you need to install the app on your merchant store. To do that, click the Home option in the left-side menu of the dashboard and click the Install App button at the top-right.
In a new tab that appears, you should select the store in which the app needs to be installed.
In the next page that appears, review the permissions and click Install.
The app will be installed and appear in the left side menu of your store.
How does Zoho Campaigns get impacted?
Due to this change, there will be one minor impact when it comes to the Zoho Campaigns – Shopify integration. Previously, When you integrate Shopify, along with the Shopify store URL, you'll be asked for the API information such as:
1. API Key
2. API Secret
3. API Access Token
But hereafter, you'll only be asked for the Client ID and Client Secret, along with the Shopify Store URL which remains the same.
To access the Client ID and Secret:
Access the private or custom app you created in the Dev Dashboard by using the URL https://dev.shopify.com/ and clicking the app or, by accessing Settings at the bottom-left of your store -> click Apps from the left side menu -> click the Develop apps button at the top-right -> click the Build apps in Dev Dashboard button -> click the app in the dashboard page.
After accessing the app, click the Settings option to access the Client ID and Secret. Click the notepad button beside each to copy the data.
Paste them in the respective fields, one after the other, in Zoho Campaigns and proceed with the integration process.
WooCommerce
Zoho Campaigns plugin for WordPress enables you to monitor the activities and interactions on your web pages and posts, evaluate their performance using the web assistant tracking code, and allow your visitors to sign up for your mailing lists with the embedded sign up forms.
Seamlessly transfer your WooCommerce store data to Campaigns with simple integration methods. Start sending targeted emails and automate your e-commerce activities with the help of Zoho Campaigns after you connect your WooCommerce store.
Understand how to easily integrate your WooCommerce account with the Zoho Campaigns plugin for Wordpress.
Prerequisites
- You must have an active wordpress website in order to perform the integration.
- You must be the organization administrator in both Zoho Campaigns and WooCommerce to perform the sync.
How to install Zoho Campaigns plugin for WordPress?
In your WordPress admin panel, go to Plugins and click Add New.
Search for Zoho Campaigns plugin in WordPress.
Click the Install Now button to activate the plugin.
Navigate to Installed Plugins and click Activate.
Connecting your Zoho Campaigns Account with Wordpress
First, You need to connect your Zoho Campaigns account to wordpress in order to access any of its features and functions.
First, click on the Connect button to initiate integration.
Enter your Zoho Campaigns account credentials and review the terms and permissions. When done, click accept.
Now the account will have been integrated with the wordpress account and you can now access and use any of the following features as shown in the image.
Connect WooCommerce with Zoho Campaigns
Connect your WooCommerce store with Zoho Campaigns and completely automate your e-commerce activities.
In the WordPress admin panel, go to e-commerce.
Click Connect store.
Authenticate the integration.
Select a mailing list to be associated with the store and click Associate List.
After you associate a list, your store's orders, products, customers and other details will be synced with Zoho Campaigns.
Once the store is connected, take a look at all the features supported by Zoho Campaigns for your WooCommerce store, as well as some Opt-in settings that can be modified as per your preferences.
Click Open Zoho Campaigns to access the e-commerce solutions.
Send your first campaign in minutes
Before you begin, do take a look at our help document: What to set up before sending an email campaign
To start creating an email campaign,
In the Navigation toolbar on the left, click Campaigns, and then select Email.
Click Create New to start a new email campaign.
You will now be taken to the email configuration screen. This is where you set up everything – your recipients, email details, and other advanced options. You will also see the option to choose a template and add your content.
Add recipients
You can start by setting up the Recipients section:
Click Topics to select the topic you want to associate with this email campaign. Topics help your contacts manage the types of emails they receive from you.
Click To to add your recipients. You can choose from your existing lists or segments.
Add email details
Under the Email details section, fill in the following:
From: Click From to select the sender email address. This is the address your recipients will see in their inbox.
Reply-to: Click Reply-to to select the email address where replies from recipients should go.
Subject line: Add your email subject line. You can personalise it using merge tags (for example, the recipient's first name) and add emojis to make it stand out.
Preheader: Click Preheader to add a preheader text if needed. The preheader is the short preview text that appears after the subject line in the inbox. This step is optional.
Next, in the Advanced configuration section, you can,
Track replies: Toggle the Enable track replies option to monitor replies to your campaign email.
Attachments: You can attach files to your email. Supported file types are JPG, PDF, CSV, and TXT. The maximum file size per attachment is 2 MB.
Response action: Configure a response action to automatically trigger a follow-up action when a recipient responds to your email.
Add email content
You can now add the actual content of your email. You have two main options:
(a) Use a pre-designed template
This is the easiest option, especially if you are new to email marketing and are not very comfortable coding:
Click See all to browse all available pre-designed email templates.
In the Gallery, find a template you like and click Use Template to select it.
You will be taken to the drag-and-drop template editor. Simply drag and drop elements such as text blocks, images, buttons, and so on to build your email layout.
Make your edits, then click Save and Close Editor when you are done.
(b) Build your email from scratch
If you prefer to design your own email, you can use one of the following options:
Upload HTML: Upload a ready-made HTML file.
Import HTML: Import HTML code from a URL.
Plain text editor: Write a simple text-only email with no formatting.
HTML editor: Write and edit HTML code directly within Zoho Campaigns.
Send a test email
Before sending your campaign to everyone, it is a good idea to send a test email to yourself or a teammate. This lets you check how the email looks in an actual inbox, including subject line, layout, images, and links, before it goes out to your recipients. Always check your test email on both desktop and mobile, as email layouts can look different depending on the device. Learn more
Launch your campaign
Once you are happy with your campaign and everything looks good, click Launch to send or schedule your email campaign. You can choose to send it immediately or schedule it for a specific date and time. The scheduling options available in Zoho Campaigns are:
Send later
Send in batches
Send at recipient’s optimal open time
Send at recipient’s time zone
Prerequisites
Before you can create and send an SMS campaign, make sure the following are in place:
Each contact must have a mobile number saved in your Zoho Campaigns contact list. Without a mobile number, the contact will not receive the SMS.
You must purchase SMS credits. Credits are consumed each time an SMS is sent.
You must register a sender ID (also called a sender address). This is the name or number that appears as the sender when your contacts receive the SMS.
If you are sending SMS campaigns to contacts in India, you must complete the DLT (Distributed Ledger Technology) registration as required by Indian telecom regulations. Learn more
If you are sending SMS campaigns to contacts in the USA, you must complete 10DLC registration. Learn more
If you are using a third-party app to send your SMS campaigns, ensure that you've integrated it with your Zoho Campaigns account.
How to create an SMS campaign
Once your sender ID is registered and your credits are in place, you are ready to create your SMS campaign. For that,
From the left navigation toolbar, click Campaigns, then select SMS.
Click the Create button at the top-right corner of the screen.
Fill in the SMS campaign details on the configuration screen:
(a) To: Select the contact lists and segments you want to send the SMS to. Both lists and segments created in your Zoho Campaigns account can be used as recipients.
(b) Sender: Select the sender number that will appear when your contacts receive the SMS. This is the sender ID you've registered.Now you can add the SMS content. Use the '@' symbol to insert merge tags and personalize your message. For example, you can include the contact's first name in the greeting.
In the To opt out section, you can include a link to allow recipients to unsubscribe from future messages.
In the Response action section, you can define what should happen when a recipient interacts with your SMS campaign. For example, you can add the contact to a new list, or assign a tag when someone clicks a link in your SMS.
The Credits in Wallet section shows your current available credit balance. Make sure you have enough credits before launching the campaign.
When you are ready to send the campaign, click Launch. You will be given two options:
(a) Send immediately: sends the campaign right away.
(b) Send later: lets you choose a specific date, time, and time zone for delivery.
- If your message exceeds 160 characters, it will be automatically split into multiple messages of up to 70 characters each. This may use additional SMS credits.
- If your message contains non-GSM characters (such as characters from languages like Tamil, Hindi, or Arabic), it will be treated as a Unicode message and split into segments of 70 characters or fewer.
- You can include one link in the message. Link clicks (other than unsubscribe link clicks) can be tracked. Only unique clicks are counted.
Sending a test SMS
Before sending your SMS campaign to all recipients, it is a good idea to send yourself or a teammate a test SMS to check how the message appears on a real device. To send a test SMS,
On the SMS configuration page, click the Test SMS button.
Select a phone number from the available options. Note that you can only select one number at a time.
Click Send.
Prerequisites
Before you create a WhatsApp campaign using Zoho Campaigns, you need to meet the following prerequisites:
You need to have a WhatsApp business account and dedicated phone numbers to use the WhatsApp business API. You'll receive an authentication code to the dedicated number to verify the number in our platform.
You need to have created a personal Facebook account (linked to your business email) to send WhatsApp campaigns.
You need to have a valid website for your business, and you'll need to have a legal name and an address for your business that can be displayed in campaigns if required.
You need to integrate your WhatsApp business account with Zoho Marketing Automation and add numbers.
Draft your WhatsApp templates beforehand. You can send a WhatsApp campaign only after Meta approves it.
Creating WhatsApp campaigns
Follow the steps given below to create a WhatsApp campaign in Zoho Campaigns:
From the Navigation toolbar click Campaigns and select WhatsApp.
Click Create New.
In the Campaign Details section, select who should receive your campaign. Under the 'To' field, choose contacts from the lists and segments you've already saved.
In the 'From field', add the sender details.
In the Content section, choose whether you want to create a new template or use an existing one.
If you already have saved templates, browse through them and select the one you want to use. Edit the template if needed before continuing.
To create a new message, click Create New and enter the required template details. Add a clear Template Name, choose a Category (such as promotional or transactional), and select the Language your audience prefers.
Add the content for your message. You can include a Header, Body, Footer, and Buttons. The Header is optional and appears at the top of your message. You can use text, an image, a video, or a document to make your message more engaging.
(a) The header can contain a maximum of 60 characters and one placeholder. It does not support new lines, formatting characters, emojis, or asterisks.
(b) The body can contain up to 800 characters, including placeholders such as merge tags and links. It cannot contain the characters <, >, {, or }, and can have a maximum of 10 placeholders.
(c)The footer can contain up to 60 characters. It does not support multiple lines, placeholders, emojis, or special characters.
(d) A WhatsApp template can contain a combination of Quick Reply and Call-to-Action buttons, with a maximum of 10 buttons in total. You can add up to 10 Quick Reply buttons, 2 URL buttons, and 1 Call Phone Number button.
Add your main message in the Body section. Keep the content short, simple, and easy to read. For example: “Hi! We’re offering 20% off all hair services this weekend only. Book now to reserve your slot!”
Optionally, add a Footer with extra details such as your business name, support information, or unsubscribe instructions.
You can also add up to ten Buttons to encourage action. These buttons can let customers quickly reply, visit your website, or call your business directly.
Once your message is ready, click Send for Review. Your campaign will be reviewed to ensure it follows WhatsApp guidelines.
After approval, click Launch to deliver the campaign to your selected contacts.
Send a Test WhatsApp Campaign
Once your WhatsApp campaign is ready, you can test it before sending it to your recipients. Sending a test message helps you verify that the message content, formatting, placeholders, media, and buttons appear as expected. It also allows you to review the overall experience from a recipient's perspective and make any necessary changes before launching the campaign.
To test your campaign:
Click Test WhatsApp.
Select a phone number from the drop-down list.
Click Send.
Best Practices
Use simple language
Keep the message short
Use clear headers, which will help recipients quickly understand what your message is about.
Add a clear call-to-action button to tell customers exactly what you want them to do.
Space out your campaigns, and do not send campaigns frequently.
Avoid using all caps in your message.
Always include a way for customers to contact you or opt out in the footer.
See also
- Get a quick overview of Zoho Campaigns UI.
- Check out specifications related to Zoho Campaigns.
- Begin your admin journey and set up Zoho Campaigns for your users.
- Learn about the terminology used in Zoho Campaigns in our glossary.
- Learn how to navigate the UI.
- Invite your team and assign them one of the two basic profiles: admin or member.
- Configure your campaigns account to get a taste of Zoho Campaigns' customization capabilities.
- Download and explore Zoho Campaigns' mobile app (Apple / Android).
Support
- Submit a support request.
- Join the Campaigns community to connect with your peers and learn from them.
- View release notes to stay in the loop about newly added features and enhancements.
- Join a live webinar to get an overview of Zoho Campaigns.