How can contacts associate themselves with a topic?
Topics is a feature in Zoho Campaigns that you can use to let your contacts choose the types of email campaigns (for example, product update, sales, offers, or monthly newsletters) they're interested in receiving. Your contacts can look through the listed topics and select what topics they want to subscribe to.
In this document, we'll cover the ways through which you can let your contacts choose the topics they're interested in subscribing to.
Send emails with a contact preference link
You can edit the footer section of an email campaign to add the Contact Preferences link in your email campaign. It is suggested that you add it in all emails so that contacts can notice it and record their preferences.
To add the Contact Preference link in an email
- Create an email campaign by going to Campaigns -> Email Campaigns.
- Provide the necessary details for your campaign such as subject, sender and recipient details.
- In the Content section, choose the template from saved or pre-defined templates.
- In the template editor that appears, click the Footer element from the Elements tab. Click the footer element again.
- You'll be taken to the footer section where you can find the toolbar.
- Click Merge Tags button. Place the cursor on where you want this merge tag to be included.
- Navigate to the Header and Footer section.
- Choose Contact Preference to place it in the footer.
- The merge tag will be added in the place where you kept the cursor. You can send a test email to see how this merge tag gets displayed.
- In the email campaign sent to your contacts, a link will replace this merge tag. Hence, instead of simply adding the merge tag, you can add a text, select it, and hyperlink it by clicking the Add link
button. A pop-up will appear.
- Click on Personalize drop down and select Header and Footer Merge Tags.
- Select the Contact Preference tag and click Save.
Note:
In some of the campaign templates you'll see the below content in the Footer section. Not all templates will have this content.
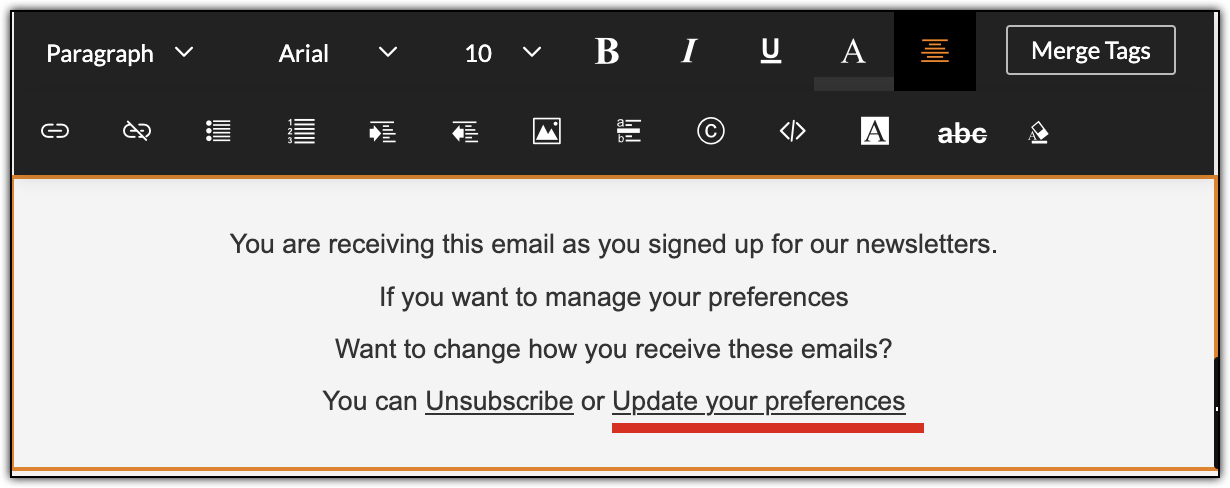
The 'Update your preferences' text has the Contact Preference tag hyperlinked. Hence, you needn't add this tag manually again.
If you have your own template design, if you created a template from scratch, if you accidentally removed this content in a predefined template, you can insert this merge tag.
Alternatively, you can add the Contact Preference link to the footer from Settings.
The following steps are applicable to users who've created themes before the removal of Header and Footer section from Settings. Other users can change this using Footer component.
- From the Navigation Toolbar, click the Settings icon (gear-shaped icon) at the top-right.
- Select Header and Footer under Customization.
- Click Edit icon for an existing theme that you wish to edit.
- Navigate to the Footer tab.
- Select Unsubscribe under Customization tools.
- Choose Manage Preference. Click Save and Proceed.
 Note: Click here to learn how to edit the Topics landing page that contacts will see when they click Manage Preference.
Enable choosing preferred topics in signup forms
You can let your contacts choose topics they prefer in your signup form. Choose the list of topics available to choose from and include them in the signup form.
Note: You must use the long form template for this action.
To list topics in the signup form
- Go to the Contacts tab from the Navigation Toolbar and select Signup Forms.
- Click Create Form and choose Long Form template.
-
Enable the option Multiple Topic Selection under Add Special Elements.
- Drag and drop the desired topics onto the form.
Related Articles