Code sign iOS app for customers
 This help page is for users in Creator 6. If you are in the older version (Creator 5), click here. Know your Creator version.
Refer to this page for the iOS code sign prerequisites
To code sign your iOS application and enable push notification for customers, follow these steps:
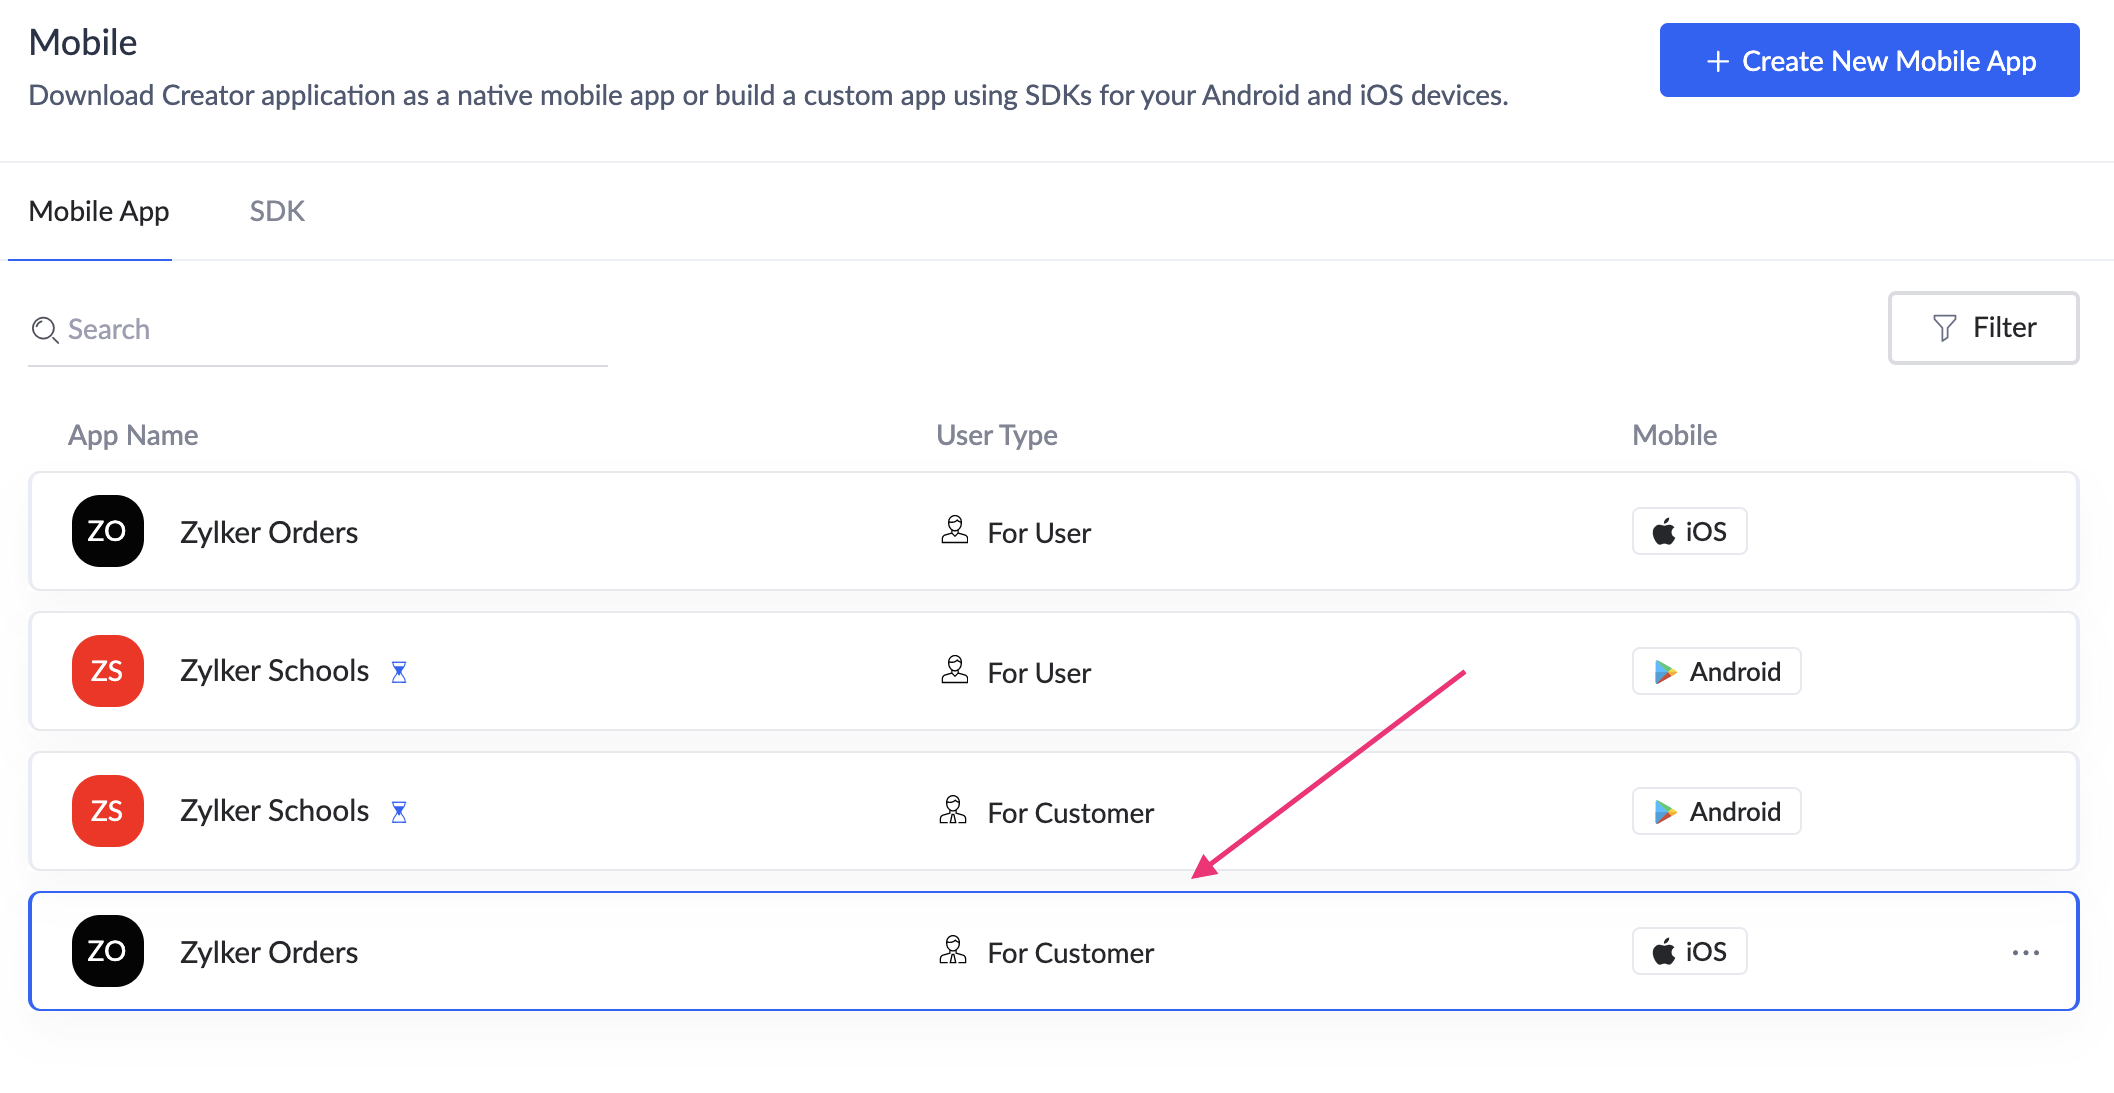
- Navigate to the Mobile section on the left pane and click the Mobile App tab.
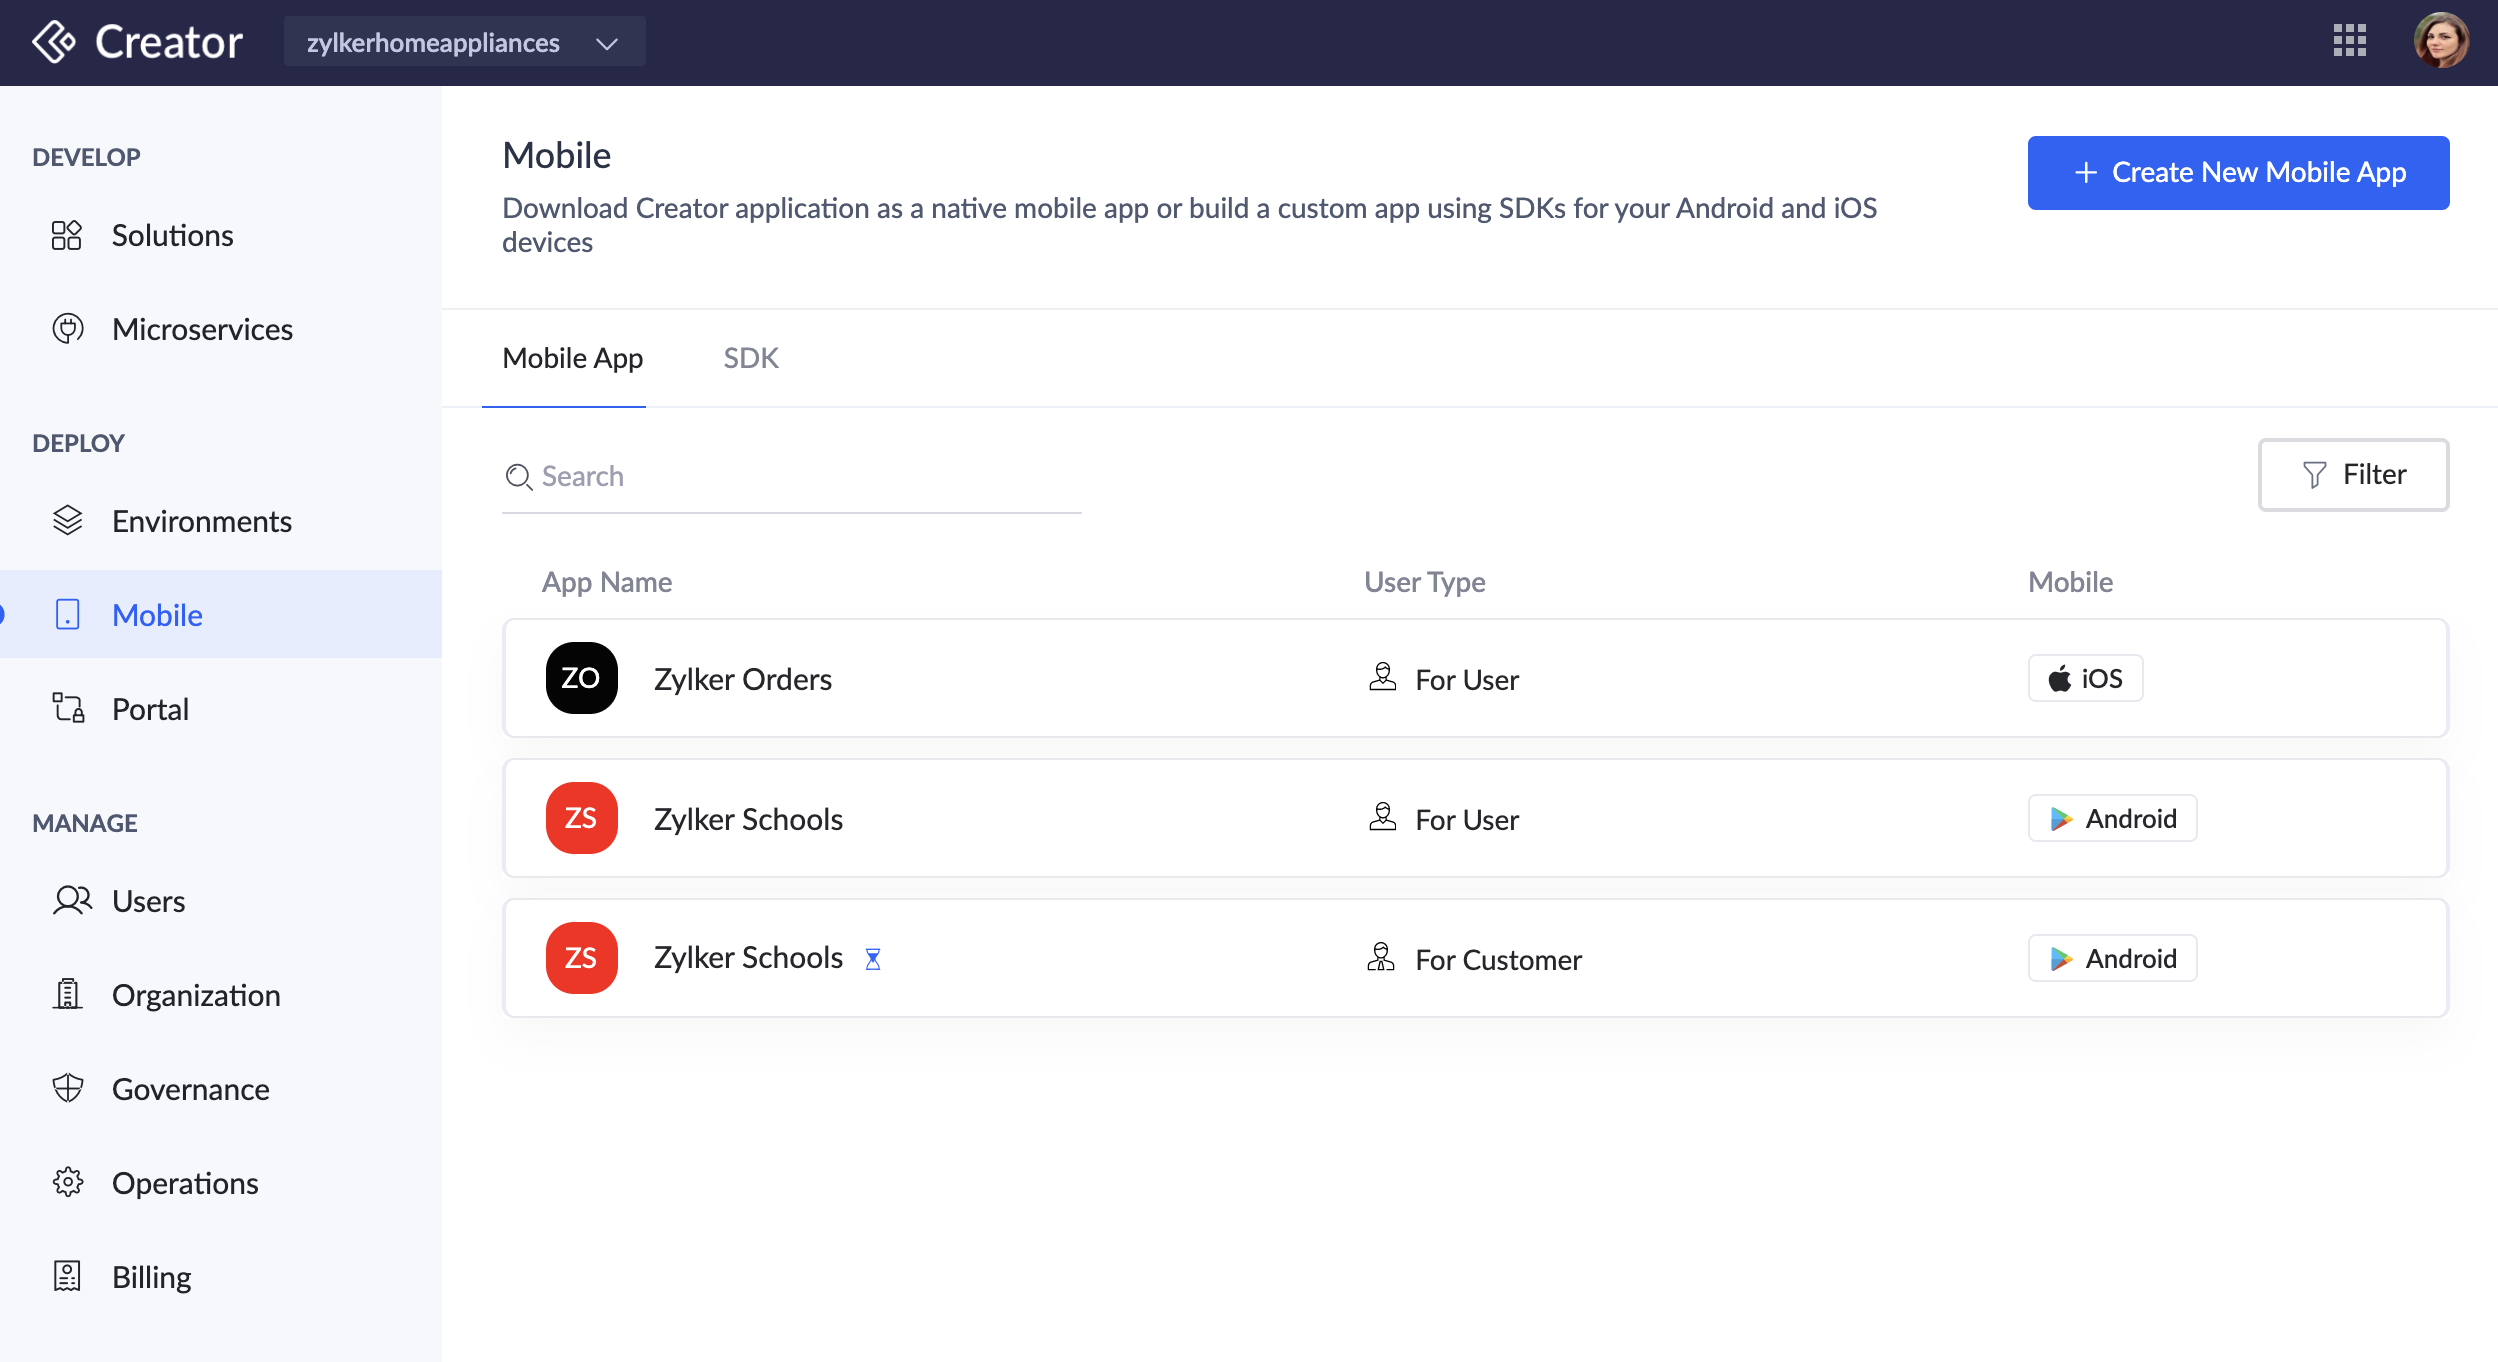
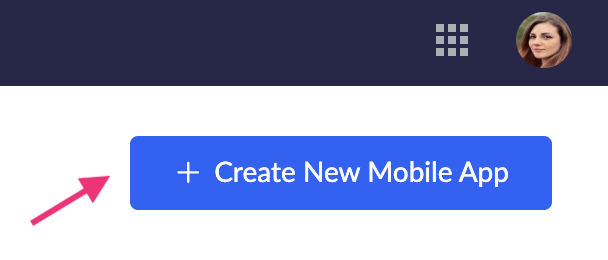
- Click on the Create New Mobile App button. It opens the below slider.
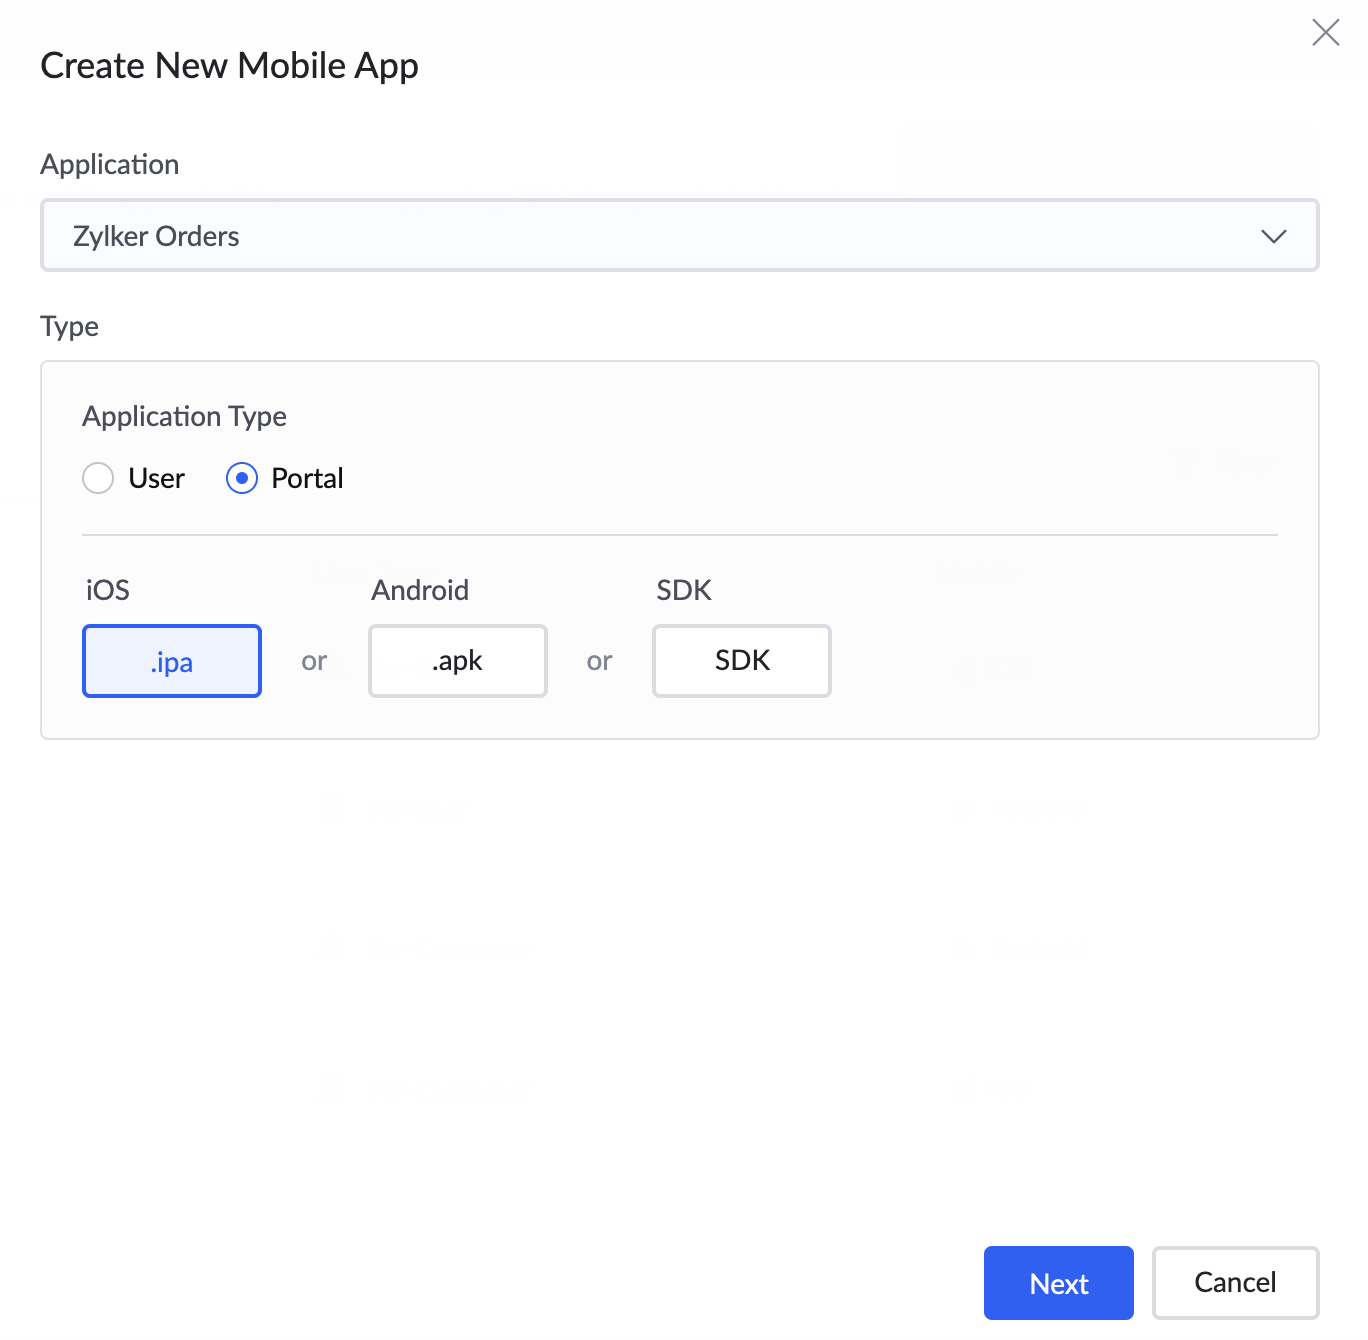
- Select the Application from the dropdown, and then under the Type, select Application Type as Portal and Platform as Android. Click Next.
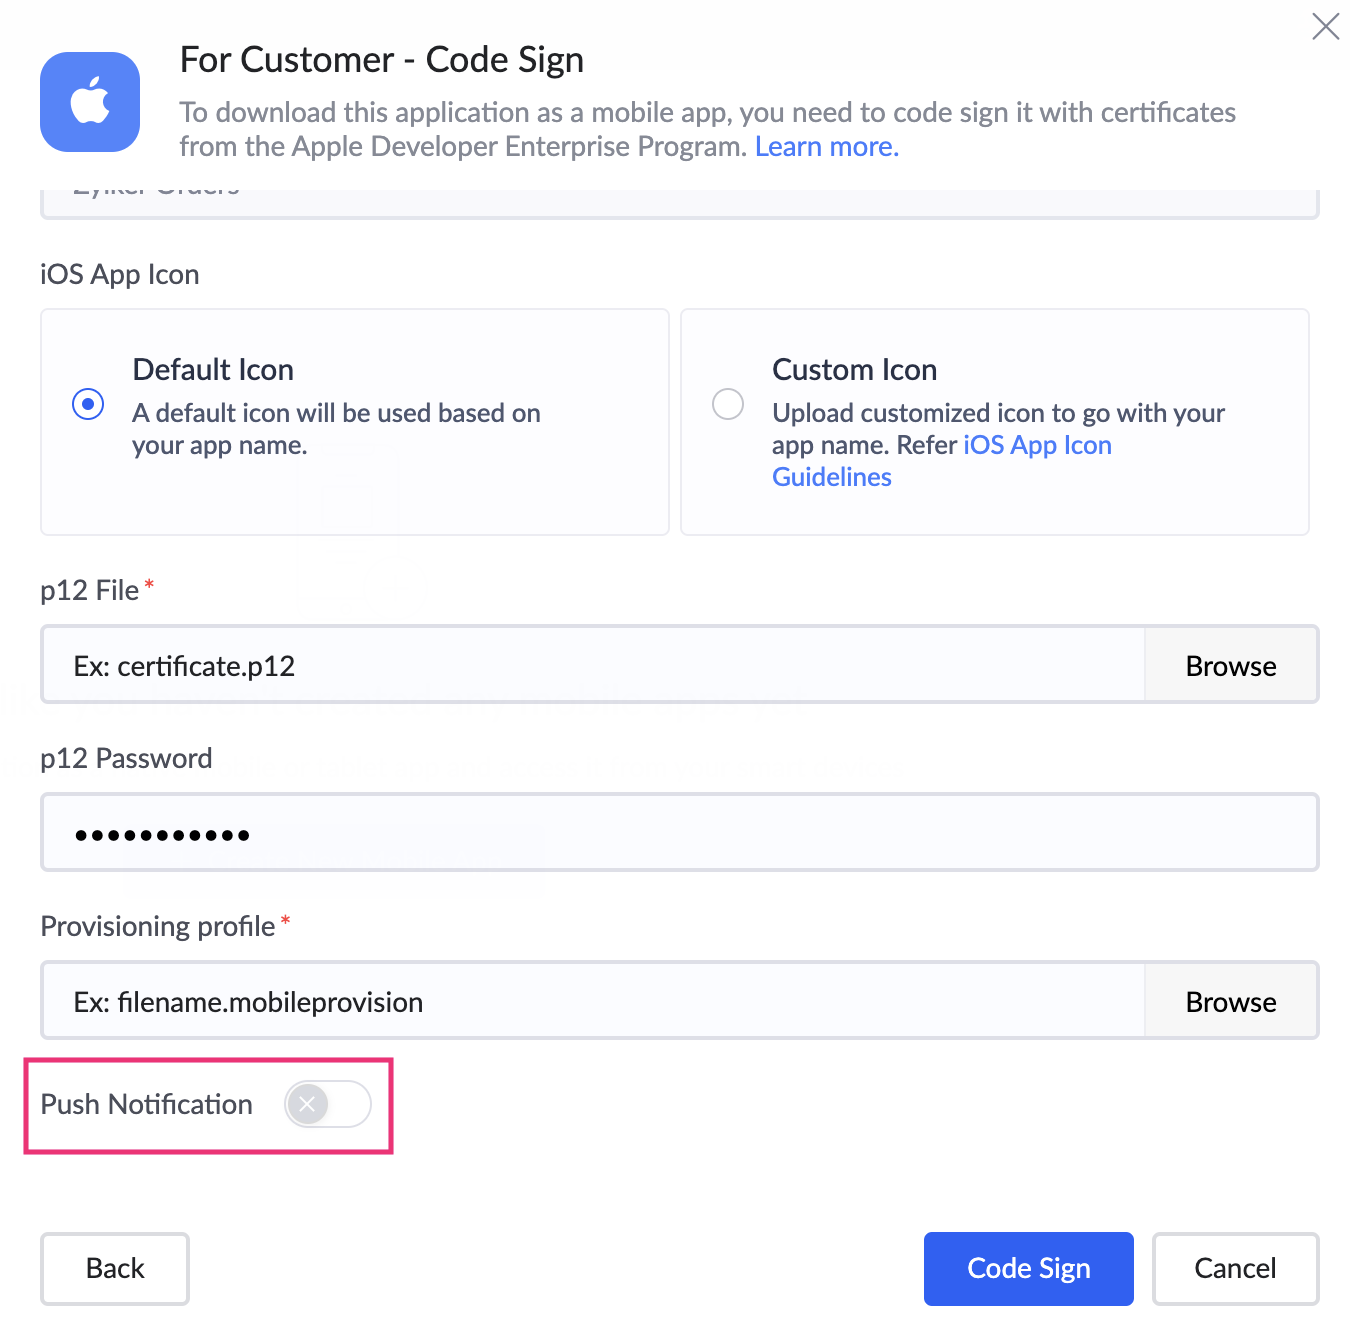
- Set your app's icon as required:
- Use Default Icon will be selected by default
- You can opt to Upload Custom Icon — a PNG file of 1024x1024 resolution.
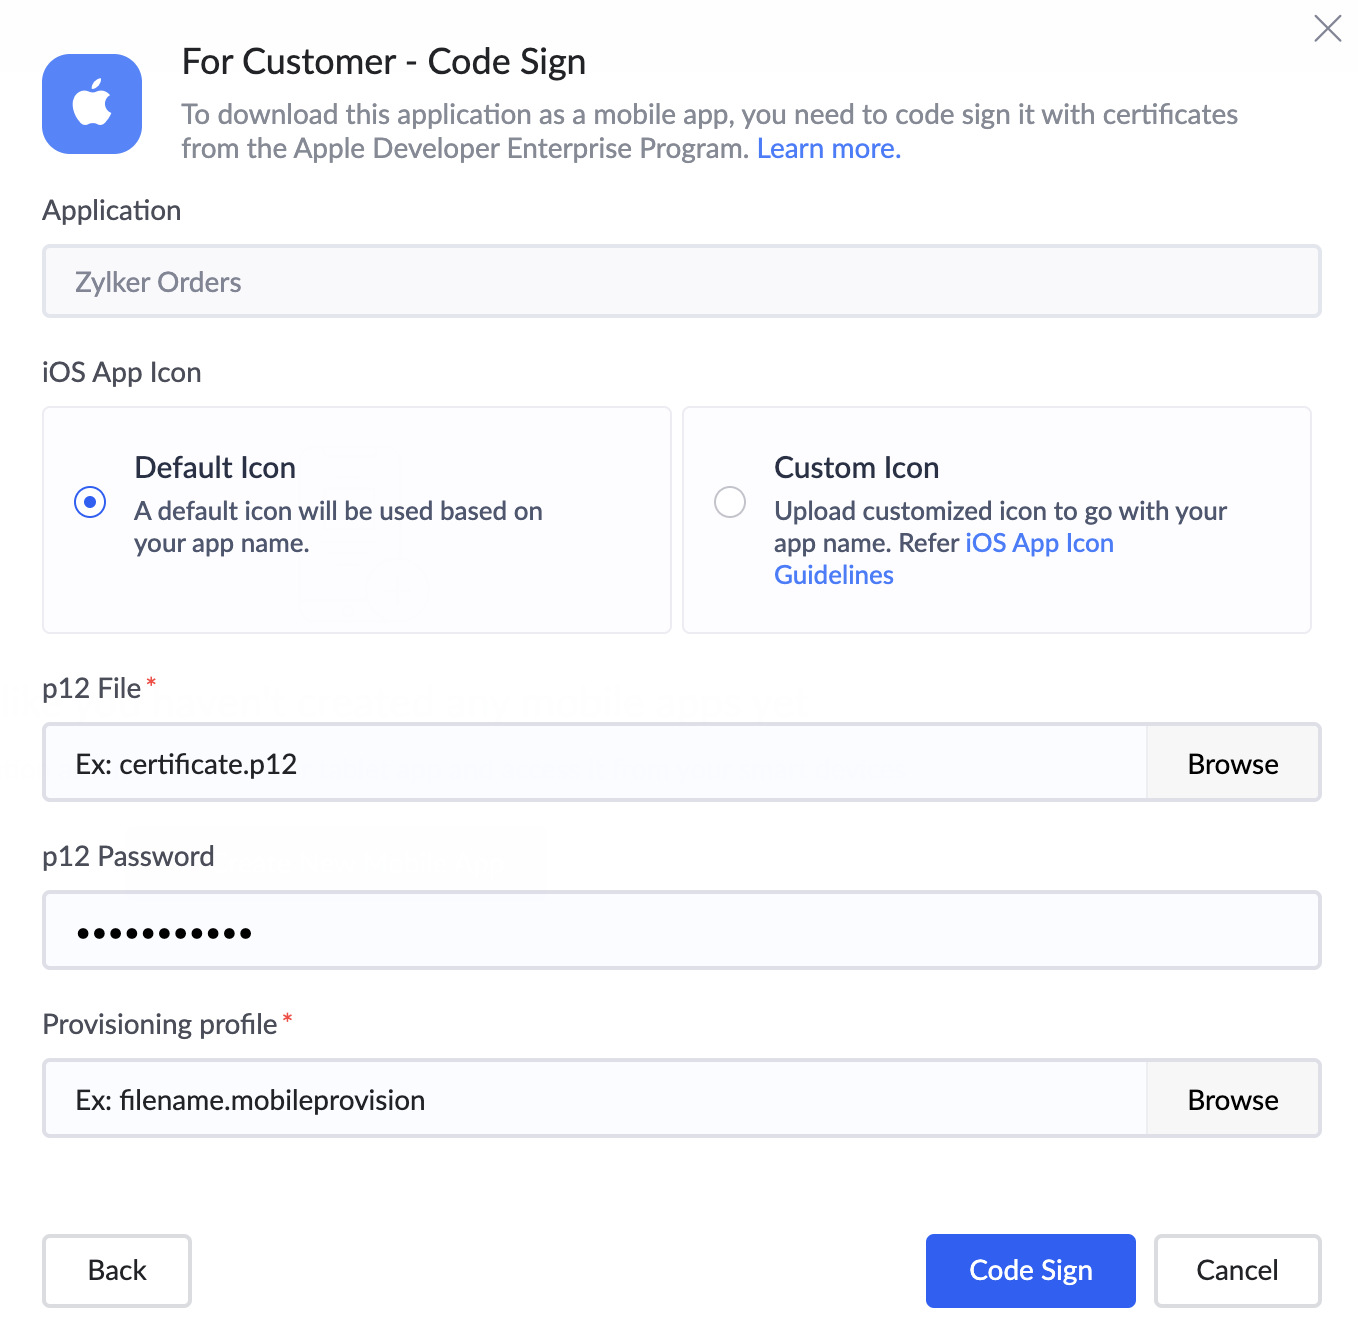
- Upload your p12 file. Learn how to create p12 file.
- (Optional) Set p12 password.
- Upload the Provisioning Profile.
- If you want to enable Push Notification for the iOS app, toggle the button beside Push Notification. Else, skip to step 11.
- If you want to enable tracking metrics for the iOS app, toggle the button beside App Metrics. Otherwise, skip to step 10.
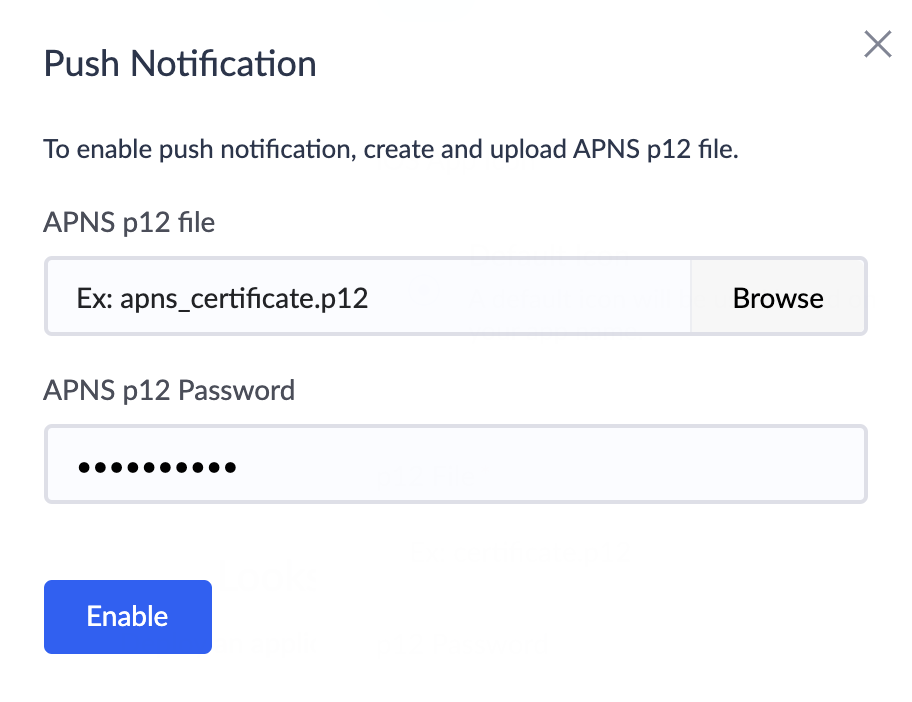
You can disable the toggle button, then click Disable in the popup that appears if you do not want to track metrics. - In the popup, upload the APNS p12 file. Learn how to create APNS p12 file.
- (Optional) Set APNS p12 password. Click the Enable button.
- Click Code Sign. This process can take 10-15 minutes to complete and this will be shown with a timer, indicating the status of the process.
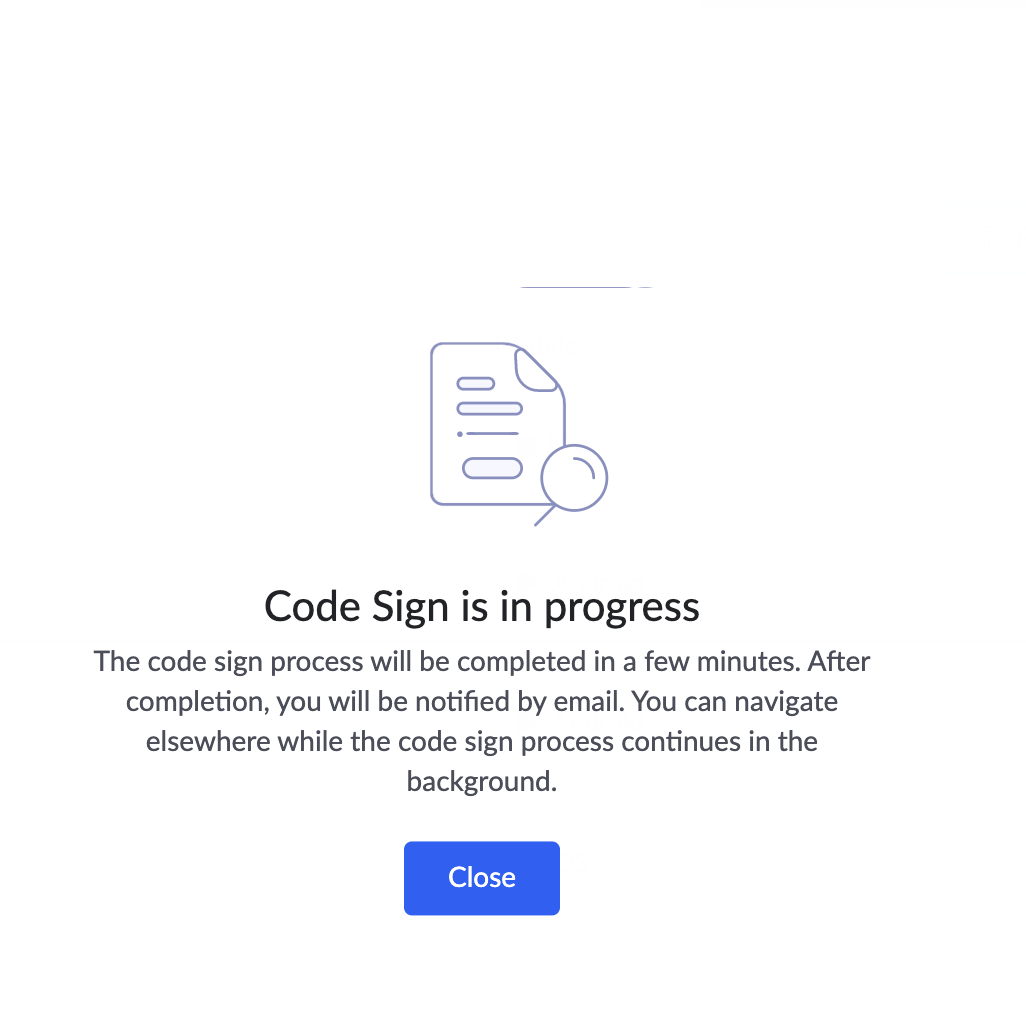
- On successful completion, a success message will be displayed at the top.
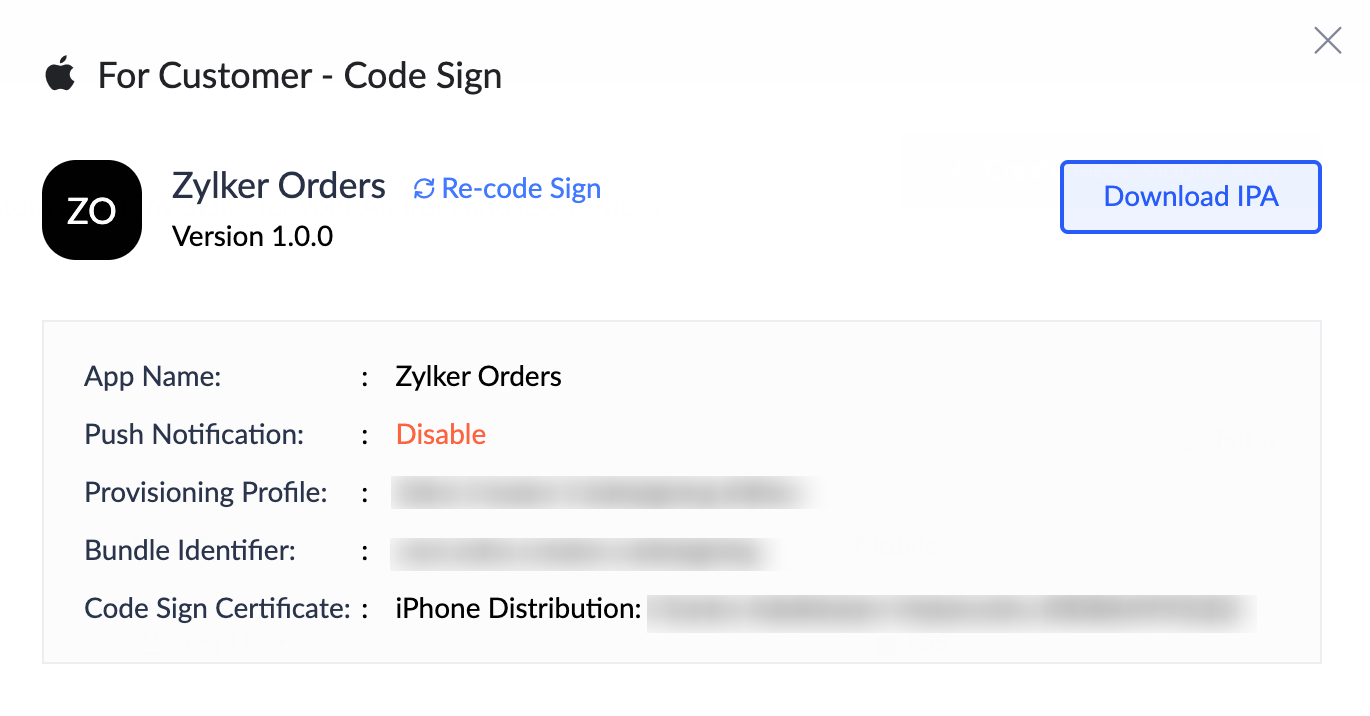
- Navigate to the Mobile App tab and click on the corresponding row of the code signed iOS app. The For Customer - Code Sign pane will open on the right.
- Click the Download IPA button on the top right of the pane.
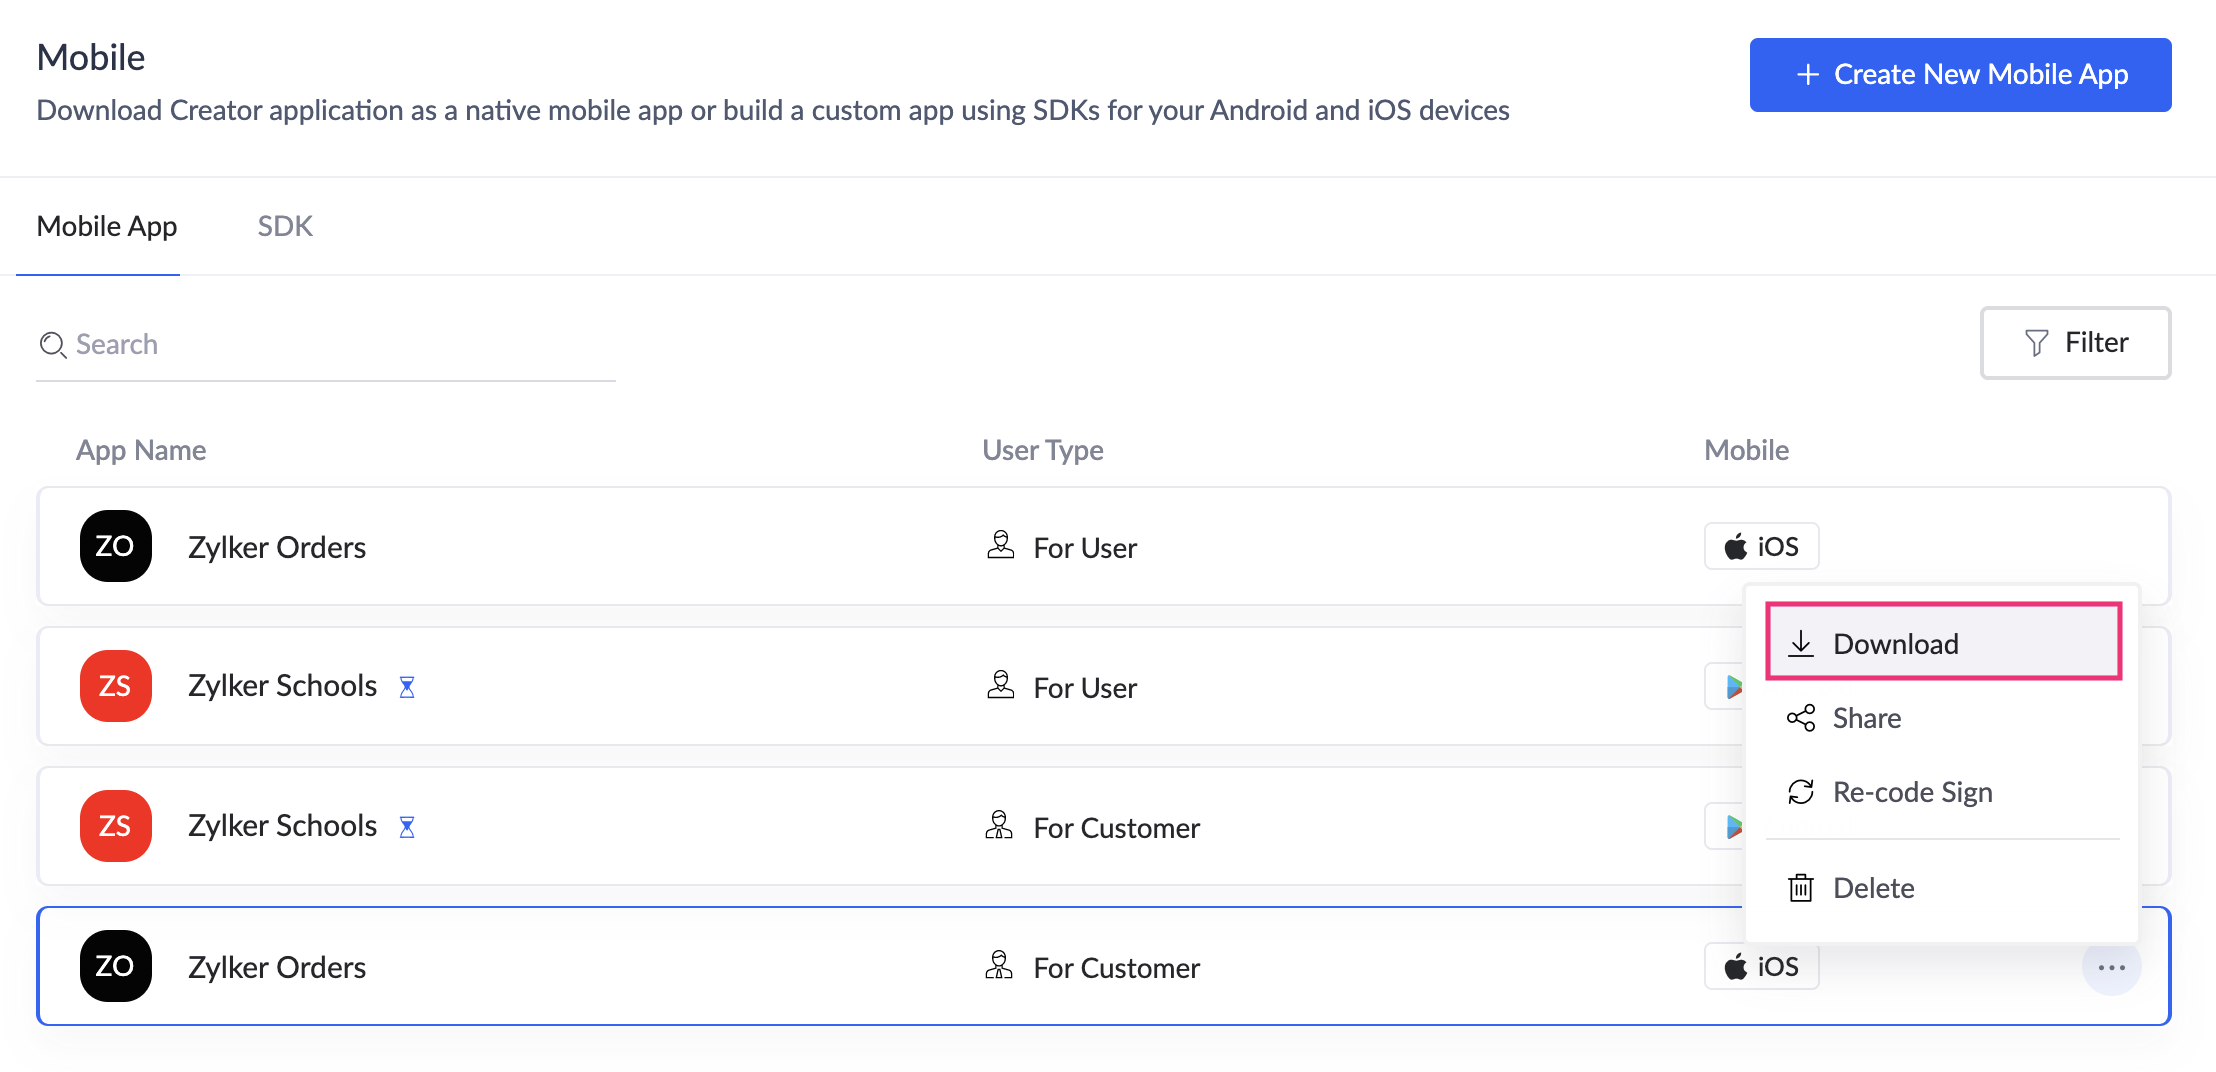
- Alternatively, navigate to the Mobile App tab and hover on the corresponding row of the code signed iOS app, it will show a three-dot action popup on the right side of the row.
- Click on the Download button from the popup.
- To upload the .ipa file to the Appstore, you need to create an app portal. Refer to this page to learn more about App Store Connect.
- Upload the .ipa file to App Store Connect via Transporter app.
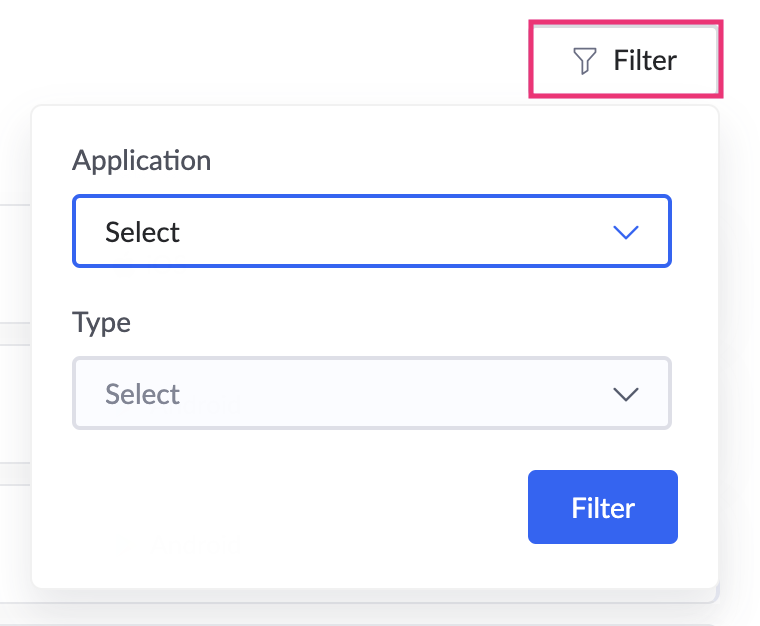
- You can filter your code-signed apps based on the Application and type by clicking on the Filter option at the right side of your screen.
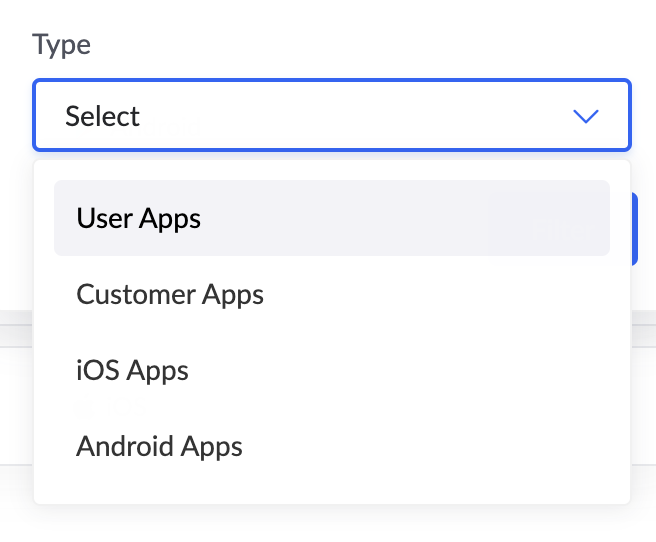
- The Type filter lets you filter apps based on User apps, Customer apps, iOS apps, and Android apps.
To manage metrics post code sign
If you haven't enabled App Metrics during code-signing, you can still enable it after the code-sign process is complete.
- Navigate to the Mobile section on the left and select the Mobile App tab.
- Click on the corresponding row of the code signed iOS app to open the For Customer - Code Sign pane on the right.
- Click Enable beside App Metrics.
- Click Enable in the Enable App Metrics popup that appears. You'll be taken to the For Customer - Code Sign pane.
- Enter the required details mention in the To code sign your iOS application and enable push notification for customers section from step 5 - 13.
After code signing is complete, Apptics will start tracking app usage and you can view the usage data in the Mobile Metrics dashboard.
To deactivate the tracking of metrics, click Deactivate beside App Metrics. This will temporarily pause the tracking of key insights for your code signed application. You can continue to view the existing data.
To activate the tracking of metrics, click Activate beside App Metrics. This will restart the tracking of metrics for your code-signed app.

Note: Key insights will not rbe ecorded during the period between deactivation and reactivation.
Points to note
- Please be aware that the idle session timeout configured for portals will not affect sessions on code-signed mobile apps for customers.
Please be aware that the idle session timeout configured for portals will not affect sessions on code-signed mobile apps for customers.
Related topics