Create signup form
Signup Forms can be created and embedded in your sites, blogs, and social pages to boost conversion rate among visitors. In Zoho Marketing Automation, you can design signup forms using pre-designed templates to collect and store contacts who are interested about your brand. You can then engage with these contacts and convert them to customers.
To create a signup form
- Select Lead Generation module from the Navigation Toolbar and choose Signup Forms.
- Click Create Form in the screen that appears if this is the first form you are going to create.
- If you have created signup forms already, click Create at the top-right corner of the page.
- Enter a Name for the form and click on Next.
- Choose a template for the form. There are three types:
- Compact forms: If you're a minimalist, this form is for you. This form only contains basic fields such as 'email address' and 'name'.
- Banner forms: If your webpage has space constraints, this is the template you need. Simple horizontal banner-shaped forms for your pages.
- Long forms: If your website or company need more information than a bare-bones signup form will provide, our advanced signup forms can be customized to suit your brand.
- Customize the elements of your form in the Editor tab's Design section. Clicking on each element in the left side such as Page body, Text, Input field, etc. will allow you to customize that portion of the form using the available customization options. You can change the background color, width, height, font, and even the text so that you are able to create a form that suits your needs.
- Alternatively, you can click on a portion in the template in the canvas to customize that portion. For example, if you click on the Email field, you will be able to taken to that element in the left side.
- The Setup section inside the Editor tab allows you to map the Name field from the form to First Name or Last Name field of the Contacts.
- Setup the response sent to your forms in the Success Customization tab. You can thank your leads when they sign up to your newsletters. Make use of our default Thank You page, Redirect leads to another URL, or Display an inline message. You can customize the after form submission response in the area below the three options. You can also customize load response setting, to load the response in the Same Tab or a New Tab.
- Click Save and Proceed at the top-right once the form is setup.
Other actions
Click More Actions icon in the detailed view of a form to view the Clone and Delete options. Clone allows you to create a copy of the form you have created and Delete option will delete the form. Once a form is deleted, it cannot be retrieved.
Under Contacts tab in the detailed view of a form, you can select contacts and perform the following options:
- Change subscription type
- Assign or remove tags
- Add to a list or remove from list
- Delete contacts
Select some contacts and click More Actions icon in the Contacts tab to perform the following actions:
- Assign topic or remove associated topics
- Export contacts
- Mass update fields of contacts
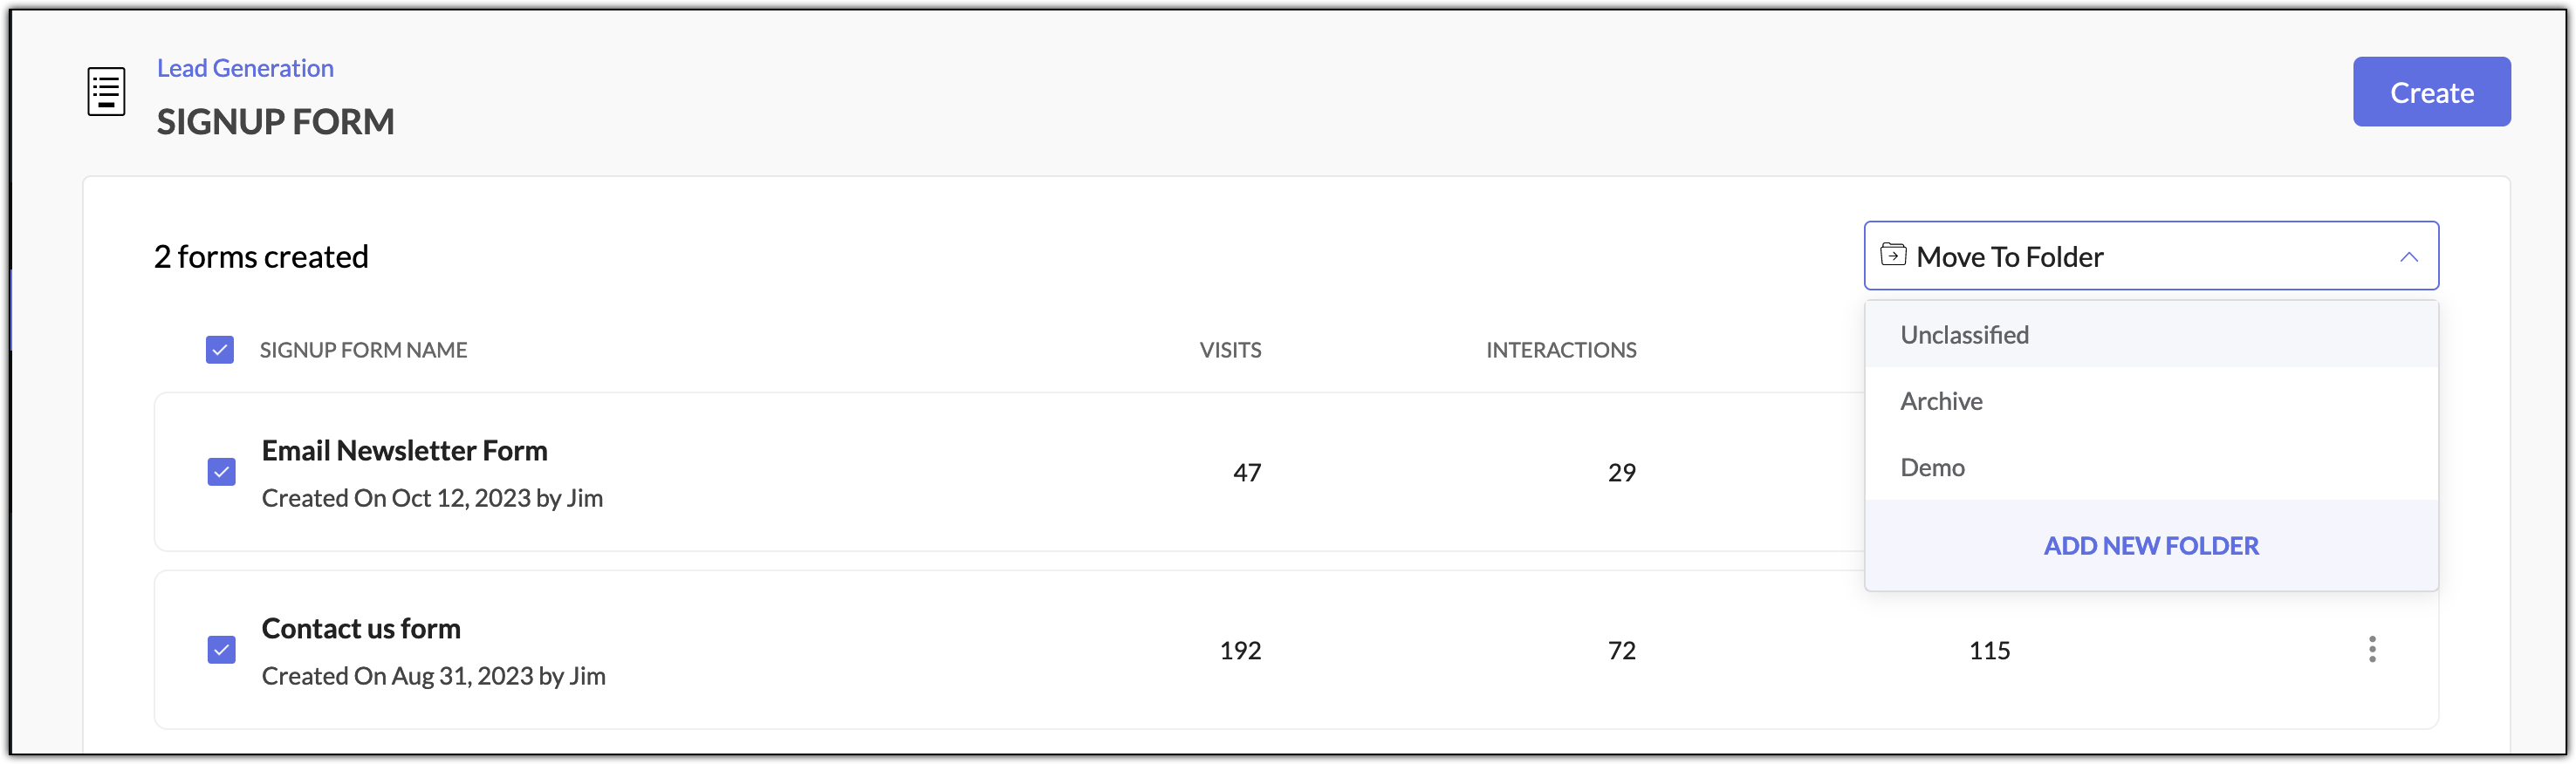
In the Signup Forms list view, you can select some forms and move them to a different folder using Move to Folder option. You can also use the Add New Folder option to create a new folder. If you want to categorize signup forms catering to different purposes, having them in different folders would be a good option.
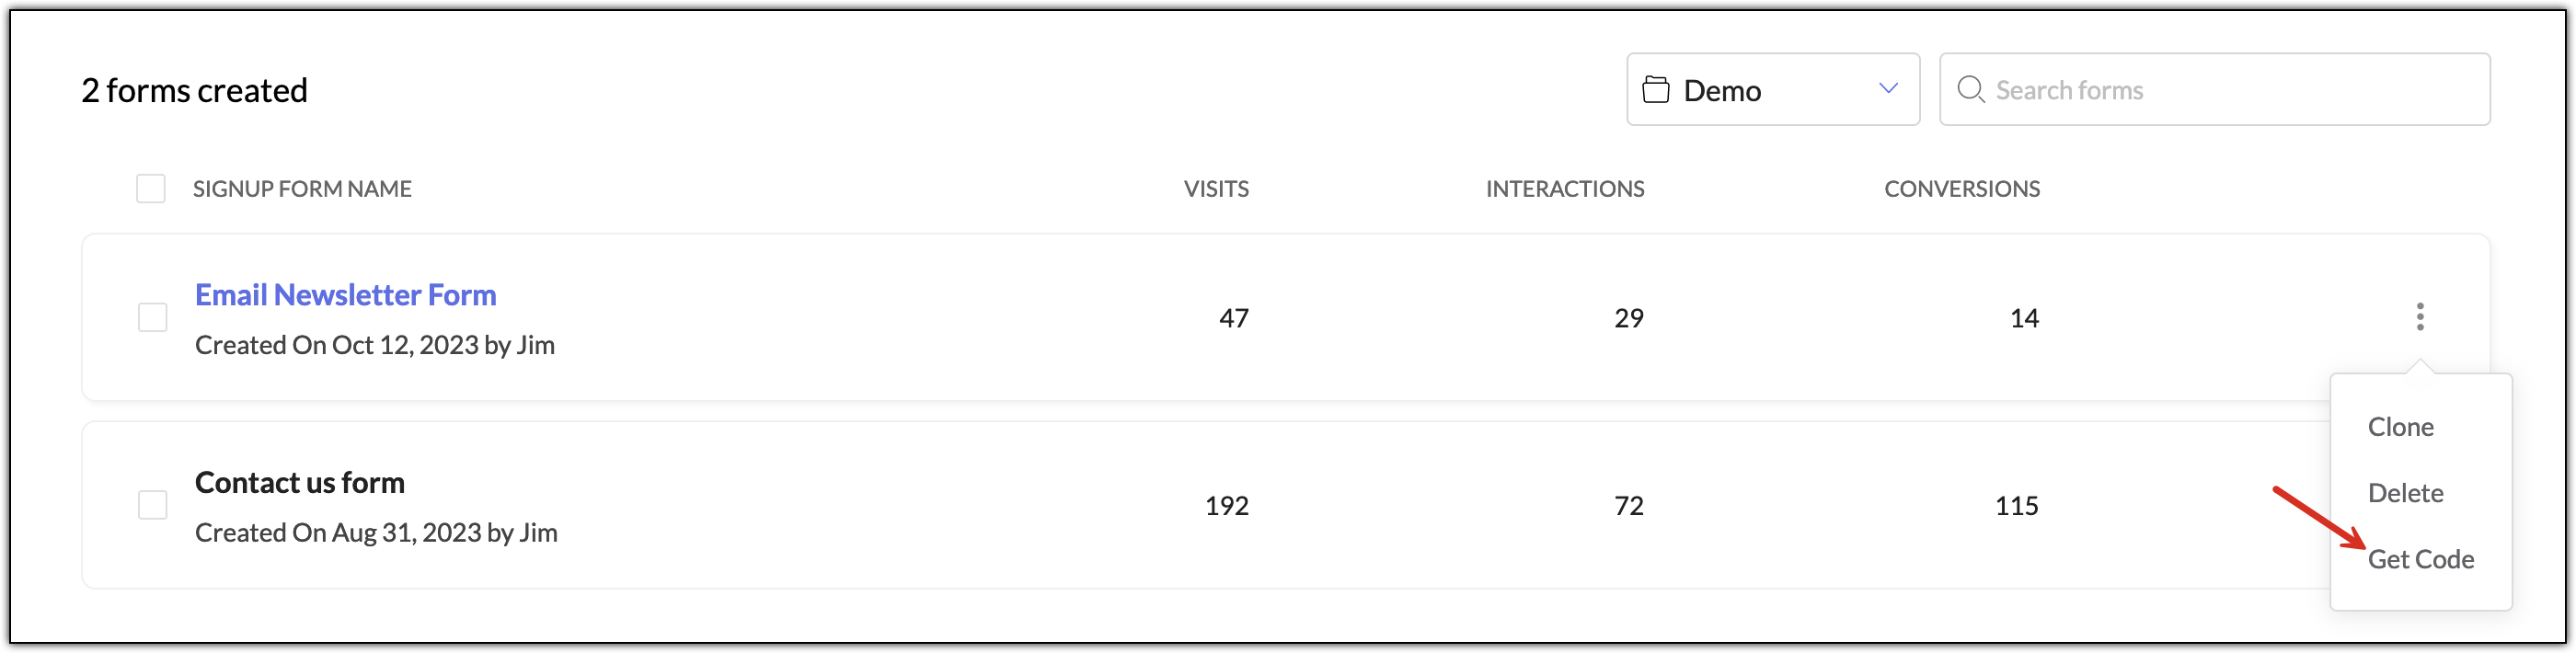
By clicking on the More Actions icon at far right of a signup form, you can make use of the Get Code option. This will redirect you to the Form Code tab of that signup form from where you can copy the code of desired code type in order to embed in your website.