Agent groups
In a nutshell
Zoho QEngine streamlines large-scale test execution through intelligent agent grouping. By clustering agents based on testing needs and managing them via a central hub, it enables seamless parallel execution.
Availability
- Super admins, admins, and managers can view, create, edit, and manage agent groups.
- Testers can only view the agent groups.
1. Overview
As testing needs grow, running everything on a single machine quickly becomes a bottleneck. Zoho QEngine addresses this with Agent Groups, a flexible way to scale test execution across multiple agents. While it's possible to run tests on individual agents, grouping them is often the smarter choice because it lets you speed up execution, distribute workloads intelligently, and align test runs with the environments that matter most to you.
When a test plan is triggered, execution can be assigned either to a specific agent or to an agent group. When groups are used, you can assign an agent as a hub which decides how test cases are distributed across available agents.
Coordination through the hub
At the heart of every agent group is the hub agent. When creating a group, you’ll need to designate one agent as the hub. The hub acts as the decision-maker, assigning test cases to agents as they become available. It manages distribution, ensures agent availability, and balances execution based on each agent’s capacity. Before dispatching work, it verifies that each agent is reachable at its current IP address, ensuring stability in execution. Whether you want to maximize parallel execution or cluster agents based on the type of testing (e.g., functional, regression, performance), agent grouping provides the flexibility and control you need. This coordination allows test runs to continue smoothly even if some agents drop offline.
Balancing load across agents
You can define how much work each agent should handle by setting its parallel threads and arranging the order of agents in the group. Ordering lets you prioritize which agents should be picked first for execution. Agents with more threads naturally take on a heavier share of the workload, while smaller agents contribute at their own pace. This balancing mechanism, handled automatically by the hub, keeps every agent engaged without overloading them.
Each agent is defined by environment parameters including operating system, browser type and version, device platform, and screen resolution. When a test plan is configured, these parameters determine which agents are eligible to take on specific test cases. This allows QEngine to route execution intelligently so that workloads are distributed not only by capacity but also by environment coverage. In practice, this environment targeting ensures that test cases are executed in conditions representative of real user environments, producing faster runs with more reliable results.
2. Configure agent group
Now, let's see how to create an agent group, in order to simplify our bulk testing needs.
- Navigate to Settings > Agent Group.
- Click Create Group.
- Enter a Group Name for the agent group.
- Select the agent you want to designate as the hub from the dropdown. The agent's reachable address will be auto-populated.
- Add more agents to the group by clicking the + icon. To remove an agent, click the delete icon beside it.
- Reorder agents by dragging them into the desired sequence. Note that the first agent in the list will always remain the hub agent.
- Click Create to save the group.
Once an agent group is created, it can be linked to a test plan so that execution happens in parallel across multiple machines. Instead of processing test cases in a single queue, the agent group divides the workload according to each agent’s thread capacity and matches against the environments defined for the plan. For detailed instructions on selecting agent groups when setting up a plan, refer to the Test Plans document.
3. Manage agent groups
The Agent Groups page allows you to view, edit, remove, and reference existing groups within individual projects.
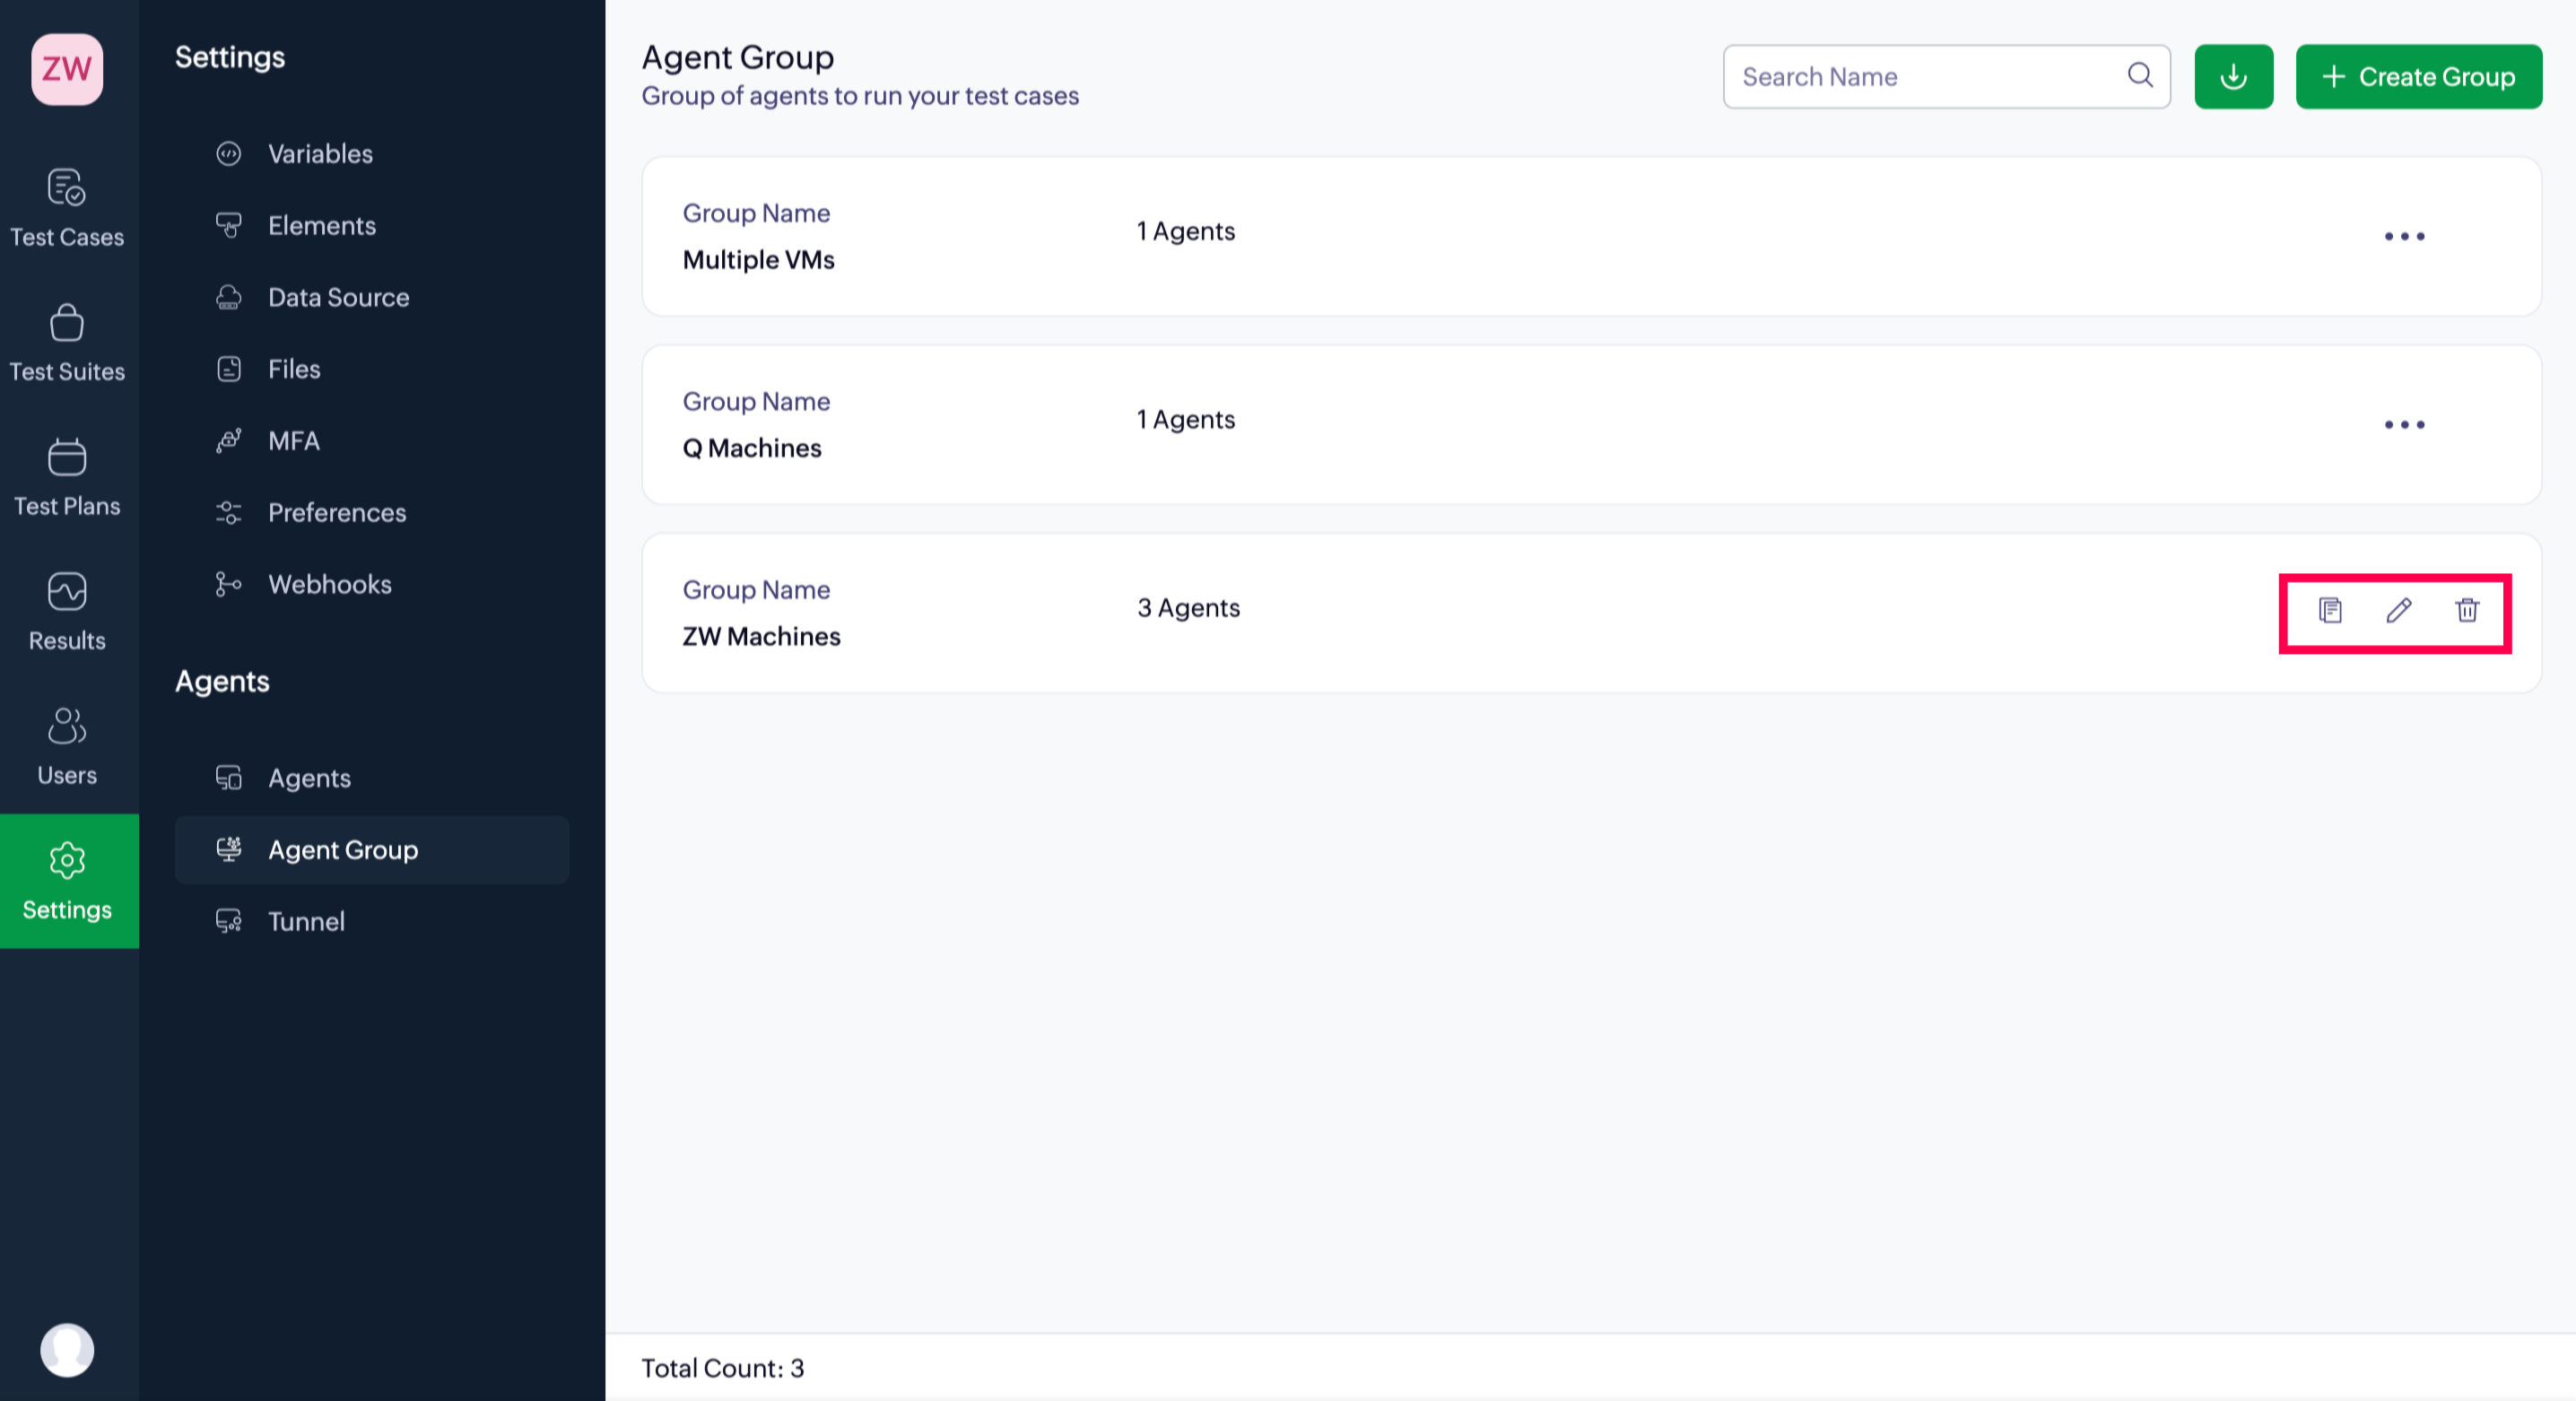
3.1 View
To view the list of created agent groups, follow the steps below:
- In the list, you'll see each agent group's name and the number of agents in it.
- Click on the respective group to view its details.
You'll see detailed information for each agent in the group, including the agent's name, its owner, the version being used, and its current status.
3.2 Edit
Hover over the desired group to edit its name and manage the added agents.
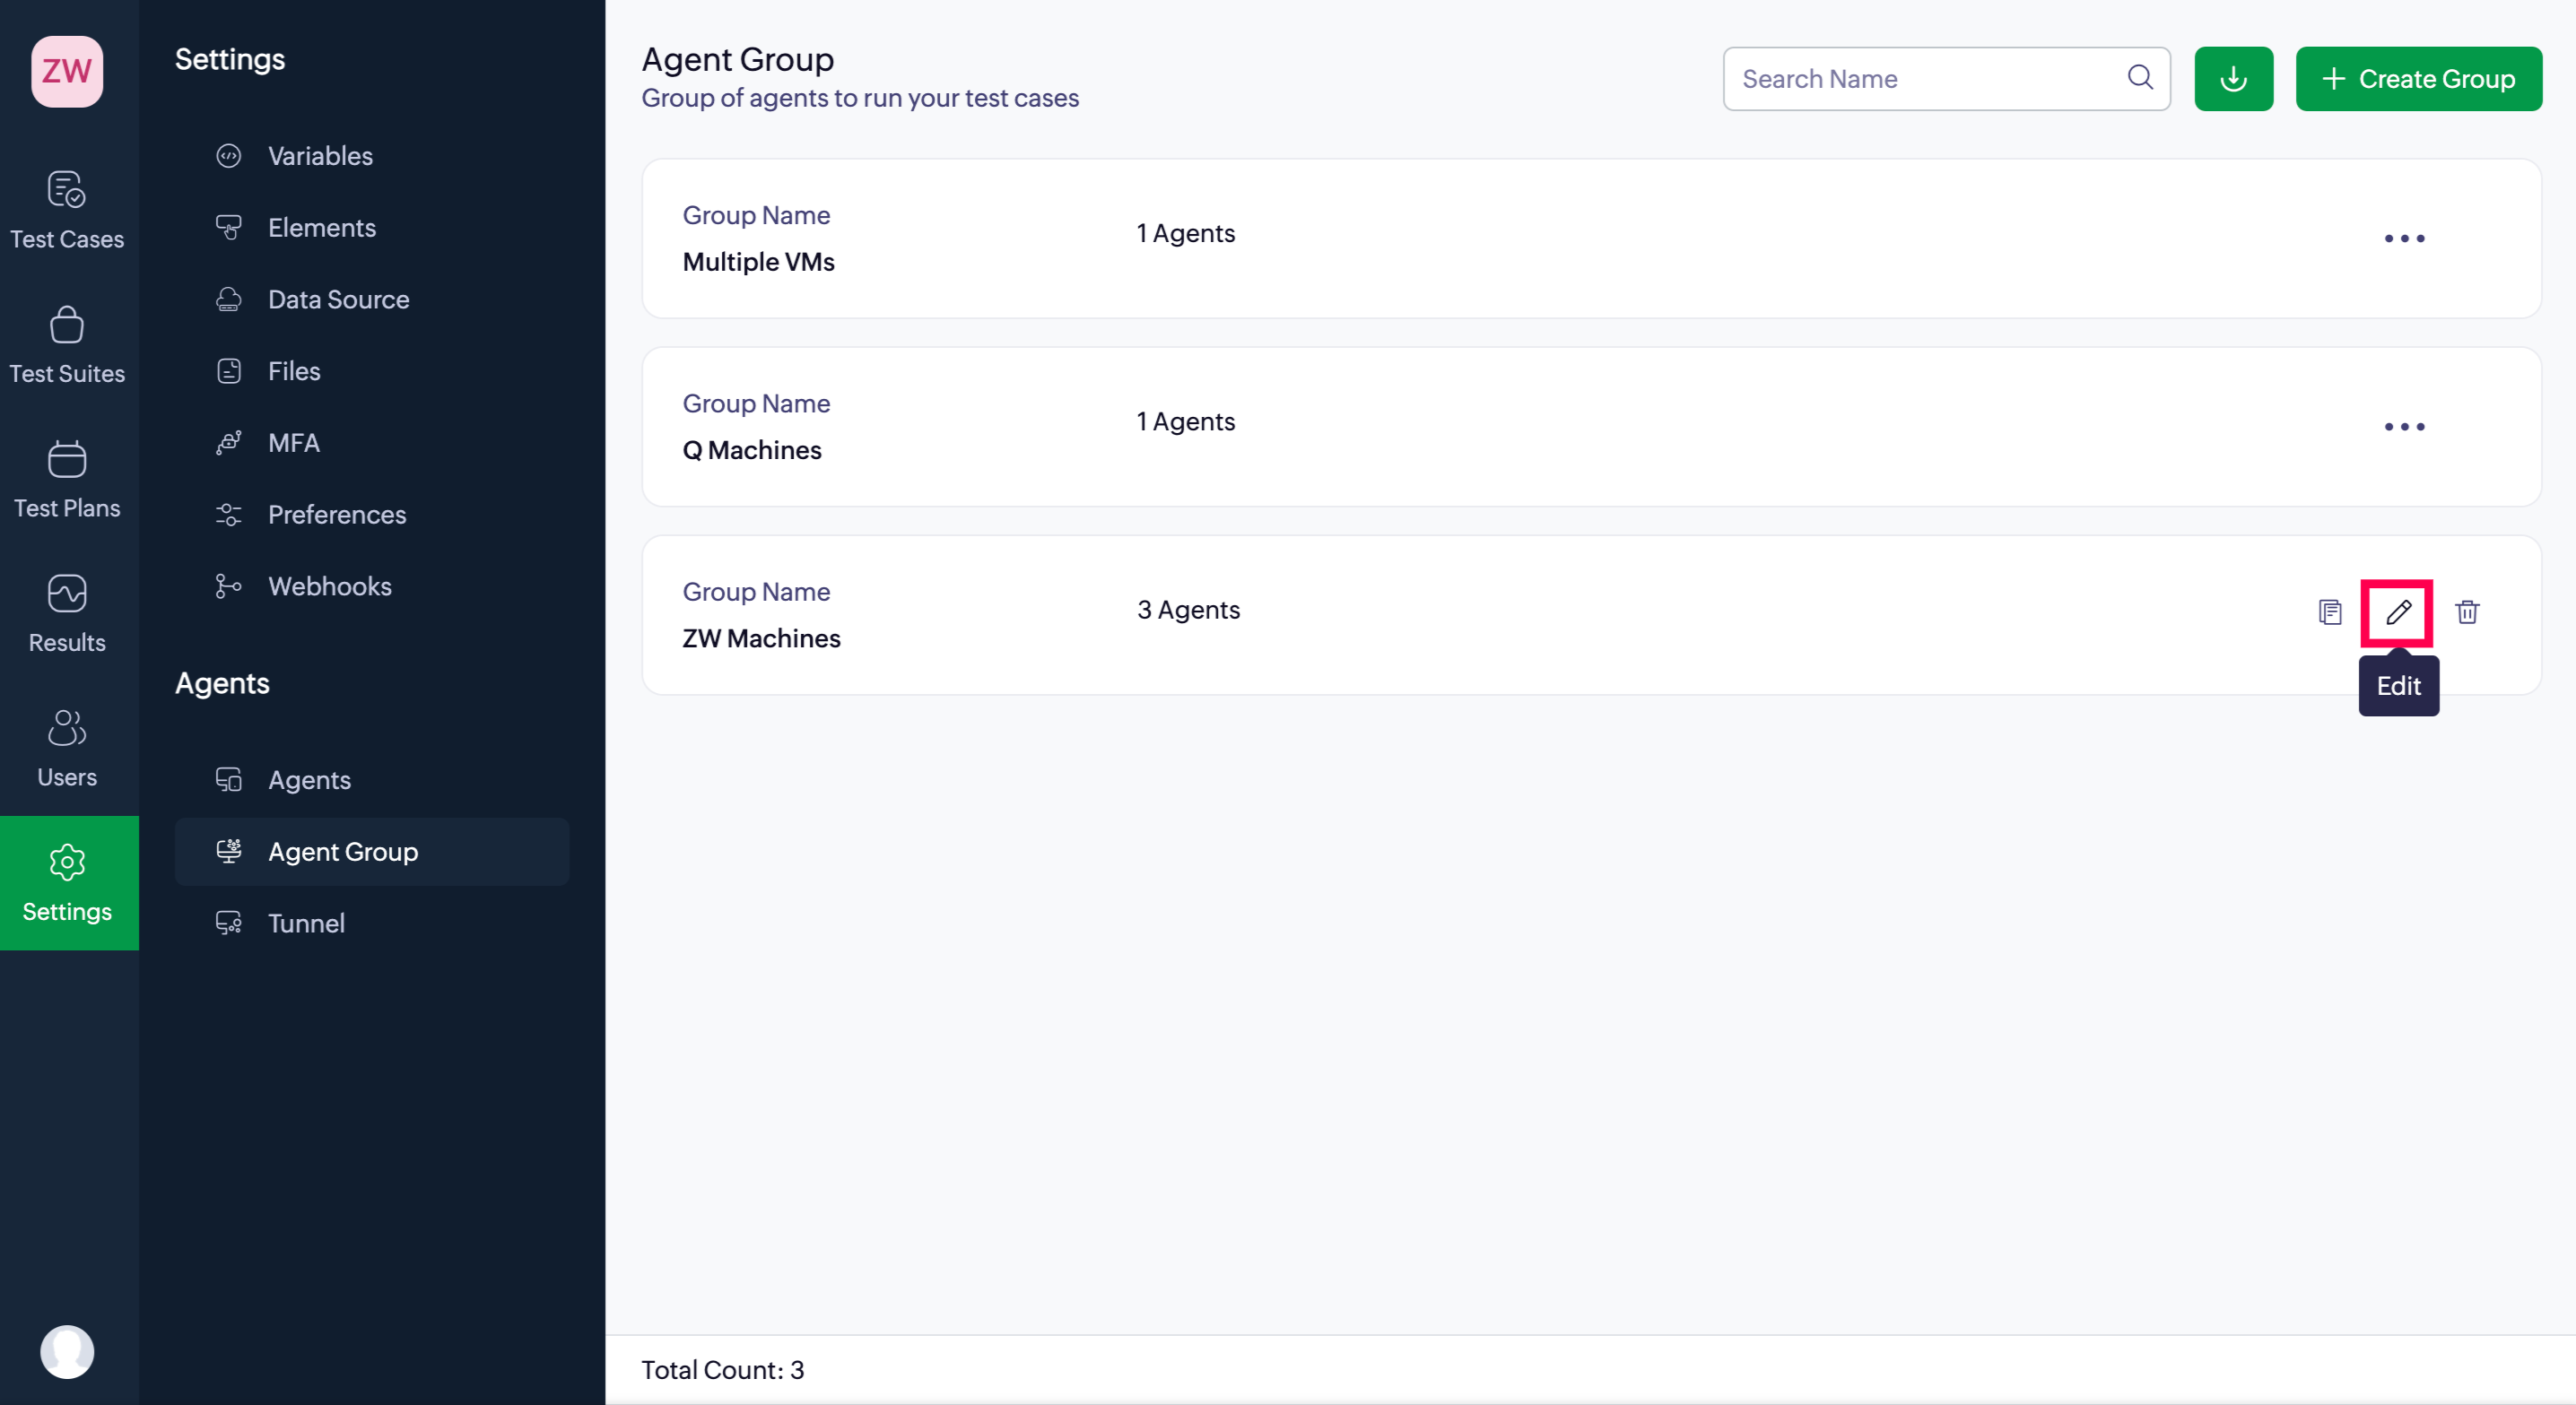
- Click the Edit icon to make the necessary changes.
- You can drag and drop to change the order of agents. To change an agent, select a new one from the drop-down menu. The group name and reachable address fields are also editable.
- To add more agents, click the + icon. To remove an existing agent, click the Delete icon.
- Click Update to confirm the changes.
3.3 Remove Agents from a group
To remove any created agent with the associated project, follow the steps below:
- Click the delete icon beside the desired agent group.
 Note: If any of the agent groups are used in test plans, they'll have to be removed from those test plans before they can be deleted.
3.4 Reference
The Reference option allows you to identify where an agent group is currently being used. This is useful when you want to edit or delete a group but need to ensure it won’t impact any active test plans.
- Navigate to Settings > Agent Group.
- Hover over the required agent group.
4. Related links
5. What's next
Next step
With your agent groups set up, you can now use them to execute test plans. Assign agent groups to test plans to distribute load, ensure parallel execution, and manage test environments efficiently.