Sending documents for signatures
You can upload documents and send them to one or more recipients to request their signatures, using the Send for Signatures section in Zoho Sign.
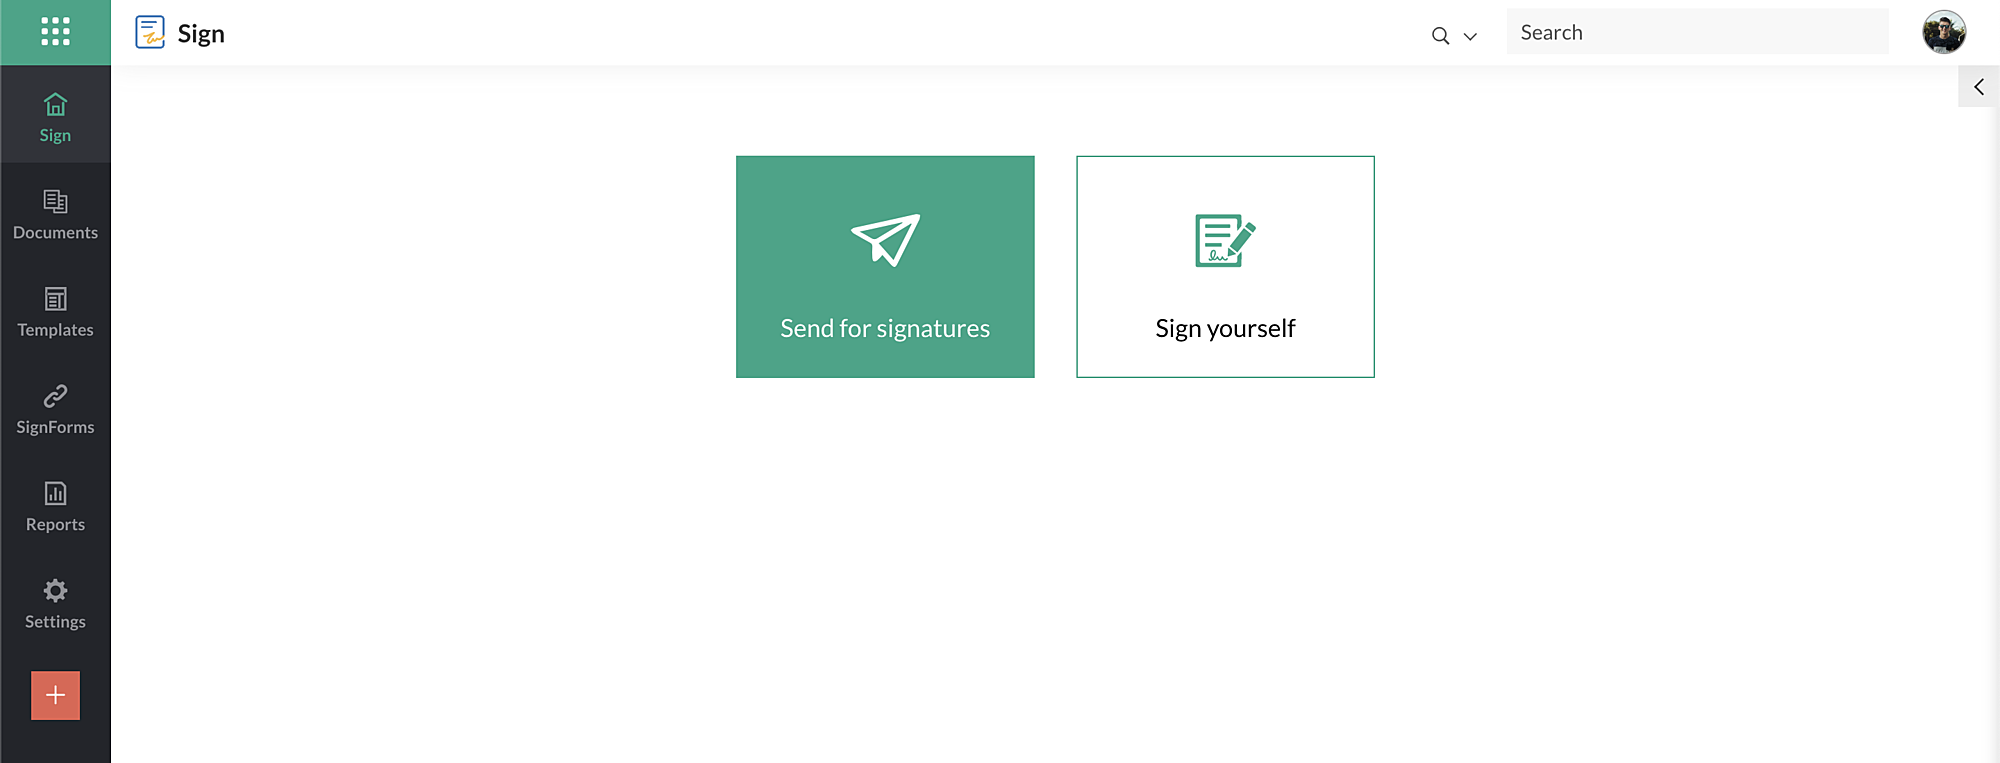
Log in to your Zoho sign account and click Send for signatures on your dashboard.

Alternatively, click the plus icon present at the bottom-left on your dashboard, and choose Send for signatures.
Sending documents out for signatures is a simple process that follows five key step:
Log in to your Zoho sign account and click Send for signatures on your dashboard.
Alternatively, click the plus icon present at the bottom-left on your dashboard, and choose Send for signatures.
Sending documents out for signatures is a simple process that follows five key step:
Upload Documents
The first step is to upload the documents that have to be sent out for signatures.
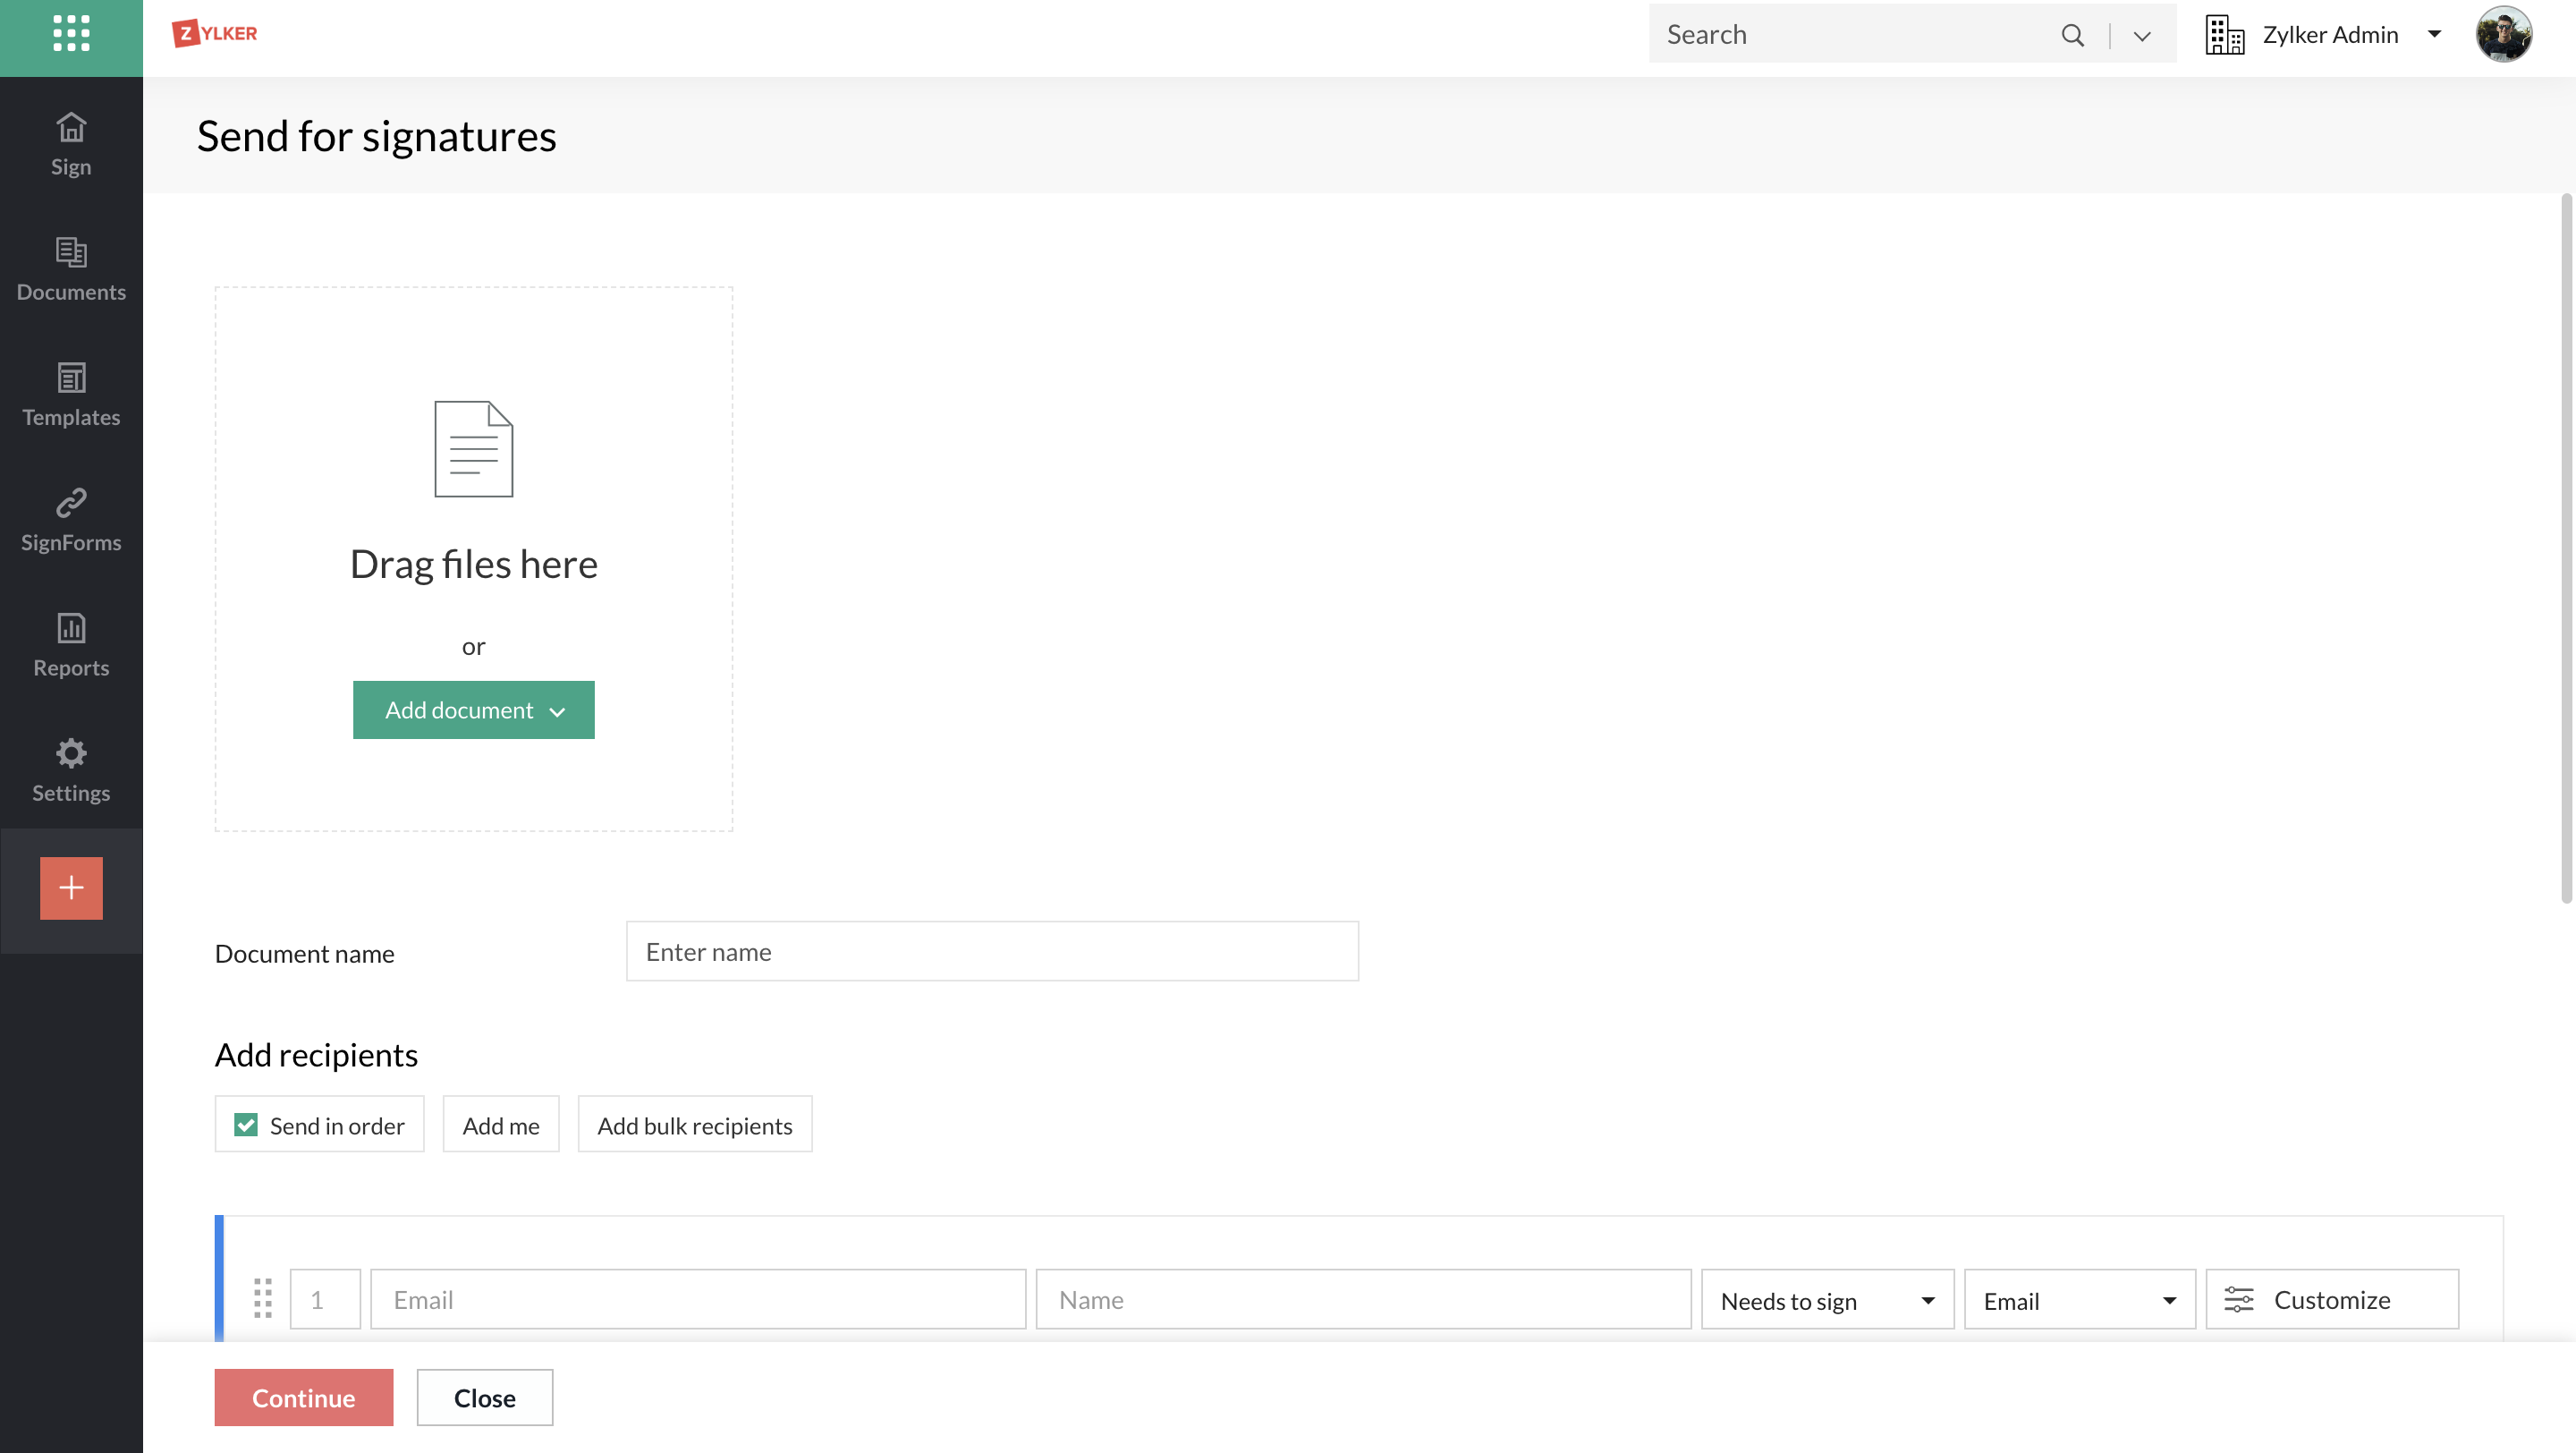
Documents can be uploaded onto Zoho Sign in four ways:
Documents can be uploaded onto Zoho Sign in four ways:
- Drag and drop the files from their location onto the send for signatures section in Zoho Sign on your browser.
- Upload the documents from your device by clicking Upload and selecting the file from the device folders.
- Import files from cloud storage services such as Zoho Workdrive, Zoho Docs, Dropbox, Box, Google Drive, and OneDrive. Click the Import option to open cloud picker box and select your cloud application from the left menu. You can then navigate to the location of the files on your storage explorer, choose the files, and click Attach to import them.
- Import predefined document templates from your Zoho Sign account by selecting Use Template(s) from the Add document drop-down menu. You can also choose multiple templates, merge them and send them in a single document signature request.

Note:
- You can add a maximum of 40 files to a single document signature request.
- The size of individual files cannot exceed 25 MB, and the overall size of the document cannot exceed 40 MB.
- The uploaded documents can be of pdf, jpg, jpeg, doc, html, odt, png, txt, docx, rtf, htm, xls, xlsx, tex, and sxw format.
Merge and send
If needed, you can also merge the uploaded documents. To do so;
- Select the documents you wish to merge.
- Click Merge documents.
Enter document details
You can add different details associated with the documents in this section.
Document name
- Enter a name for your document. It can be up to 100 characters in length. It can include letters, numbers, and the following special characters: !@#$%&*(). If no name is entered, the name of the uploaded file will be the name of your document by default.
- Click More Settings to add different details associated with the documents.
Days to complete
Set a deadline for the recipients to sign the documents (in days) from the time they receive them. The documents will expire after this period, and the recipients will not be able to access them beyond the deadline.

Document validity period
You can set your documents to be valid forever or specify a date by choosing the Select date option from the dropdown menu.
Document type
You can categorize the uploaded documents based on their type. You can assign an existing type to the uploaded documents or you can create a new one to assign. To do so, click the plus icon next to the dropdown field and enter the name of the type in the field.
Folder
Create folders to easily group and manage your documents.You can choose an existing folder to add the uploaded documents, or you can create new one to add. To do so, click the plus icon next to the dropdown field and enter the name of the folder in the field.
Description
Add a suitable description and any other additional details for the documents.
Add Recipient Details
Add the details of the people that the documents are being sent to in this section. The recipients can include the signatories themselves and others that need a signed copy of the documents.
Add Recipients
- Enter the recipient details, Email, and Name, in the fields under the Add recipients section.
- To add another recipient, click the + Add recipient icon and enter the recipient details in the fields that appear below the existing recipients.
- You can add upto 25 recipients by repeating this step.
- You can also add yourself to the recipient list and the signing process by clicking the Add me option.
- You can also send multiple copies of the same documents to a bulk of individual recipients for signatures.
- To delete a recipient, click the minus icon to the far right of the corresponding recipient.
Note: Print and sign will not be available for signers in parallel in the case of a hybrid signing hierarchy.Set Recipient Action
You can set the recipient action using the dropdown menu.
When the recipient action is set to:
- Needs to sign - Recipient has to fill form fields and attach their signature to the documents.
- Receives a copy - The recipient simply receives a signed copy of the documents.
- In-person signer - You need to assign a host from your organization who will get the documents signed in-person from the signatory.
- Approver - Recipient has to approve the contents of the document as opposed to signing it or simply viewing it.
- Signs with witness - You can add witnesses to recipients for documents that require the need for an additional witness's signature. Learn how.
- Manages recipient - Enables a recipient to review, modify, or add details for any recipients associated with them in the workflow. Learn how
Document delivery mode
Have your documents reach your recipients via SMS in addition to the standard email delivery. Learn more.
Private Message
Set a private message to be sent with the documents for the recipient to view. To do so:
- Click the Customize button next to the delivery mode dropdown.
- This will open a pop-up where you can enter the private message.
- Click Save to proceed.
Authentication Code
Provide an additional layer of security to your documents with Zoho Sign by setting up a two-step authentication process. This option allows you to send an authentication code to the recipients to ensure that the documents are not tampered with by unauthorized users.
To set an authentication code:
- Click the Customize button next to the delivery mode dropdown.
- This will open a pop-up where you can choose the authentication mode from the authentication dropdown.
- This code can be delivered to the recipients via email, SMS, or other offline means.
- Set the preferred delivery type from the dropdown menu in the dialog box and click Set to proceed.
- If the delivery type selected is Email, the recipients will automatically receive a system-generated authentication code via email when they try to access the documents.
- If the delivery type selected is SMS, the recipients will automatically receive a system-generated authentication code via SMS when they try to access the documents. If the recipient is not in your Zoho Sign contacts, or if the recipient phone number is not present in their contact details, you will have to enter their number in the field provided and select the appropriate country code. Please note that delivering authentication code via SMS incurs a per use fee of $0.05 per SMS. To learn more, click here.
- If Offline is selected, a code will be instantly generated and displayed in the hidden format in a field below the dropdown. This verification code can be viewed by clicking the eye icon in the same field. You can also customize this code by overwriting it with a six-digit verification code of your choice. You can share this code with the recipients by any means convenient. Once the authentication code is set, the documents will be locked. Recipients can only unlock it by entering the verification code sent to them.
Note:
- If the incorrect authentication is entered three times in a row, access to the documents will be blocked.
- The recipient will need to contact admin again to re-enable access to the documents.
Email and interface language
Select the language your recipient would be comfortable navigating the signing workflow in. Note that this will only change the language of the Email and the interface of the signing workflow, and not the actual contents of the document. To do so:
- Click the Customize button next to the delivery mode dropdown.
- This will open a pop-up where you can choose the email and interface language from the drop-down.
- Click Save to proceed.
Signing Order
- Enable a signing order for the documents by checking the Send in order option. This sends the documents to the recipients one-after-the-other to be acted upon. For example, if there are two signatories, the documents would be sent to the second signer only after the first signer has signed the document.
- To set the signing order, arrange the recipient list by dragging the rows using the slider icon or enter each recipient's intended position in the numeric field next to the slider icon. Do this until the desired order is achieved and then proceed.
Note:
- If the same position is entered for two or more recipients in the signing order, the document will be sent to them in parallel for signing.
- The recipients after them in the signing order will receive the document only when all the previous signers to whom the document was sent in parallel finish signing it.
- Leaving the Send in order option unchecked will send the documents to all the recipients in parallel.
Automatic Reminders
To set automatic reminders, click More Settings to expand the reminder option, toggle Automatic reminders to ON, and specify the reminder frequency in the field below.
Recipient Note
- Enter a message for the recipients of the documents to read in the field under Note to all recipients.
- After you finish adding all the recipient details and associated actions, click Continue to proceed to the document viewer.
Document Fields
- You can now view the preview of uploaded documents and add the required form fields to the document.
- The document viewer will list the documents uploaded in the left pane, the active document in the center, the recipients in the top-right pane, and the available field options in the bottom-right pane. You can select the active document from the left pane and simply drag and drop the required document fields from the bottom-right pane onto the document to position them. If there are multiple recipients, repeat this for each recipient by selecting them from the top-right pane.
- For custom text fields, you can validate signer input by setting the Validation dropdown to a preferred format of data or even add a custom regex.
- All fields have a Data label field for mapping and identifying the data. For example, you may choose to add multiple fields which are supposed to contain the same data.
- To do so, simply add the fields and set their data label to a common value.
- This then functions such that once the signer inputs the data in the first instance, it's automatically filled in the subsequent fields.
- Using a common data label across fields can also make the fields share properties between them—Width, Height, Character limit, and Validation—in addition to the field name itself.
- No two fields of the same type and same data label can have different values or properties.
- When the name or properties of any such field is changed, you will be prompted to apply the same across all other fields sharing the data label.
Note:
- You can format the font and labels of all fields except Signature & Initial by double-clicking them.
- Fields can also be resized by clicking and dragging their edges.
- There must be at least one field for every recipient added to the document as a signer.
In case the signer fields you want to add to the document are already present in a template saved inside Zoho Sign, you can import them directly onto the document and reposition them. To do so;
- Open the Actions dropdown and click Apply field template.
- You can then select the corresponding template from the list of saved templates and click Yes to import the signer fields onto the document.
Send documents
After the document fields have been set for each recipient, click Send to open the confirmation dialog box, then click Confirm to send the documents.
If the document is sent from a trial account, a watermark as shown in the screenshot below will be present in your document.