Device Management - Overview
When it comes to ensuring that your employees are handling corporate data responsibly, managing their devices is just as important as managing their online identities. This aspect of resource management is called Mobile Device Management (MDM).
Zoho One offers MDM capabilities that help you ensure that only authorized users and devices are accessing privileged resources. With Zoho One's MDM, you can:
- Enroll company-owned devices and employees' personal devices into your organization.
- Distribute the necessary apps to your employees' devices.
- Control what your employees can do with their devices by setting up policies and restrictions.
As an IT admin, managing the lifecycle of the devices in your organization is important. Zoho One helps you manage every stage of a device's lifecycle, i.e., from enrollment, through assignment and policy configuration, to deprovisioning when an employee leaves. A device's lifecycle starts with being enrolled in your organization. After enrollment, a device is assigned to an employee. As the employee progresses through different designations and different teams, the permissions, apps, and restrictions on their device may change. When an employee finally leaves the organization, their device will be deprovisioned.
If you are currently using ManageEngine MDM or ManageEngine MDM (MSPs) for managing your devices, you can also integrate and manage them in Zoho One. Learn more.
Navigating Device Management
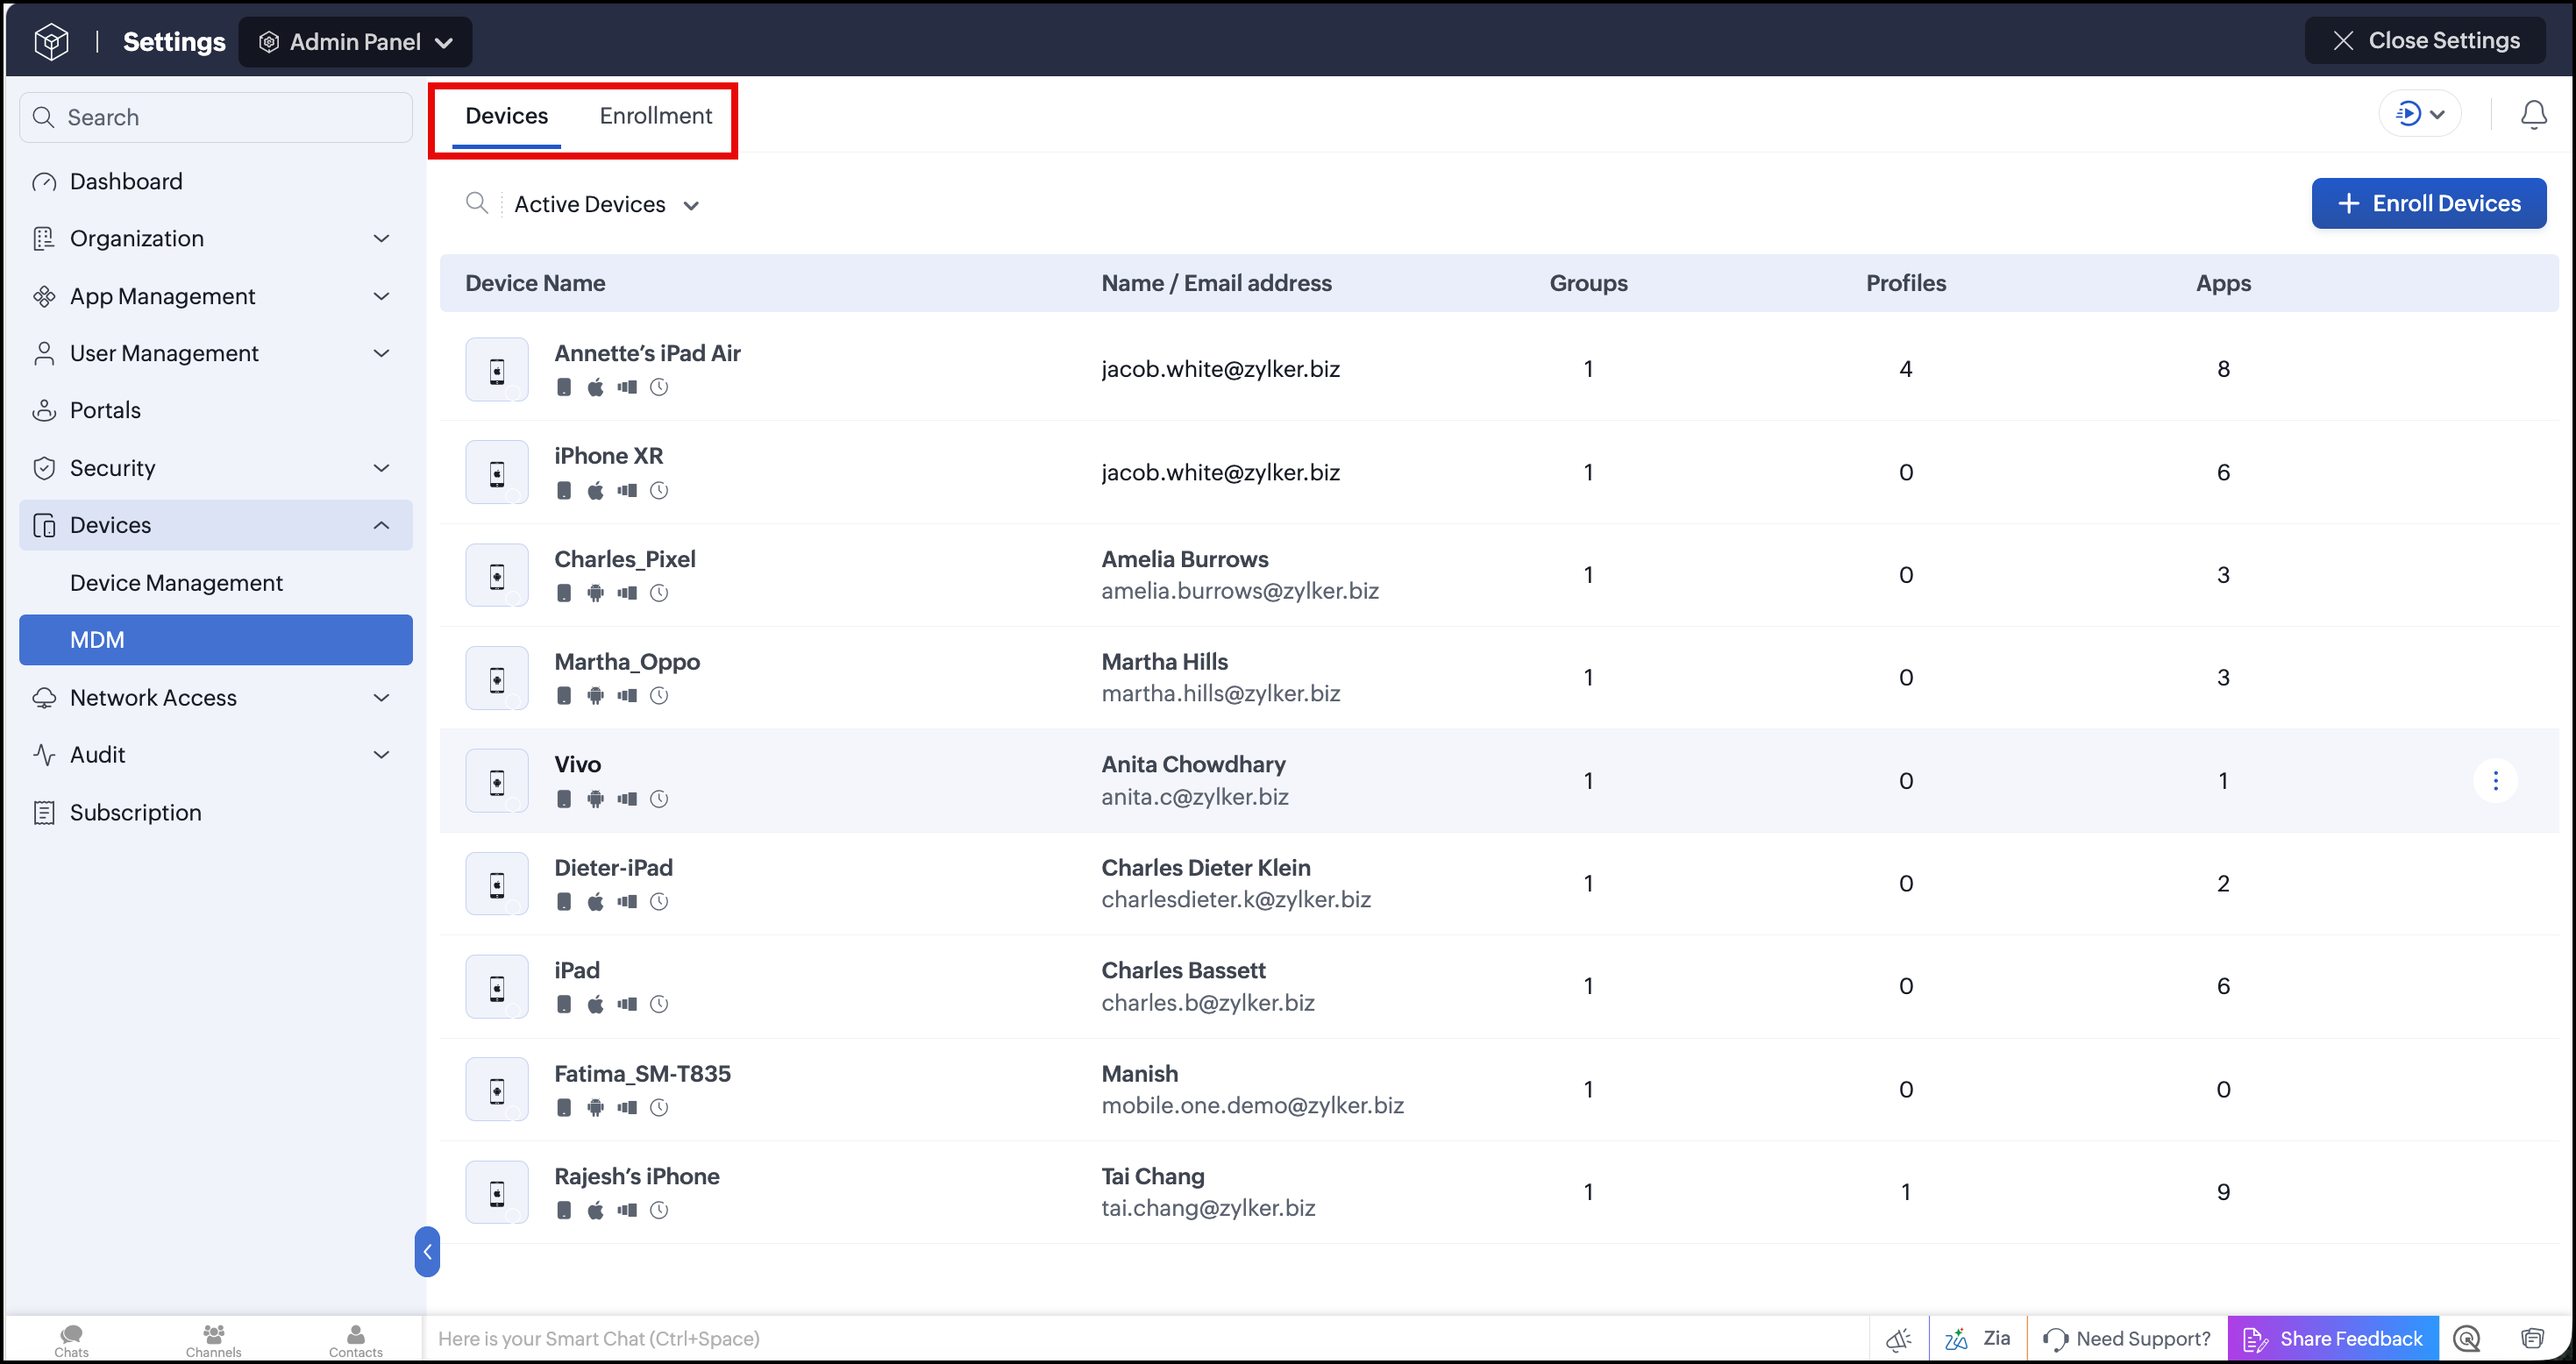
When you open the Device Management tab, you'll see two tabs along the top: Devices and Enrollment. Together, these let you enroll devices, configure policies, and manage enrolled devices throughout their lifecycle.
Enrollment
The Enrollment tab is where you manage how devices join your organization in Zoho One. It is split into three tabs: BYOD Enrollment, Corporate Enrollment, and Settings.
BYOD Enrollment lets you enroll employees' personal devices, either by sharing an enrollment link with users or groups over email, or by generating a link to enroll each device individually. Before enrolling Apple devices this way, you'll need to have an Apple Push Notification service (APNs) certificate configured.
Corporate Enrollment is used for company-owned devices, allowing your organization to fully manage and control them. Available enrollment types are:
- For iOS devices: Apple Enrollment (ABM/ASM), Apple Configurator
- For Android devices: EMM Token Enrollment, Zero Touch Enrollment, NFC Enrollment, and Knox Mobile Enrollment
Demonstration videos for each enrollment type are available on the page.
Settings contains the link to configure your APNs certificate. This certificate creates a secure connection between your apps and iOS devices so information can be shared between them, and it's required before you can enroll any iOS device in Zoho One.
Assign users and utilize groups
Once devices are enrolled, you can assign them to your employees. After assigning the devices, you will be able to distribute apps and set restrictions on them. You can also use groups to configure devices in bulk. This will be helpful when you need to set up devices based on which group of users will be using them.
Devices
The Devices tab is where you monitor and manage all enrolled devices. It lists every enrolled device along with its name, email address (the assigned user's email), the number of groups it belongs to, the number of profiles associated with it, and the total number of apps assigned to it. Each device also shows its device type, security status, and network information.
Every device carries an enrollment status of Active, Staged, or Enrollment pending. You can use the filter option to view devices by a specific status.
To enroll more devices, click Enroll Devices. This takes you to the Enrollment tab, where you can either share an enrollment link or enroll the device yourself.
If a device needs to move to a new user, hover over the device and select Reassign Device. Once reassigned, the profiles associated with the previous user are removed and replaced with the profiles associated with the new user.
Click on any device's name to open its detailed view, which is organized into four tabs:
- Summary - A snapshot of the device's memory, network, and OS.
- Info - Detailed information about the device, its SIM, and its network.
- Associated Profiles - Shows each profile's name, when it was assigned, the deployed profile version, and its execution status. Click Associate Profiles to add more, or disassociate a profile at any time.
- Installable Apps - Shows each app's name, when it was assigned, the version distributed, and its execution status. Click Distribute Apps to assign more, or remove an app at any time.
Profiles
These policies and restrictions are configured through Profiles. Profiles let you impose policies and restrictions on enrolled devices. The Profiles tab lists each profile's name, email address (the assigned user's email), the number of groups it's added to, and the total number of devices associated with it.
To create a new profile, click Create Profile and select the required device model from the list. New profiles start in draft mode. Once you've configured all the required policies and restrictions, hover over the draft profile and select Publish Profile to make it active. You can delete a profile at any stage.
Clicking on a profile opens its detail page, organized into two tabs:
- Associated Groups - Lists the groups the profile is added to, the number of devices in each group, the version distributed, the version currently running, and its execution status. You can disassociate a profile from a group at any stage.
- Associated Devices - Lists each device's name and email address, the version distributed, the version currently running, and its execution status. You can disassociate a profile from a device at any stage.
Install and manage required apps
Manually installing and managing apps on every device can be tedious and time-consuming. With Zoho One, you can distribute both Zoho and third-party apps to devices individually or in bulk using groups. Depending on the distribution method you choose, apps can either be installed silently or made available for users to install from the App Catalog. You can also remotely uninstall apps from managed devices when needed.
Learn more: Distribute apps to devices
Control and secure devices
When you allow your employees to access your organization's resources from their devices, you have to make sure those resources are not mishandled or compromised. You can achieve this by configuring policies (through the Profiles tab) that govern device access and monitor device usage.
If a device is lost, misplaced, stolen, or compromised, Zoho One offers various methods to secure devices and protect the data on them. You can execute the following security actions on the devices to keep your data safe:
- Remote lock - Secure device data by locking a device remotely.
- Remote alarm - Trigger an alarm on a lost or misplaced device to locate it. This action requires Lost Mode to be enabled on the device first.
- Clear/Reset passcode - Remove or reset device passcode remotely.
- Complete wipe - Erase all the data on the device, including the user's personal data. This action is unavailable on unsupervised iOS devices or on Android devices enrolled as Profile Owner/BYOD.
- Corporate wipe - Removes the profiles distributed by Zoho One, leaving personal data intact. On iOS devices and Android Knox devices, this also removes the distributed apps. On other Android devices, the apps remain installed but lose their corporate configuration and data.
- Lost Mode - Secure and locate a lost device.
Learn more: Device-security actions
Deprovision devices
When an employee leaves the organization, you can deprovision their device to remove it from management. During deprovisioning, you can also choose to wipe the corporate data from the device. This is particularly important in the case of personal devices, as you wouldn't want an employee to access your resources after they leave. As for company-owned devices, you can deprovision, re-enroll, and assign them to another employee.
You may also want to deprovision devices when they are damaged, under repair, or out of commission in any other way so as to protect your corporate data from unauthorized access.