Function #50: Send Mass emails to your customers
Hello everyone, and welcome back to our series!
We have reached a milestone of 50 Functions, which means that we have automated 50 different tasks in Zoho Books.
Every Friday, we have shared a nifty function aimed at either automating a task or streamlining a process in Zoho Books. Continuing with our tradition, we're particularly thrilled today to share the 50th function in our series.
Businesses often need to send bulk emails to their customers to convey important information. Whether it's about sharing promotional offers, newsletters, updates on products or services, or any other relevant content, bulk emailing is the preferred method for efficient communication. To facilitate this action in Zoho Books, you can make use of a Custom Button. With just a click, you can effortlessly send emails to all active customers in your Zoho Books organization.
Prerequisites:
1. Create a Connection named "zbooks" to successfully execute the scheduler. You can watch the GIF attached below to know how to create the connection.
1. Name - Give a suitable name (e.g., Send Mass emails).
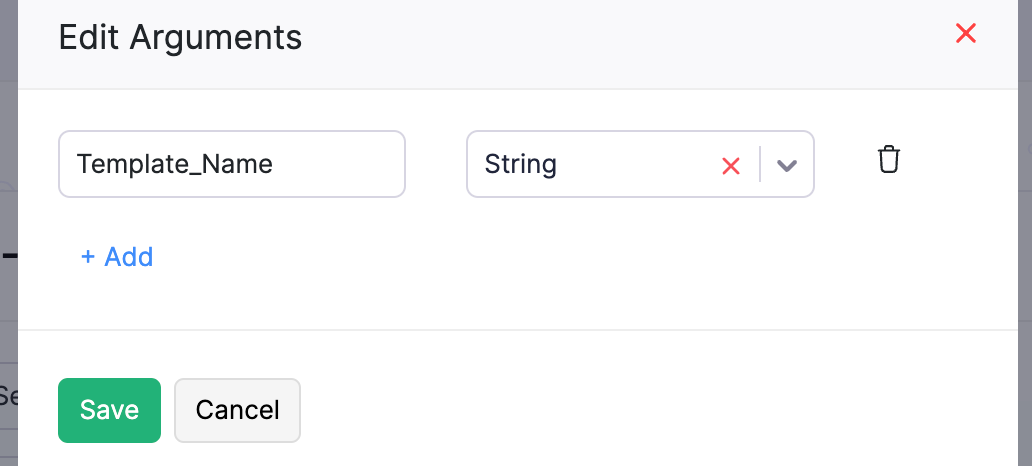
Once done, add the script from this GitHub link -> Click "Edit Arguments" > Input the Param name as "Template_Name" and Param type as "String" -> Save.
Note: Input only "Template_Name" as the Param name.
Go to Sales -> Customers -> Click on the button "Send Mass emails" -> Input the name of the email template that should be used -> Click "Proceed". The emails will now be sent to the primary email address of your customers.
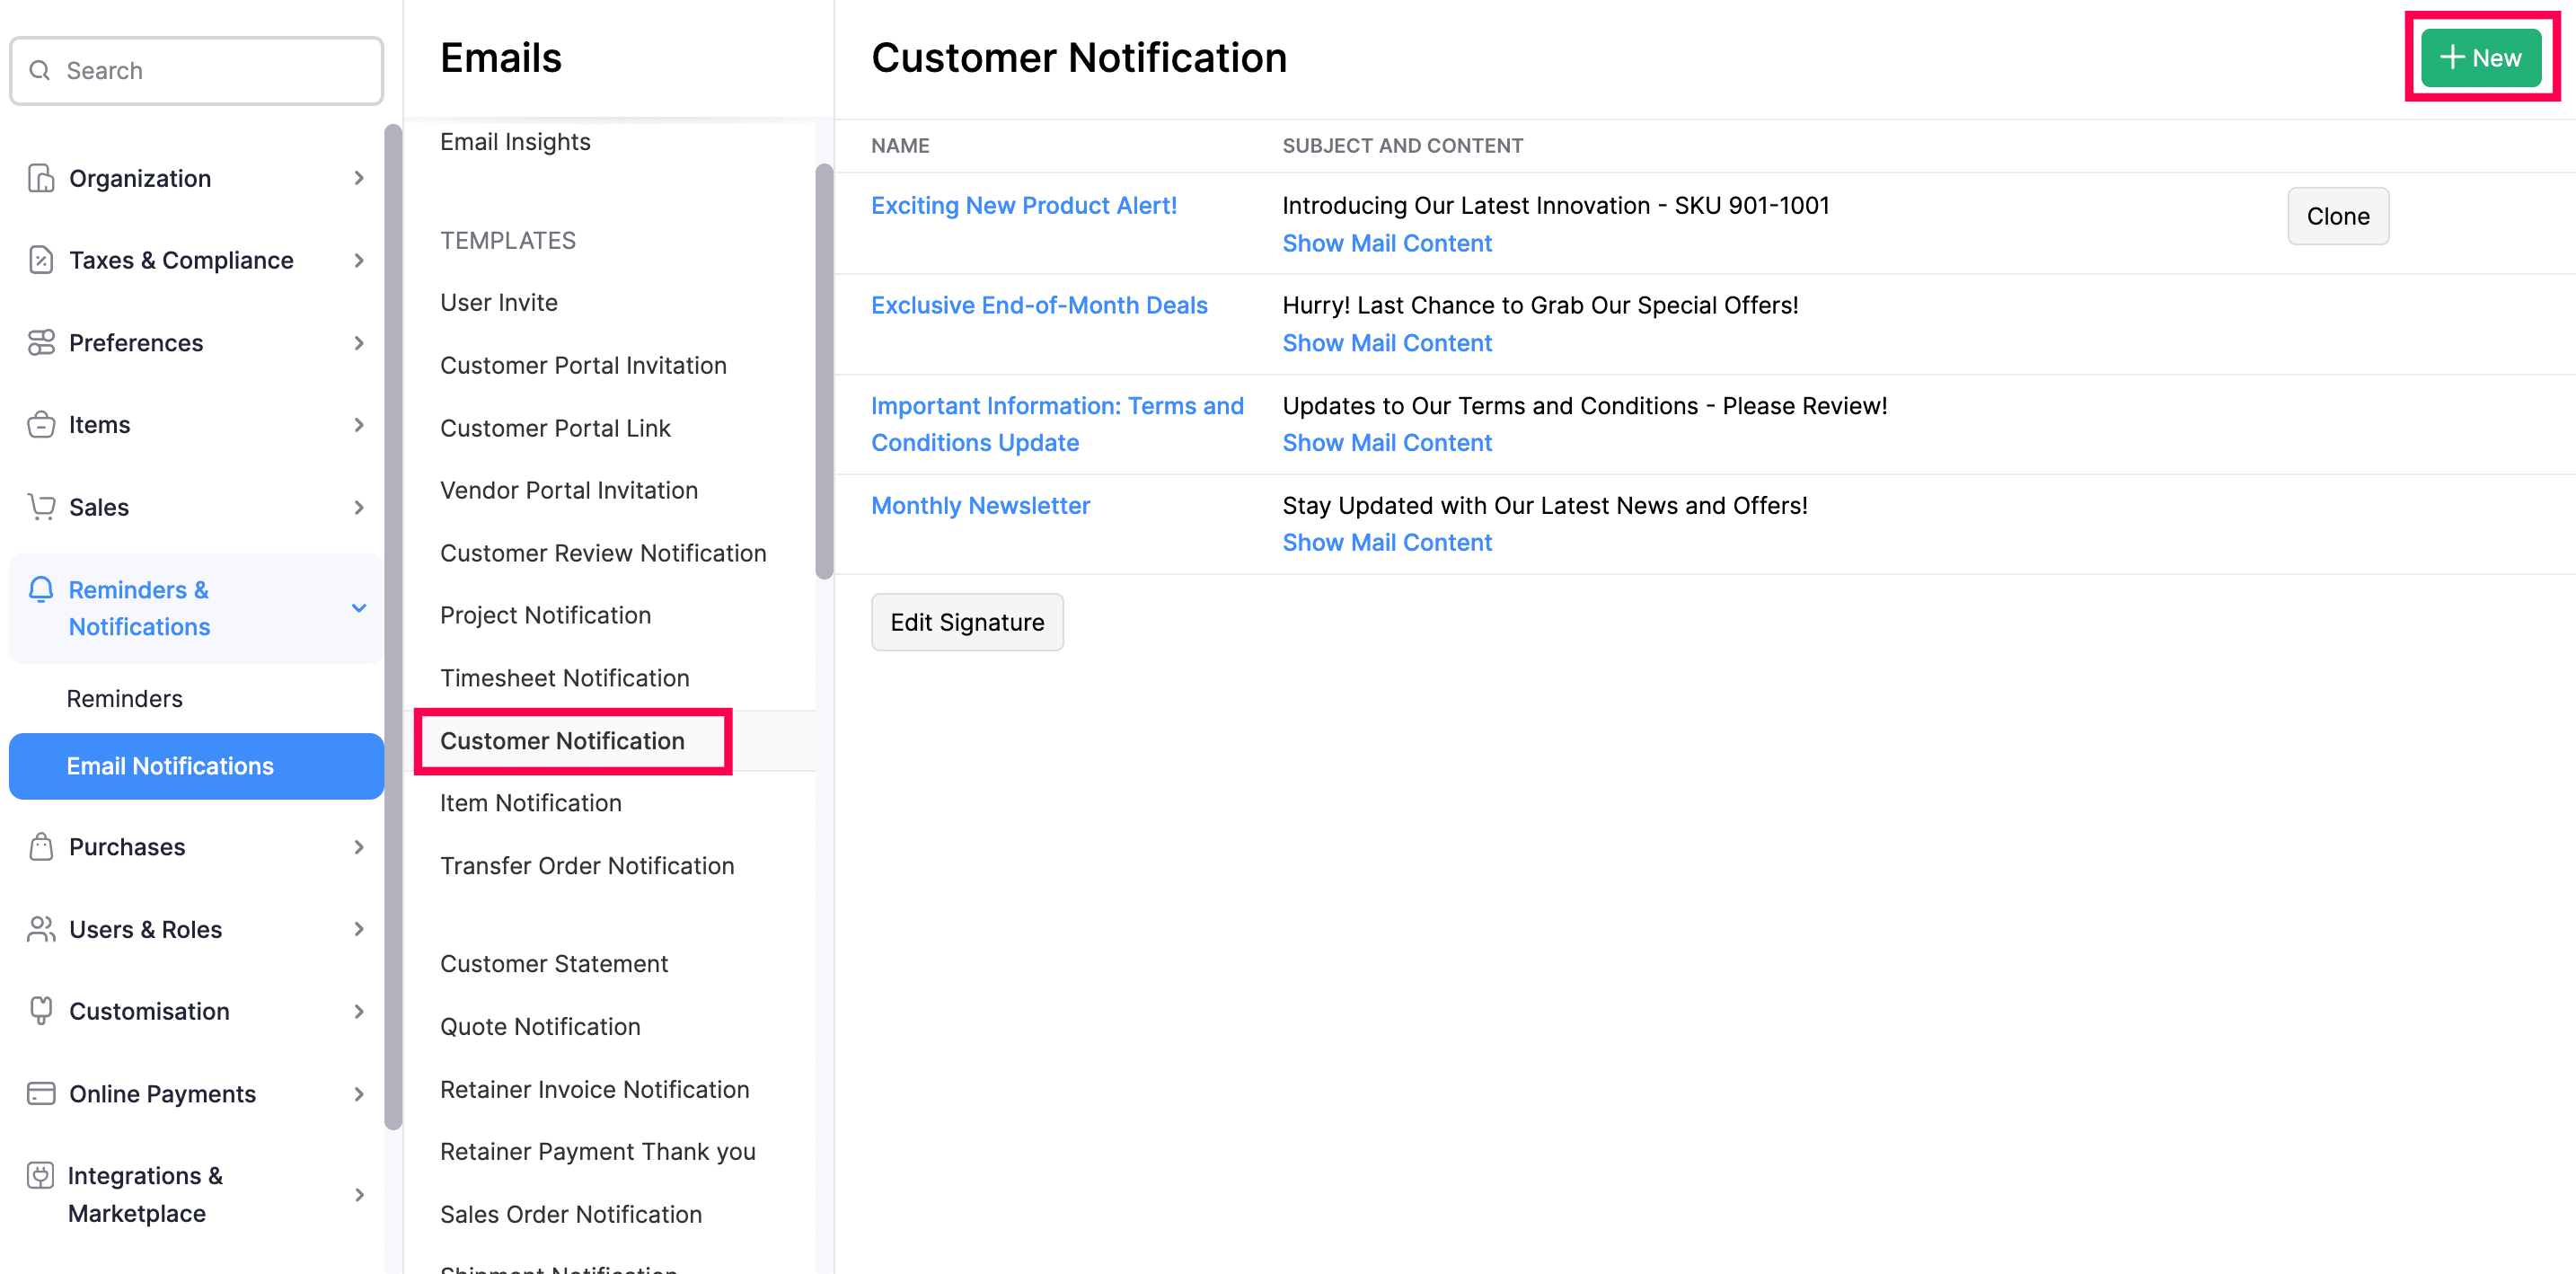
2. Add "Customer Notification" email templates tailored to specific purposes (i.e.) create templates for different occasions like Product launches, Discounts, Month-end offers, and so on. When clicking the Custom Button, you will have the option to input the name of the template to be used.
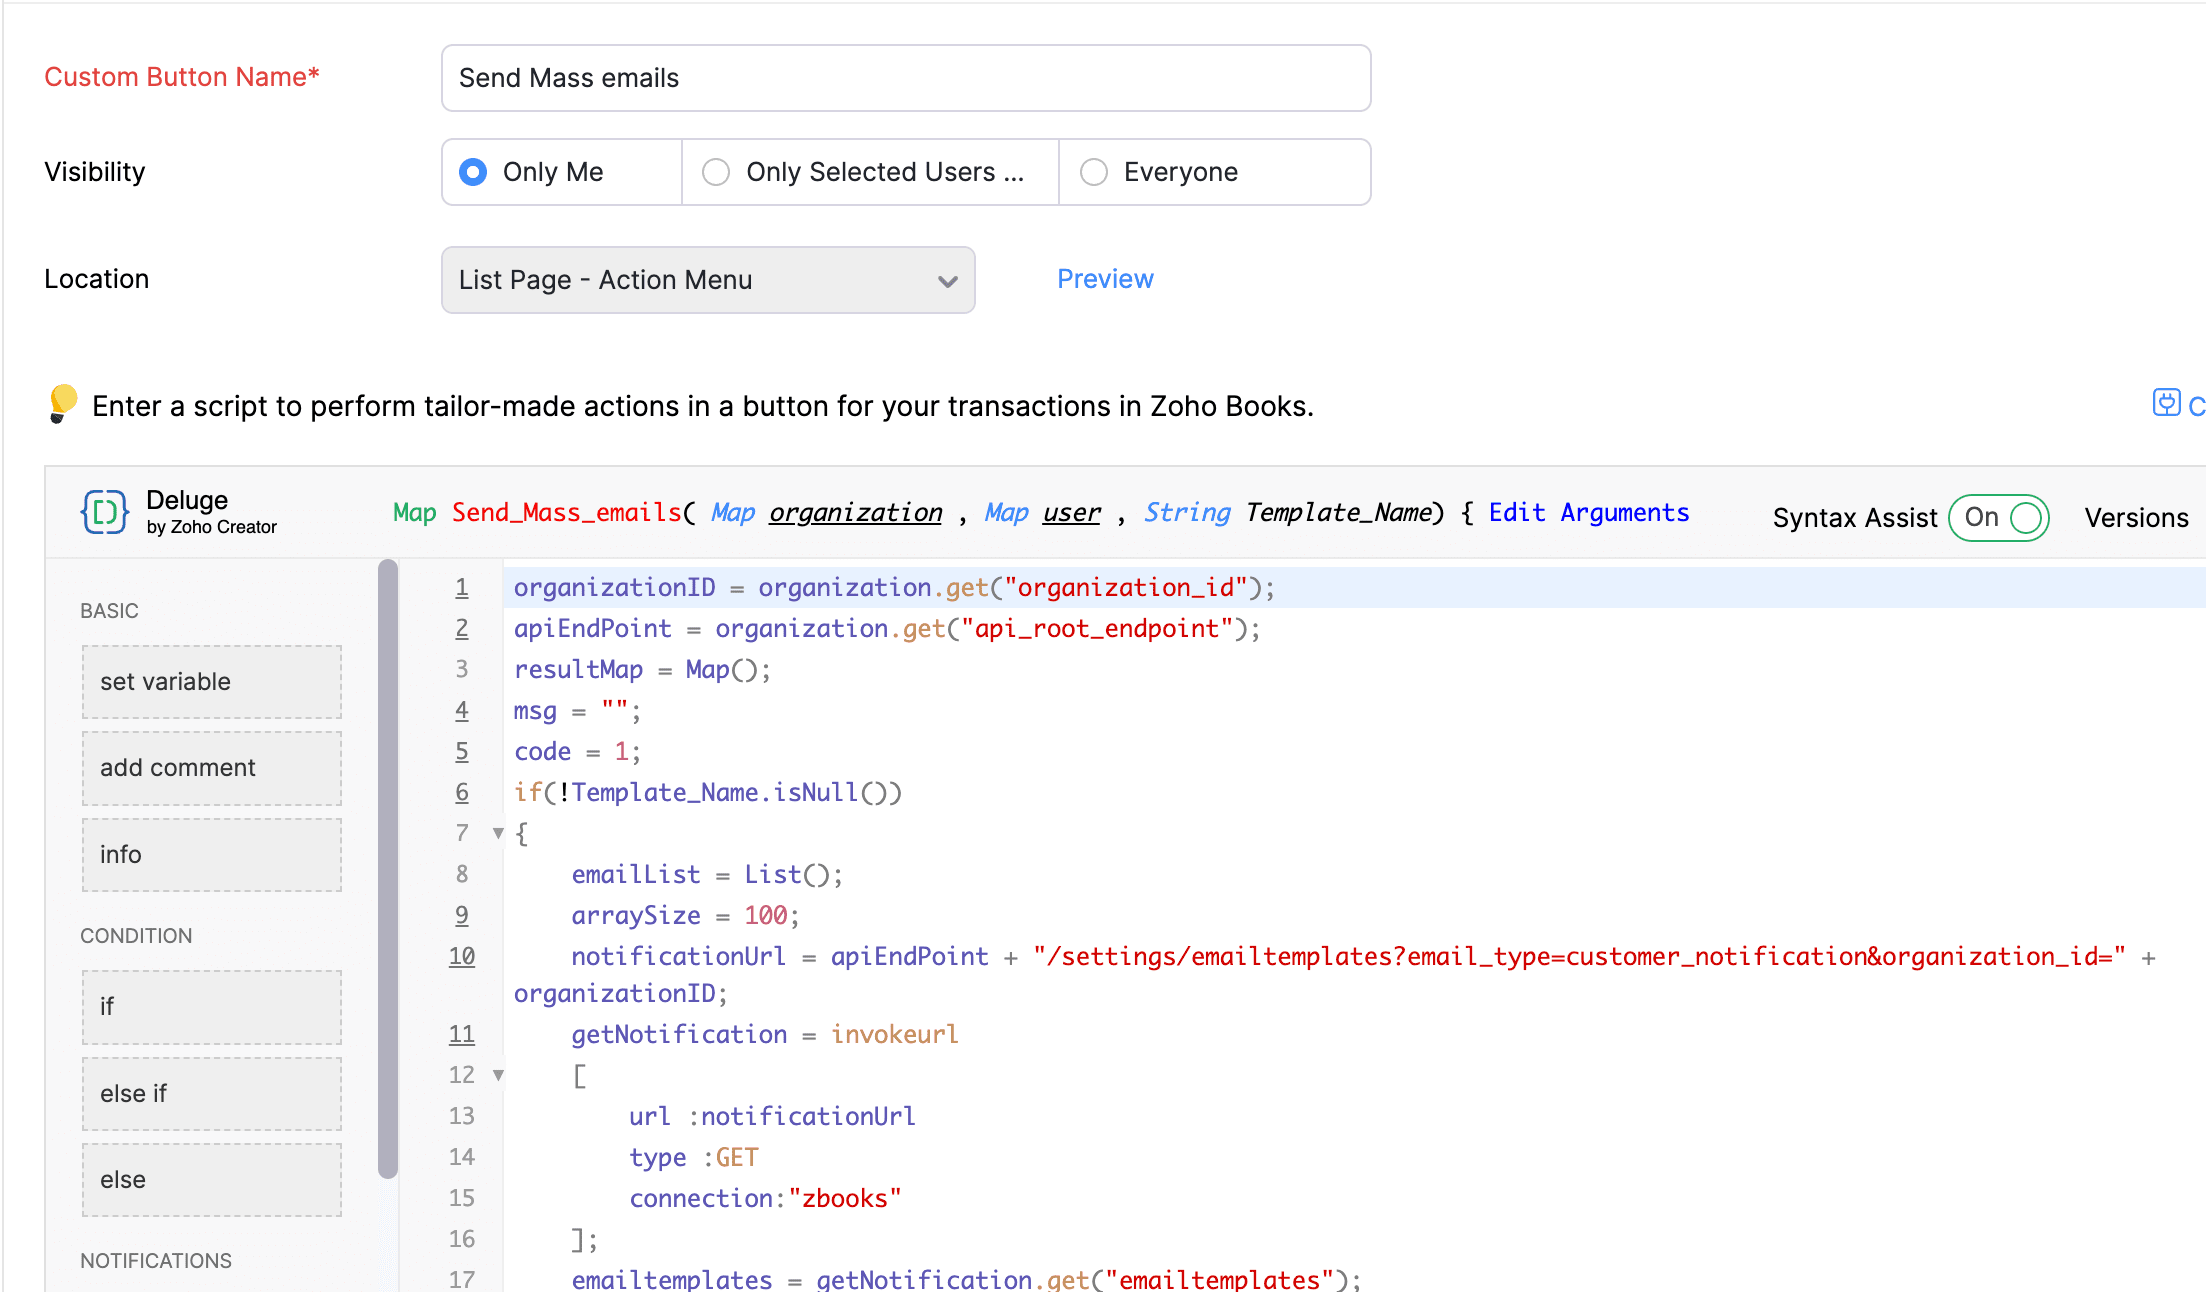
Custom Button:
Go to Settings -> Preferences -> Customers and Vendors -> Custom Buttons -> Click +New and Choose "New Custom Button". Populate the details as mentioned below:
1. Name - Give a suitable name (e.g., Send Mass emails).
2. Visibility - Select the option that aligns with your preference for granting users access to the custom button.
3. Location - Choose "List Page - Action Menu".
Once done, add the script from this GitHub link -> Click "Edit Arguments" > Input the Param name as "Template_Name" and Param type as "String" -> Save.
Note: Input only "Template_Name" as the Param name.
Here's how to access the button:
Go to Sales -> Customers -> Click on the button "Send Mass emails" -> Input the name of the email template that should be used -> Click "Proceed". The emails will now be sent to the primary email address of your customers.
Sending emails to your customers directly from Zoho Books has now become easier with this Custom Button. Share your thoughts on when you plan to utilize this button in the comments below. If you require assistance in customizing the button's functionality to better suit your needs, don't hesitate to reach out to our support team at support[at]zohobooks[dot]com. We're here to help you.
If you're new here, use this link to access the list of functions we have shared so far. You're just a click away from discovering the multitude of capabilities offered by Custom Functions in Zoho Books!
If you're new here, use this link to access the list of functions we have shared so far. You're just a click away from discovering the multitude of capabilities offered by Custom Functions in Zoho Books!
Regards,
Shireen Farhana
Zoho Books