Live Interview - Interviewer Aspect
As an interviewer, having a seamless and efficient platform for conducting interviews is crucial. A well-structured interface, along with a real-time assessment form, helps in evaluating candidates effectively while ensuring a smooth interview experience. This document provides a comprehensive guide on everything you need—from setting up permissions and technical requirements to scheduling interviews, conducting them efficiently, assessing candidates in real time, and accessing recorded sessions for further review.
Availability
Available for | Profile Permissions | Only users with the Create Interview permission can create video interviews. |
Plans | Enterprise, People Plus, and Zoho One | |
Editions |
Camera and Sound Permissions
When starting a live video interview, users must:
- Grant camera permissions for video visibility
- Enable microphone access to ensure proper communication
- Ensure they have a stable internet connection
- Check system settings to allow Zoho Recruit to use the required hardware
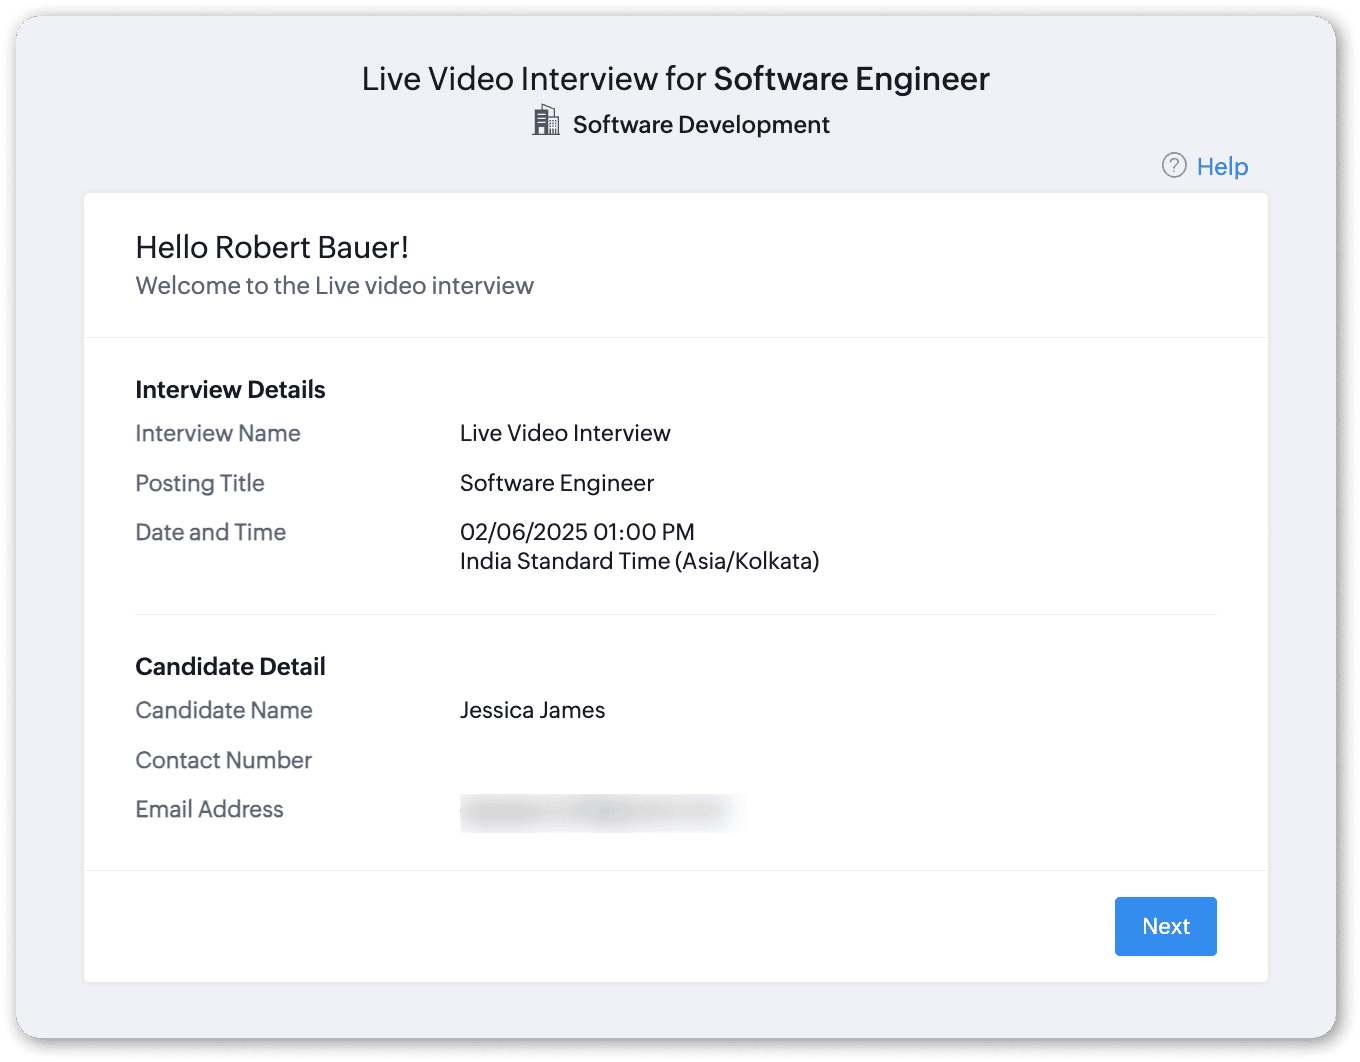
Step 1: Receiving the Interview Invitation
After an interview is scheduled, interviewers will receive an email containing:
- A link to join the live video interview
- The scheduled date and time of the interview
Step 2: Understanding the Meeting Interface
- Audio controls (mute/unmute)
- Video controls (camera on/off)
- Screen sharing options
- Chat functionality for text-based communication
Step 3: Conducting a Live Video Interview
1. Click the Start Live Interview button in the invitation email that interviewers received to be redirected to the Interview Details page. Click Next to continue.
2. Carefully go through the instructions that are provided before beginning the interview. Click Start Live Interview to proceed to the interview.
3. If interviewers are participating in a live interview for the first time, allow the website to access Camera & Microphone. This is a one-time process for the browser being used.
Click Start Interview to begin the session. Interviewers will be asked to wait until both parties have joined before starting the interview.
Once both the interviewer and the candidate have joined the session, the interview can proceed.
Step 4: Evaluation System
1. Real-Time Evaluation
Recruiters can evaluate candidates in real time by:
- Rate Questions:
Interviewers can submit a rating based on their level of satisfaction for each question asked during the interview. - Choose Status:
This is the status of the Interview, which allows interviewers to indicate their overall decision regarding the candidate based on the interview performance - Provide Overall Comments:
This optional field allows you to provide any additional feedback or comments for the candidate.
2. Post-Interview Evaluation
If the interviewer misses adding the evaluation during the live interview, they have the option to provide it afterwards. They can also access the video recording of the interview to assist in their evaluation.

Note: Post-interview evaluation is only available if the real-time evaluation was not submitted.
To submit the evaluation:
- Navigate to the Interview record > Click Evaluation > Review the answers.
- The interview recording will be available along with the evaluation form.
 Important Note: Recordings will can be played inside Recruit for up to 6 months after the interview. Post which, you will need to download the videos to view them.
Video Interview Credits
Video interviews operate using video credits. By default, we provide one video interview credit. A single credit allows multiple video interviews for one active job opening. To obtain additional video interview credits, you can purchase an add-on for $12 or ₹600 per month per credit under Profile > Manage Subscription and click Upgrade Users/Add-ons. Click here to see how to purchase additional video interview credits. For more details on video interview credits, visit our FAQ page on Video Interviews.
Best Practices
- Test all technical requirements before the scheduled interview time
- Review evaluation criteria and metrics beforehand
- Ensure proper lighting and professional background setup
- Have backup communication methods ready if technical issues arise