Set Quick View Layout

To set tabular layout for list report
- Navigate to Design page.
- Click the web, mobile, or tablet icon to create action item for the required mode.
- Select Quick View on the right.
- Select Layout section.
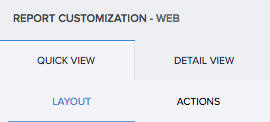
- Select the first (tabular) layout. You can set the field and layout properties.
- Map the fields to specific positions in the layout.
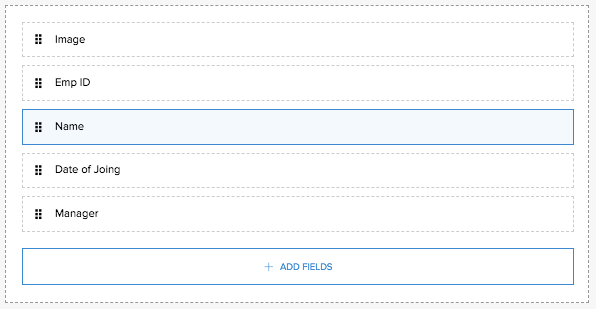
- Select the fields. The respective field properties will appear.
- Define their properties.
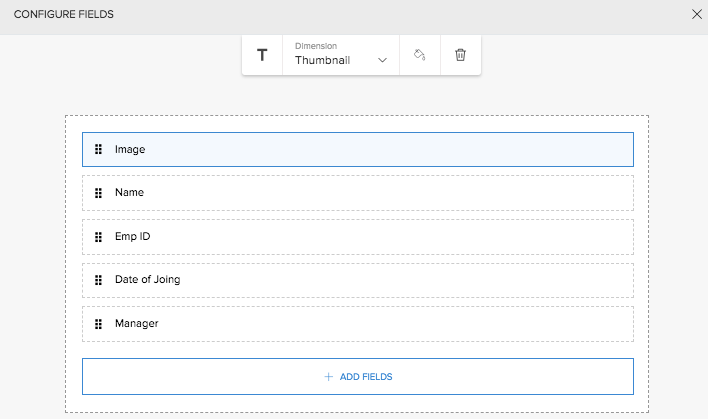
- Click ADD FIELDS button, then select a field to include it in the layout.
- Click Close. The changes are reflected in the preview.
On completing layout mapping, the preview immediately reflects the changes made. Access your report. You will find that the records are displayed as per your tabular layout.
To freeze columns in list report
- Navigate to Design page of your report.
- Click the web, mobile, or tablet icon to create action item for the required mode.
- Select Quick View on the right.
- Select Layout.

- Select the first (tabular) layout.
- Click the Layout properties button on the top right corner. The Freeze column property will appear on top.
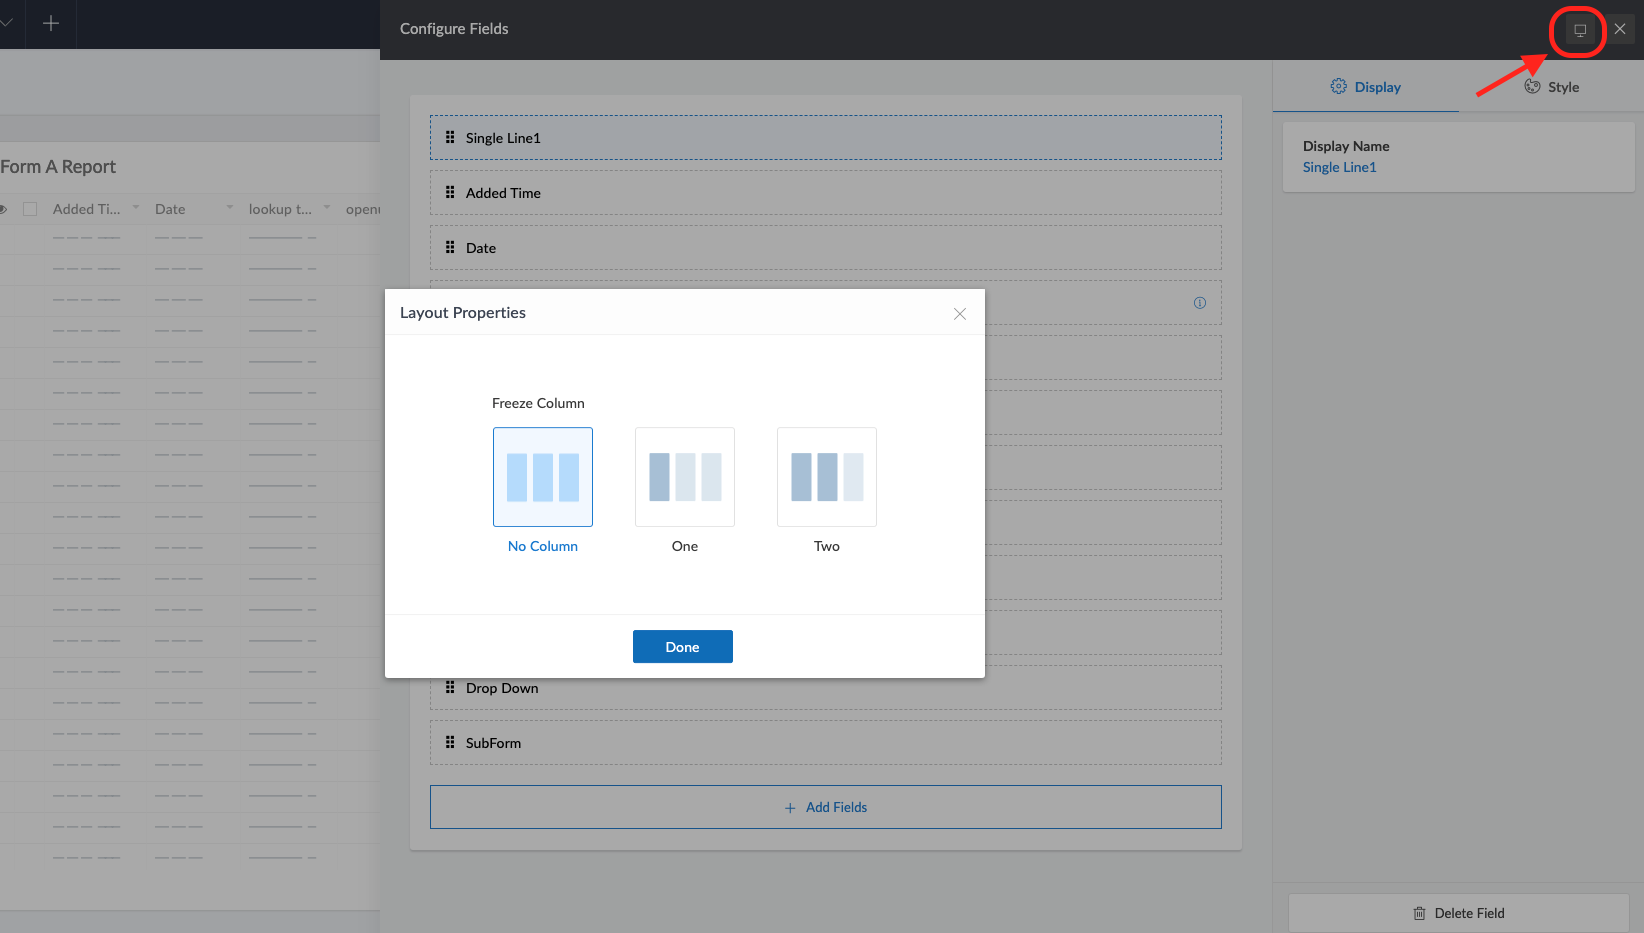
- Set the Freeze property as One column or Two columns, as required.
- Click Close.
Access the application to view your report. You will find that your list report is displayed with the column frozen based on your configuration.
To set a non-tabular layout for list report
- Navigate to Design page.
- Click the web, mobile, or tablet icon to create action item for the required mode.
- Select Quick View on the right.
- Select Layout.

- Select a layout other than the first (tabular) one. You can set the field and layout properties.
- Map the required fields to the placeholders in the layout.

- Select the fields. The respective field properties will appear on top.
- Define their properties.
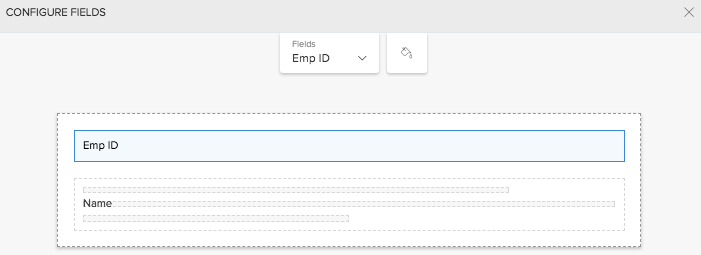
- Click Close. The changes are reflected in the preview.
On completing layout mapping, the preview immediately reflects the changes made. Access the application to view your report. You will find that your list report has assumed the non-tabular layout that you selected.
Restricted Fields
When you add fields to be displayed in the card type layouts for reports, certain fields cannot be mapped to certain placeholders due to type mismatch. Please find below the type and fields that cannot be mapped.
Placeholder Type | Fields that cannot be mapped |
Title | Multi line, Multi select, checkbox, Rich text, Image, Subform, Signature, File upload, audio, video, notes, AR, keyword, OCR, Object detection. |
Description | Signature, Image,File upload, audio, video,notes, AR |
Image | File upload |
Tiny text | Multi line, Multi select, checkbox, Rich text, Image, Subform, Signature, File upload, audio, video, notes, AR, keyword, OCR, Object detection. |
To set a non-tabular layout that has a placeholder for image field
- Navigate to Design page.
- Click the web, mobile, or tablet icon to create action item for the required mode.
- Select Quick View on the right.
- Select Layout.

- Select a non-tabular layout that shows an image. You can set the field and layout properties.
- Map the fields to specific positions in the layout.

- Select the fields. The respective field properties will appear.
- Define their properties.
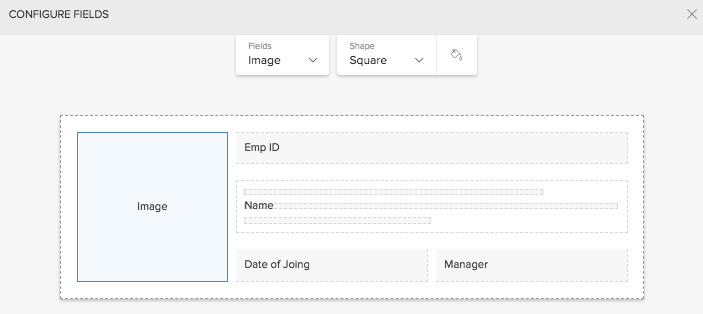
- Click Close. The changes are reflected in the preview.
On completing layout mapping, the preview immediately reflects the changes made. Access the application to view your report. You will find that your list report has assumed the layout that you selected.
To set size for a non-tabular layout of list report
- Navigate to the Design page of your report.
- Click the web, mobile, or tablet icon to create action item for the required mode.
- Select Quick View on the right.
- Select Layout.

- Select a layout other than the first (tabular) one.
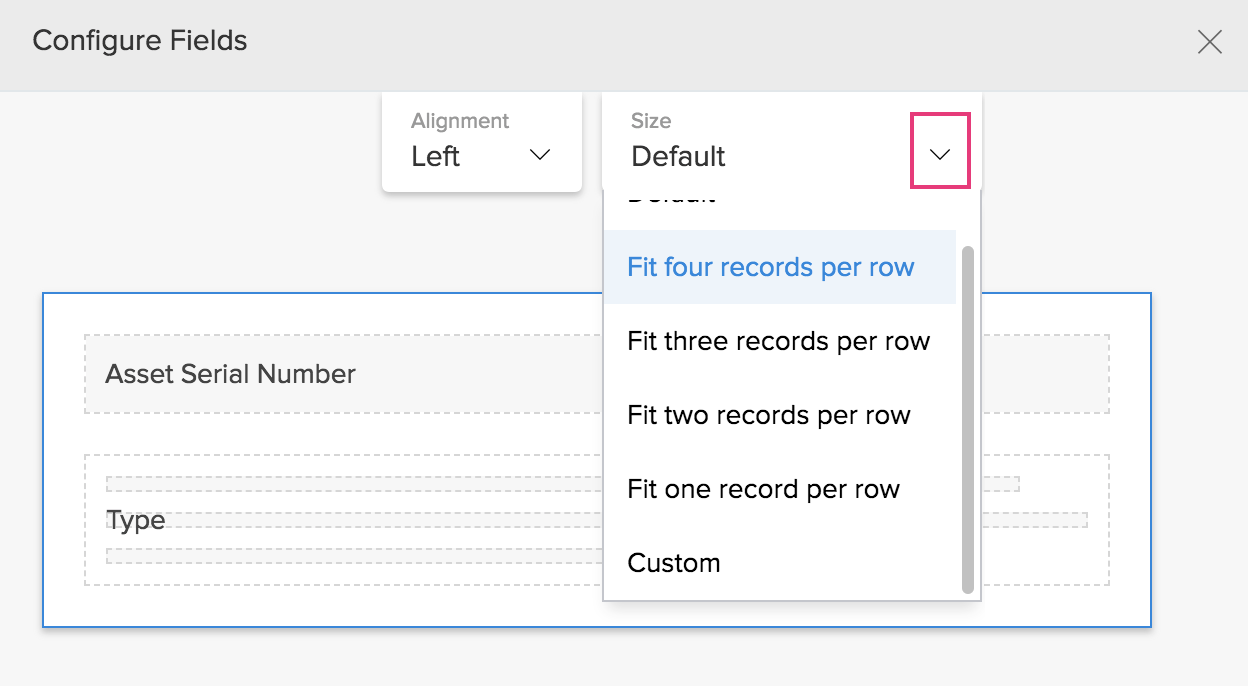
- Click the outer dotted line that encloses the fields. The layout properties will appear on top.
- Set the required value for the Size property:
- Default - Width of each record's layout will be set to 100 pixels (px). The number of records shown per row will majorly depend on the size of your user's web browser's window.
- Fit x records per row - You can display one to five records per row (depending on the layout). The width of each record's layout will be adjusted so as to fit the defined number of records in your user's web browser's window.
- Custom - You can set the width of record's layout in pixels. This will come in handy especially when you wish to embed your report in a page or website.
Set quick view layout for Calendar, Timeline, Kanban, and Map reports
To set the quick view layout:
- Navigate to Design page.
- Click the web, mobile, or tablet icon to create action item for the required mode.
- Click Quick View tab in the right panel.

- Select Layout section.

- Select the required layout from the options provided. You can set the field and layout properties.
- Map the fields to specific positions in the layout.

- Select the fields. The respective field properties will appear.
- Define their properties.

- Click Close. The changes are reflected in the preview.
On completing layout mapping, the preview immediately reflects the changes made. Access the application to view your report. You will find that your list report has assumed the layout that you have selected.
To set the card layout with image field:
- Navigate to Design page.
- Click the web, mobile, or tablet icon to create action item for the required mode.
- Click Quick View tab in the right panel.

- Select Layout section.

- Select the required layout from the options provided. You can set the field and layout properties.
- Map the fields to specific positions in the layout.

- Select the fields. The respective field properties will appear.
- Define their properties.

- Click Close. The changes are reflected in the preview.
On completing layout mapping, the preview immediately reflects the changes made. Access the application to view your report. You will find that your report has assumed the layout that you have selected.
Related Topics
- Understand quick view layout for list report
- Understand quick view layout for calendar report
- Understand quick view layout for timeline report
- Understand quick view layout for kanban report
- Understand quick view layout for map report
Zoho CRM Training Programs
Learn how to use the best tools for sales force automation and better customer engagement from Zoho's implementation specialists.
Zoho DataPrep Personalized Demo
If you'd like a personalized walk-through of our data preparation tool, please request a demo and we'll be happy to show you how to get the best out of Zoho DataPrep.
All-in-one knowledge management and training platform for your employees and customers.
You are currently viewing the help pages of Qntrl’s earlier version. Click here to view our latest version—Qntrl 3.0's help articles.
Zoho Sheet Resources
Zoho Forms Resources
Zoho Sign Resources
Zoho TeamInbox Resources
Related Articles
Custom card layout for e-commerce app
Requirement Display products in a card layout with a button to add required products to a cart. Use Case An e-commerce business uses an order management app to process orders. Products need to be displayed in a card layout with product images, and ...Understand quick view layouts in map report
A layout is the structure that you assign to a report. It decides what part of the content goes where. It makes your application visually organized and comprehensible. The reports in Zoho Creator can be set in suitable layouts that best provides you ...Set layout of spreadsheet report designed for browser
To set the following layout for spreadsheet report: Navigate to Design page. Click Layout tab. Select the first layout from the options provided. You can set the field and layout properties. Map the fields to specific positions in the layout. Select ...Set Lookup Field Properties
This page is applicable to all report types except pivot chart and pivot table. To set properties for lookup field: Edit your app. Navigate to the Design tab. Hover in the middle and click Configure Fields for Web. The Configure Fields window will ...Understanding canvas layout designer
1. What does this page cover? Learn about how you can use Canvas layout builder in Creator to design the detailed view layout of your records, corresponding to your business requirements. 2. Availability This help page is for users in Creator 5 and ...


