Creating and authorizing connections
 This help page is for users in Developer Console version 6. If you are using the older version (Developer Console 5), click here. Find out your Developer Console version.
1. What does this page cover?
Learn how to create a connection and how to authorize them in Developer Console for connecting your application with Zoho and third-party services. Before you proceed, you can learn more about Connections.

2. Availability
Can be created and managed only by the super admin and developers. The clients who access these applications in Zoho Creator can only authorize and access these installed connections.
3. Steps to create a connection
In the Zoho Developer Console, developers can configure connections to link their applications with external cloud services that can be used by clients when apps containing these connections are distributed. The process comprises two main steps: creating the connection with the necessary details and testing it in the development or stage environment before distributing the application. The clients installing the application containing a connection in their Zoho Creator account need to authorize it before use.
Note:
- Developer Console only supports built-in connectors.
- In the Developer Console, connections can be authorized by the super admin or developers in the development or stage environment for testing. For users of the installed app in Creator, depending on the type of connection chosen, the super admin, admin, or the logged-in users, must authorize the connections to ensure they function within the application.
Follow these steps to create and authorize a connection:
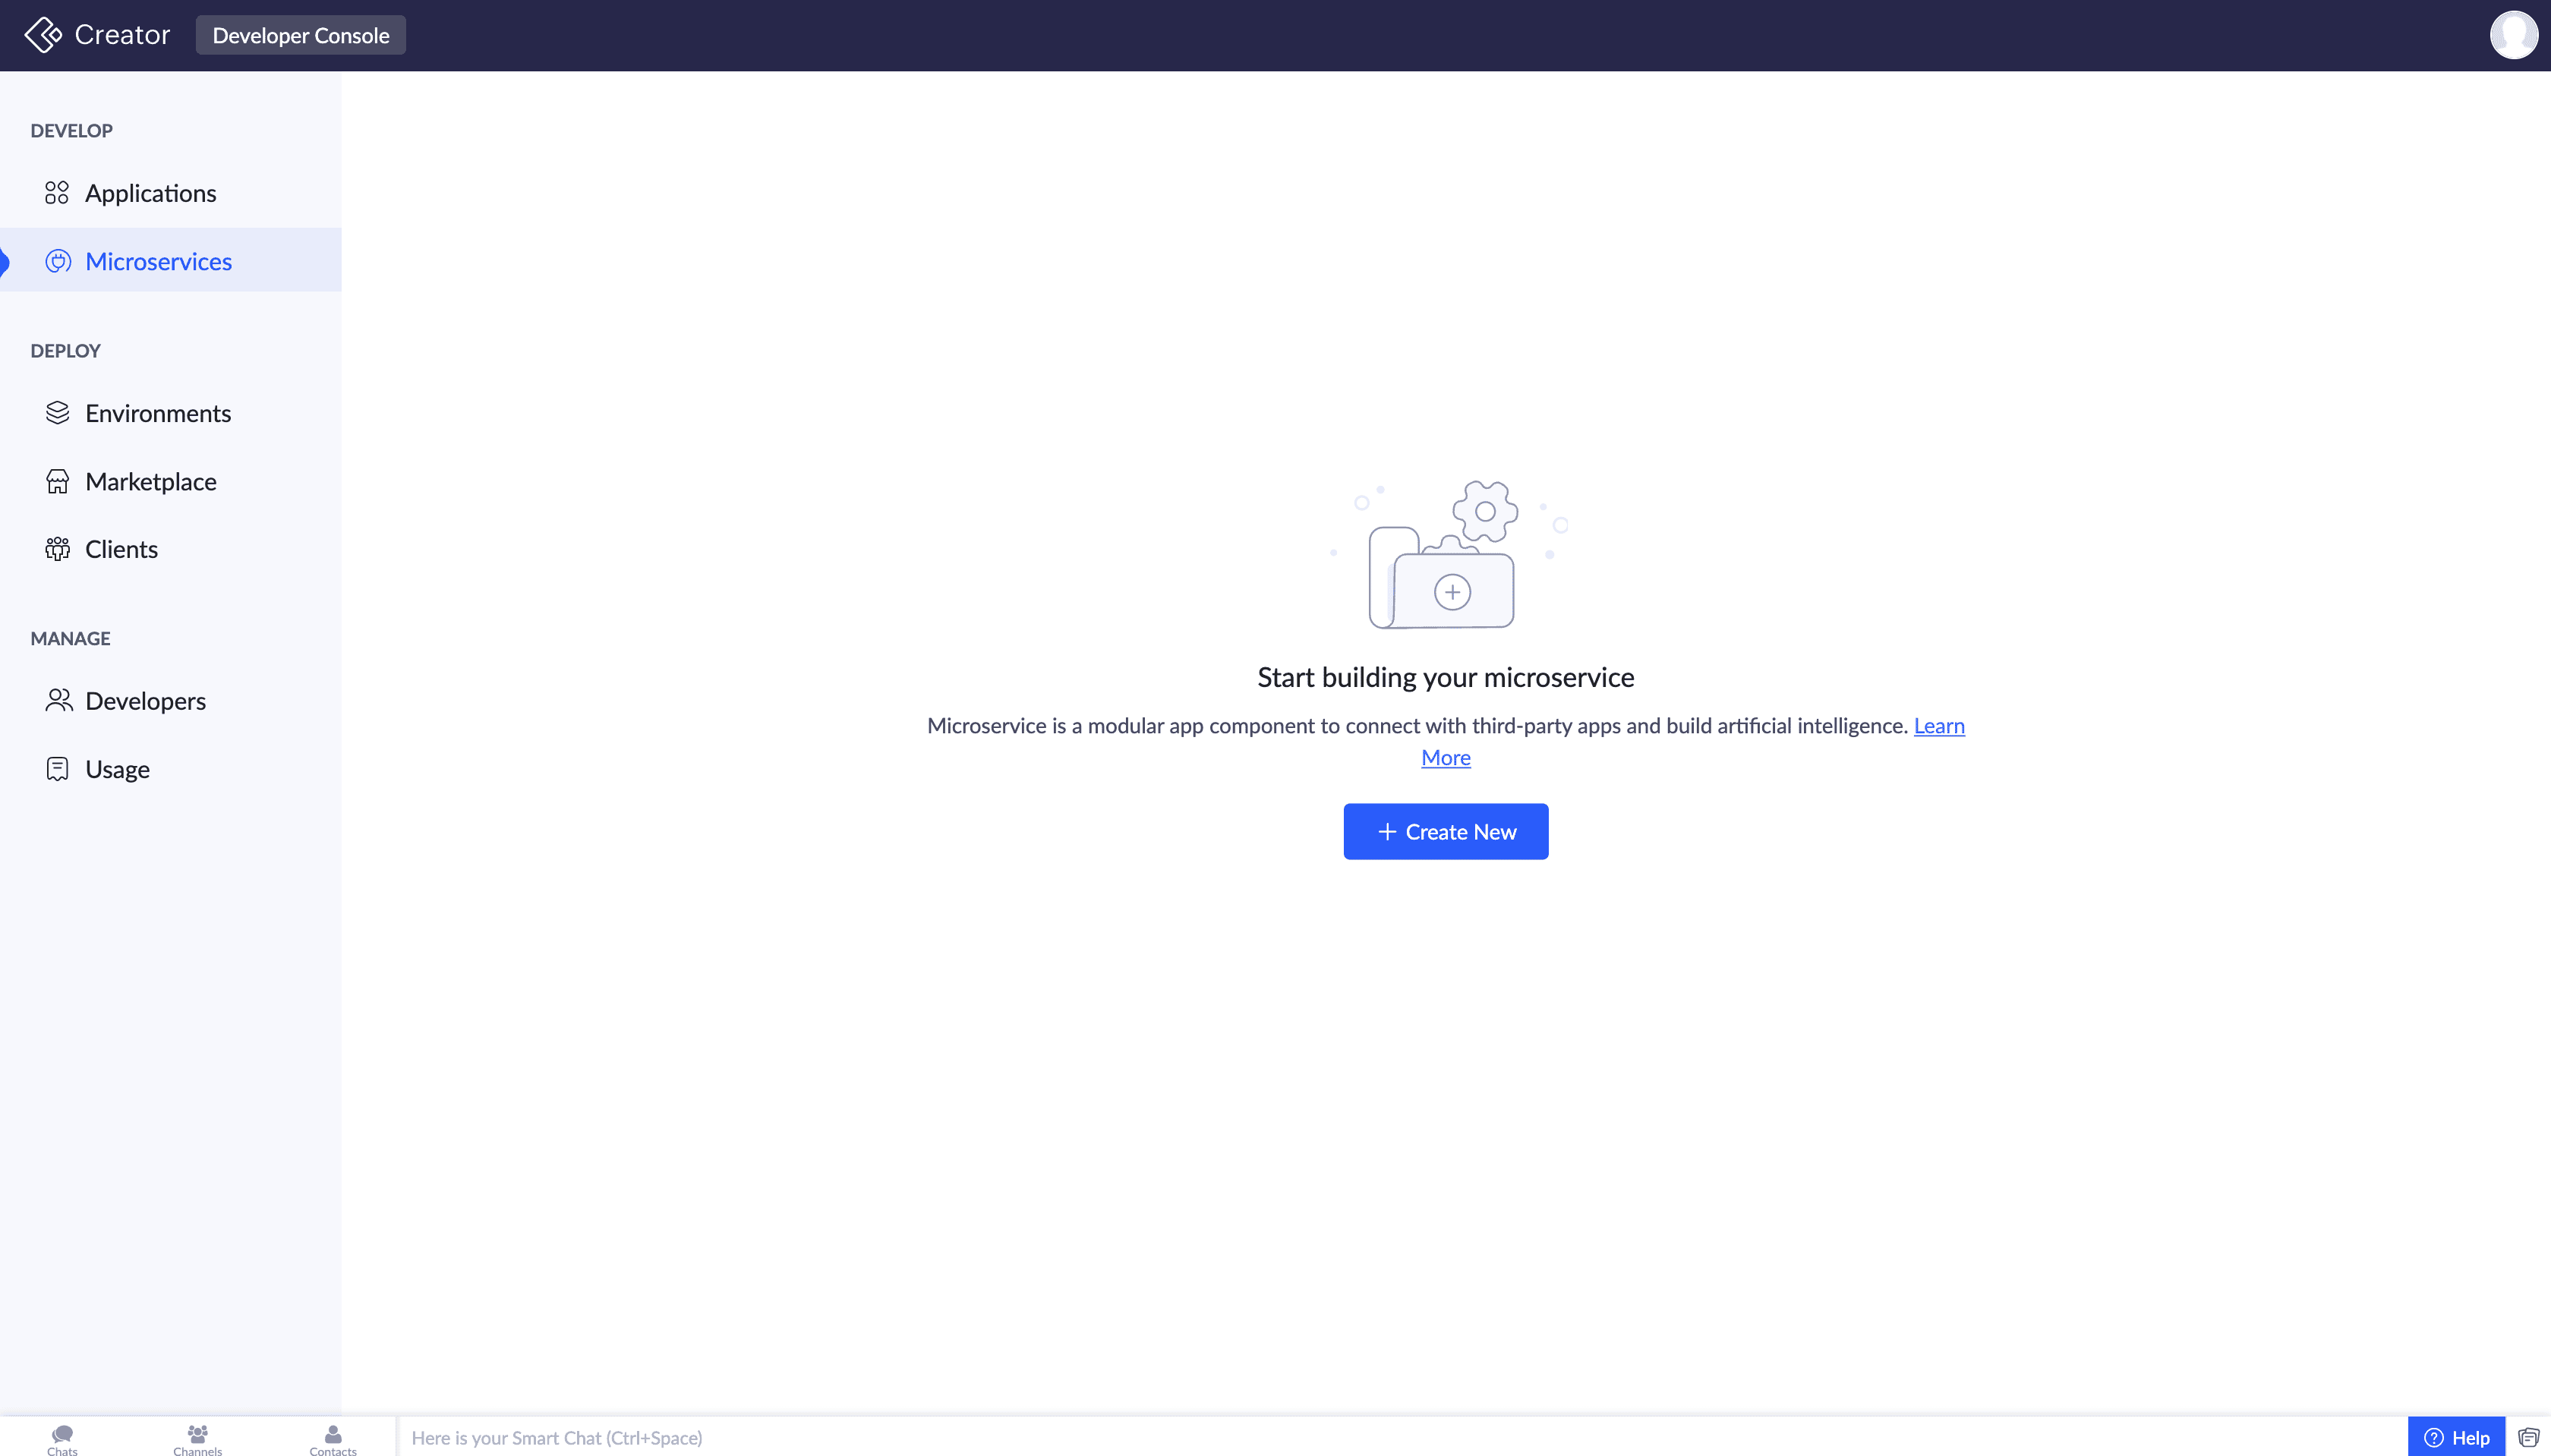
1. Navigate to the Microservices section in the left pane and click + Create New.
Note: When importing an application with an existing connection, a duplicate connection is created using a unique name and link name to maintain one-to-one mapping. The following naming format is used, <old-connection-name>_copy.
3. Upon selecting the connector, a popup will appear. The Connection Name will be auto-generated on choosing the connector, this can be edited by clicking the box.
If there are multiple connections with the same connector then the naming format will be as follows,
<service-name> [space] Connection <sequence>.
If there are multiple connections with the same connector then the naming format will be as follows,
<service-name> [space] Connection <sequence>.
4. Choose the level of authorization in the popup that follows. You can select the authorization level for clients accessing the connection as follows:
- Administrator: When this option is selected, only super admins and developers who install the application have the authority to authorize the connection. Regular users or non-administrative roles cannot authorize the connection but can use it through admin authorization, making the connection an admin connection.
- Logged-in User: If this option is chosen, any logged-in user who installs the application, regardless of their role, can authorize the connection. Unlike admin connections, these connections can hold individual authorization for all logged in users and can perform the integrations based on the authorization of the user who executes it. This means that super admins, admins, developers, and any logged-in user has the ability to grant authorization for the connection, making the connection a logged-in user connection. Logged-in user connections can be created only for limited built-in connectors.
Note: In the Developer Console, super admins and developers can authorize a connection regardless of the authorization level for testing it in the development or stage environment.
5. Choose your Connection Mode, to define how the connection is authorized:
- Quick connect (Zoho-managed OAuth credentials) - This is the default Zoho managed OAuth credential.
- Custom (Bring your own OAuth credential) - You can use your own credentials to manage your connections.
Enter the Client Credential, ID, and Client Secret obtained from your registered third-party OAuth app.
- If you have existing credentials and want to create a new one, choose Add New from the dropdown. A system-generated Client Credential will be assigned.
- If you want to reuse an existing OAuth credential which is already mapped to the connector across multiple connections, choose one from the Client Credential dropdown.
Note: You can't update the existing credentials during the connection creation. To update a client credential, you'll have to navigate to the Connections details page. Ensure there are no duplicate credential values.The Client ID can only contain the following special characters: * _ - @ / ! : | & ~ \ + and cannot exceed 50 characters.
- Copy the Callback URL(redirect URL) provided for Zoho Creator and ensure that its used when registering your third-party OAuth app to generate the client ID and client secret.
6. Select the required scopes under Advanced dropdown before creating the connection. Choose All Actions to grant access to all available modules, or Only Specific Actions to select limited actions. By default, the All Actions option will be selected.

Note: Under Advanced, if you choose to use the connection credentials to enable access to All Actions, all the actions related to the connection will be enabled by default and cannot be deselected.
In case of client credential (custom), ensure that the actions selected in Zoho Creator match those configured in the third-party service. If non-OAuth type connector is selected, then the users can proceed with the authorization without configuring the credentials.
7. Click Create and Authorize.
- By default, the same authorization will be used for all environments unless the Use different authorizations for each environment box is checked. The authorization remains consistent across all environments by default.
Note: The development & stage environment authorization is applicable for developers in Developer Console only. For the clients using the installed connection, only the production environment authorization will be available.
8. Enter the authorization credentials in the popup. If using different authorizations, select the applicable environments.
9. Click Authorize. The created connection will now be prompted to be authorized for use. Follow any prompts for OAuth or third-party authorization.
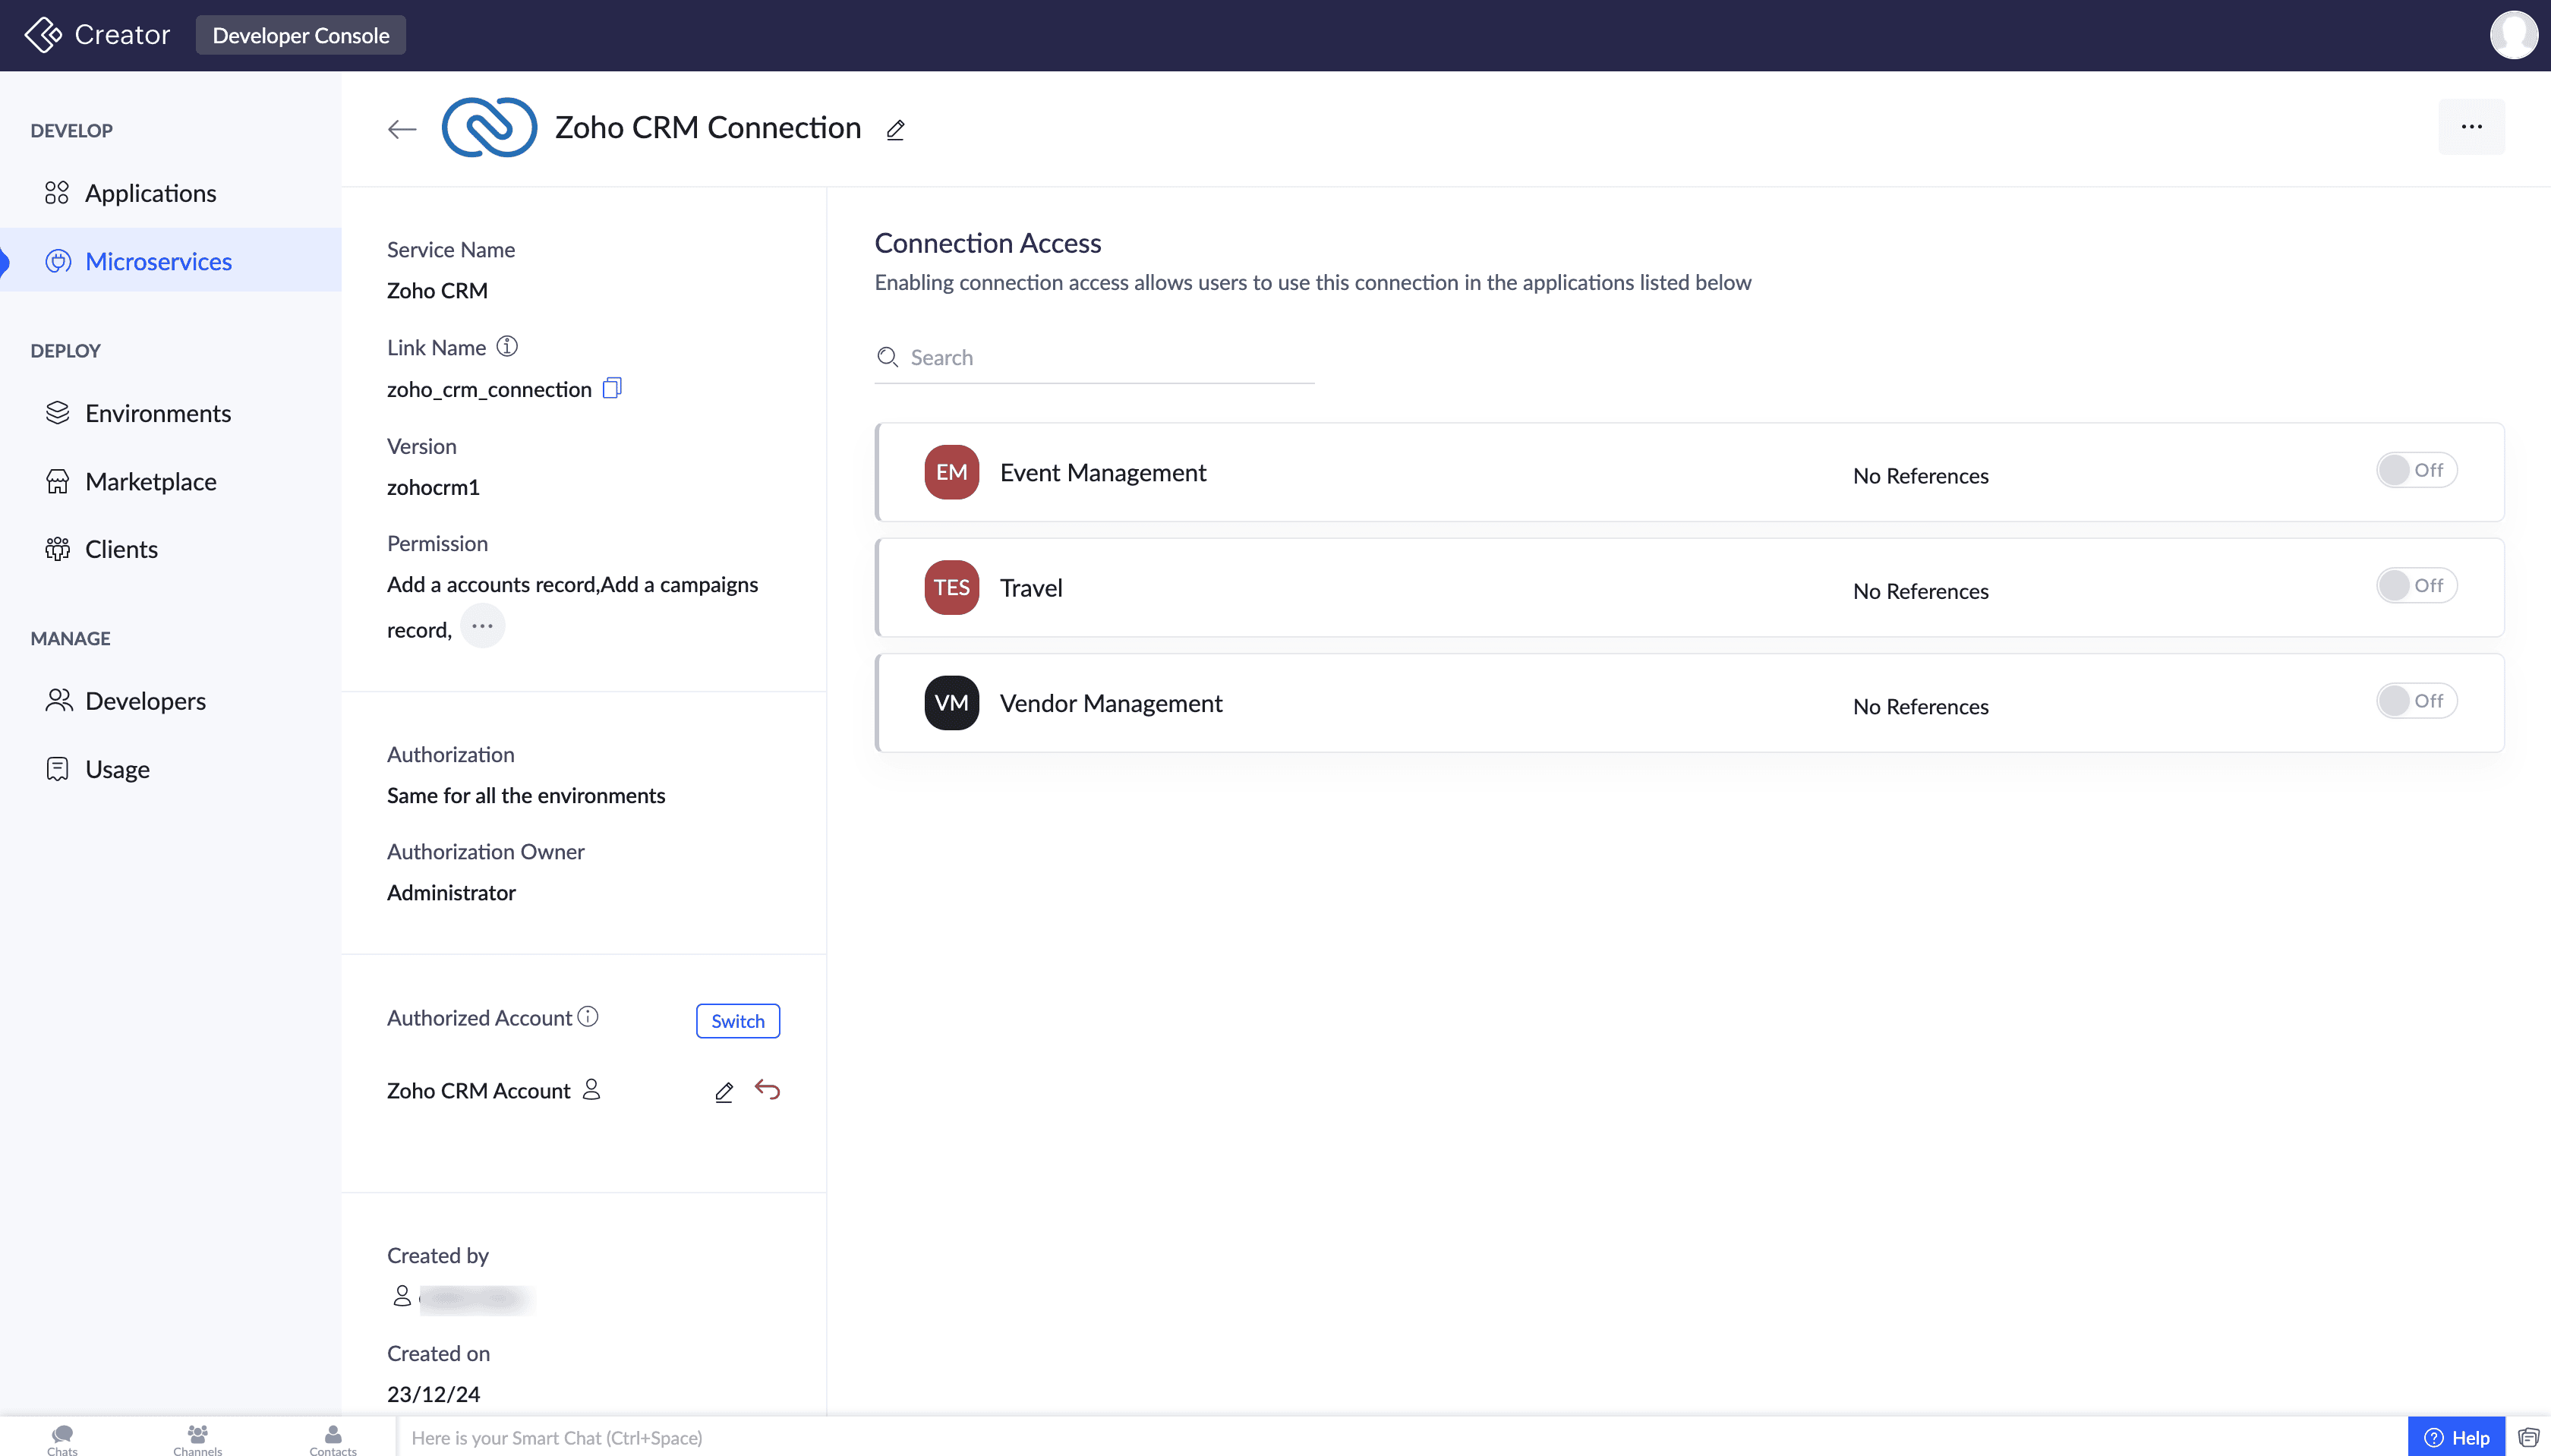
Once the connection is authorized, it’s ready for use within your applications. You can edit the connection from the Connection Details page. Before you distribute the app to your clients (Marketplace or privately), you'll need to publish the connections changes to the Stage environment.
Note: The credentials required depend on the authentication type used by the external service (OAuth2, API key, etc.). Built-in connectors have pre-configured parameters; you will only need to provide the necessary credentials.
Changes to a connection can be published to the Stage environment only alongside its referenced components in the application.
3.1 Differences in authorization
- OAuth2 authentication: Services like Zoho CRM use OAuth2 authentication. When you click Authorize, you will be redirected to the service’s authorization page to approve the requested permissions.
- Basic authentication: Services like Zoho Projects require a username and password (auth token). When creating a connection, these parameters are configured, and the user provides credentials during authorization.
- API Key authentication: Services like Twilio require an API key, which is entered during connection setup.
4. Points to note
- In the Developer Console, connections are created with necessary details and authorized by super admins or developers for testing.
- Connections can only be published to the Stage environment along with the components they are referenced in.
- Clients must authorize connections when installing the application in their Zoho Creator account.
5. Related links
What's next
Previous step
What's next
After learning about creating and authorizing a connection, the next step is to see how to manage these connections effectively.
Previous step