Offline Surveys
The offline survey feature in Zoho Survey allows you to access your survey from a device when you don't have internet connectivity. For instance, if you want to collect survey responses from trade show participants in a remote location, you can administer an offline survey to the participants during the show and then upload the responses later when you connect to the internet.
To enable the offline feature in your survey:
- Click the Launch tab.
- Click Offline on the left pane and select Get Started.
- Enter a password in the Password field. This is used to access the admin console, where you can view and upload your offline responses. You can choose to enable kiosk mode, where you can load the same survey multiple times on the same device for different people to answer.
- Click the toggle button to enable kiosk mode.
- Enter the survey exit and restart time.
-
Select the restart page.
-
Click Activate.
- Click the toggle button to auto-upload your offline responses once you are connected to the internet.
- Once you're done with the settings for your offline survey, click Save. A unique offline survey link will be generated.
- To copy the link, click the URL in the box.
- Paste the link into a new tab as a URL.
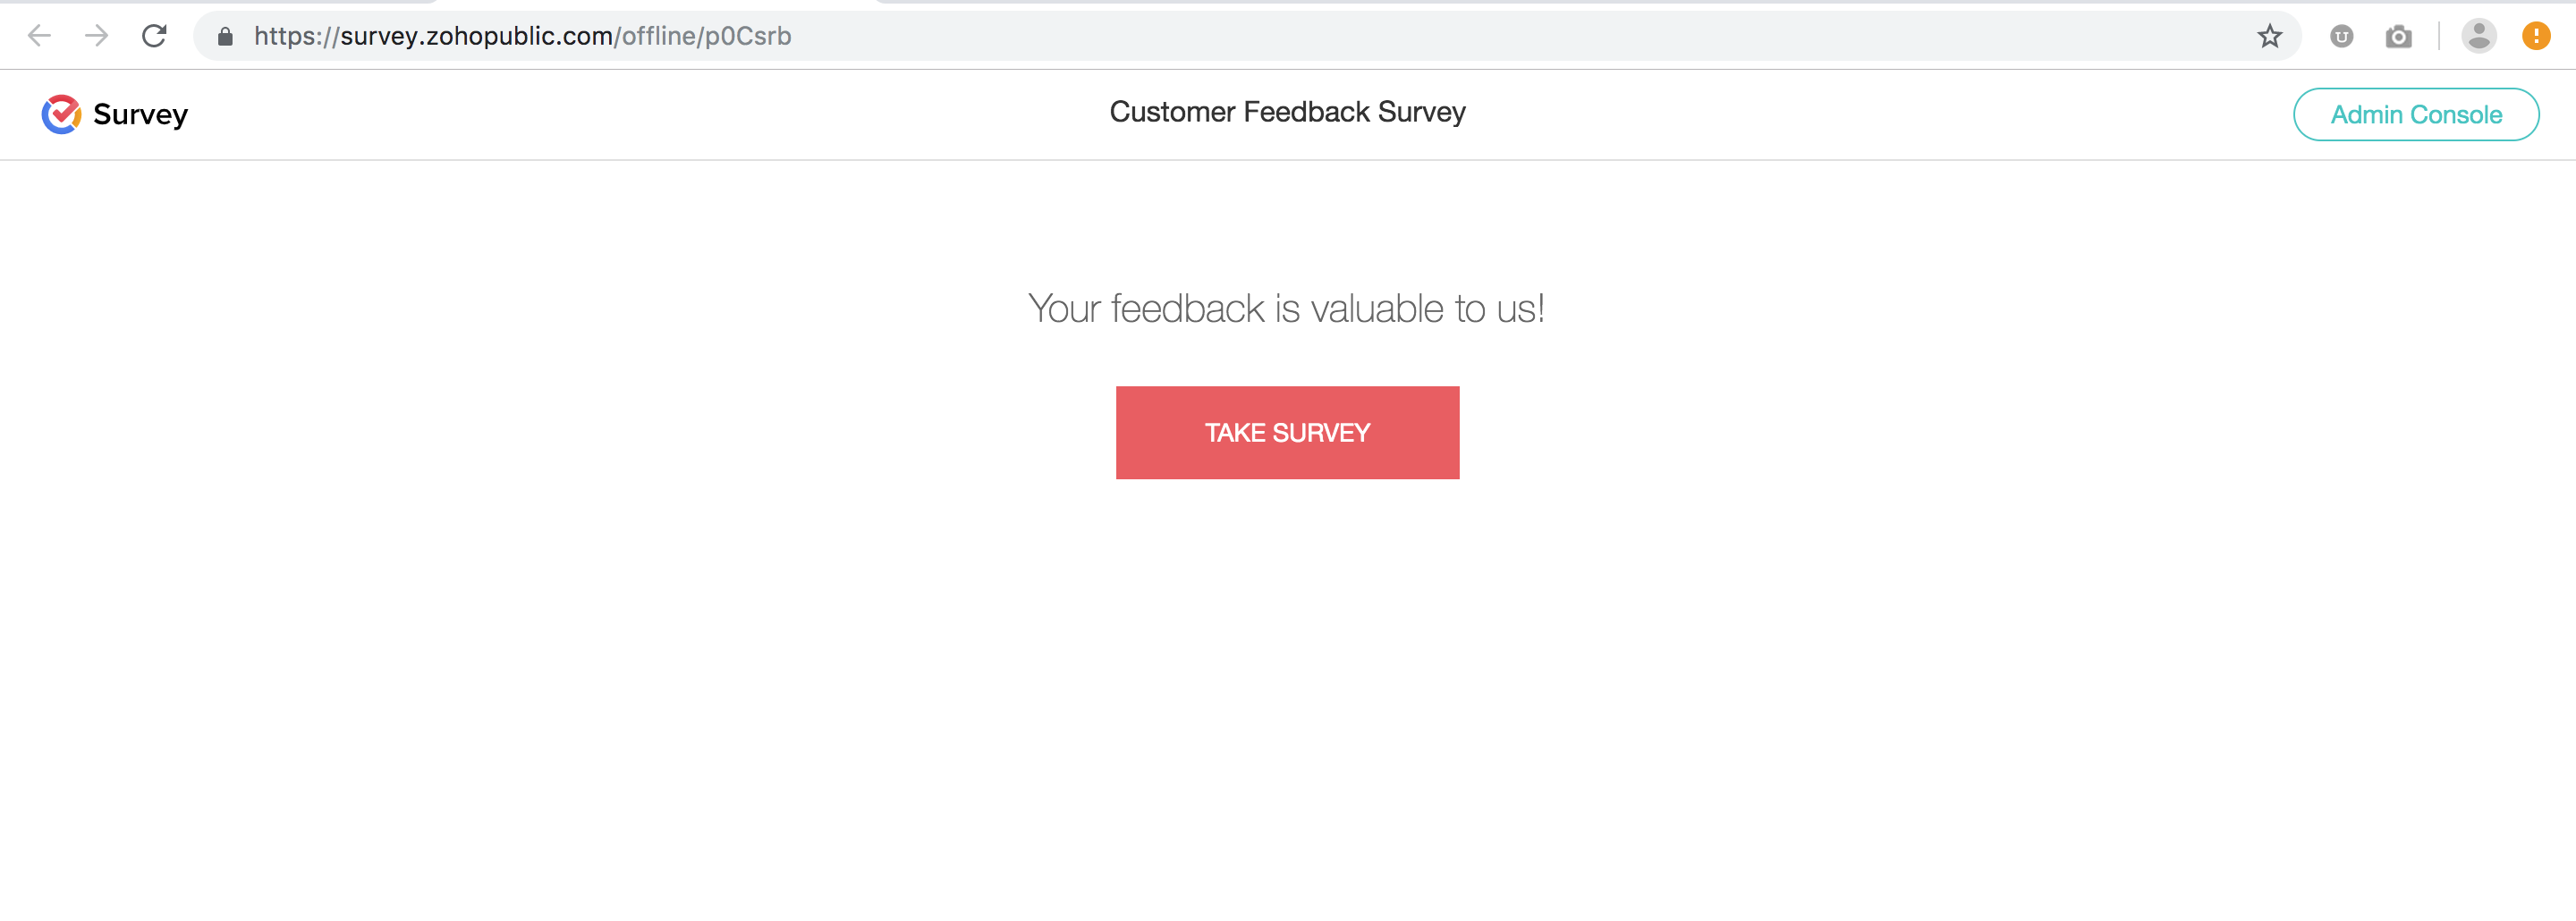
- To start recording responses, click Take Survey. You will be taken to the survey, where you or a respondent can complete it.
- If you've enabled the Kiosk mode, once the survey is completed, it will reload to a fresh survey. You can keep repeating this process multiple times.
|
Note
|
|
Since the offline responses are stored in the browser cache, don't clear your cache before uploading your responses.
|
To upload the offline responses:
- If you've enabled the auto upload option, your offline responses will be uploaded automatically into your reports when your device is connected to the internet.
- If you haven't enabled auto upload:
- Go to the offline survey link.
-
Click Admin Console on the top-right corner of your page. If you try clicking Admin Console when you don't have an active internet connection, it will show an error that says, "Internet connectivity is not available". Click the Close button and try again when your internet connection is up and running.
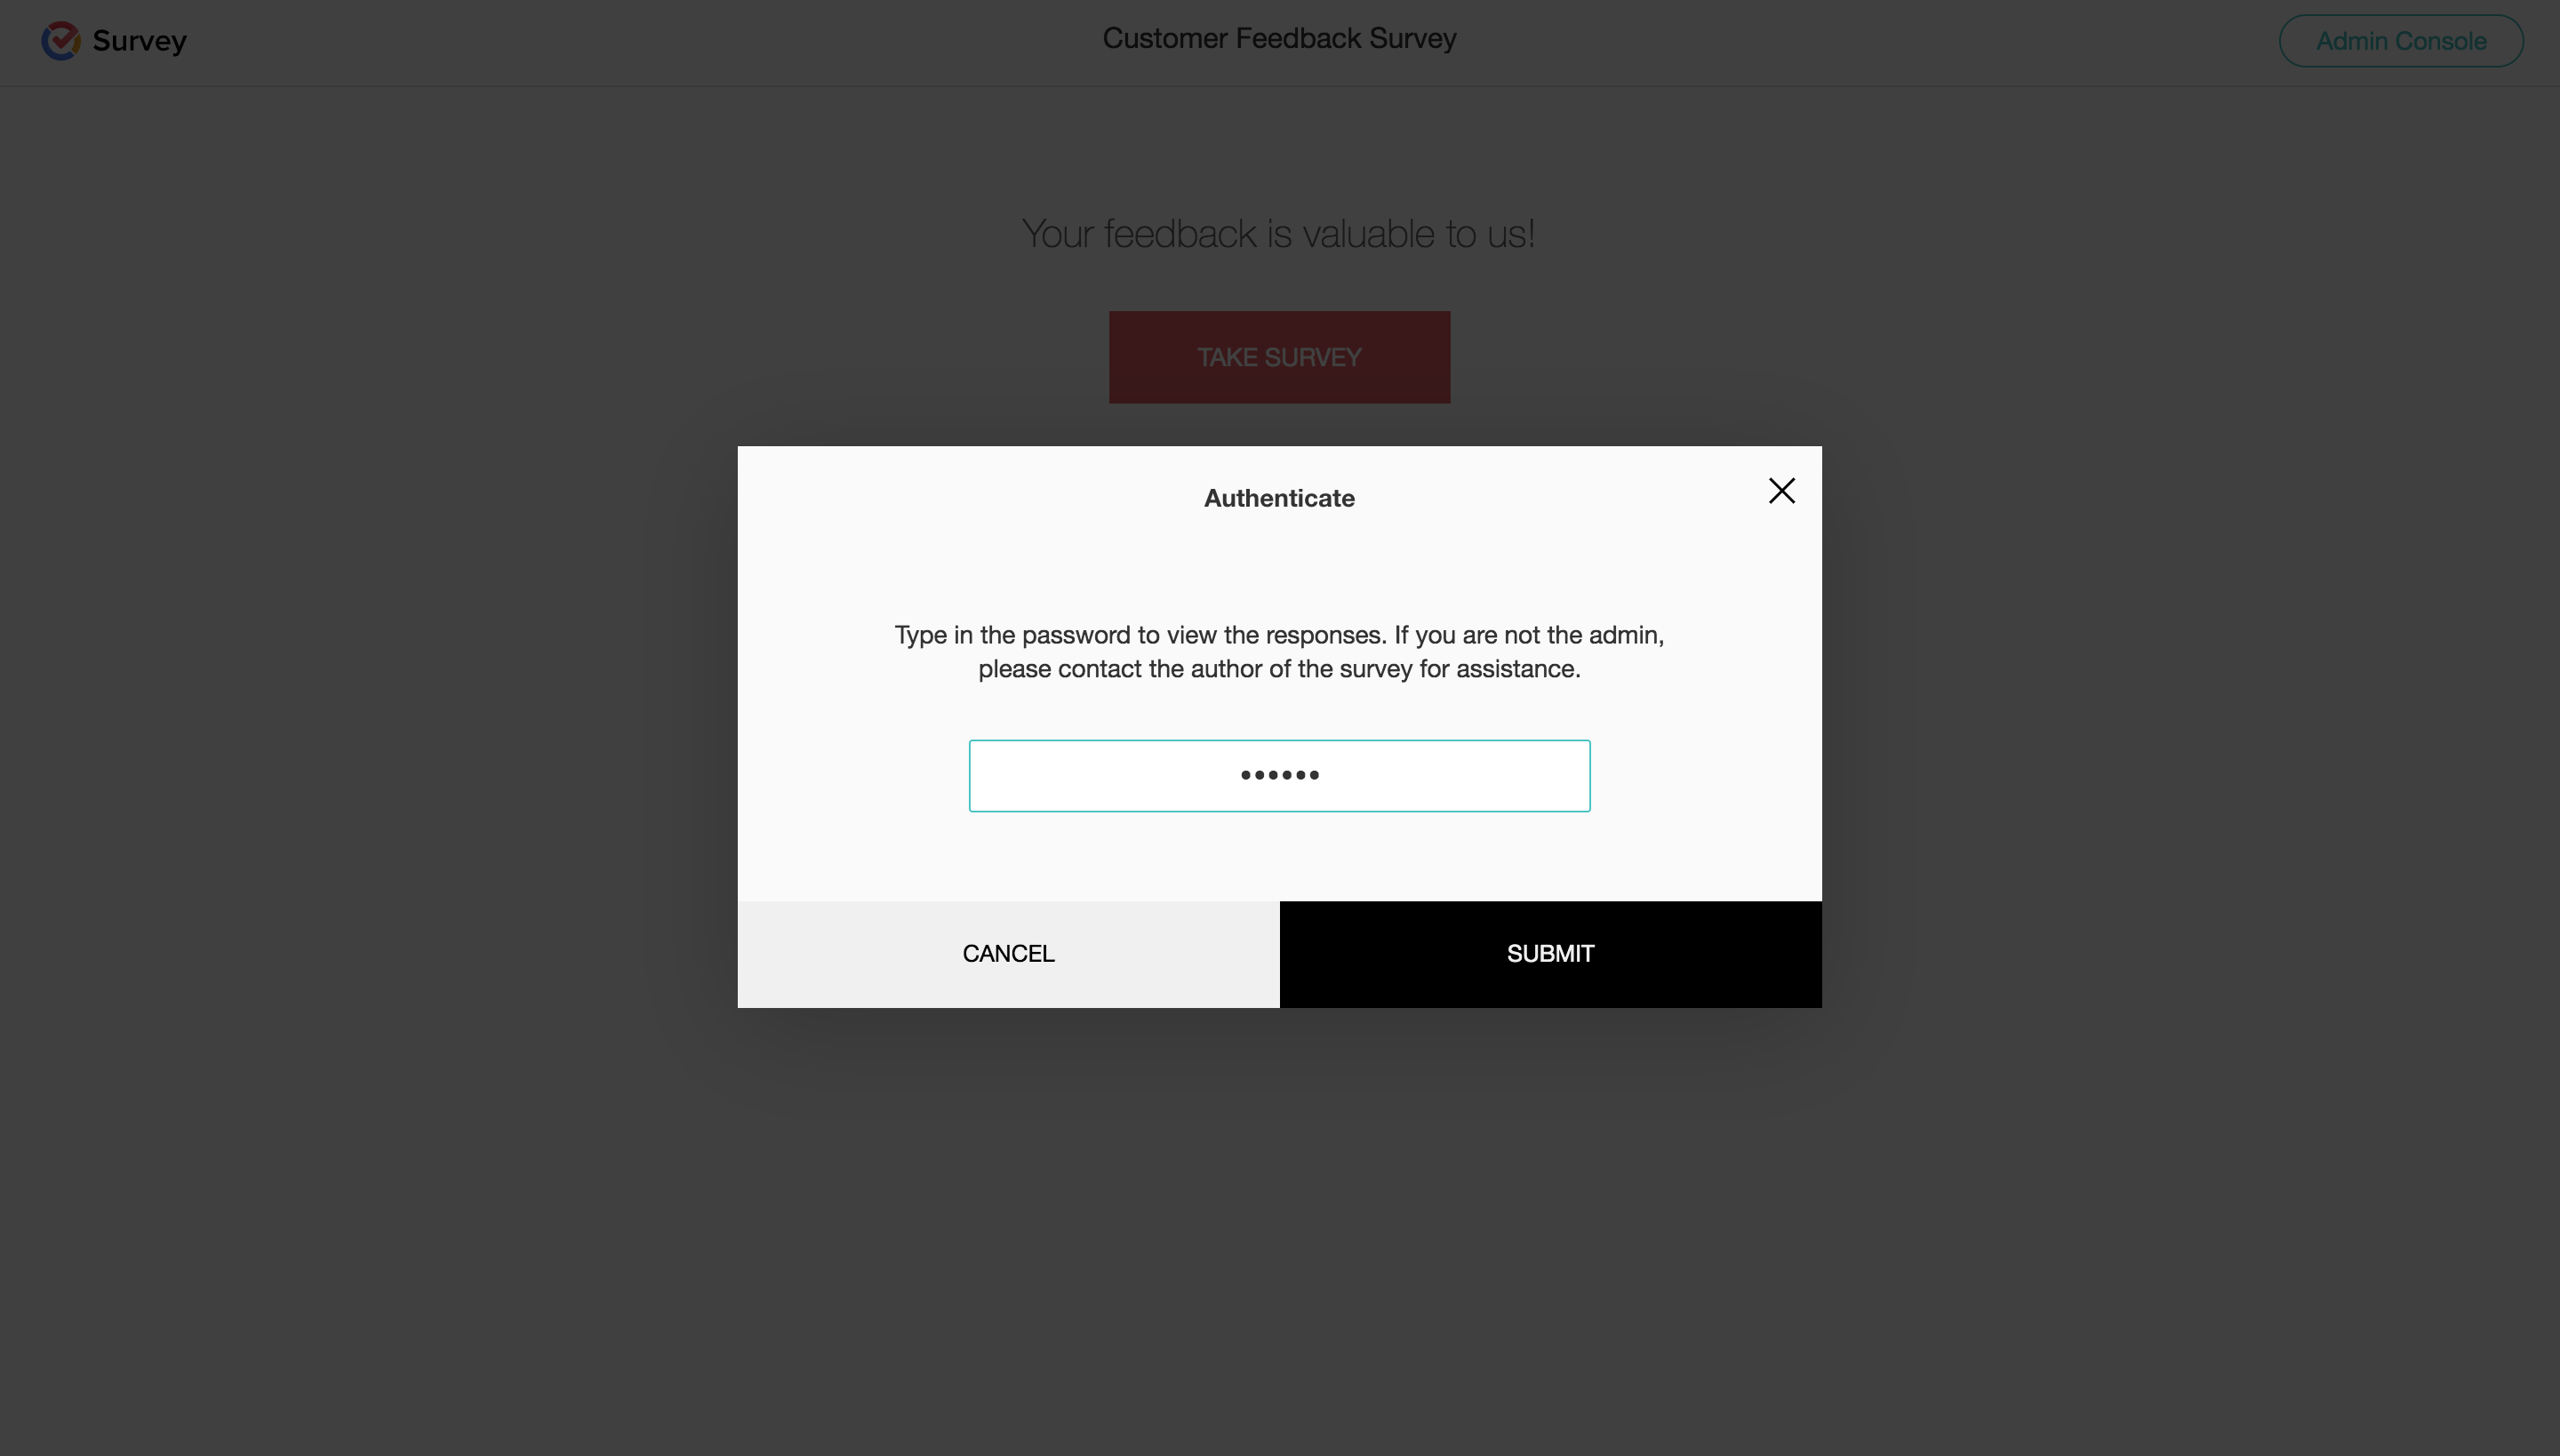
- Enter the password you've put in while setting up your offline survey.
-
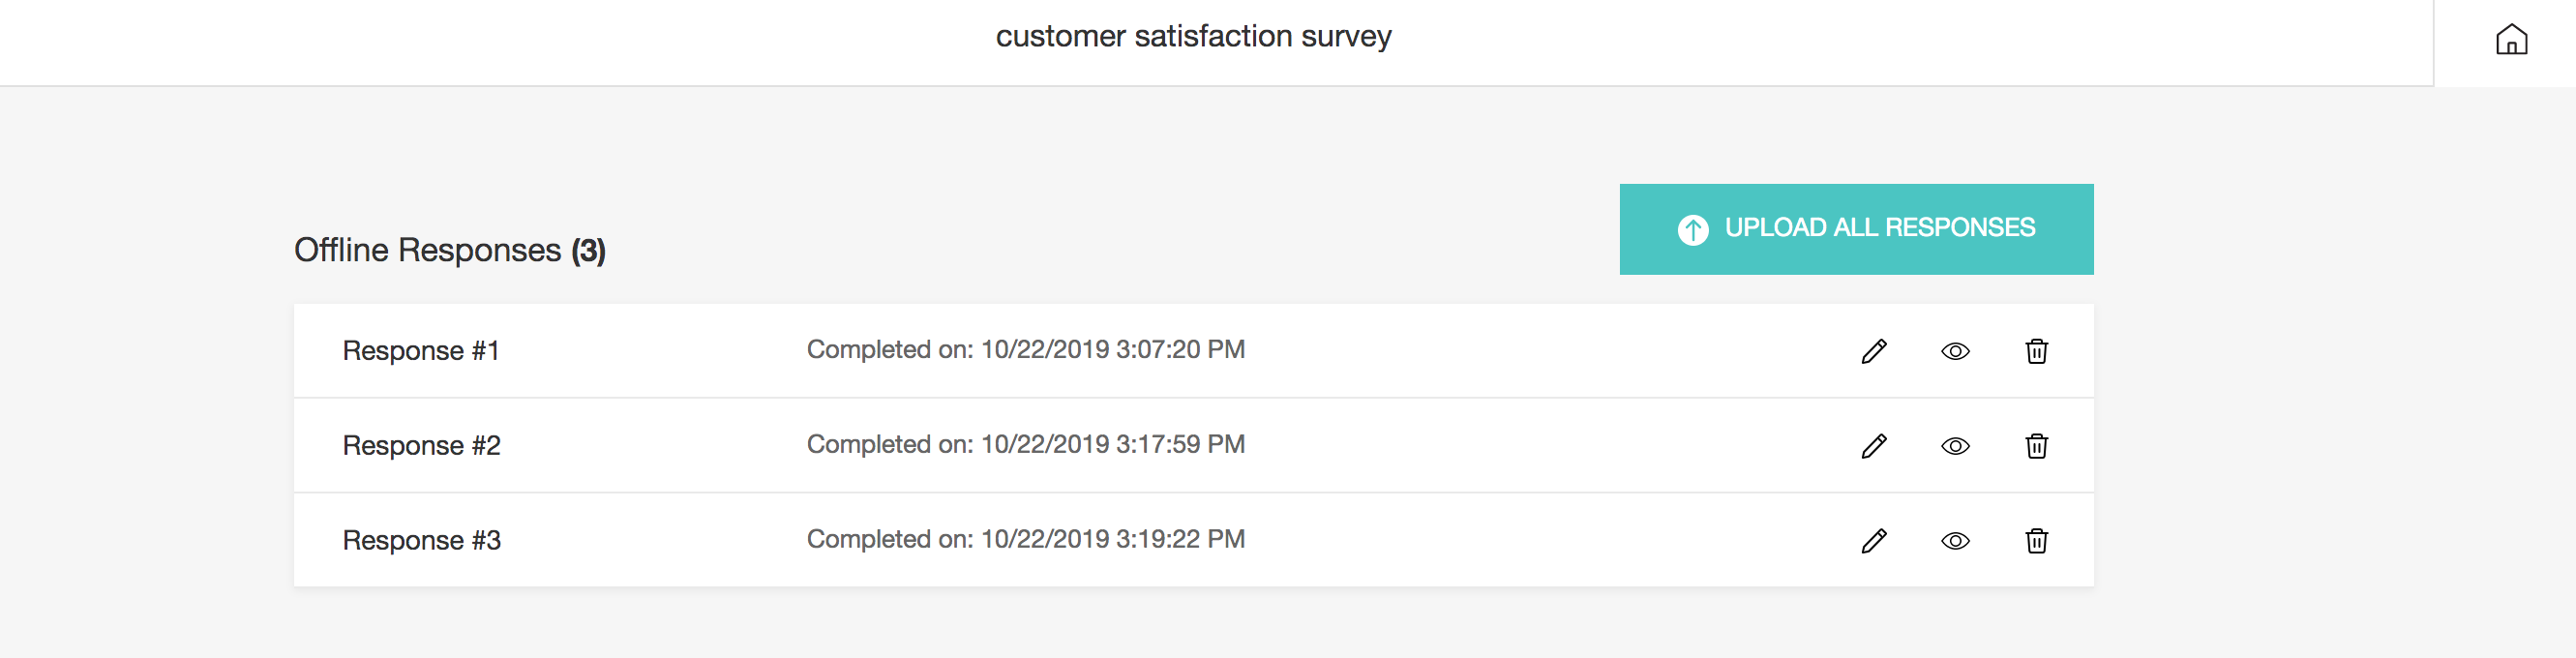
Click Upload All Responses.
-
Click the
 button to make changes to the responses submitted in offline mode before uploading them. If you wish to delete any of the responses collected, you can click
  next to that particular response and delete it. You can also click
  to view the responses before you upload them.
- Enter the same password again, then click Submit.
To enable auto upload:
- Click the Launch tab.
- Click Offline on the left pane and select Get Started.
- Enable the Auto Upload toggle button at the bottom of the section to auto-upload your offline responses once you are connected to the internet.
-
Click Activate.
To change the password of your offline survey:
- Click the Edit option under the offline survey link.
- Enter the new password.
-
Click Save.
To enable or disable kiosk mode in the offline survey:
- Click Offline in the Launch tab and select Get Started.
- Click the respective toggle button to either enable or disable the kiosk mode and auto-upload options.
-
Click Save.
To customize the end page:
The customized end page you have applied for your survey will also be applied to your offline survey. Learn more on our Settings page to customize survey end page.