-
Navigate to the
Edit
mode of your app.
-
Open the
page
in which you want to add the
AR Viewer
.
-
Click
Viewer
from the
page builder menu
on the left side.
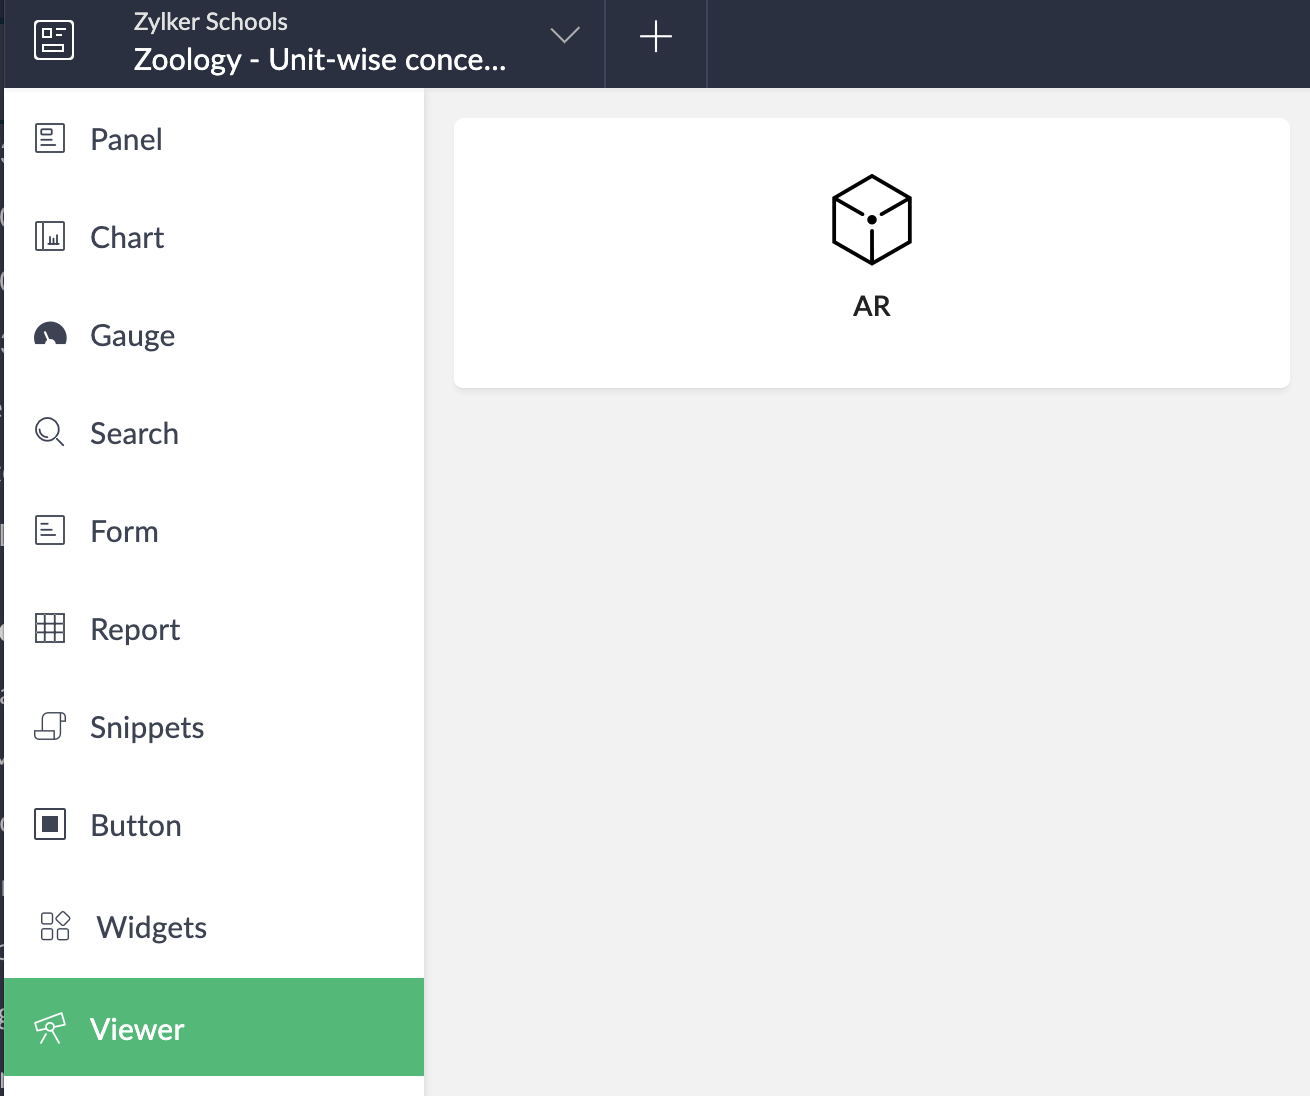
-
Drag and drop
the AR Viewer onto the page builder area. You can also double-click the
Viewer
to add it.
-
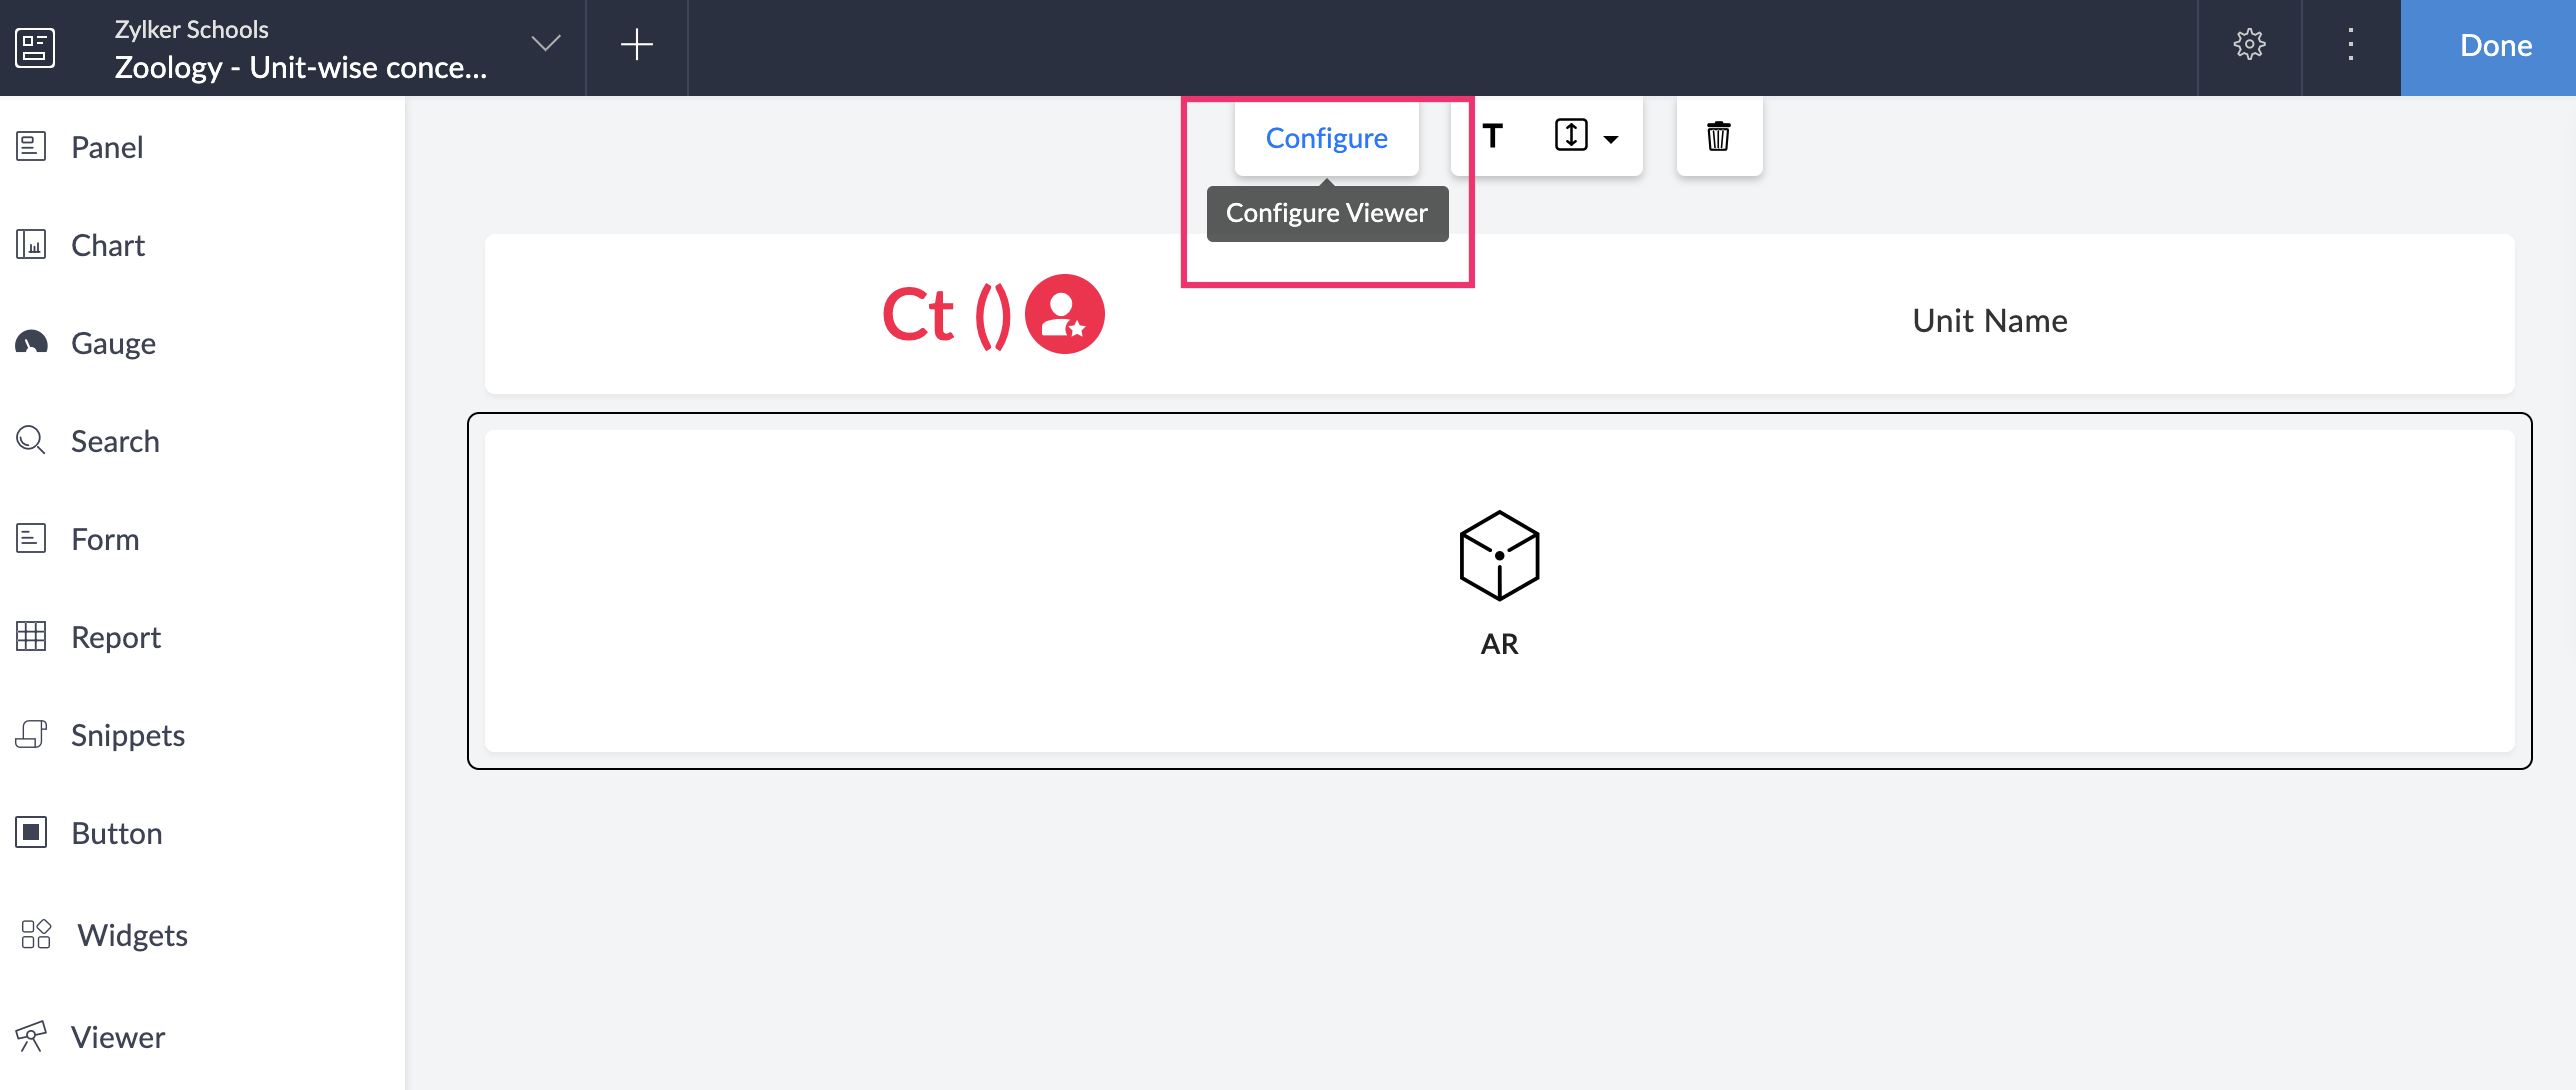
Double click
the viewer you want to configure. You can also
single-click
to select the viewer and then click the
Configure
option in the toolbar at the top-center of the page builder. The
AR Setup window
will appear.
-
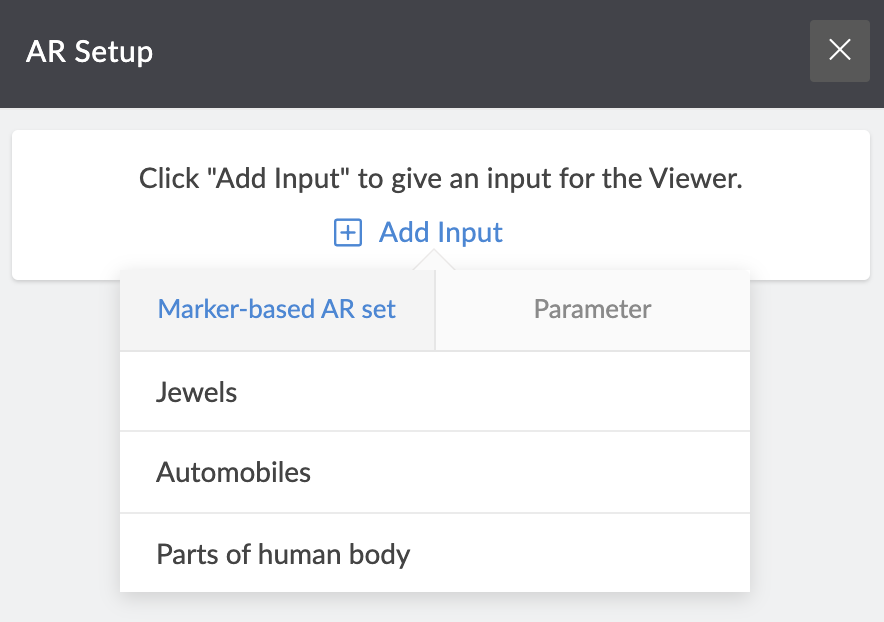
Click the
Add Input
button to choose the required input —
Marker-based AR set
or
Parameter
. If you have chosen the input as
marker-based AR set
, proceed to the next step. If you have chosen the input as
parameter
, go to
step 10
.
-
Select the required
AR set name
to add it as an input.
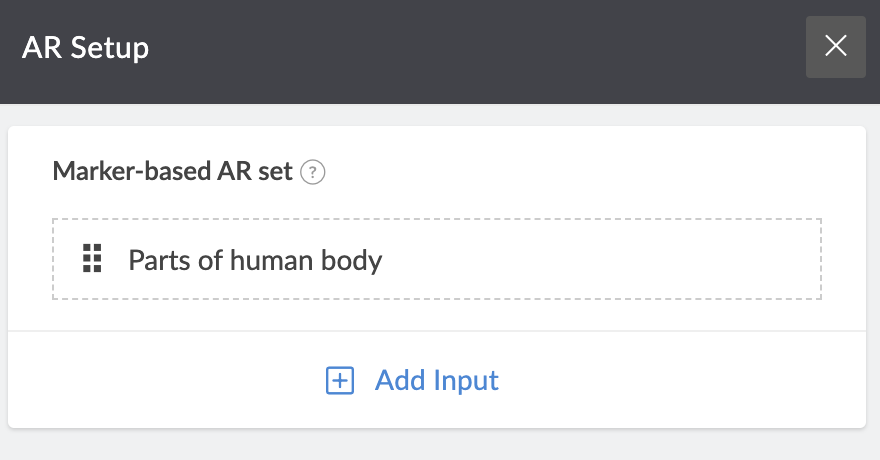
-
Click the
Add Input
button to add more AR sets.
Note
: When you have no more AR sets to add as input to the Viewer, you can create them in your
AR library
.
-
Click the
rearrange
icon beside each set to drag and place them at the required position.
-
Click the
Parameter
tab and select the required
parameter
to be added as an input for your Viewer.
-
Click the
Add Input
button to add more parameters.
Note
: When you have no more parameters to add as input to the Viewer, you can create them in the
parameter
section.
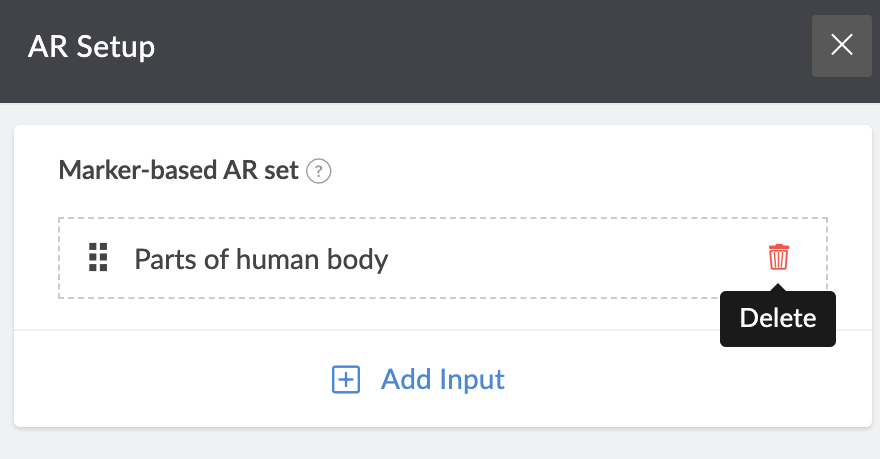
-
To
delete
the AR set or parameter,
hover
beside the required input, then click the
delete
icon.
-
Close
the
AR Setup
tab. The changes will be saved automatically.
-
To
delete
the Viewer,
click
to select the Viewer, then click the
trash
icon in the toolbar in the
header area
of the page builder.
-
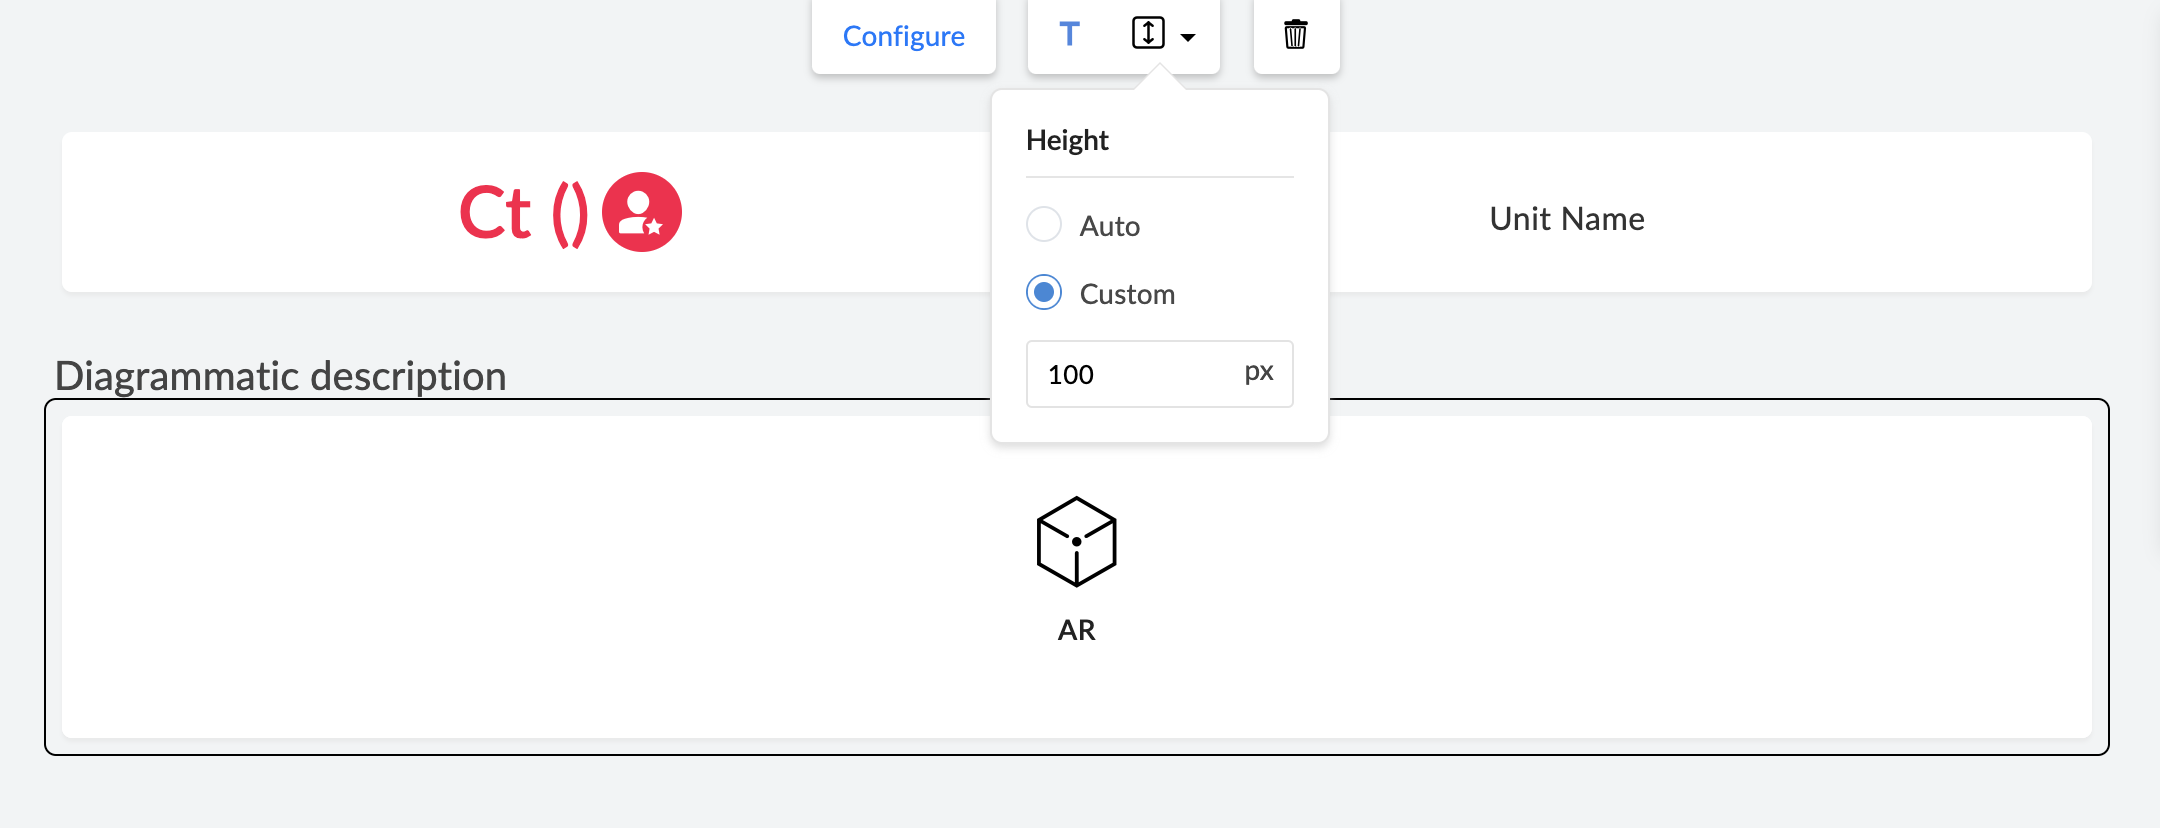
To set
height
for your Viewer,
-
Click
to select the
Viewer
on your page.
-
Click the
height fill
(double-sided arrow) icon in the
toolbar
in the
header area
of the page builder.
-
Check
the required option, either
Auto
or
Custom
. If you choose
Custom
, specify the height in
pixels
.
-
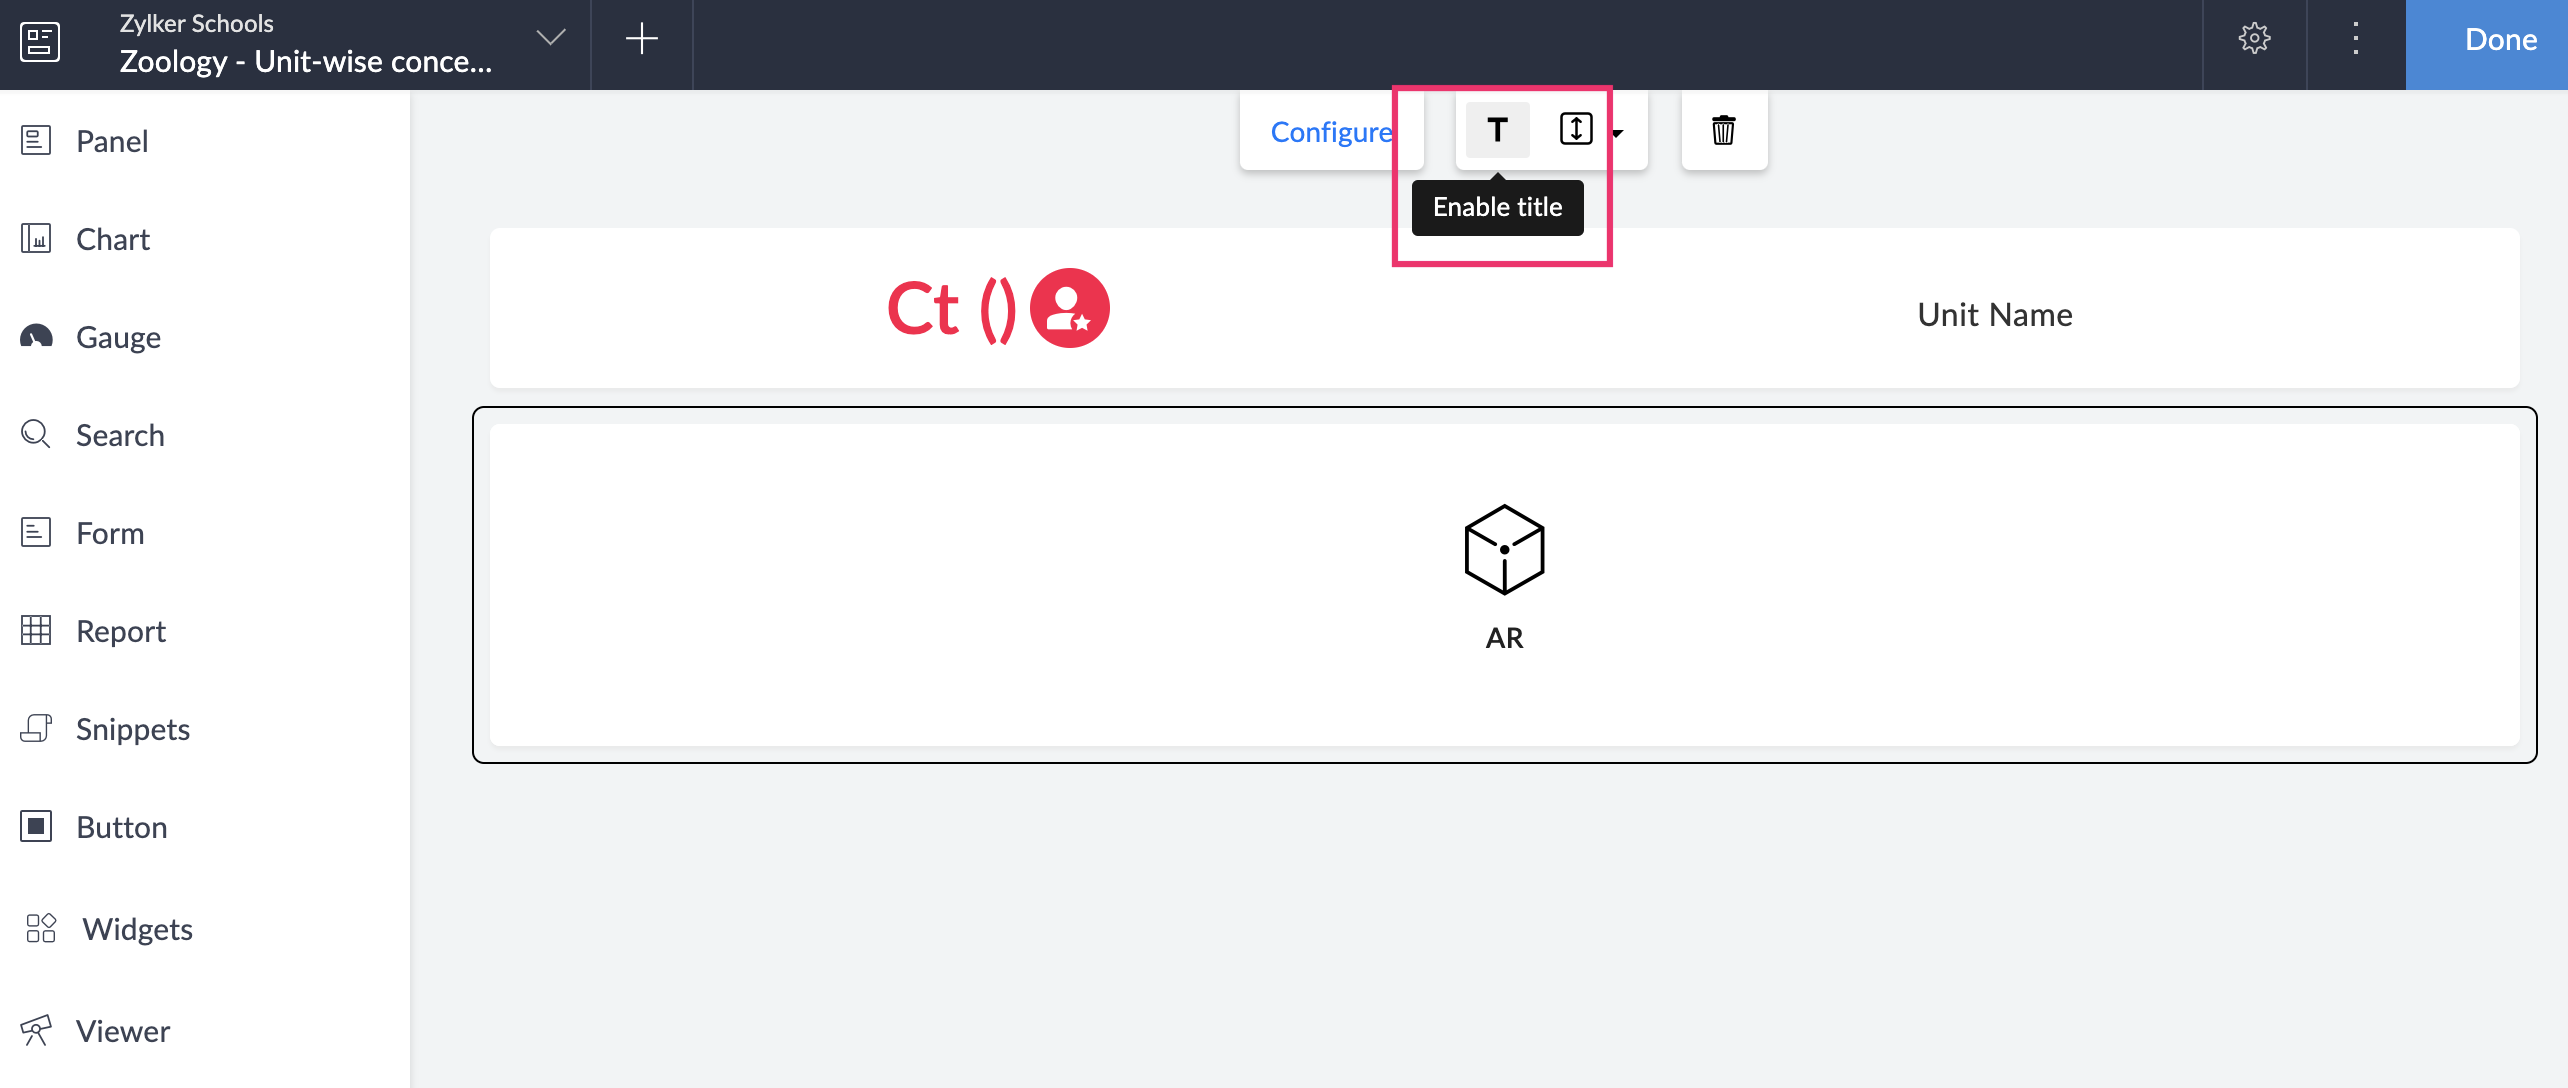
To add a
title
for your Viewer,
-
Click
to select the Viewer on your page.
-
Click the
T
icon in the
toolbar
in the
header area
of the page builder. The
T
icon turns blue, indicating that the title is enabled.
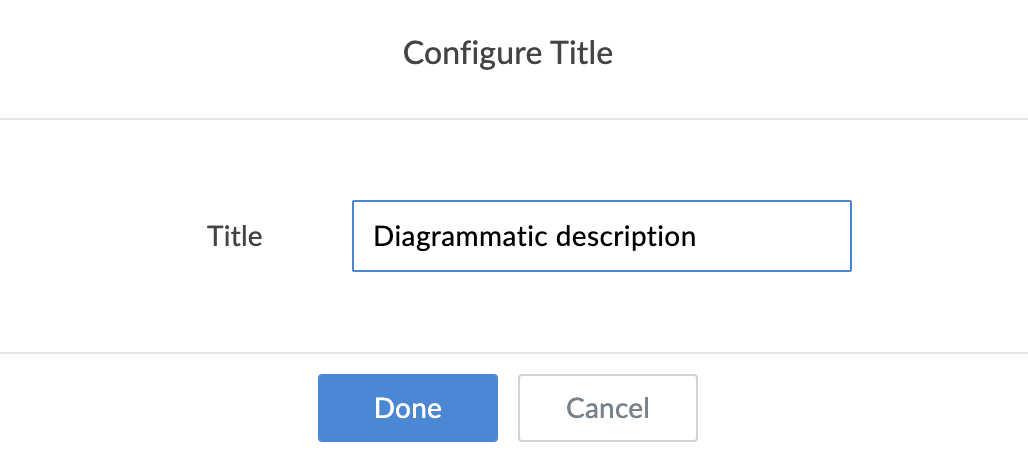
-
A
Title
field is generated at the top left of the selected element and a pop-up window appears to
Configure Title
.
-
Type in a suitable title in the
Label
area and click
Done
.
-
Click the
T icon
at the header area of the page builder. The T icon turns black, indicating that the title is
disabled
.
-
Click the
T icon
again to
enable
the title.
-
When you access the AR Viewer in live mode, you can click the
full-screen
icon at the top-right of your screen.