Add AR field
Refer to
this
page to learn about the AR field
-
Navigate to the
edit
mode of your app.
-
Open the
builder
of the required form.
-
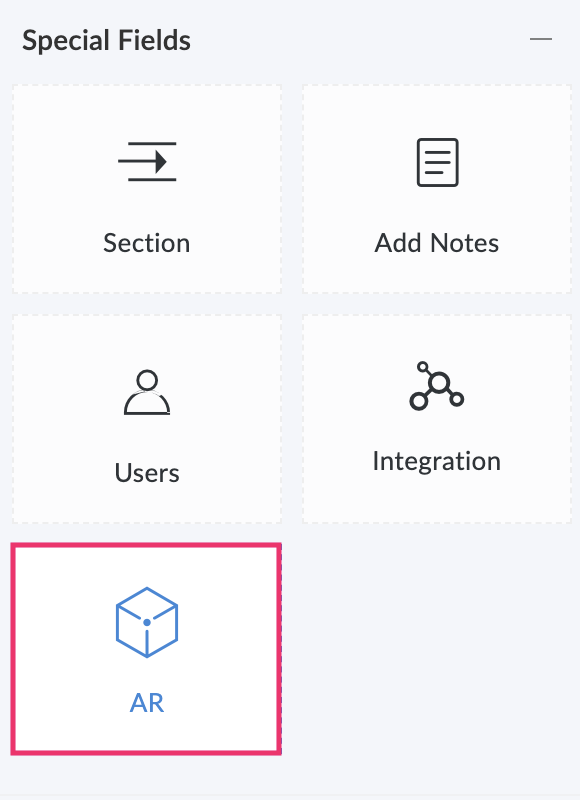
Drag and drop the
AR
field from the
Special Fields
section onto the form (Refer to
this
page to learn how to add a field to a form).
-
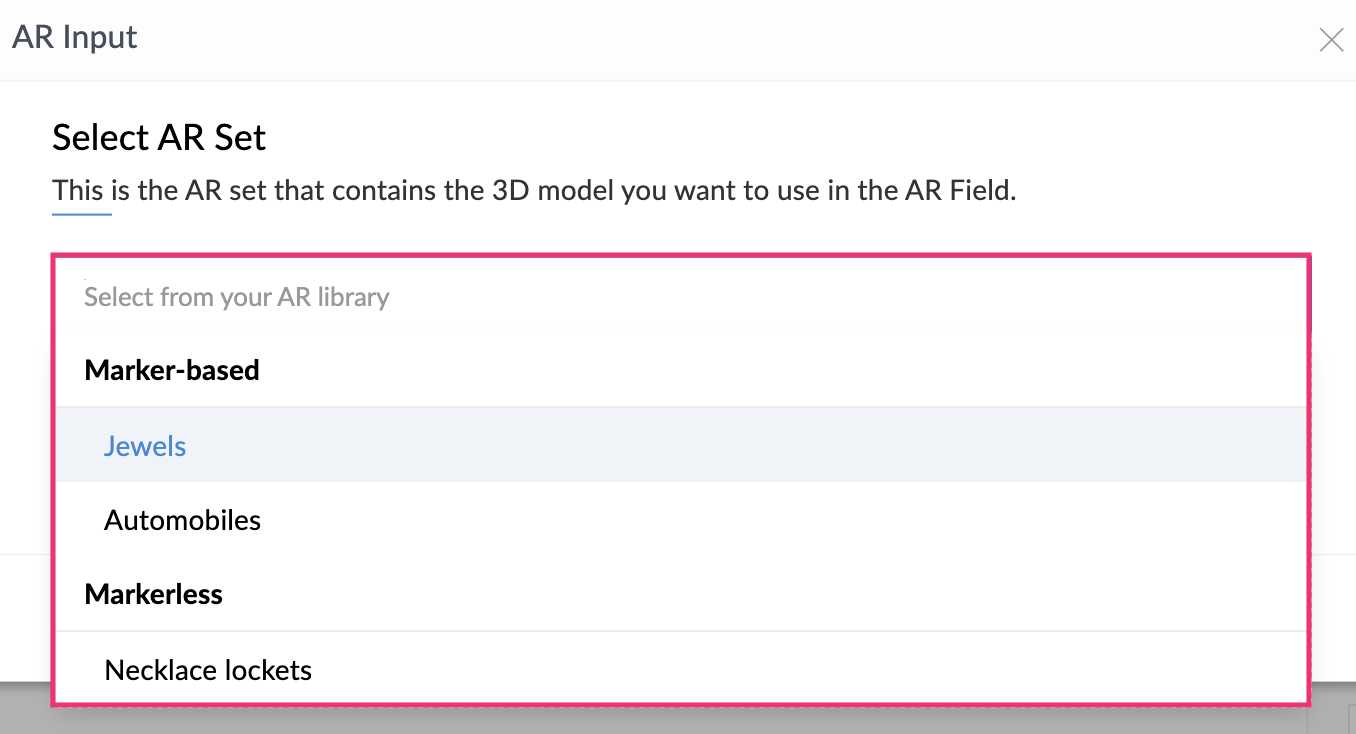
Select an
AR set
from any AR type (
markerless
and
marker-based
).
It is recommended to select
at least one AR set
as an input to the AR field so that you can choose it from the field's dropdown when you access the live mode of your app.
-
Click the
add (+)
icon to add more AR sets. To remove any set, click the
minus (-)
icon, then click
Remove
in the popup.
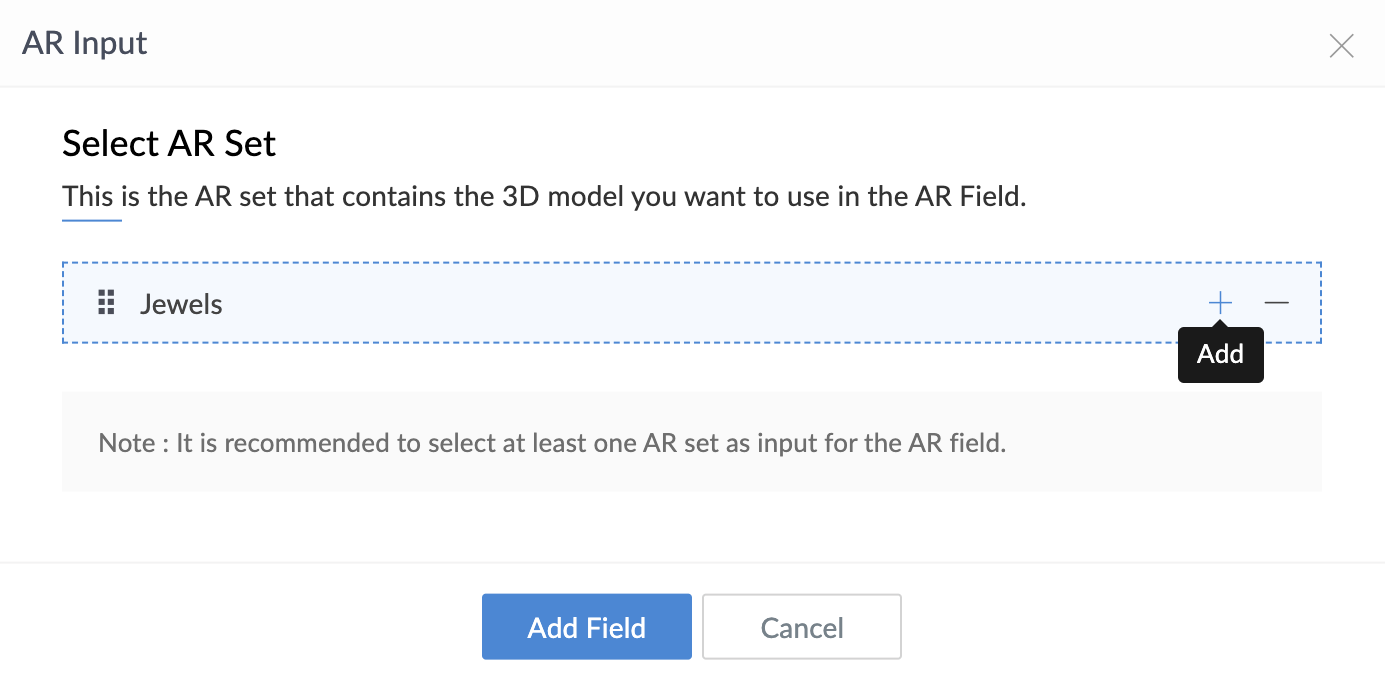
-
Click
Add Field
.
-
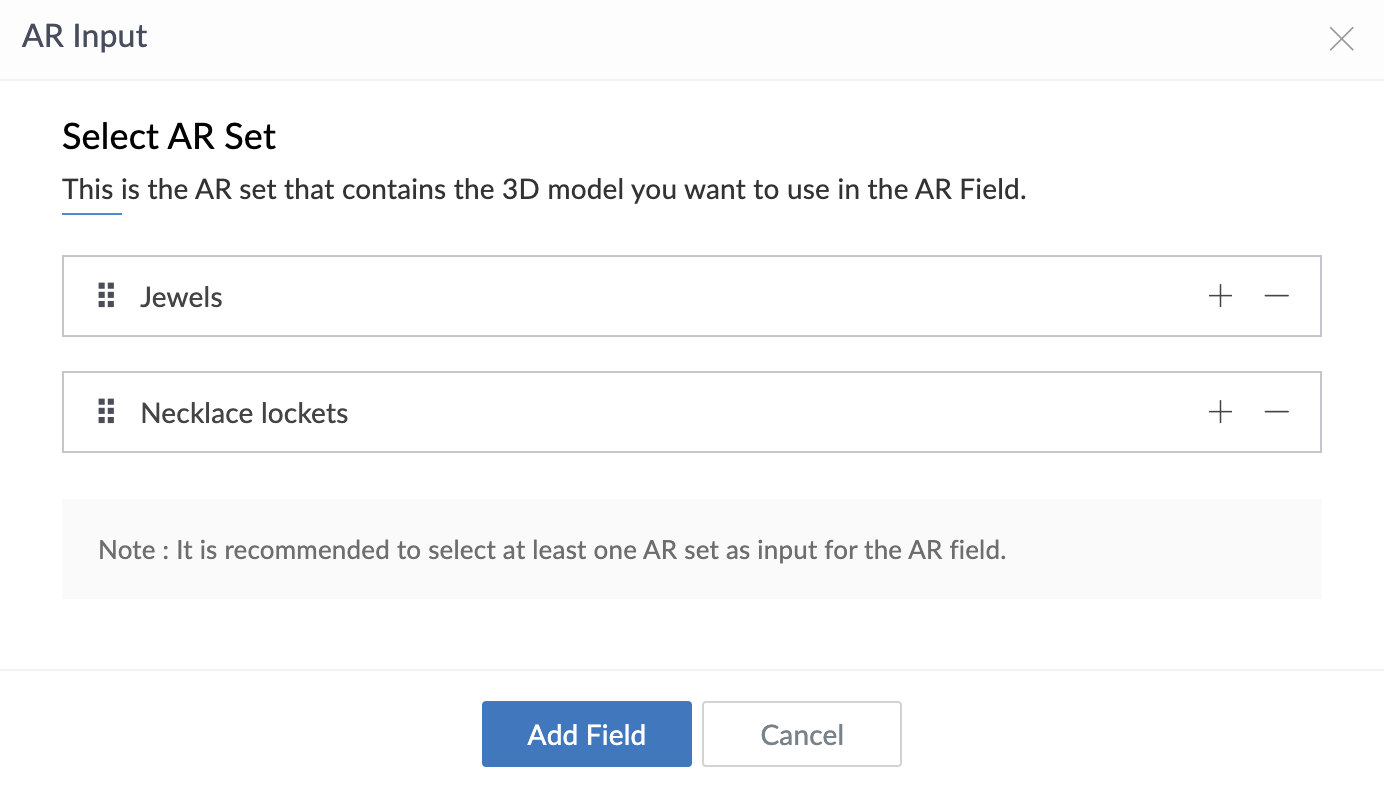
You can
rearrange
the sets by clicking the
rearrange
icon to the left of each set.
-
To add additional AR sets:
-
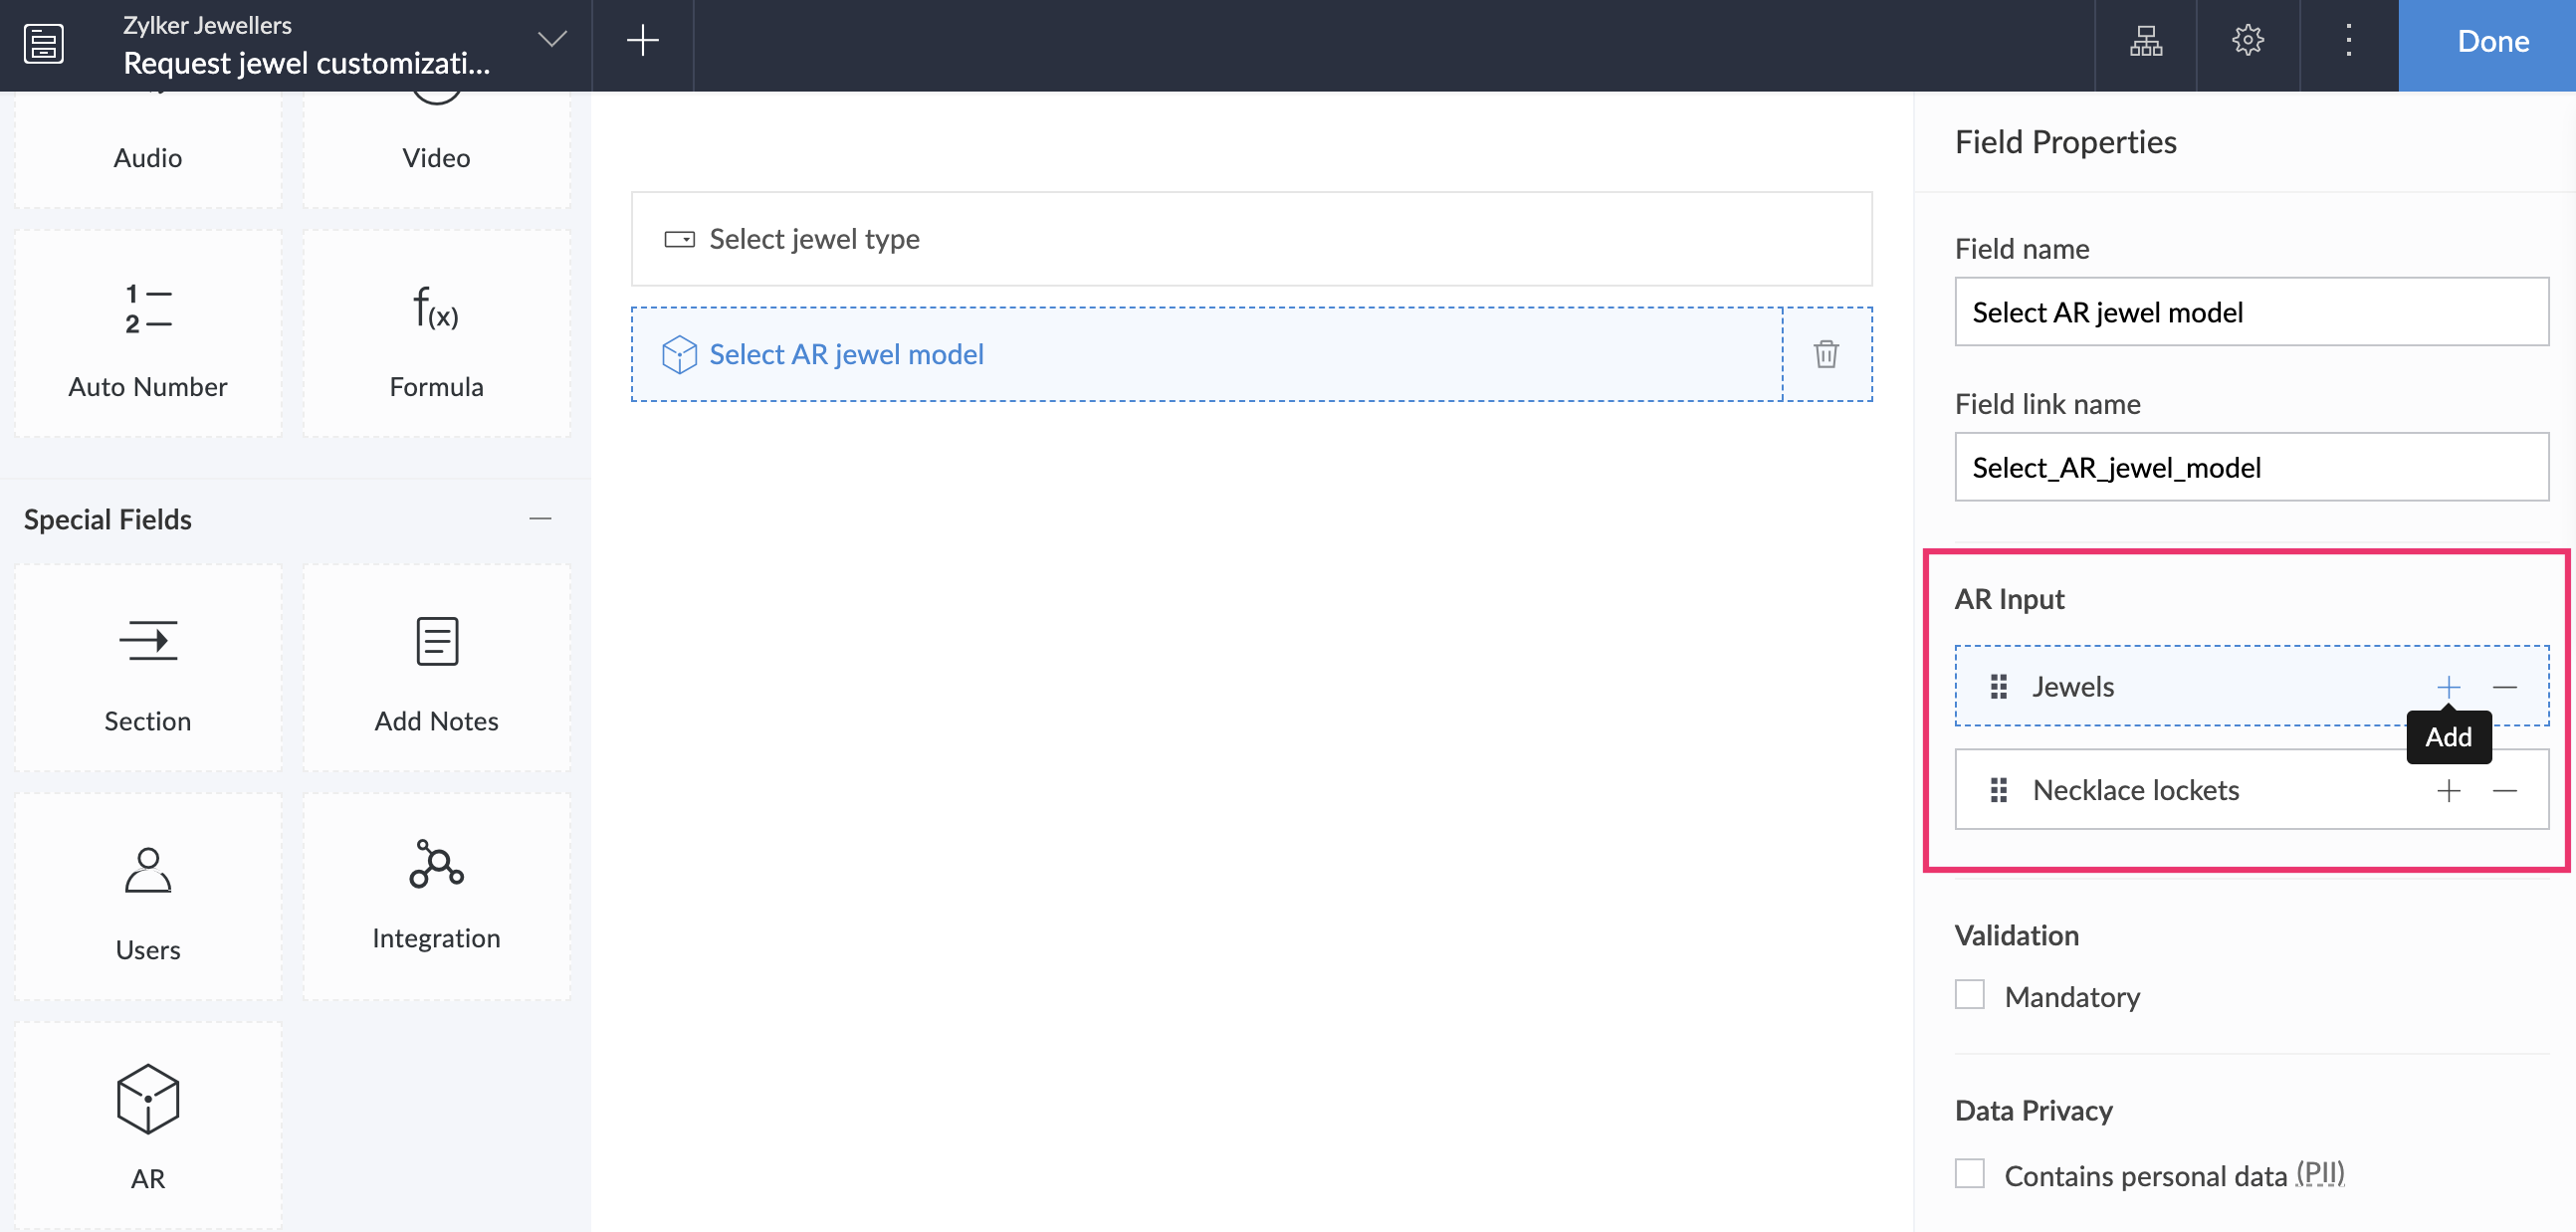
Navigate to the
Field Properties
tab, displayed on the right.
-
Select the required AR sets in the dropdown beneath
Input
under
AR set
.
-
Click the
add (+)
icon to add more AR sets.
-
You can
reorder
the selected AR sets by using the
drag
icon.
-
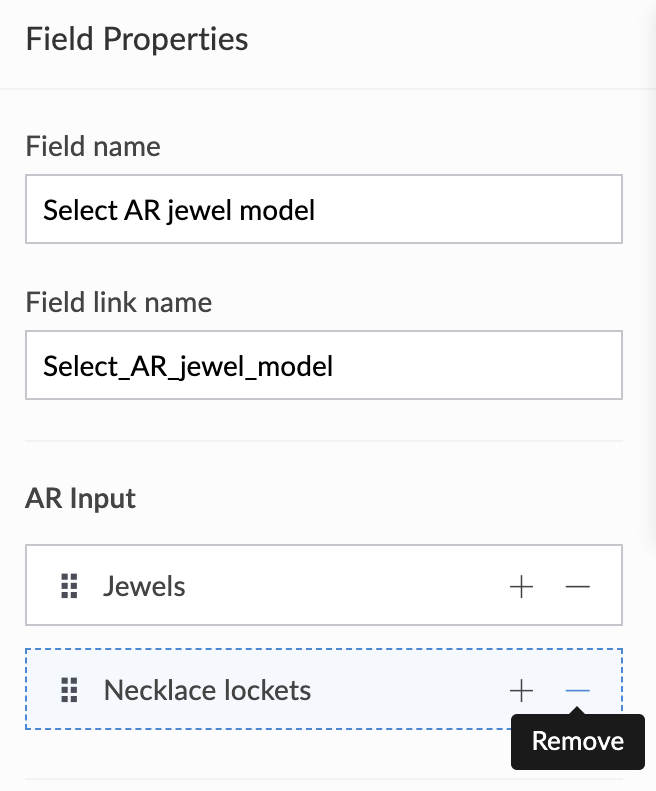
You can
remove
an AR set by clicking the
minus (-)
icon beside the AR set name. Click
Remove
in the popup that appears.
-
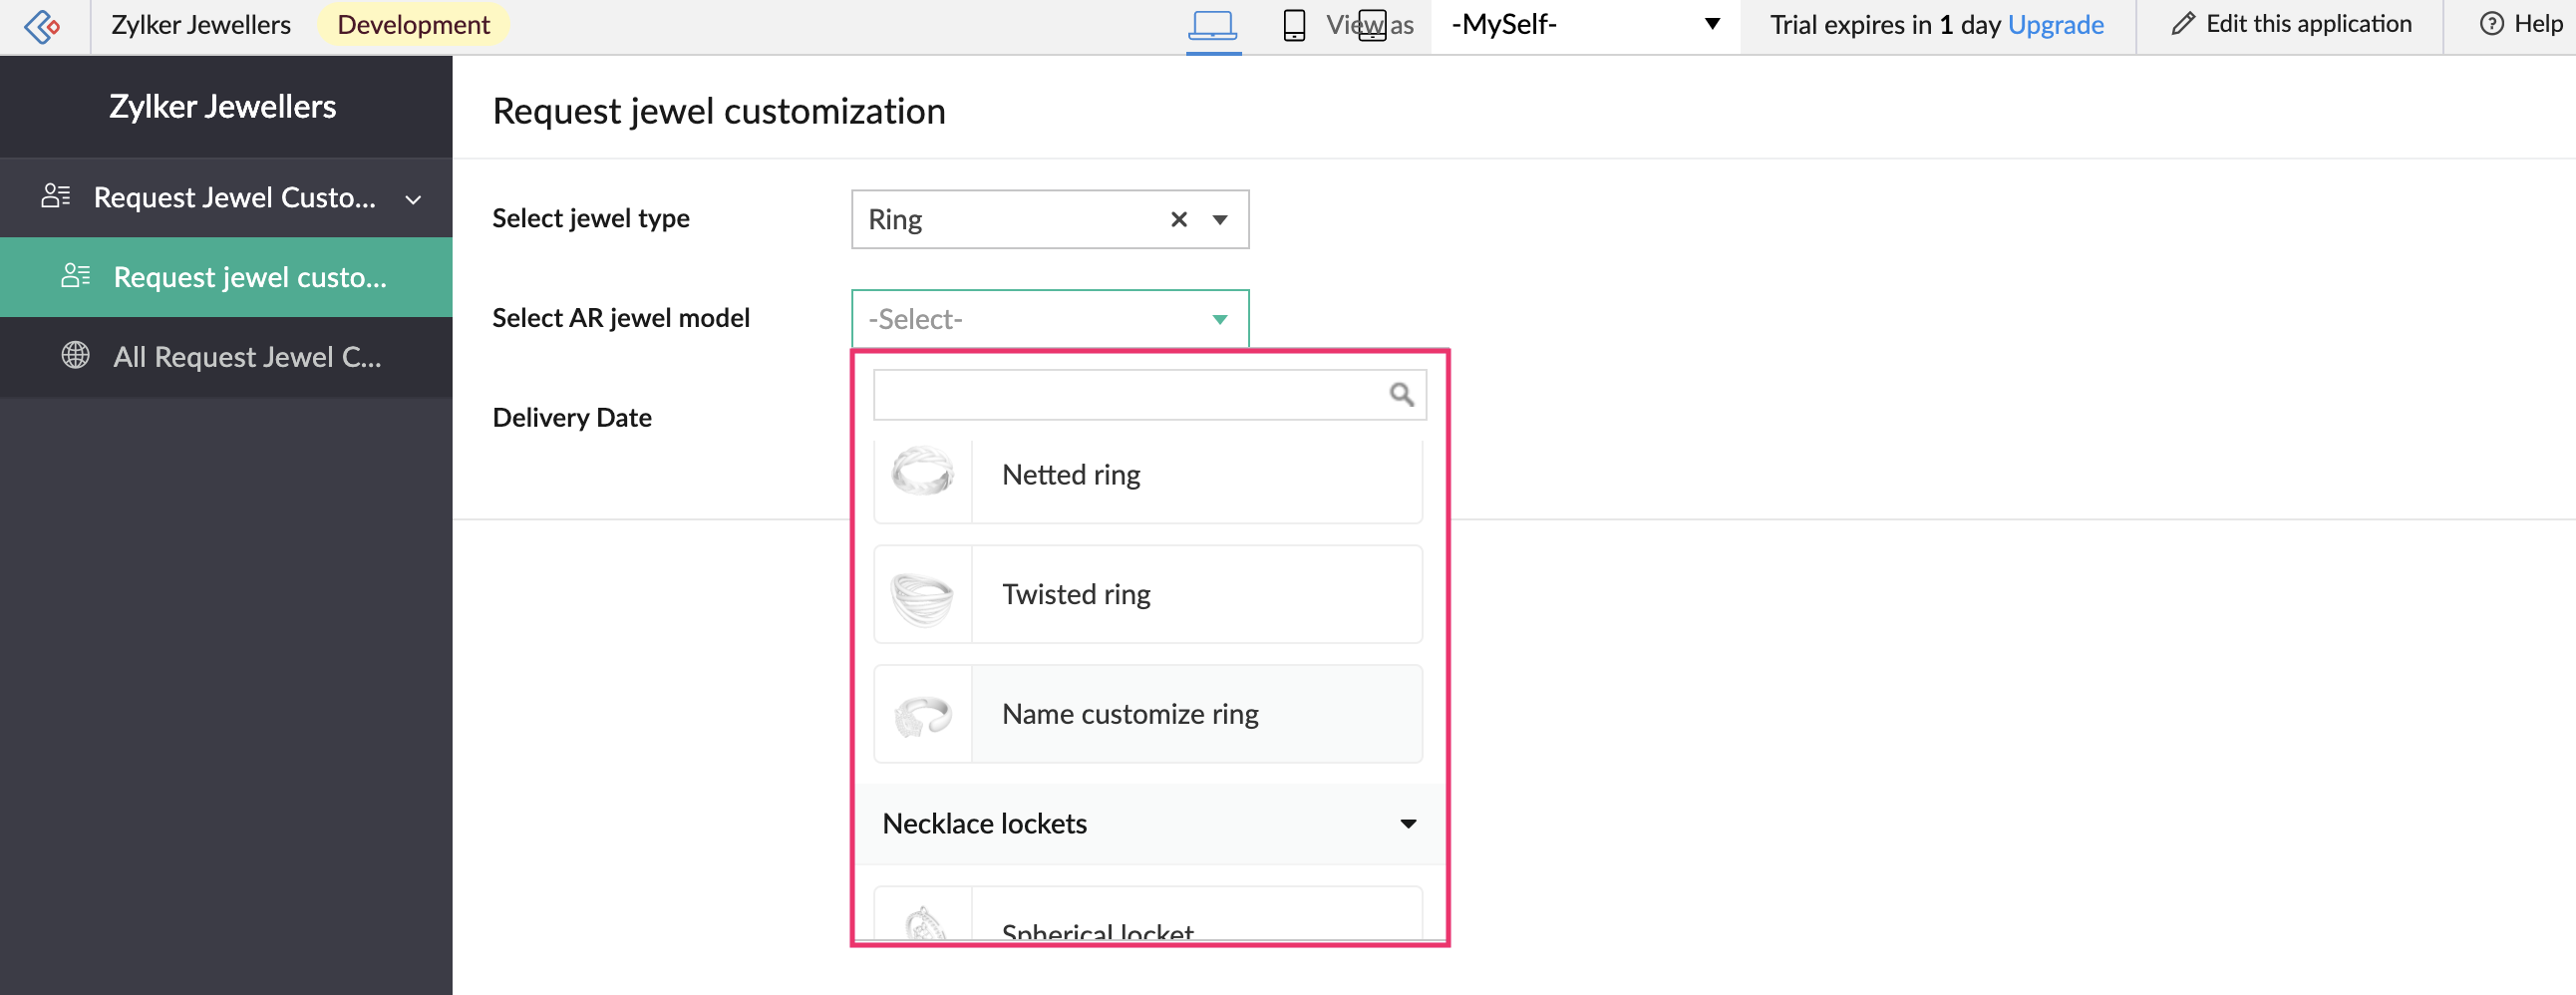
When you access the AR field in live mode, you can select the required
AR model
from the AR sets dropdown in your field.
-
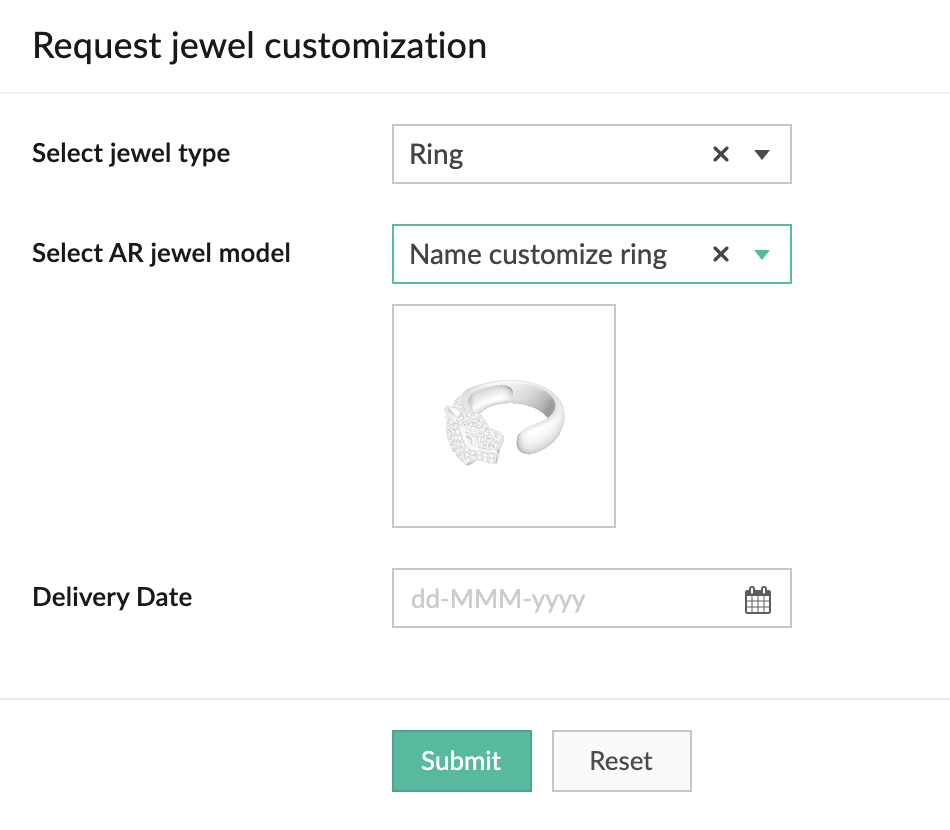
Once you’ve selected the model, its
preview
will be displayed beneath the AR field in your form.
If you want multiple models to be shown in your form, you can add a
subform
field and place multiple AR fields inside it.
-
You can also add
annotations
to your 3D model's preview image.
Learn how
Access in mobile app
-
When you access the AR field in your mobile app, you can select the required
AR model
from the dropdown. All the AR sets added to your AR field will be listed.
-
You can click the
scan
icon at the top-right to scan any image to plot the 3D model.
-
You can choose to view the image as an
object
or in
AR view
.
-
Object mode
: This mode allows you to view the scanned image in a 360-degree rotation. You can also zoom in and zoom out.
-
AR mode
: Here, the image can be rotated only horizontally, but users can rotate/move their device to view the scanned image.
-
You can also add annotations to your 3D model.
Learn how