- Navigate to the Micro Services page by clicking Microservices on the left pane.
- Click + Create New to add a microservice.

Click
Create under
AR Library to create an AR set.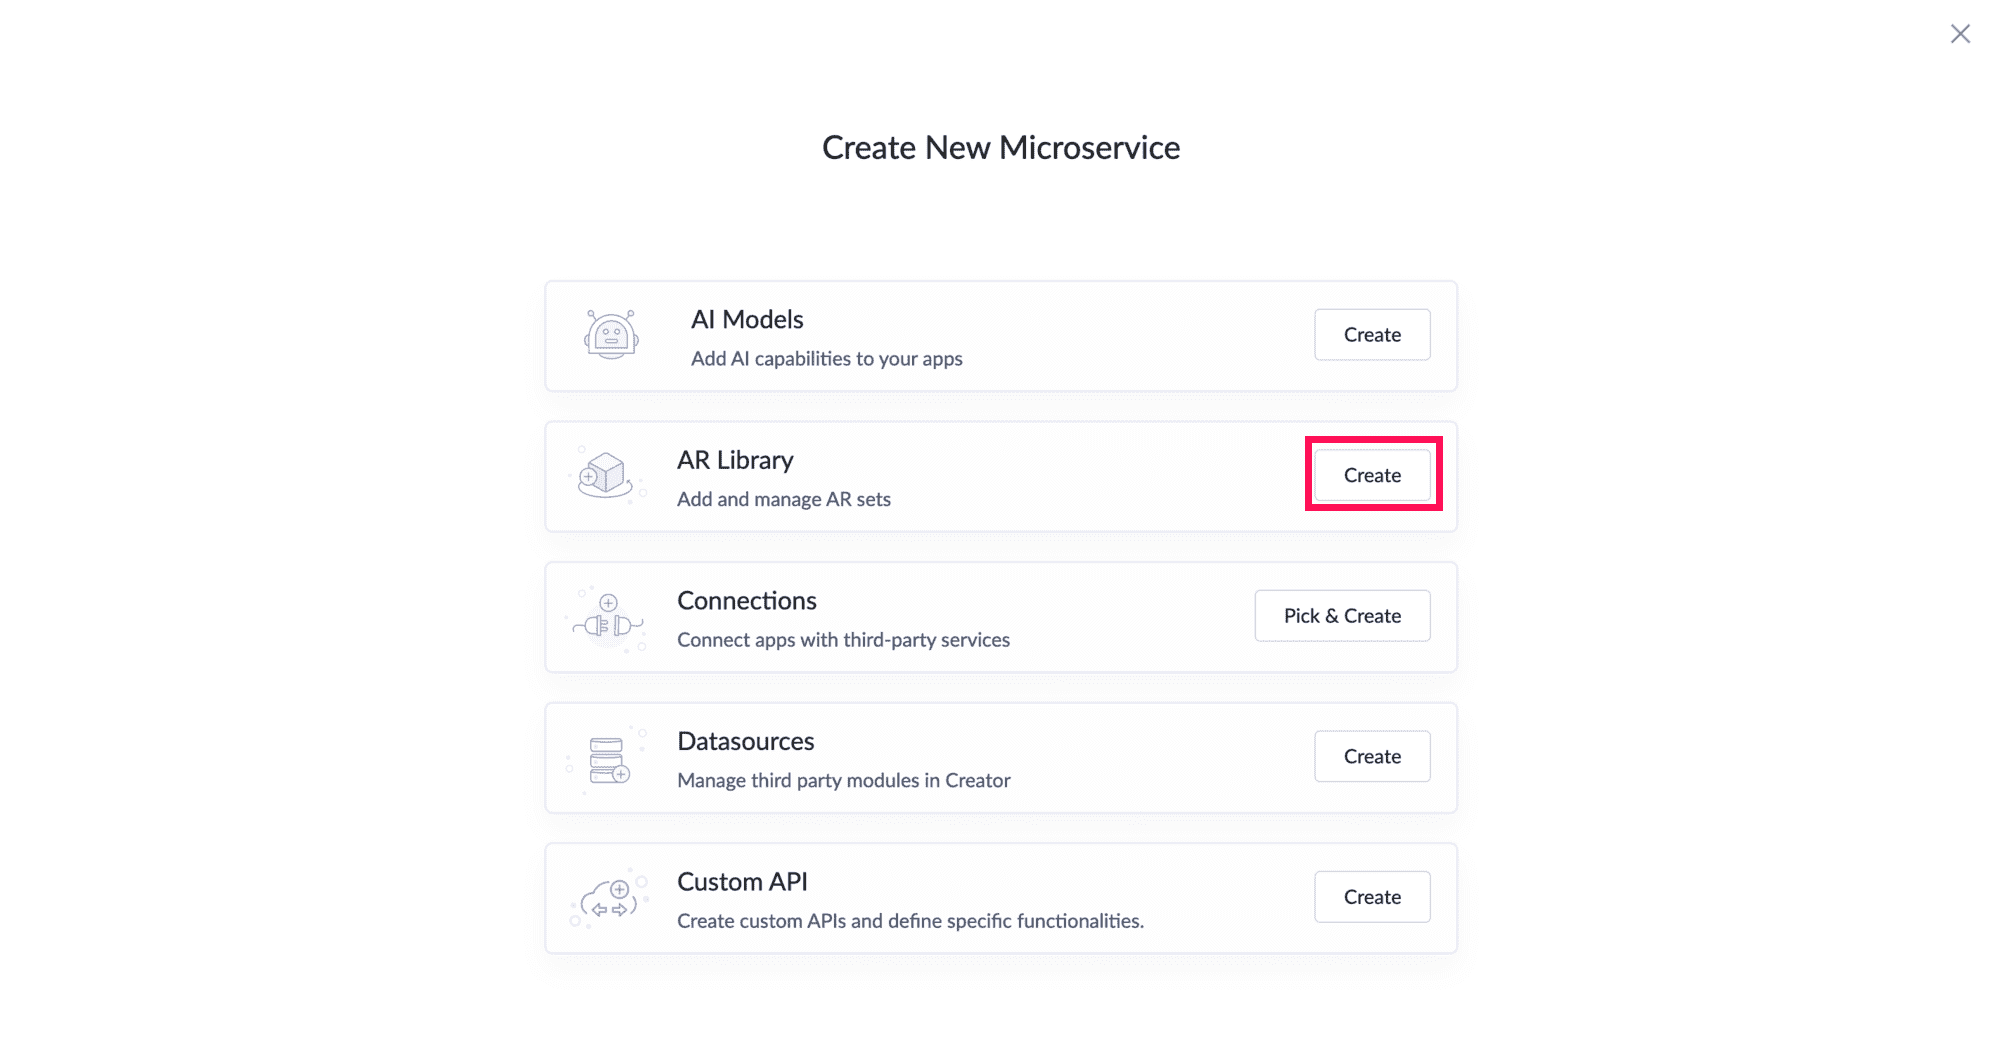
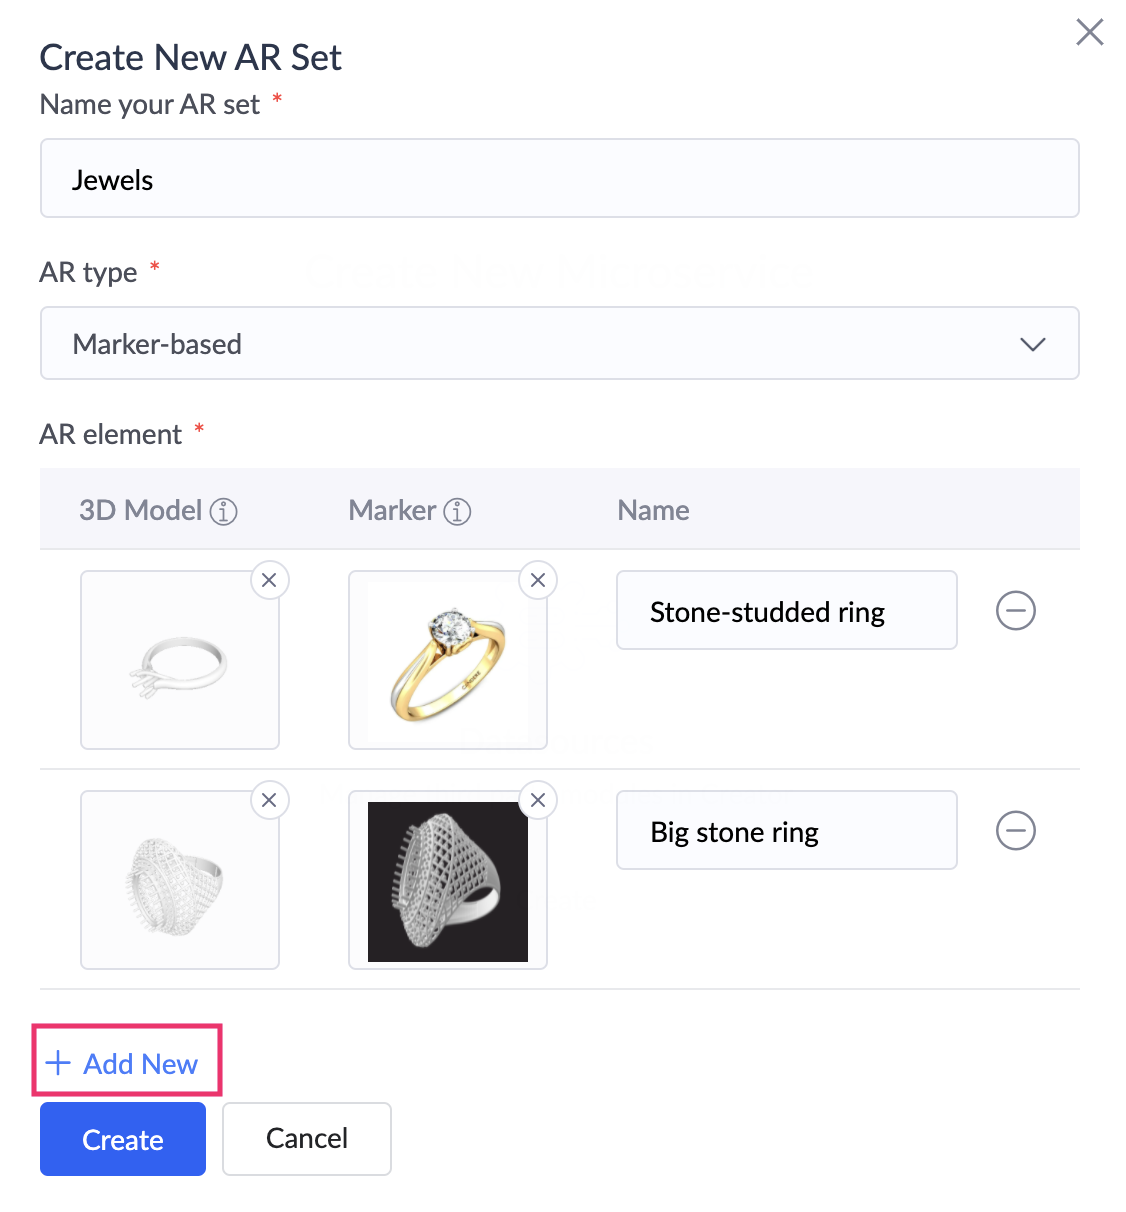
- Enter a name for your AR set and select the marker type: marker-based or markerless.
If you have chosen the AR types as markerless :
Upload a 3D model image.
 Note :
- Supported file types for 3D models include .gltf, .dae, .obj, .fbx, .stl
- The files that you upload will be scanned for any virus before creation of the model. You will have to upload a different file if the uploaded file contains a virus.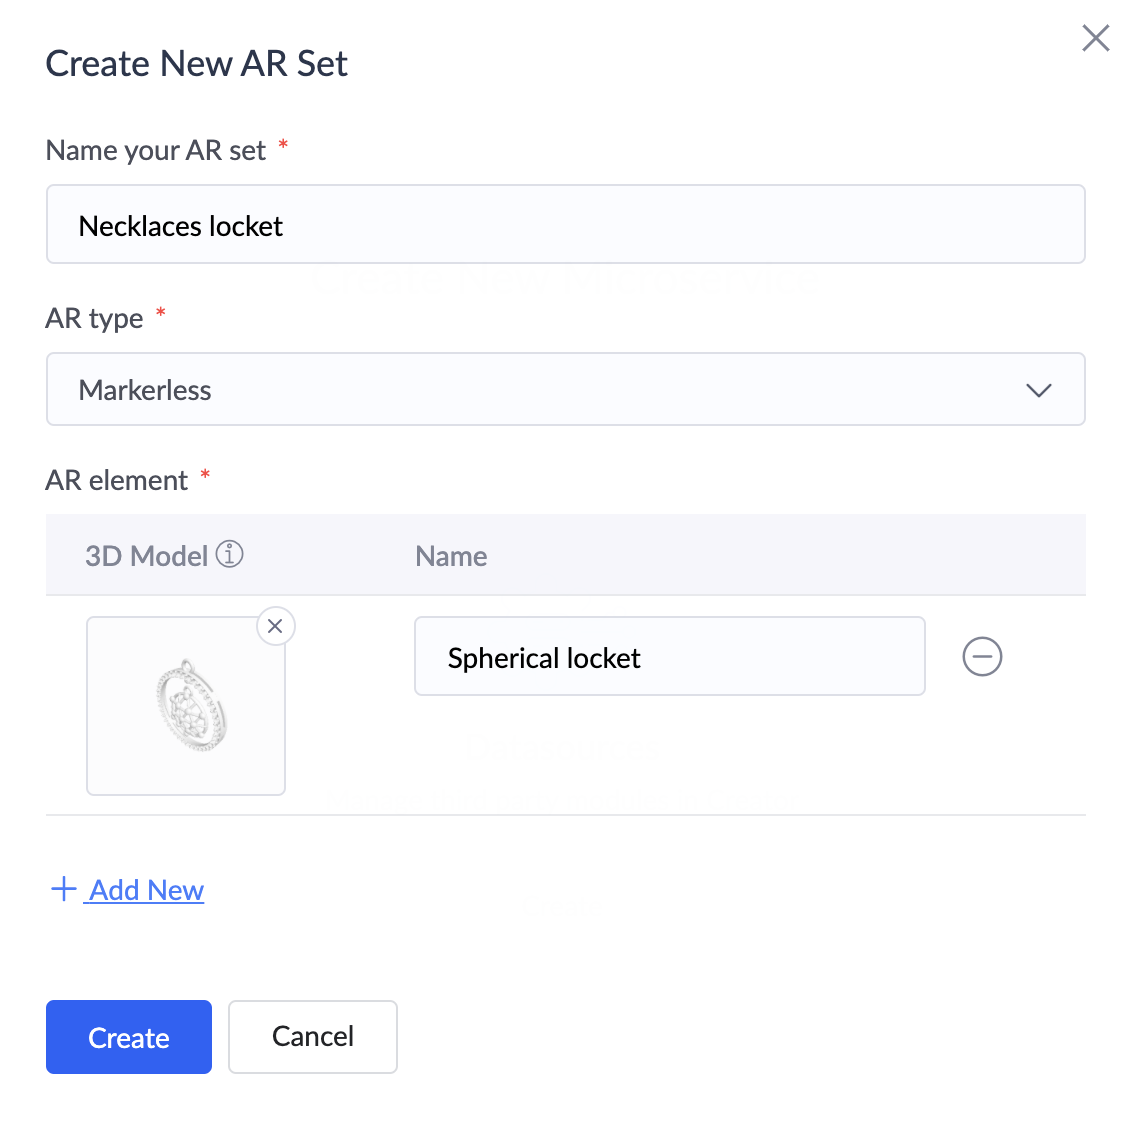
- Specify a name for your model.
You can remove the uploaded model and marker images by clicking the remove icon at the top.
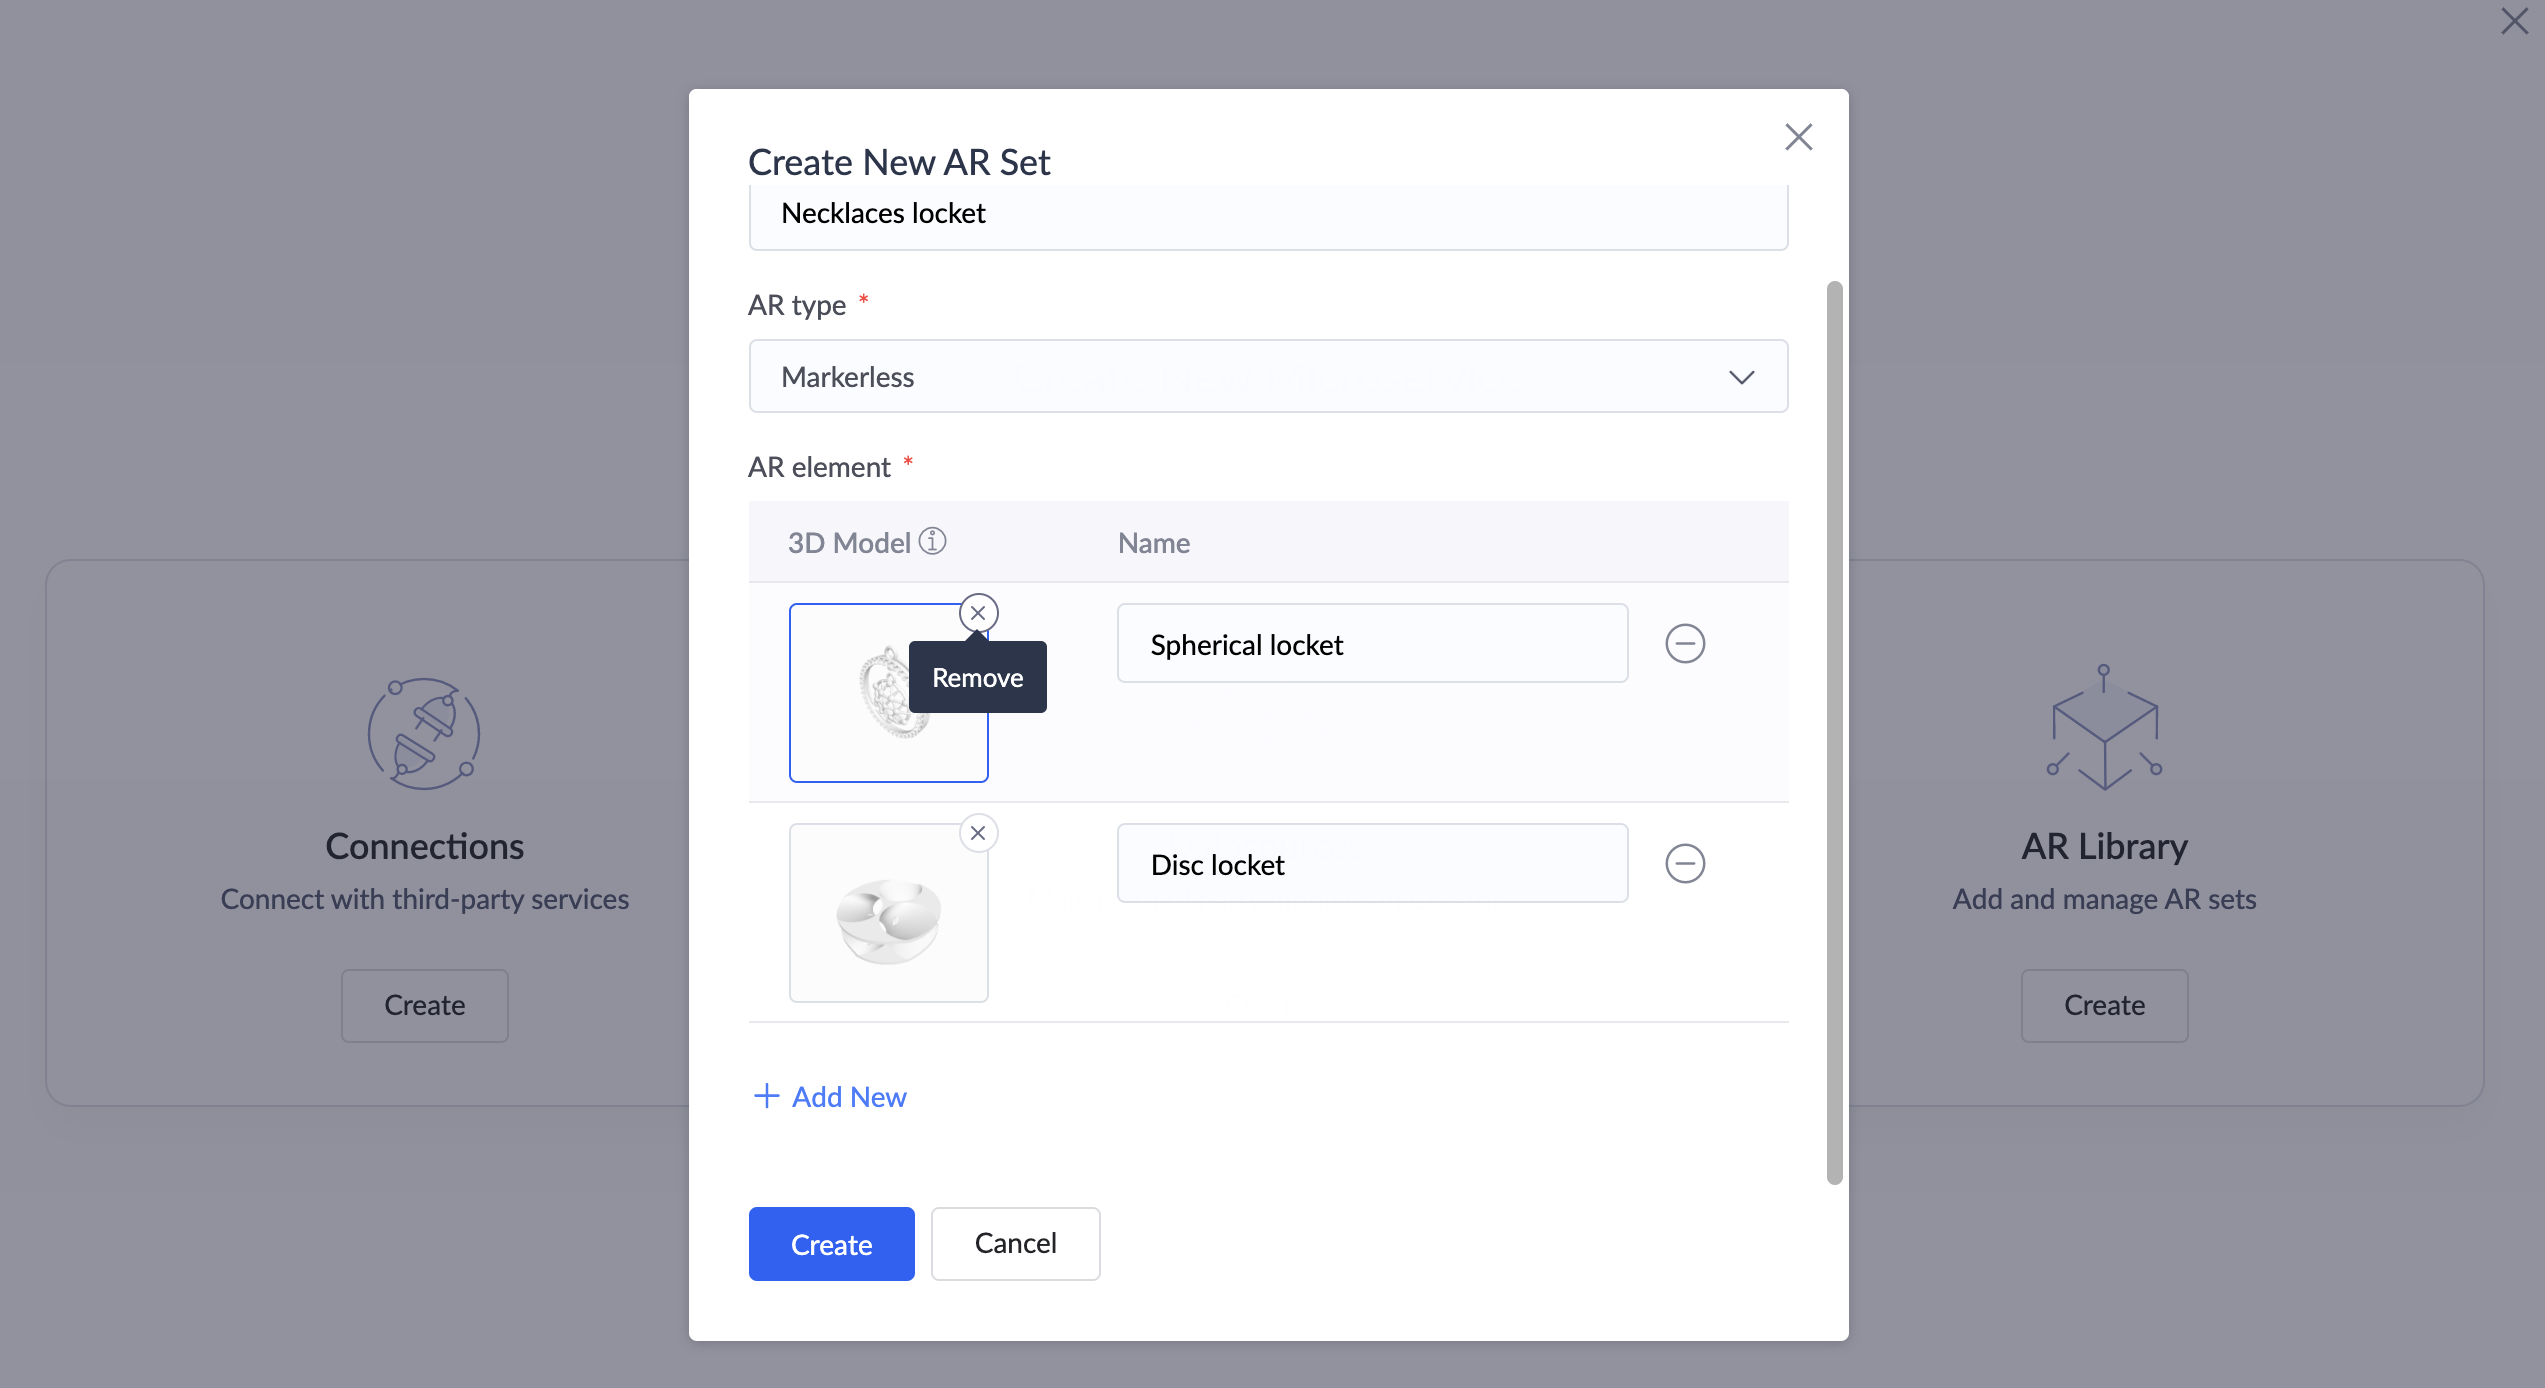
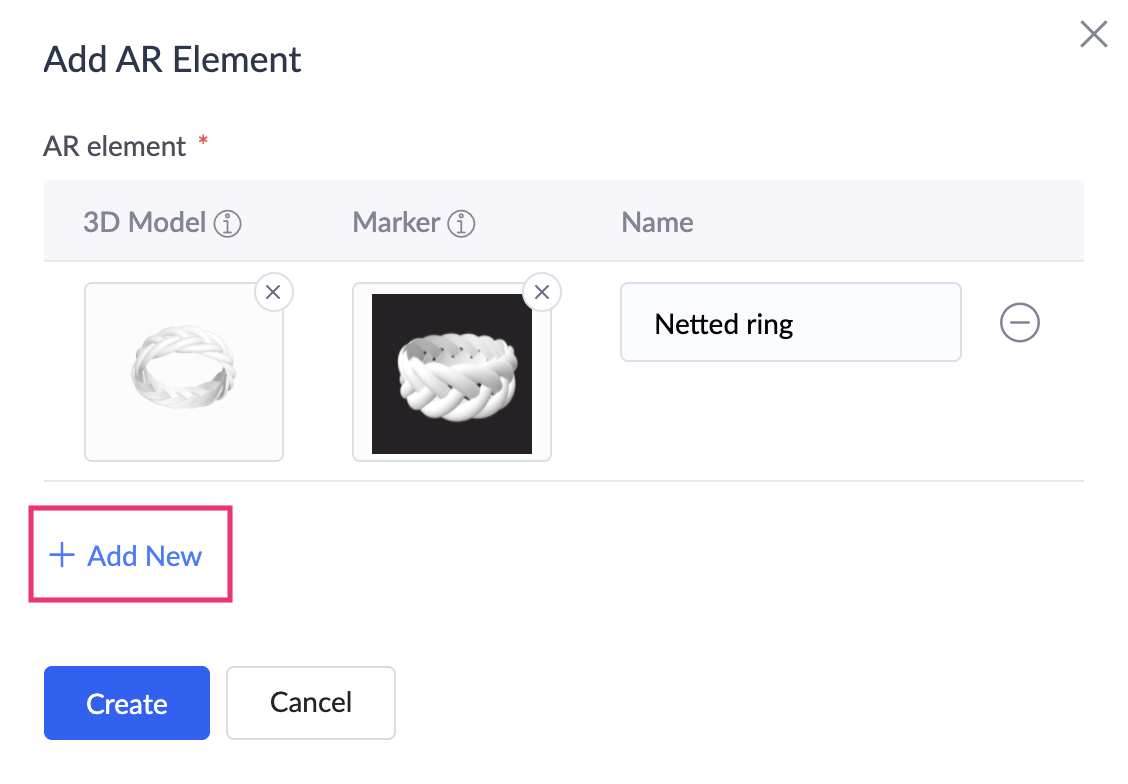
- You can add more elements by clicking the Add New button.
- Click on
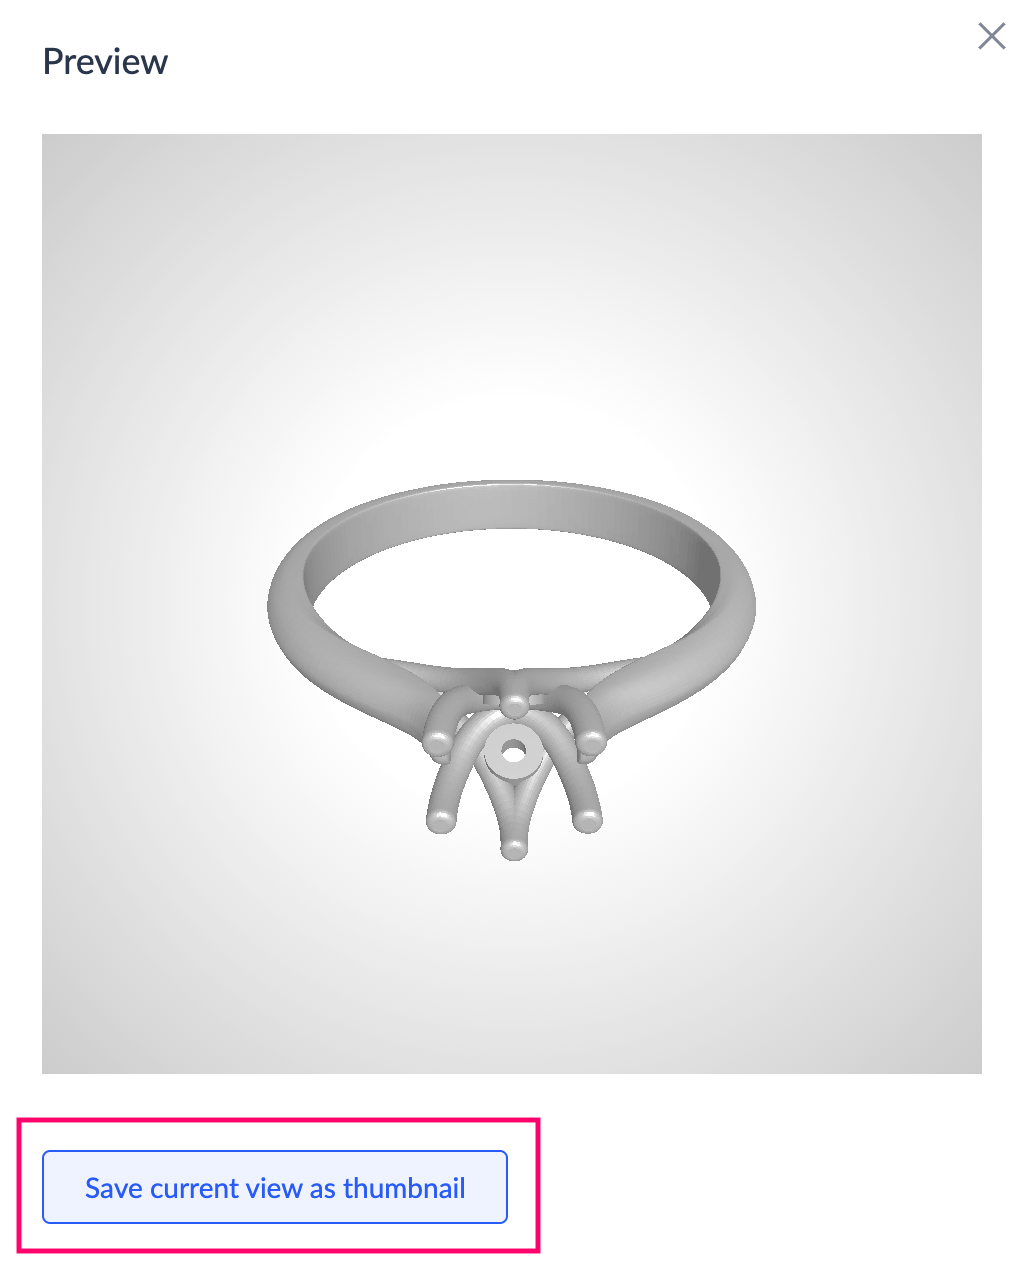
the uploaded model to change its thumbnail image. Rotate the image to the desired view using the pointer and click the Save current view as thumbnail button.
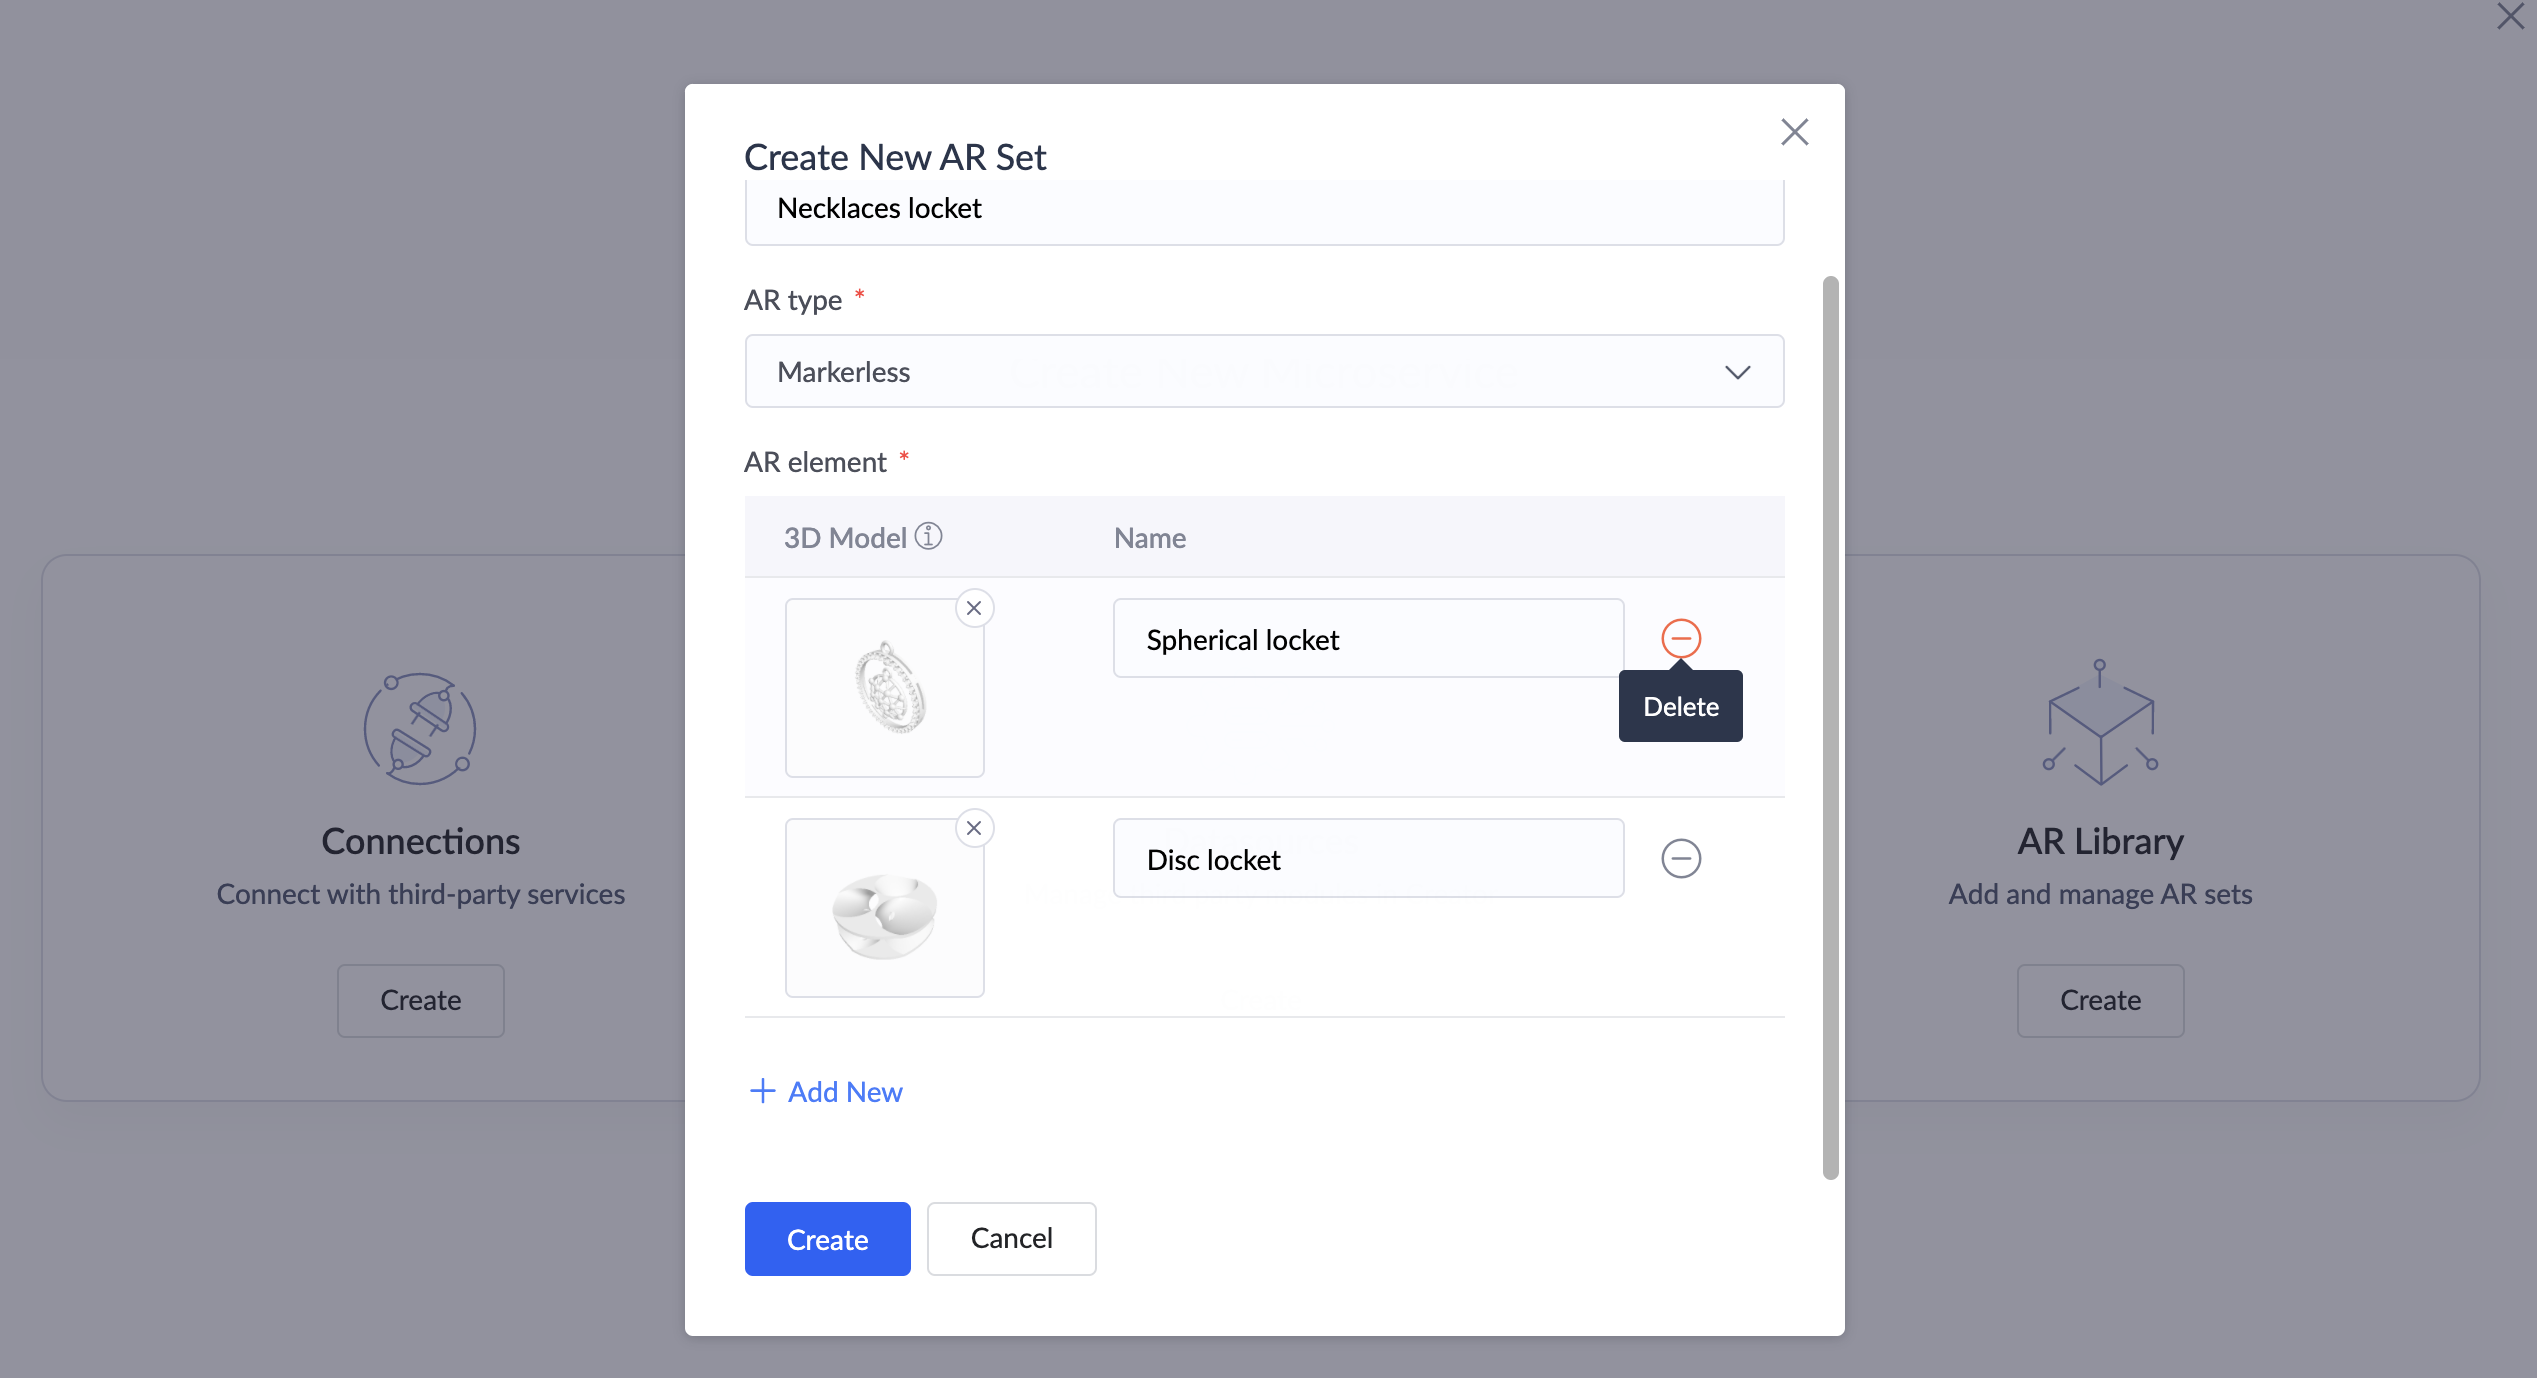
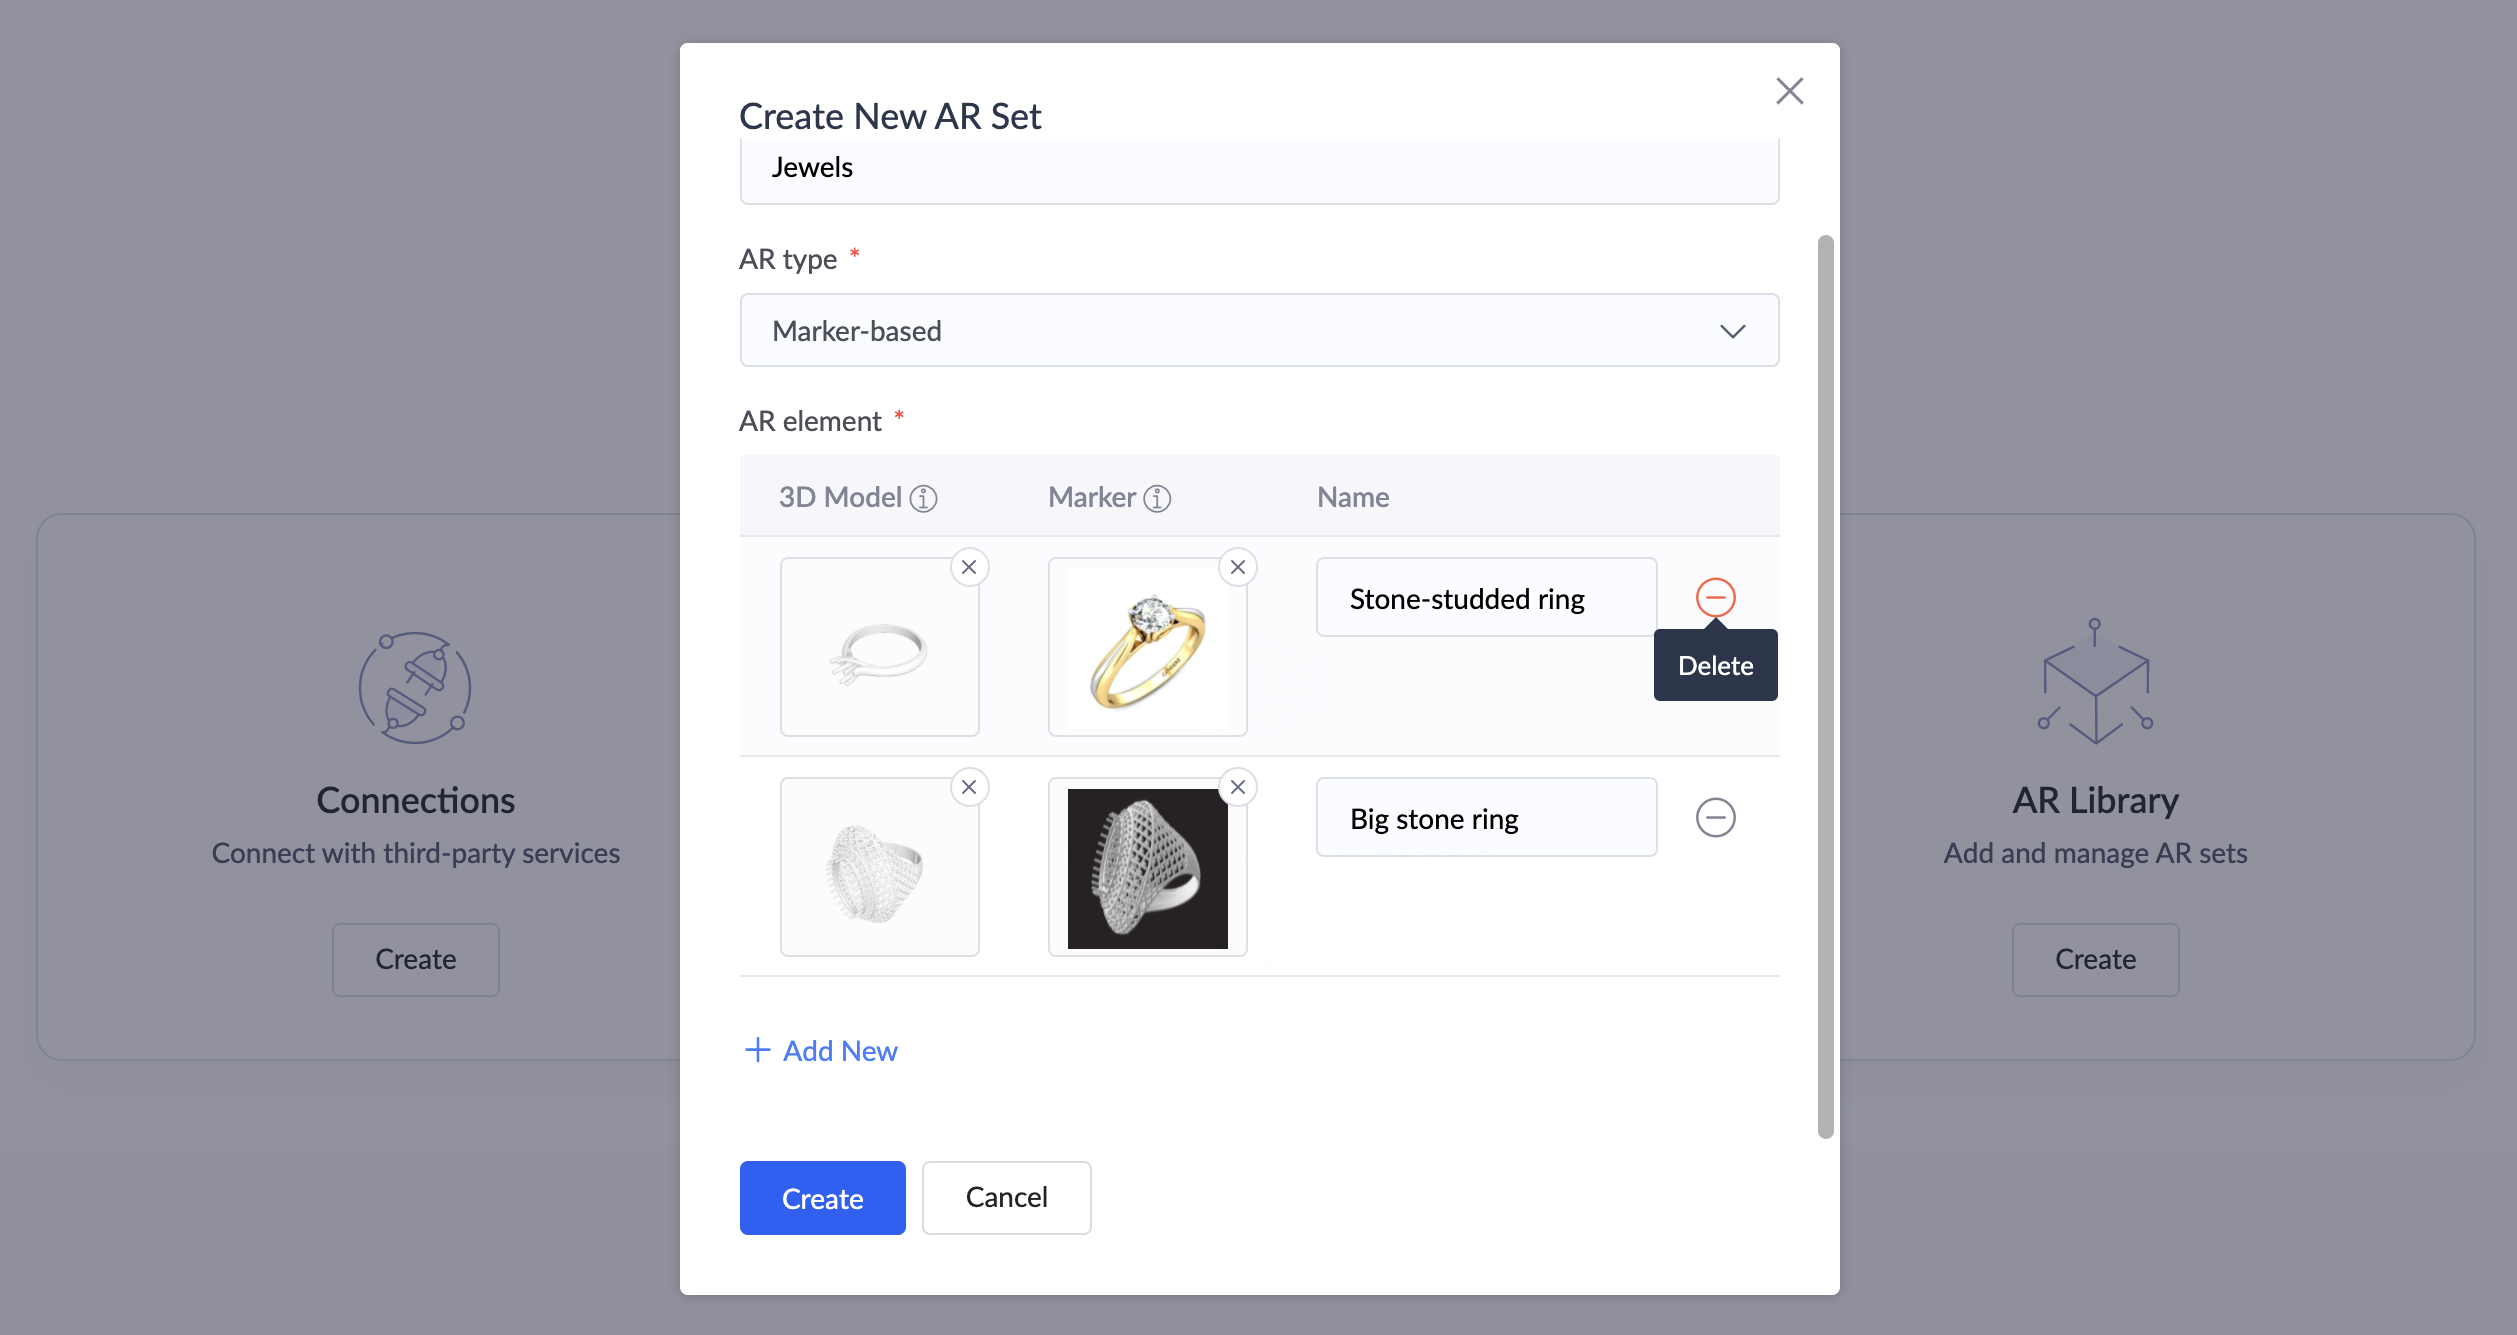
To delete an AR element, click the minus icon beside the required model.
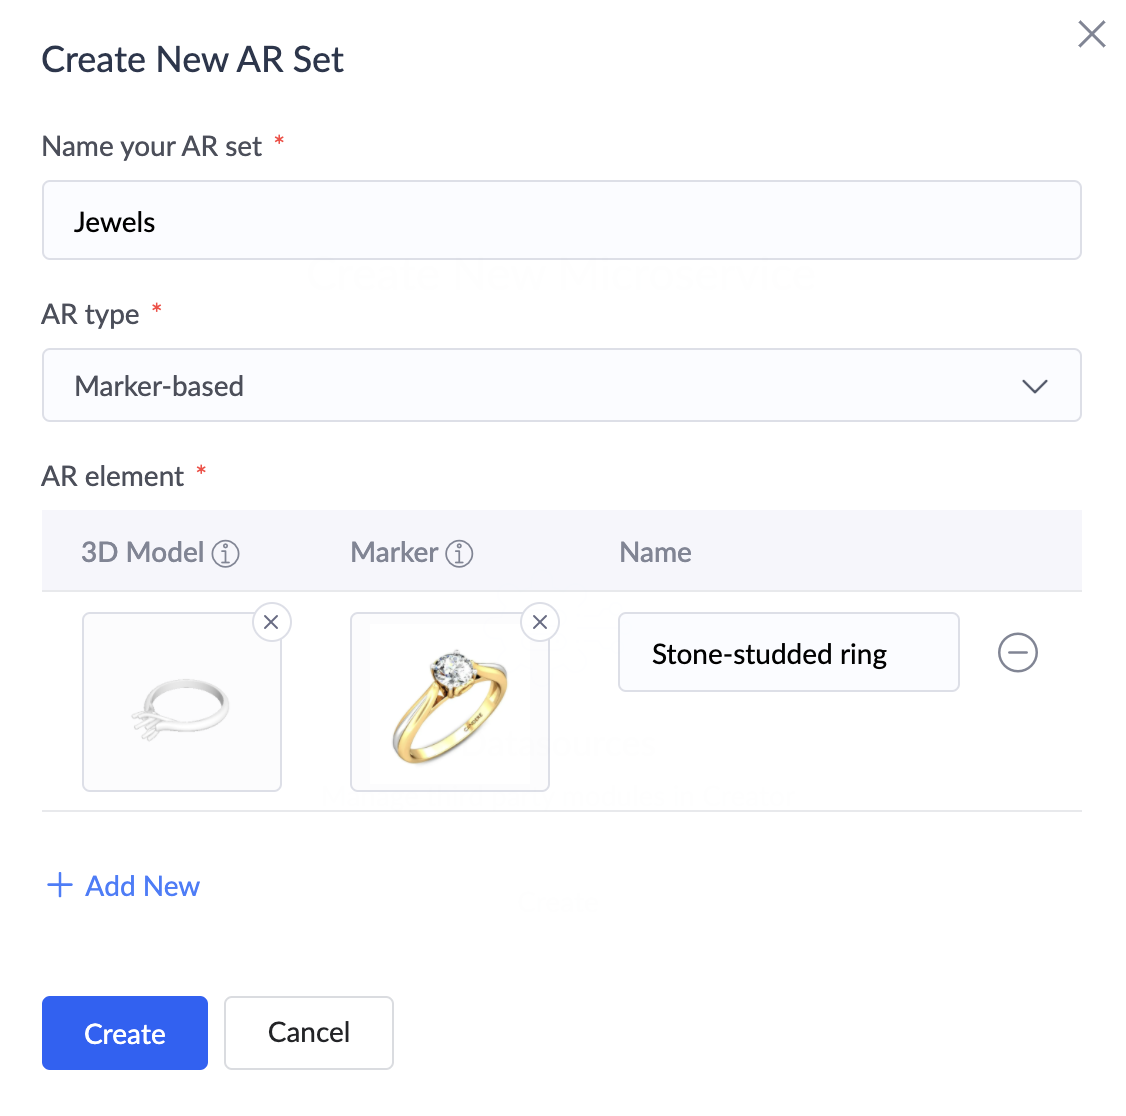
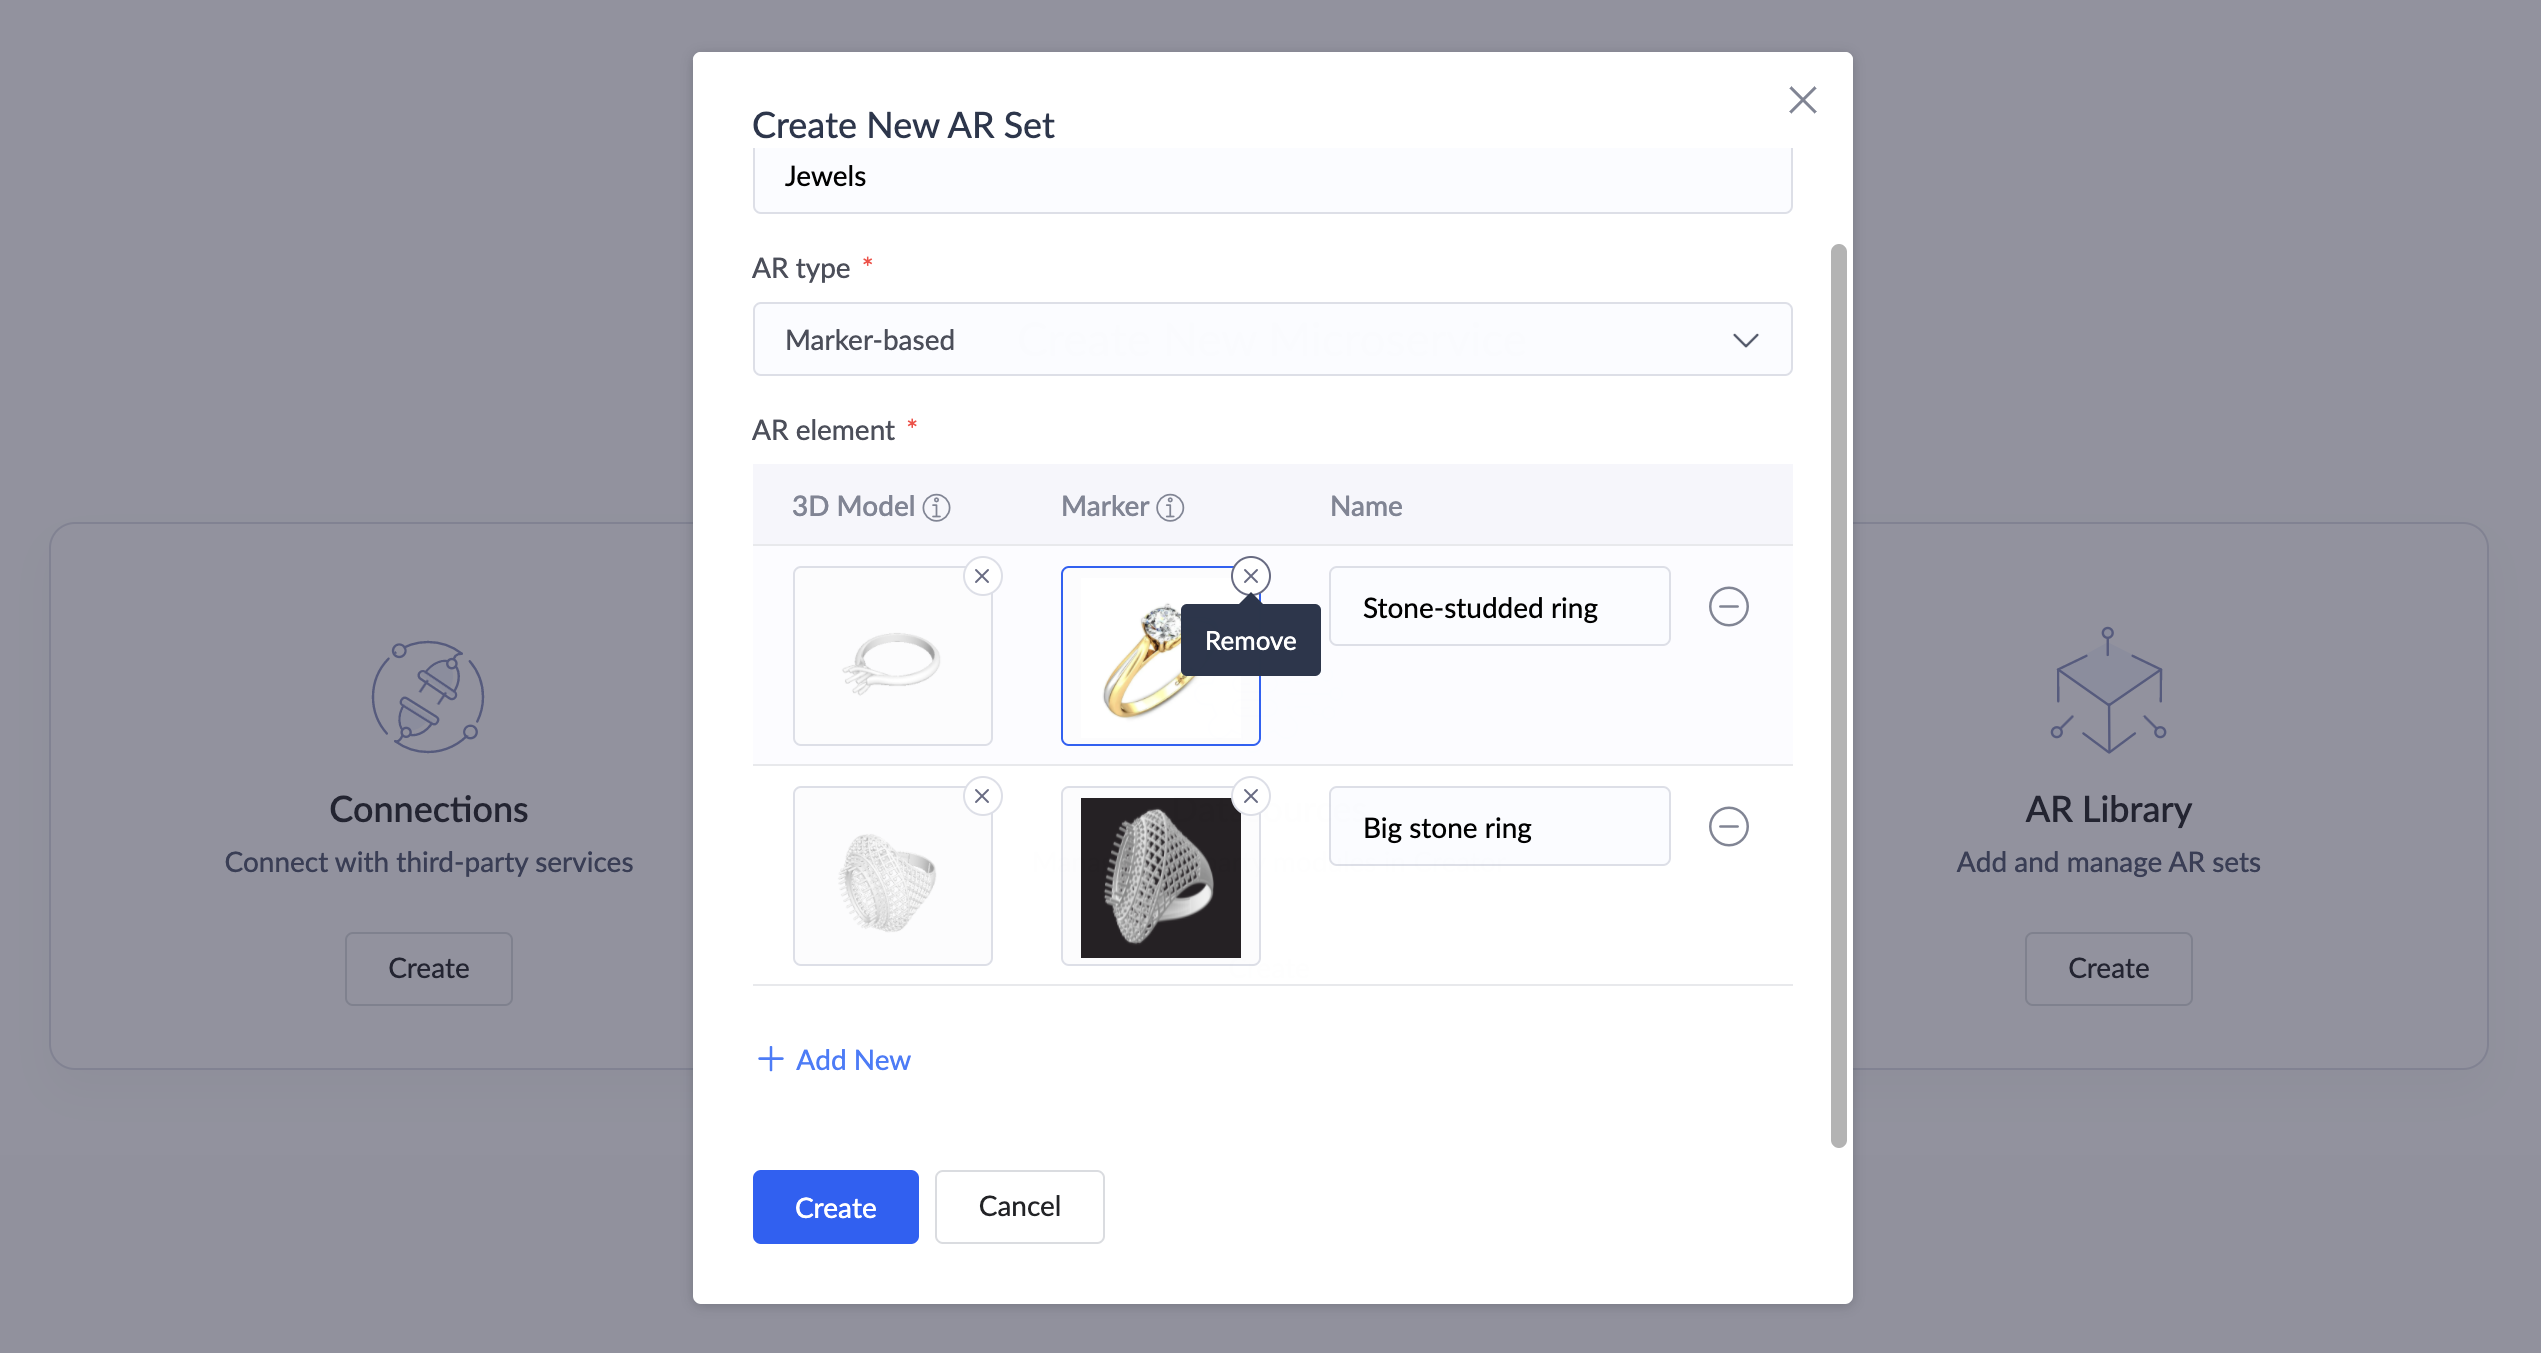
If you have chosen the AR types as marker-based, enter the following details:
- Specify a name for your model.
You can remove the uploaded model and marker images by clicking the remove icon at the top.
You can add more elements by clicking the Add New button.
- Click on the uploaded model to change its thumbnail image. Rotate the image to the desired view using the pointer and click the Save current view as thumbnail button.
To delete an AR element, click the minus icon beside the required model.
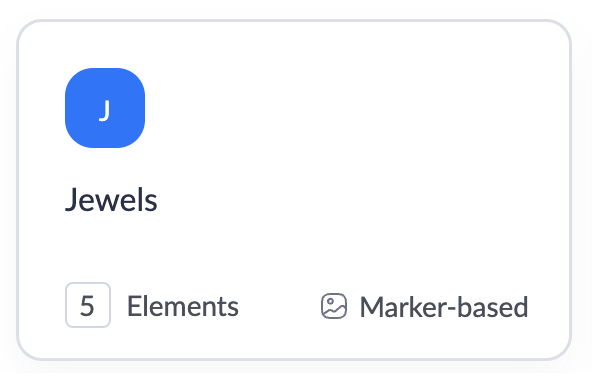
- Click the Create button at the bottom. The AR set will be created and displayed in your AR Library page.
The type of AR set and the number of elements (models) it contains will be displayed in each AR set card.
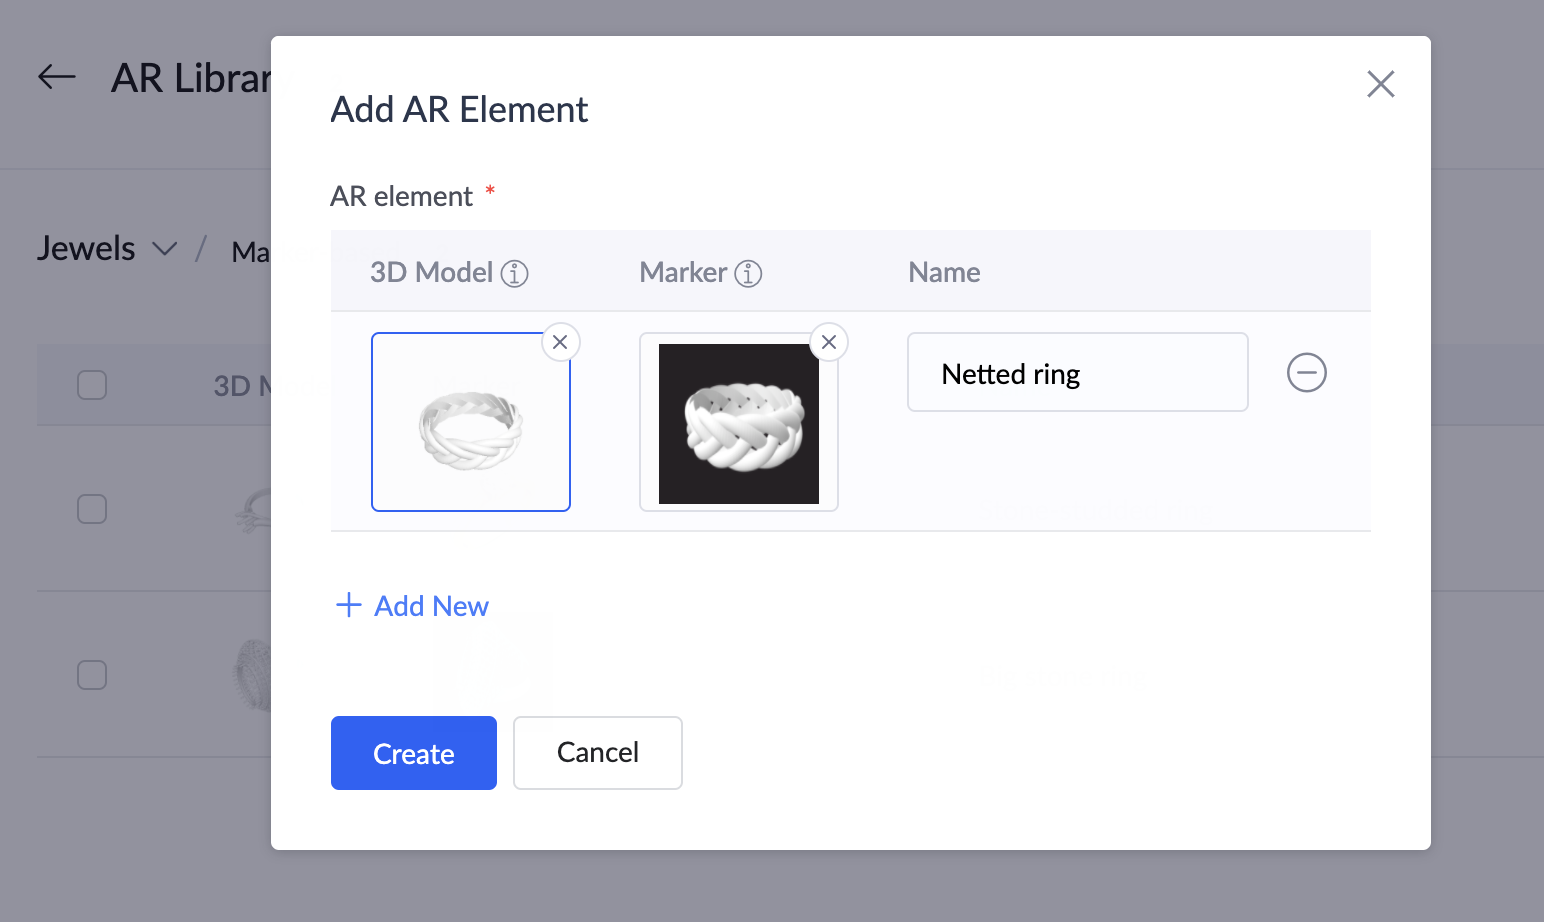
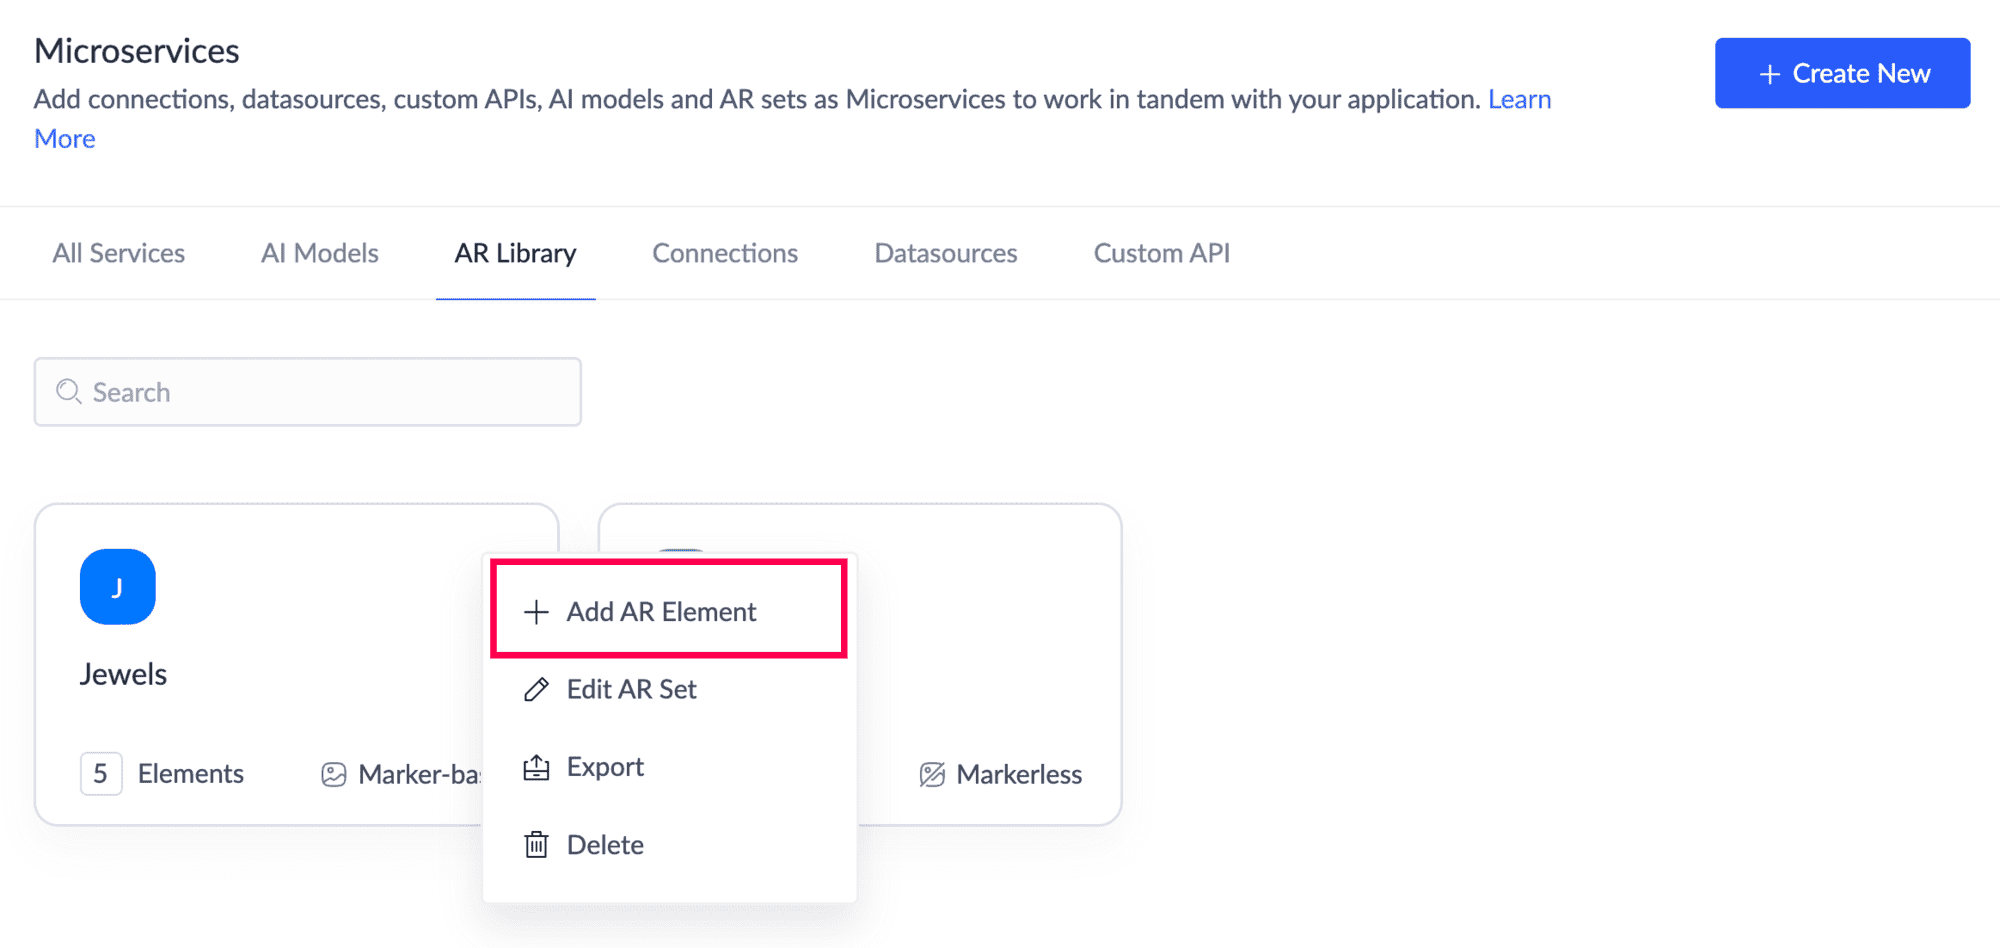
- To add an AR element to an existing AR set, navigate to the Micro Services page.
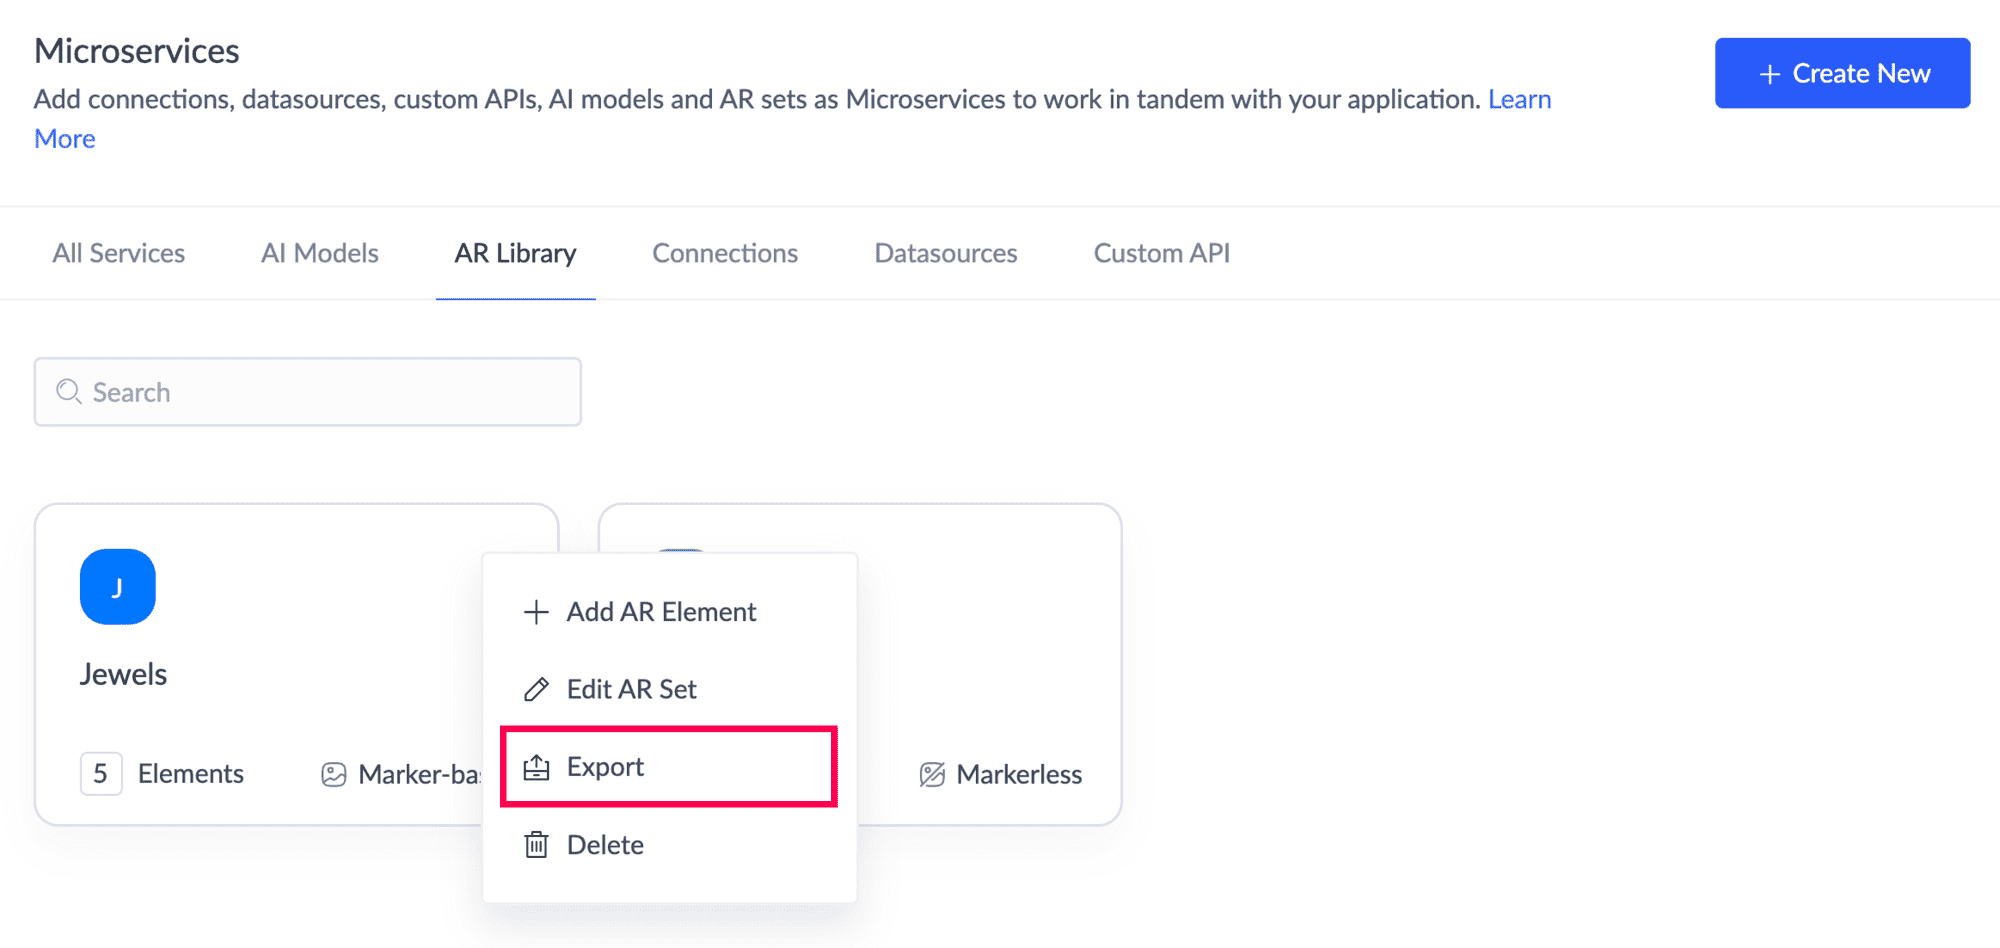
Click the triple-dot icon beside the required AR set, then click the Add AR Element option.
Upload the required details and click Create in the popup. To change the model's thumbnail view, click on the uploaded model. Rotate the image to the desired view using the pointer and click the Save current view as thumbnail button.
To edit an AR set, click the triple-dot icon beside the required AR set, then click the Edit AR Set option.
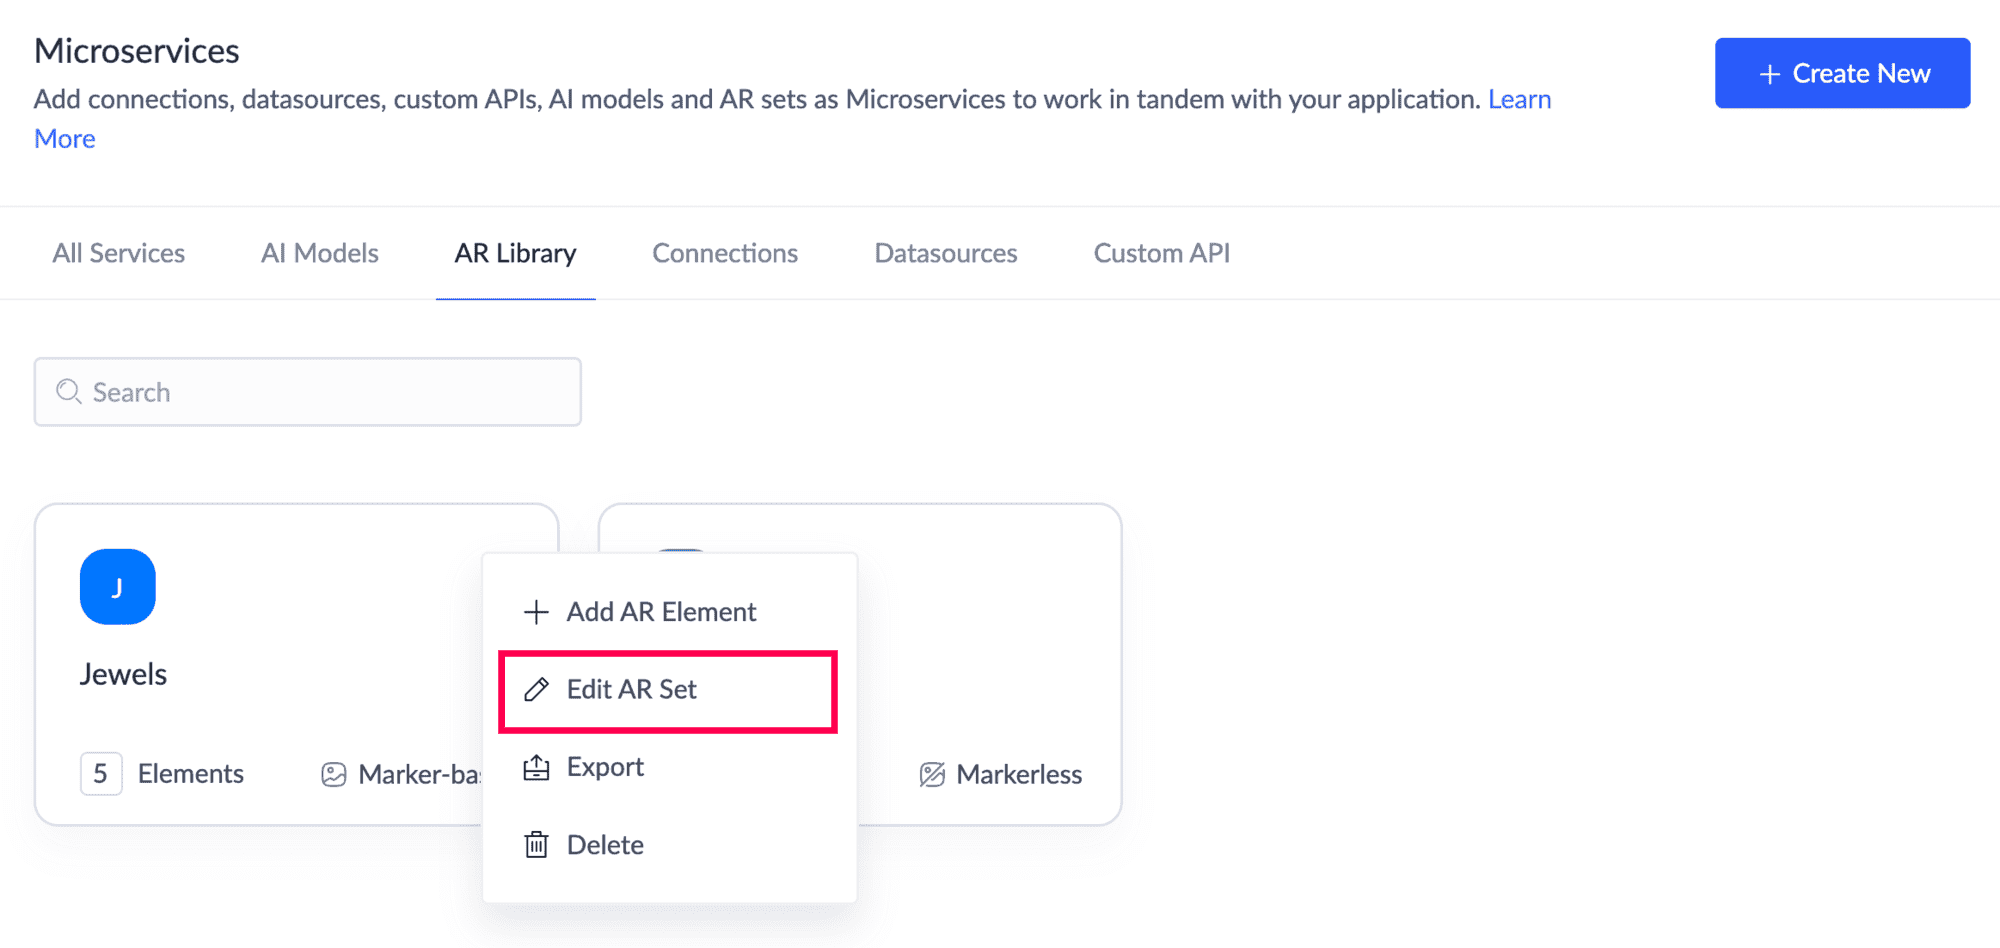
Note : While editing, if you want to change the AR-type from marker-based to markerless, the existing markers will be lost.

To export an AR set, click the triple-dot icon beside the required AR set, then click the Export option.
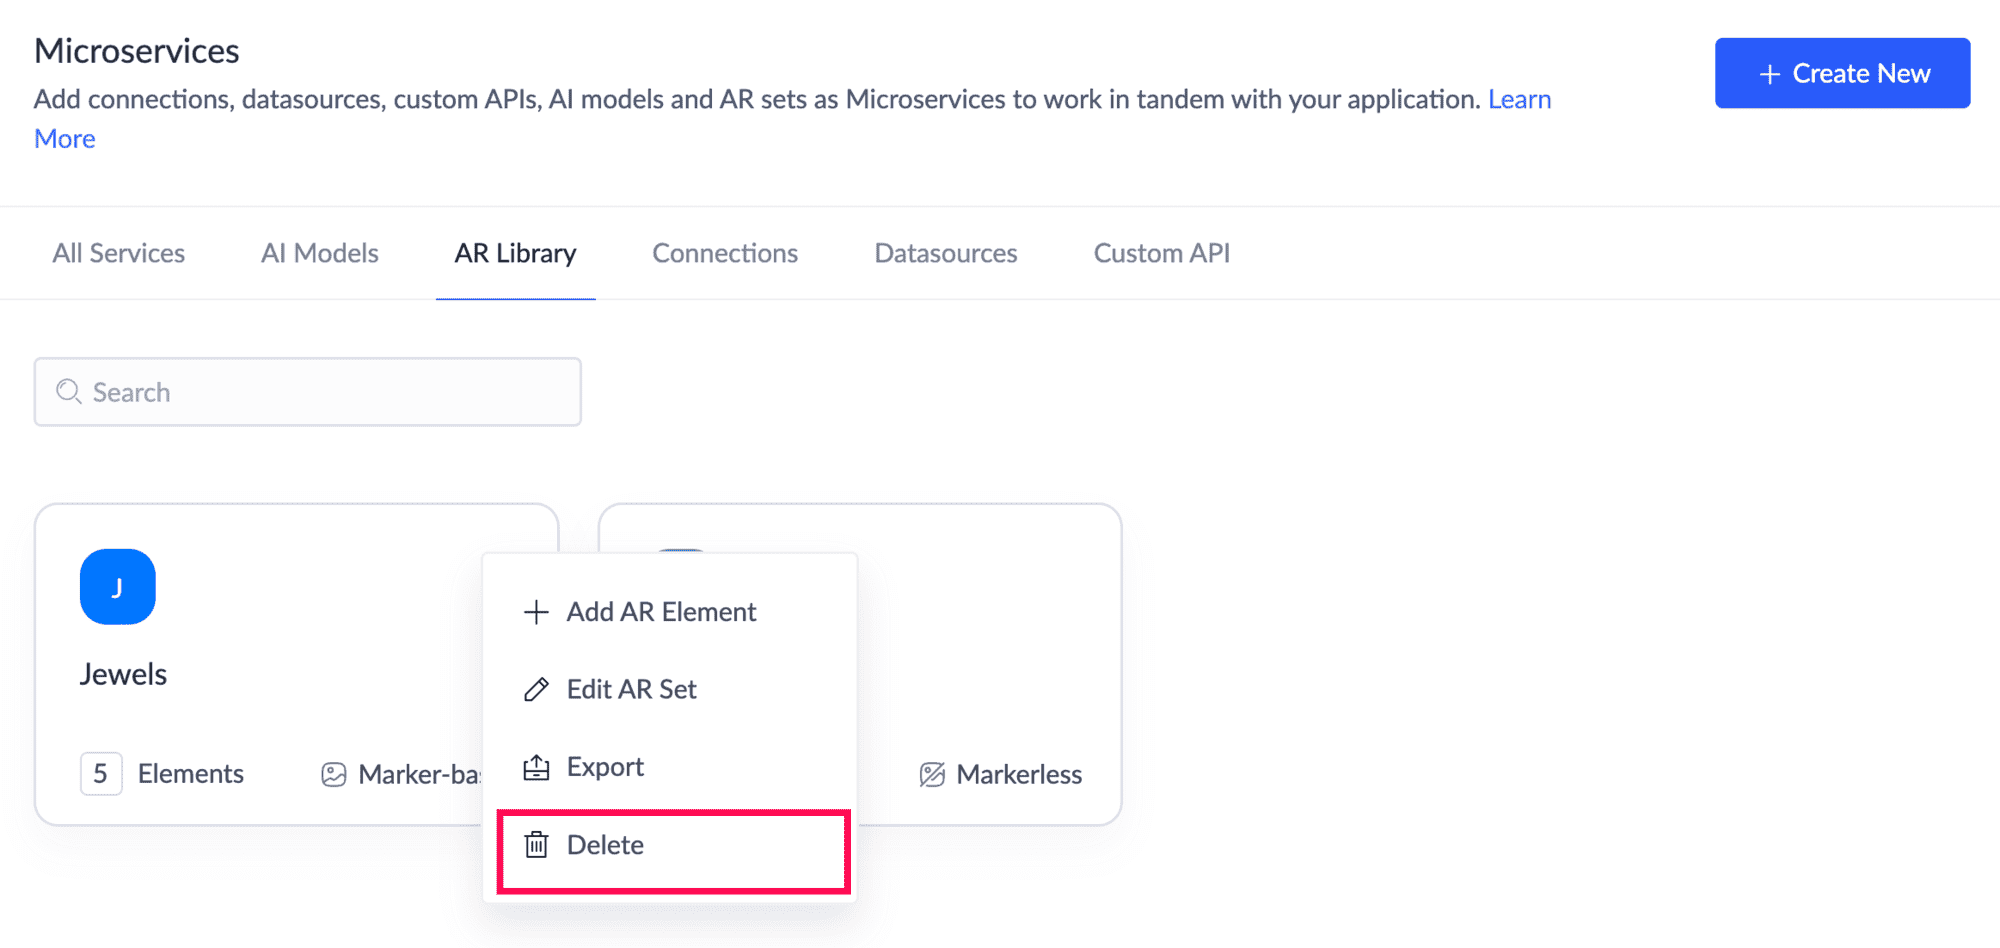
To delete an AR set, click the triple-dot icon beside the required AR set, then click the Delete option.
- Navigate to the Micro Services page by clicking Microservices on your left pane.
Click on the required AR set card. The 3D models, markers, and their model names from the chosen set will be listed.
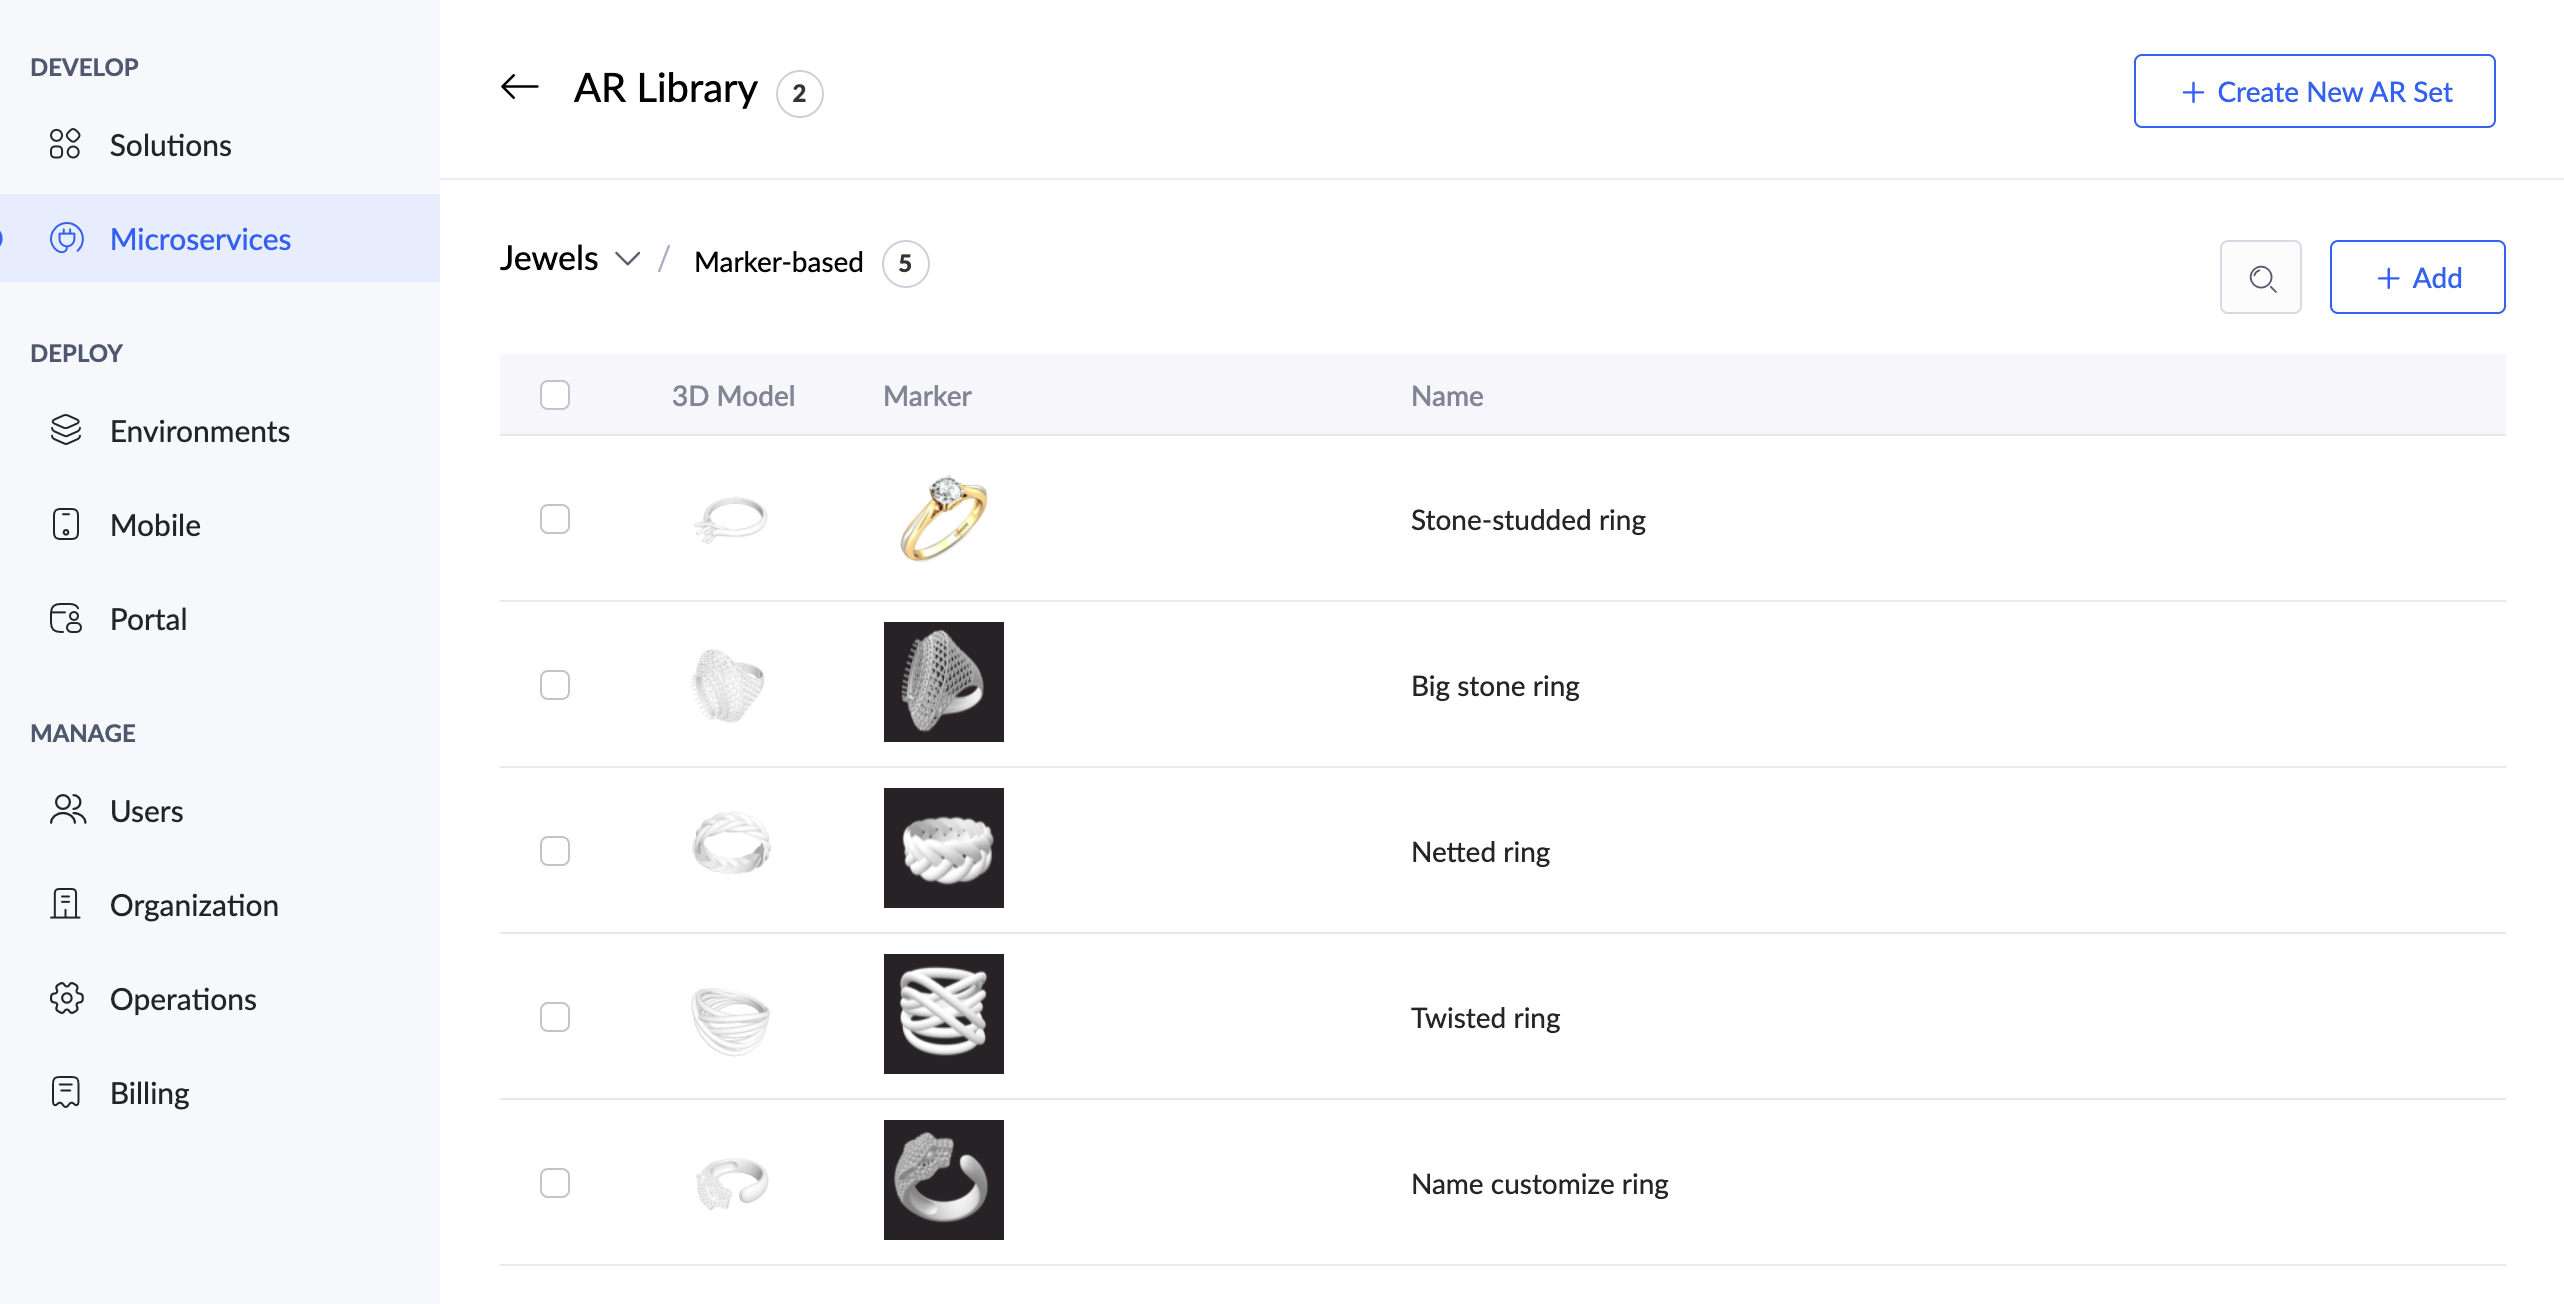
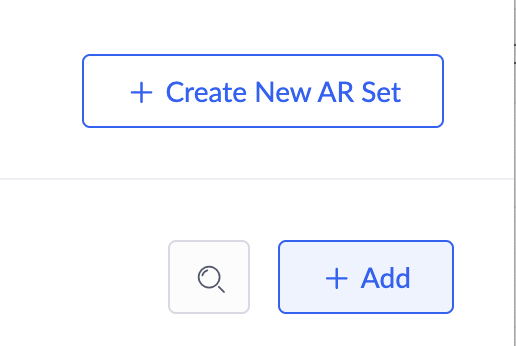
Click the +Add button at the top-right to add AR elements (models and their markers) in the selected AR set.
- If you have chosen to add an AR element in a markerless AR set, upload your 3D model and specify a name for it. You can add more models by clicking the Add New button.
If you have chosen to add an AR element in a marker-based AR set, enter the following details:
- Enter the required details and click Create.
To edit an AR element from the current AR set, click the triple-dot icon beside the required element, then select the Edit option.
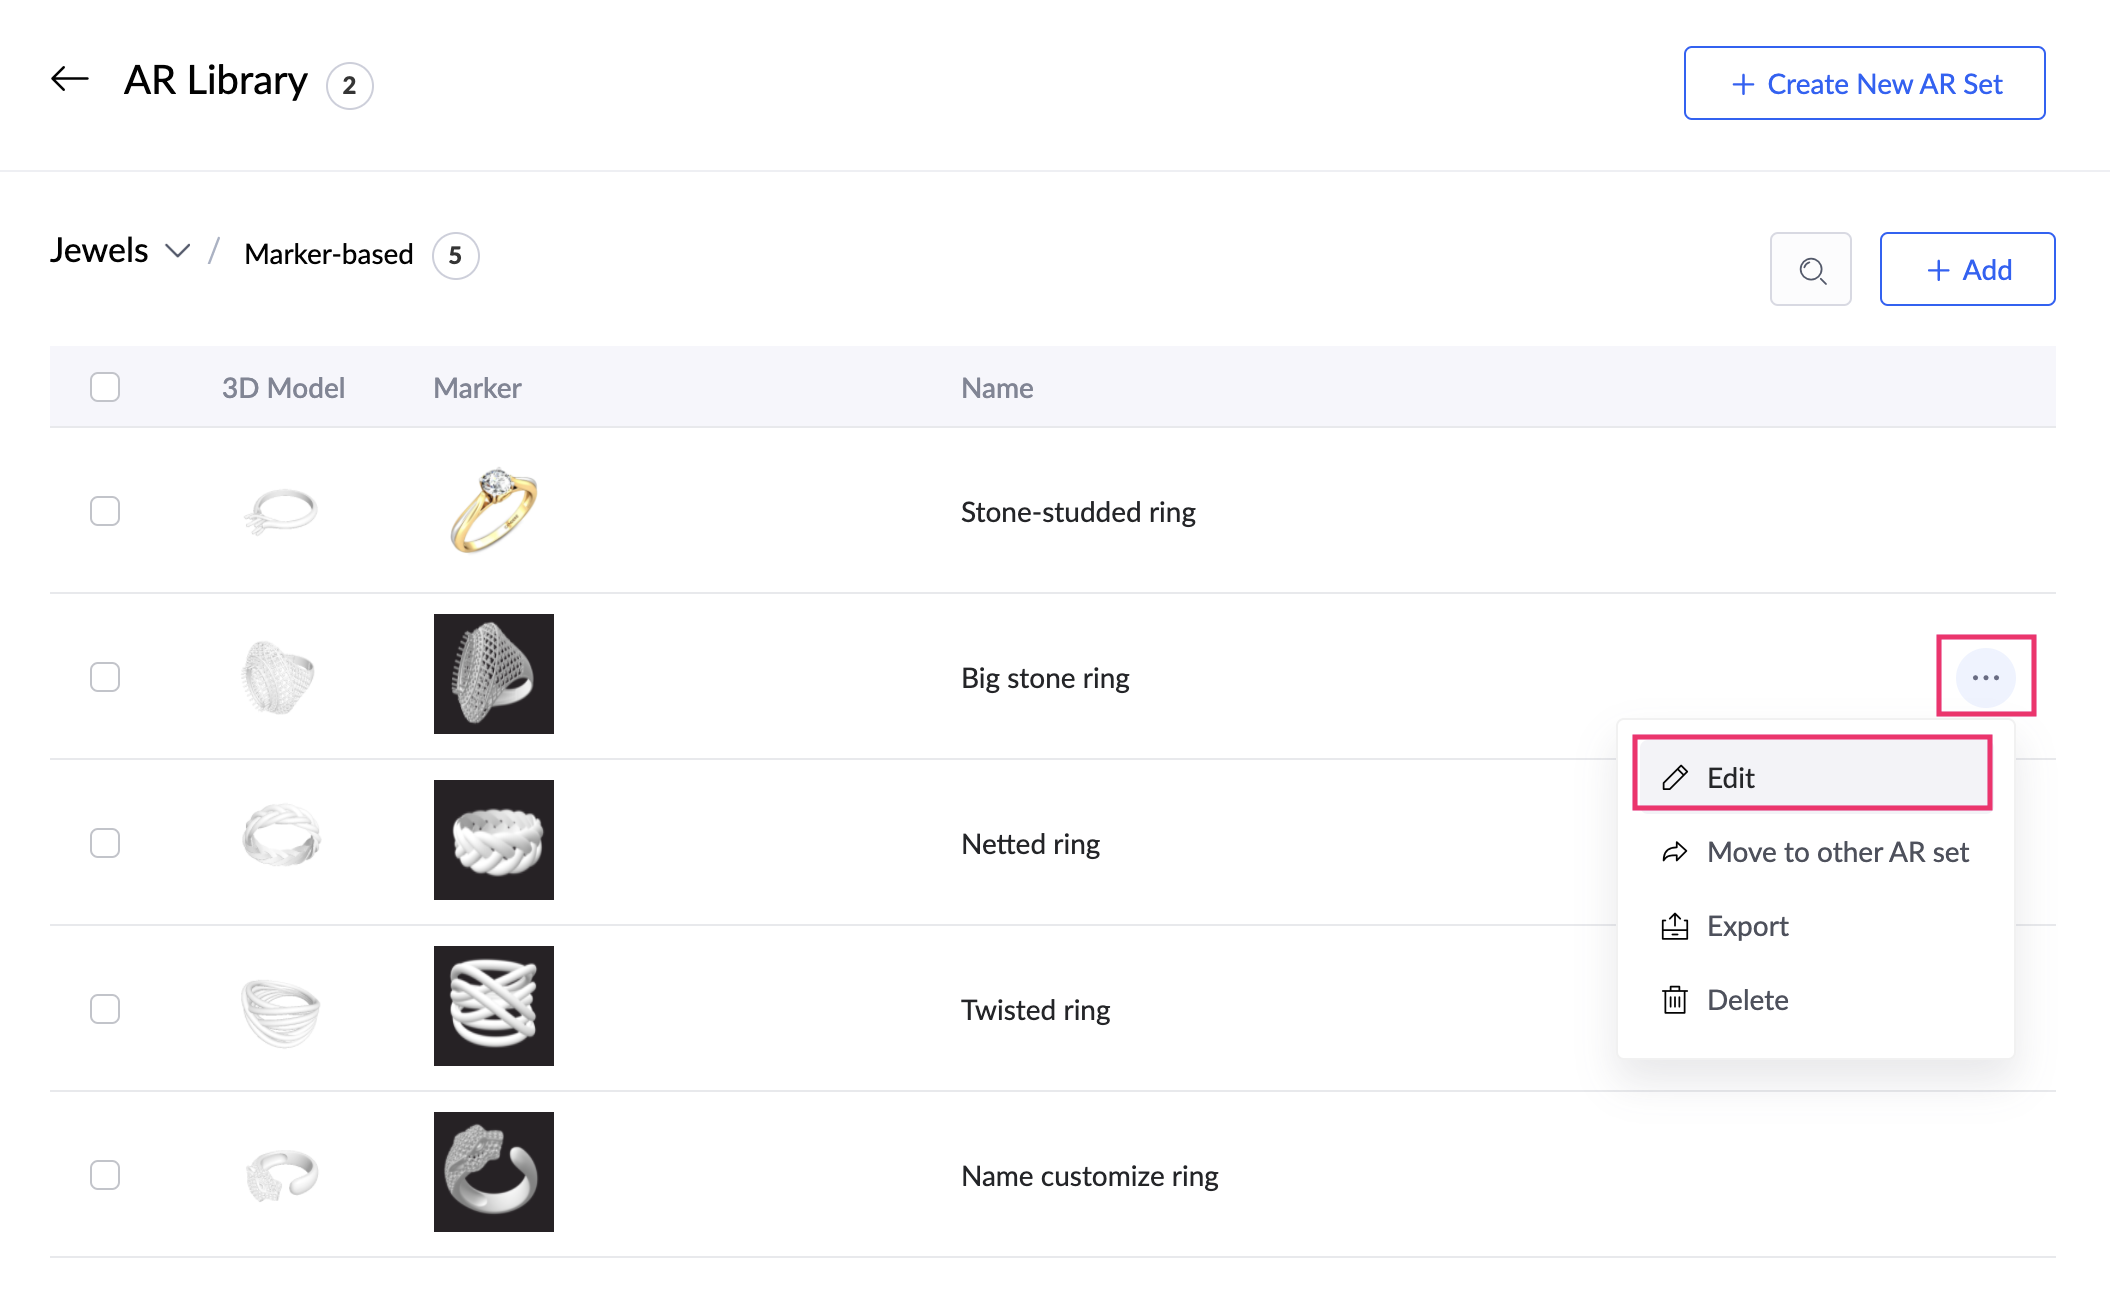
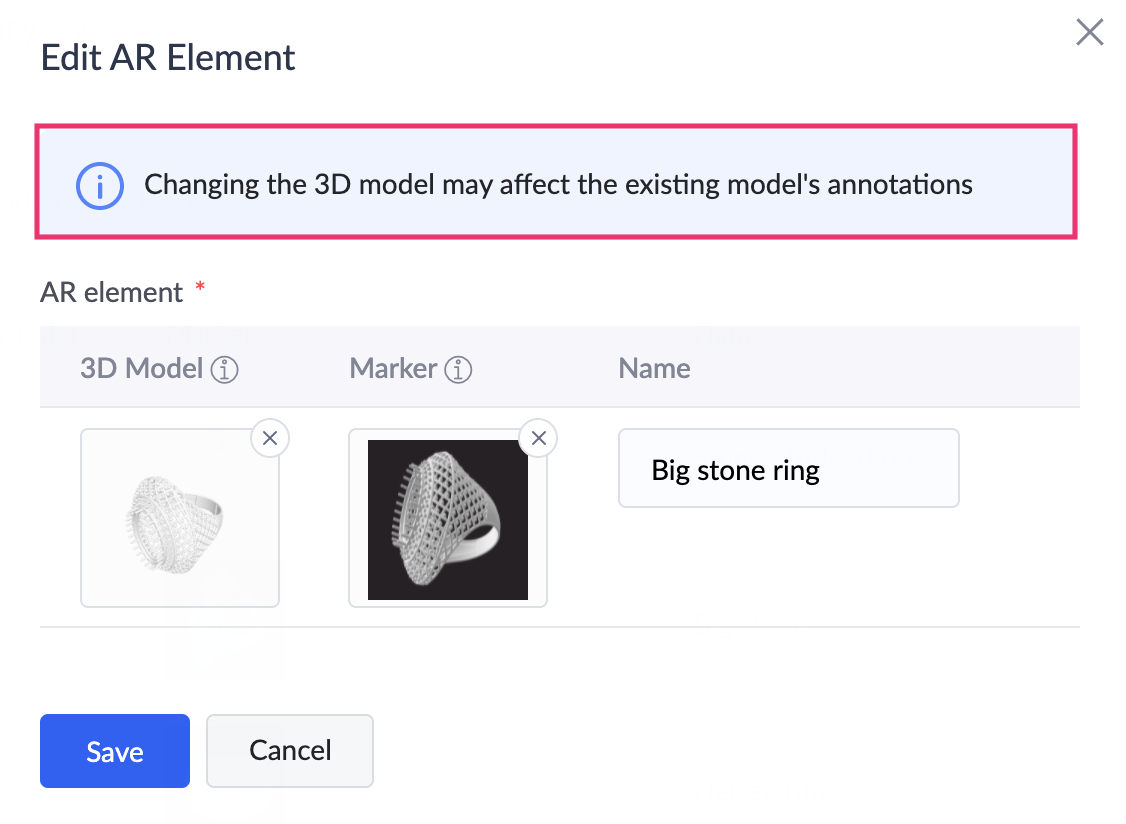
Make the required modifications and click Save.
Note : Changing the
3D model in an AR element may affect the existing model's
annotations.
To move an AR element from one AR set to another:
Click the triple-dot icon beside the required row of AR element and select the Move to other AR set option.
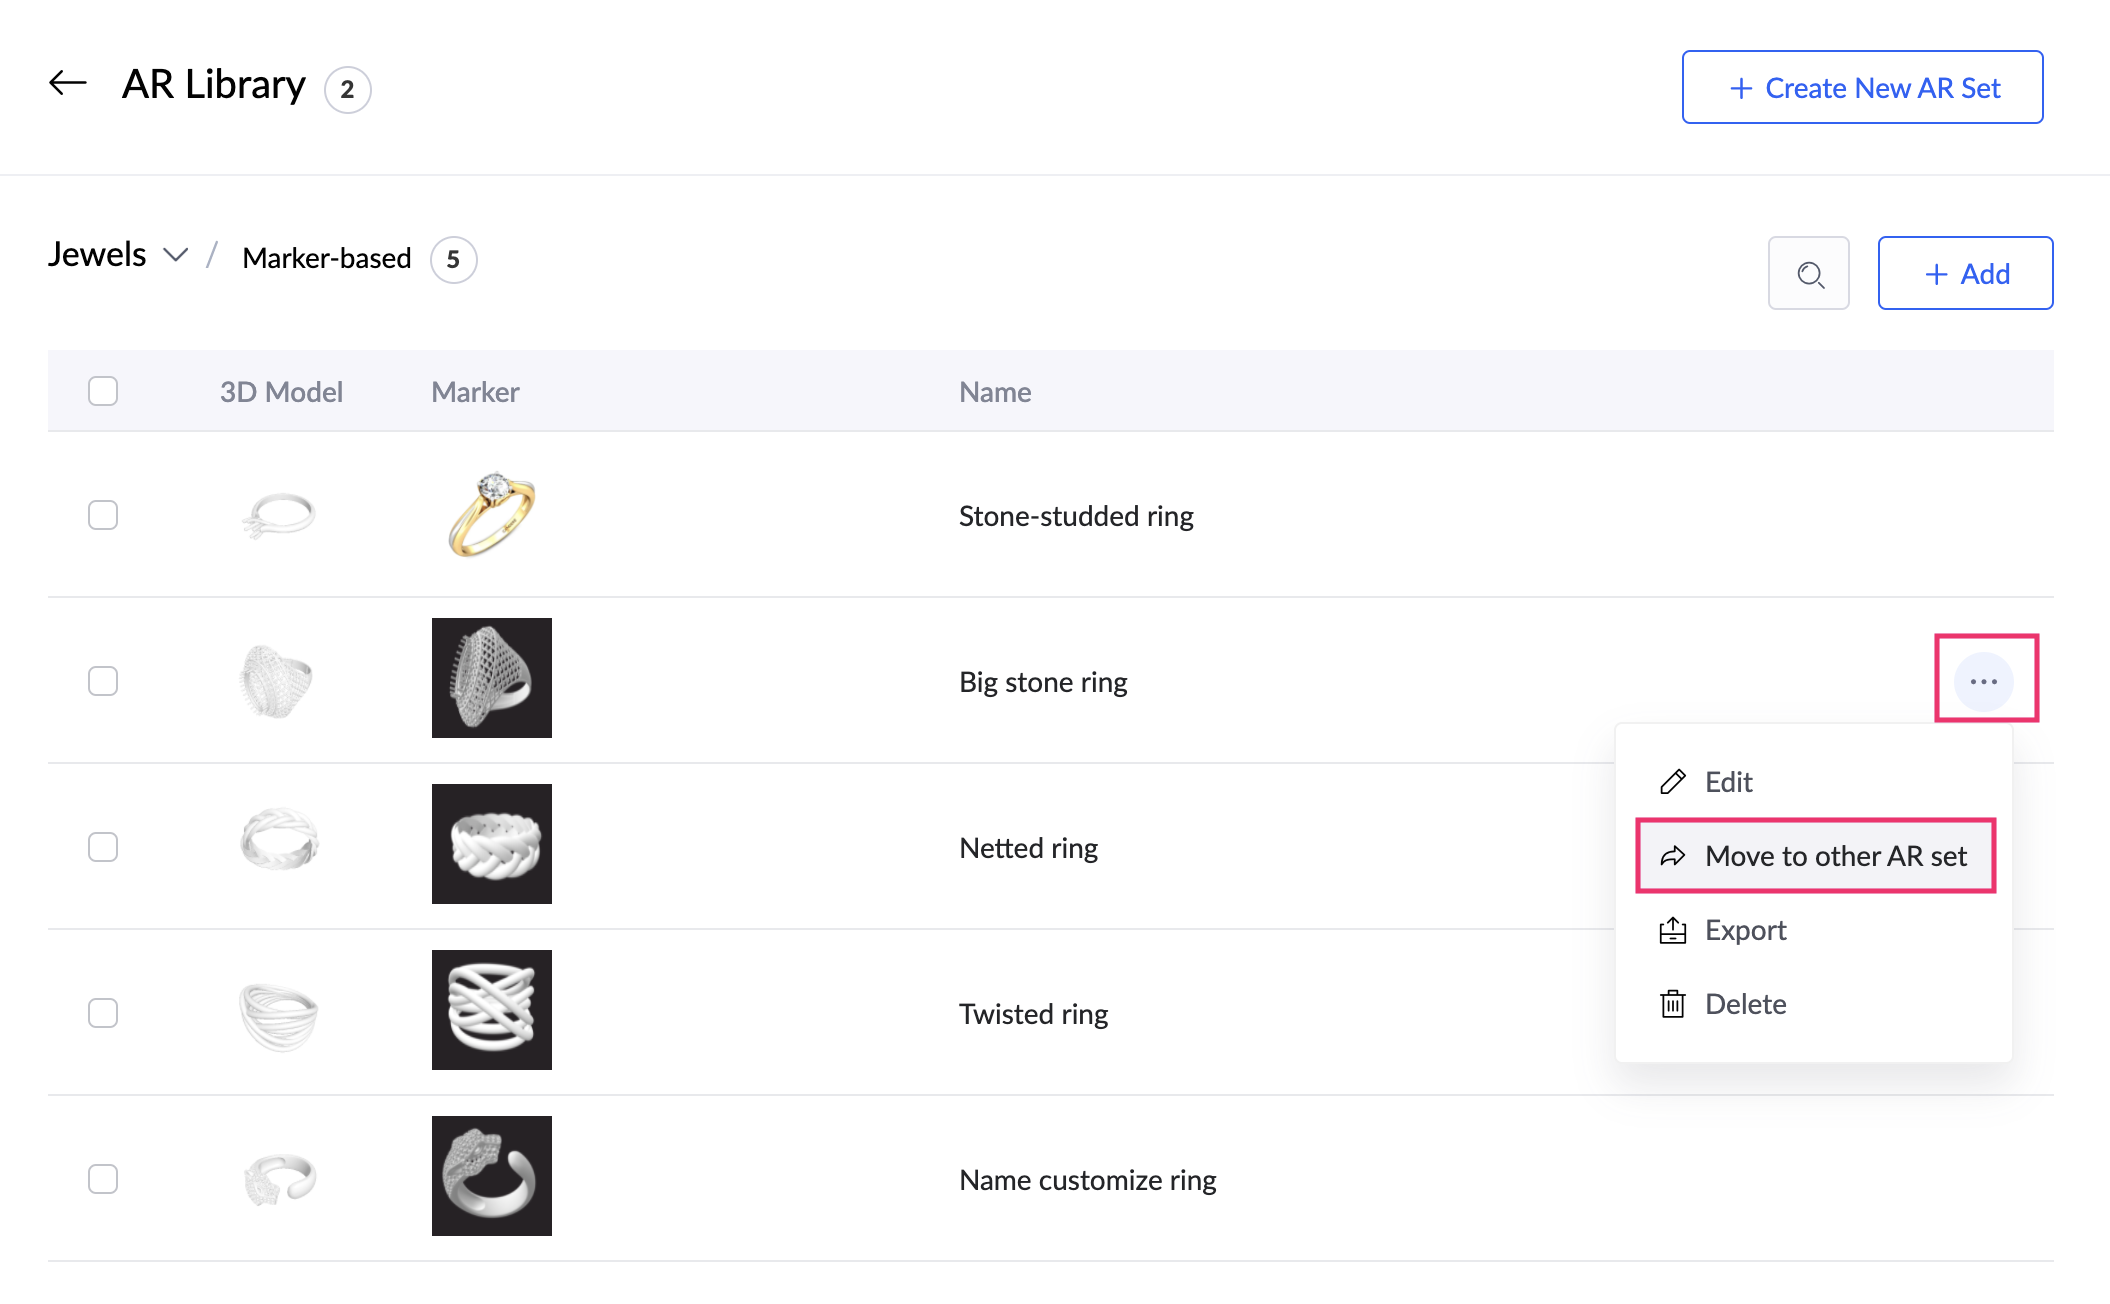
Select the AR set name where you want the selected models to be moved.
Note : A list of similar types of AR sets will be displayed when you select the Move to other AR Set button. If the AR set you've chosen to move is of the markerless type, then AR sets of markerless type will be shown to select from and vice-versa.

- Click Move.
To move multiple AR elements from one AR set to another,
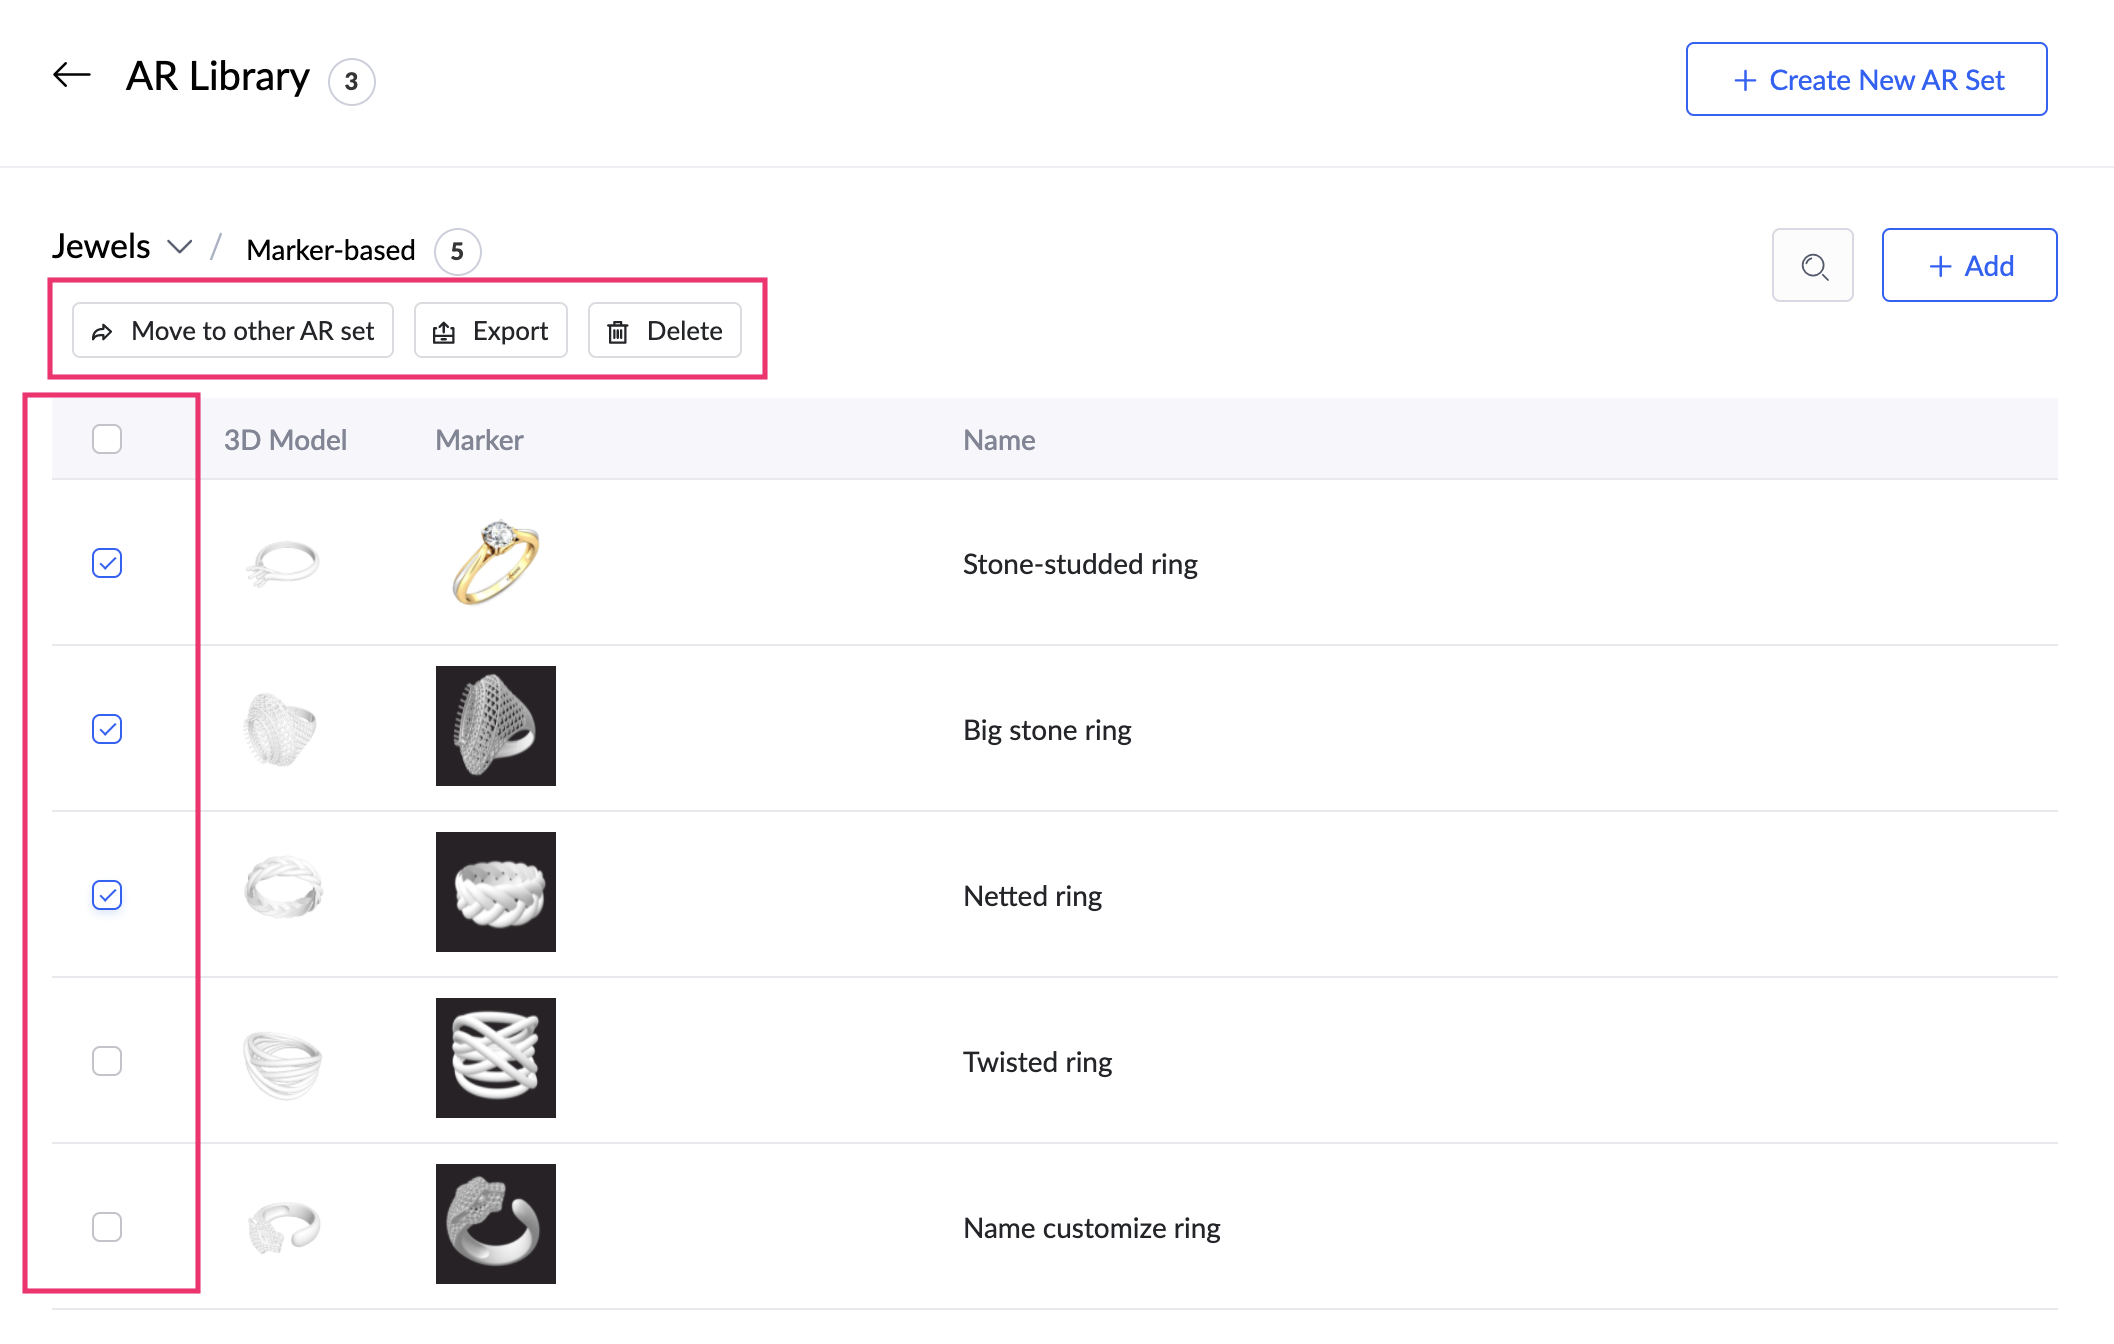
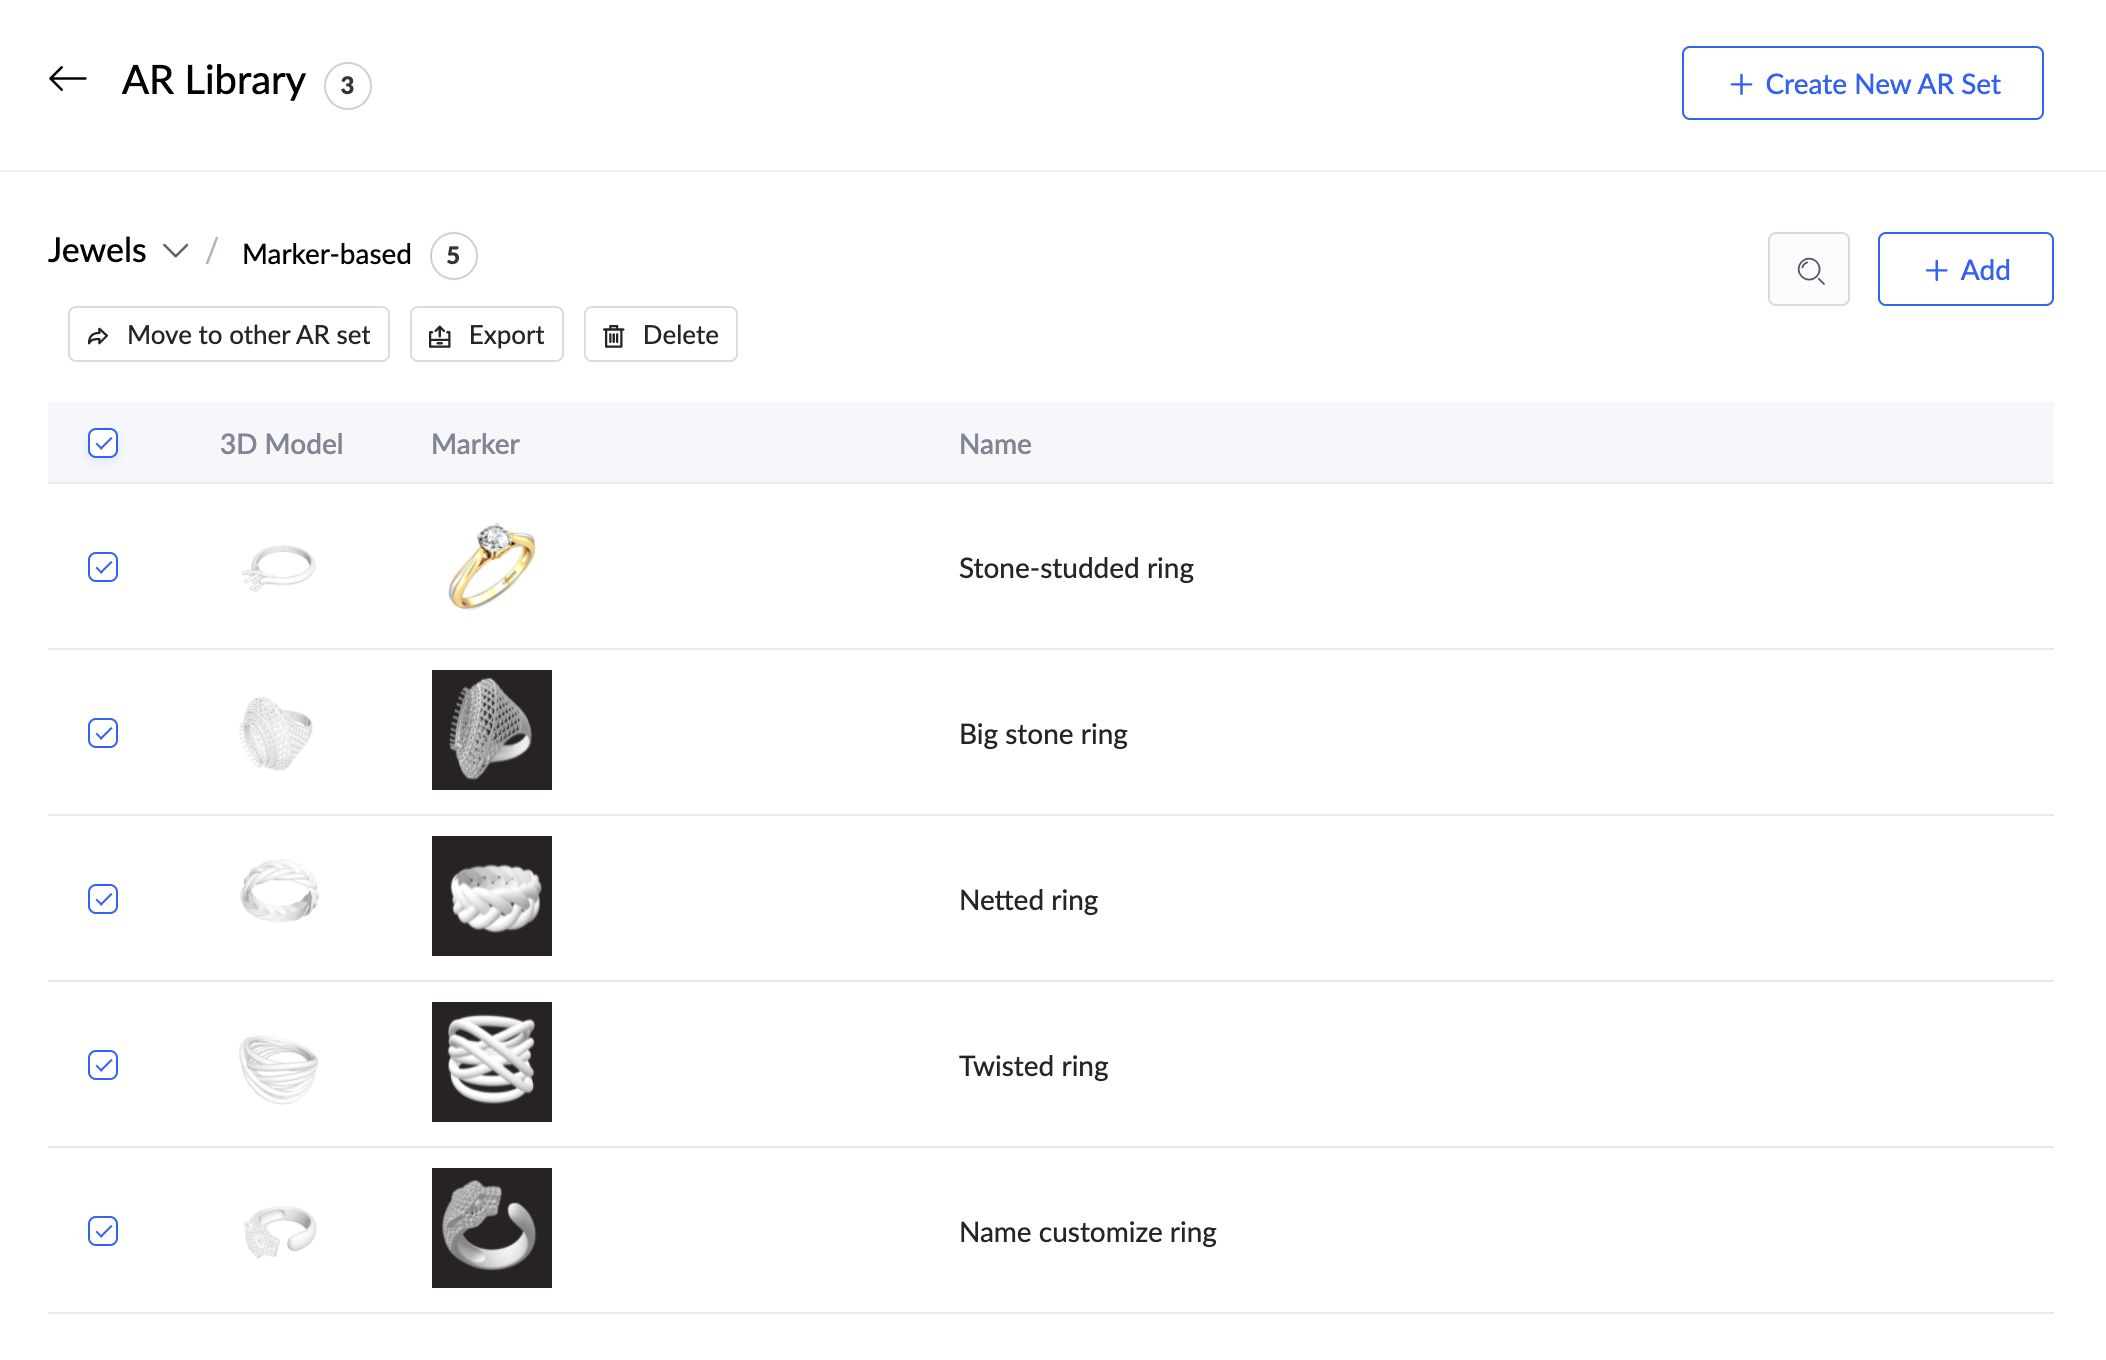
- Tick the boxes beside the elements that you want to move to a different AR set.
- Click the Move to other AR Set button at the top.
- Select the AR set name where you want the selected models to be moved and click Move.
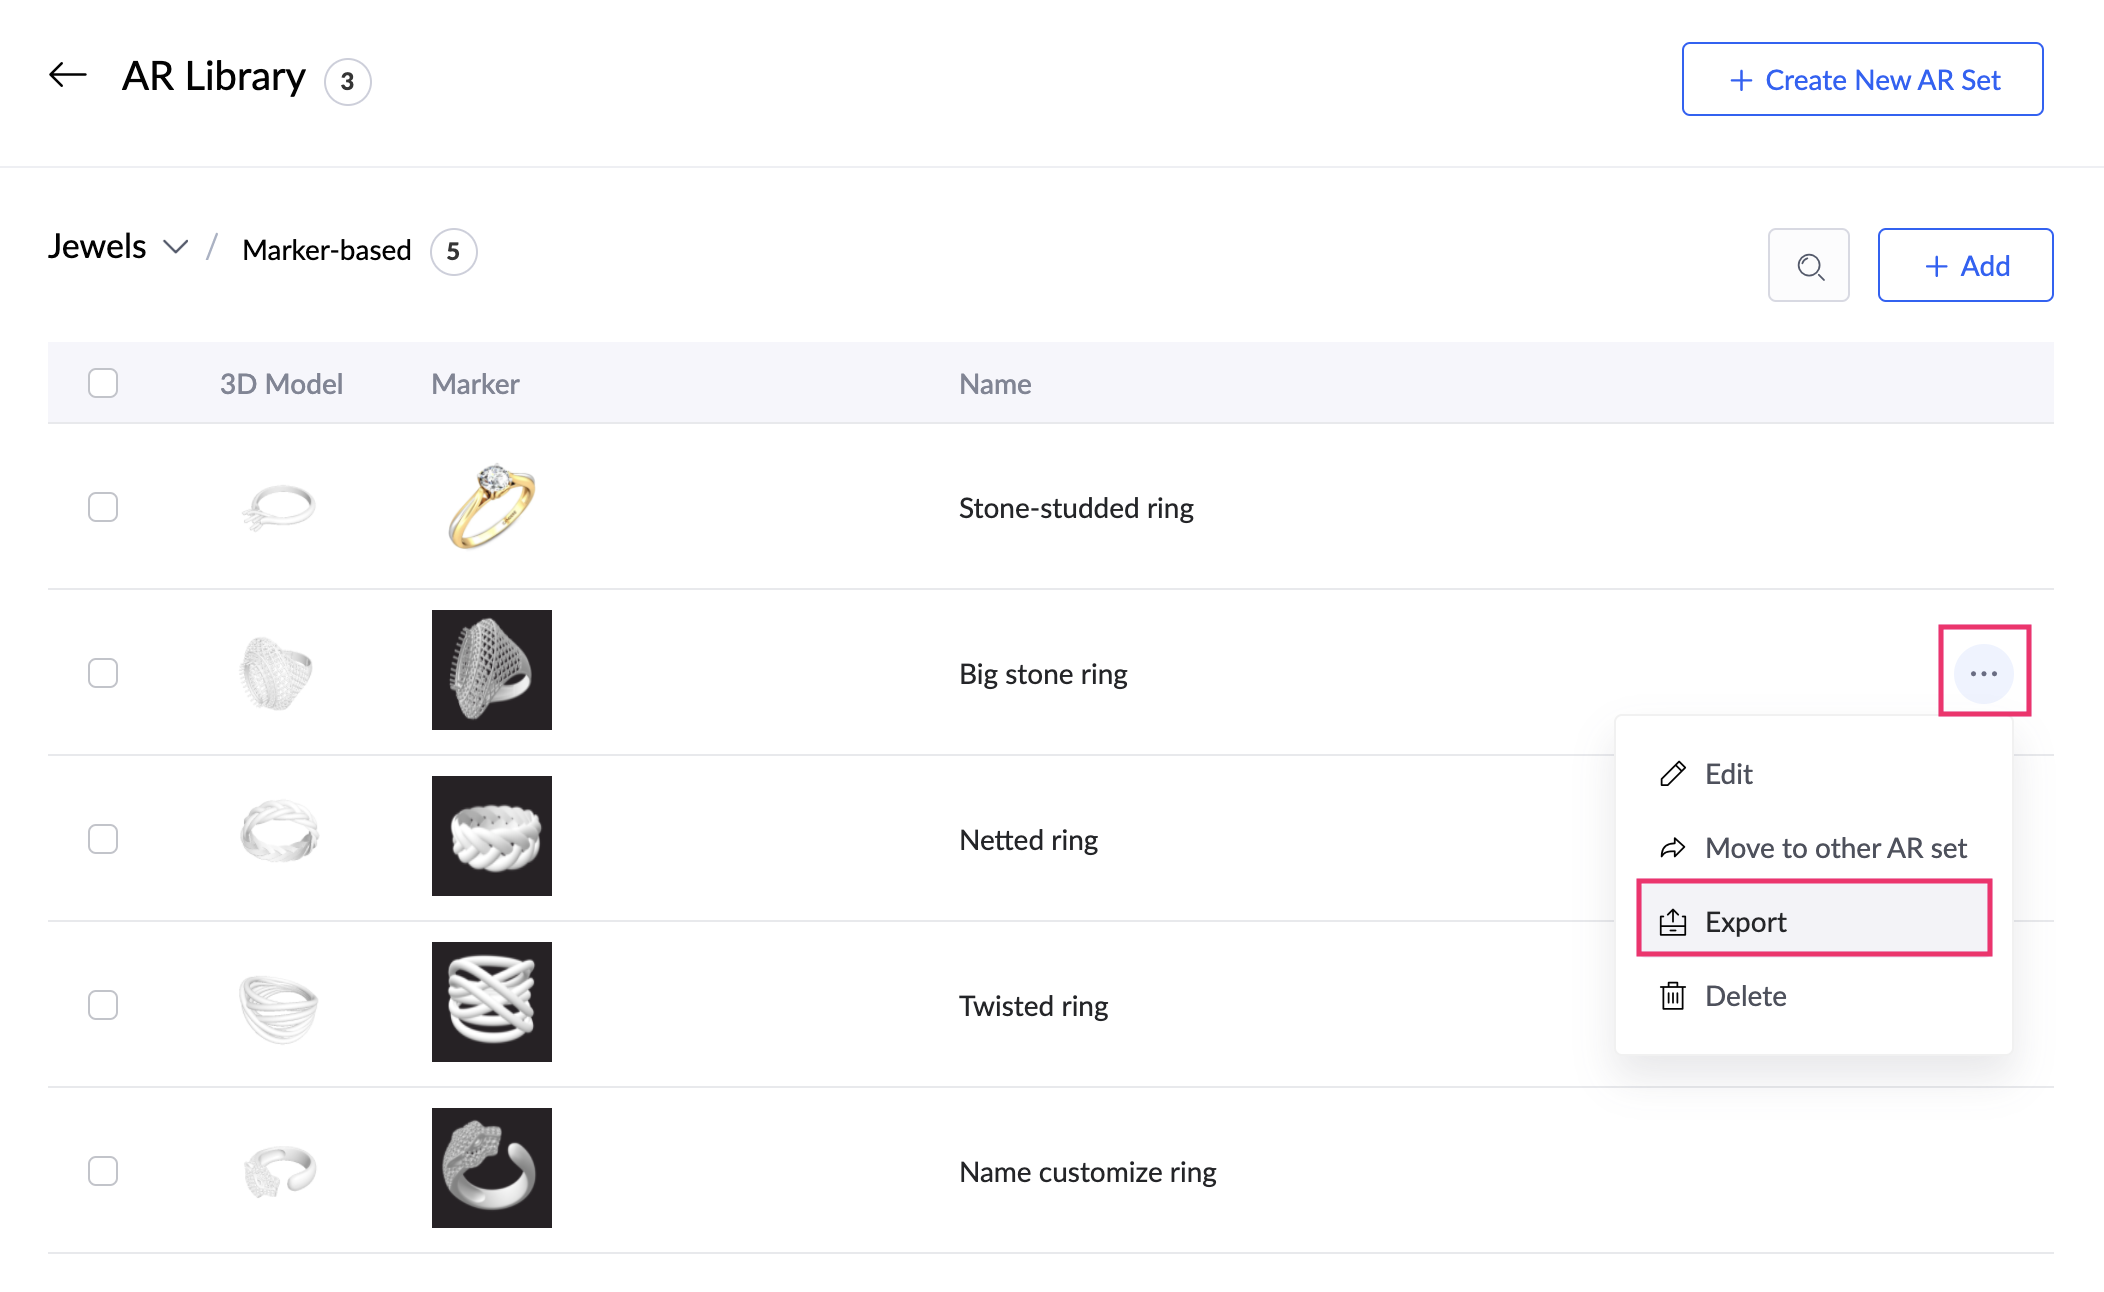
To export an AR element from the current AR set, click the triple-dot icon beside the required AR element, then select the Export option.
To export AR elements in bulk, tick the boxes beside the elements that you want to export, then click the Export button at the top.
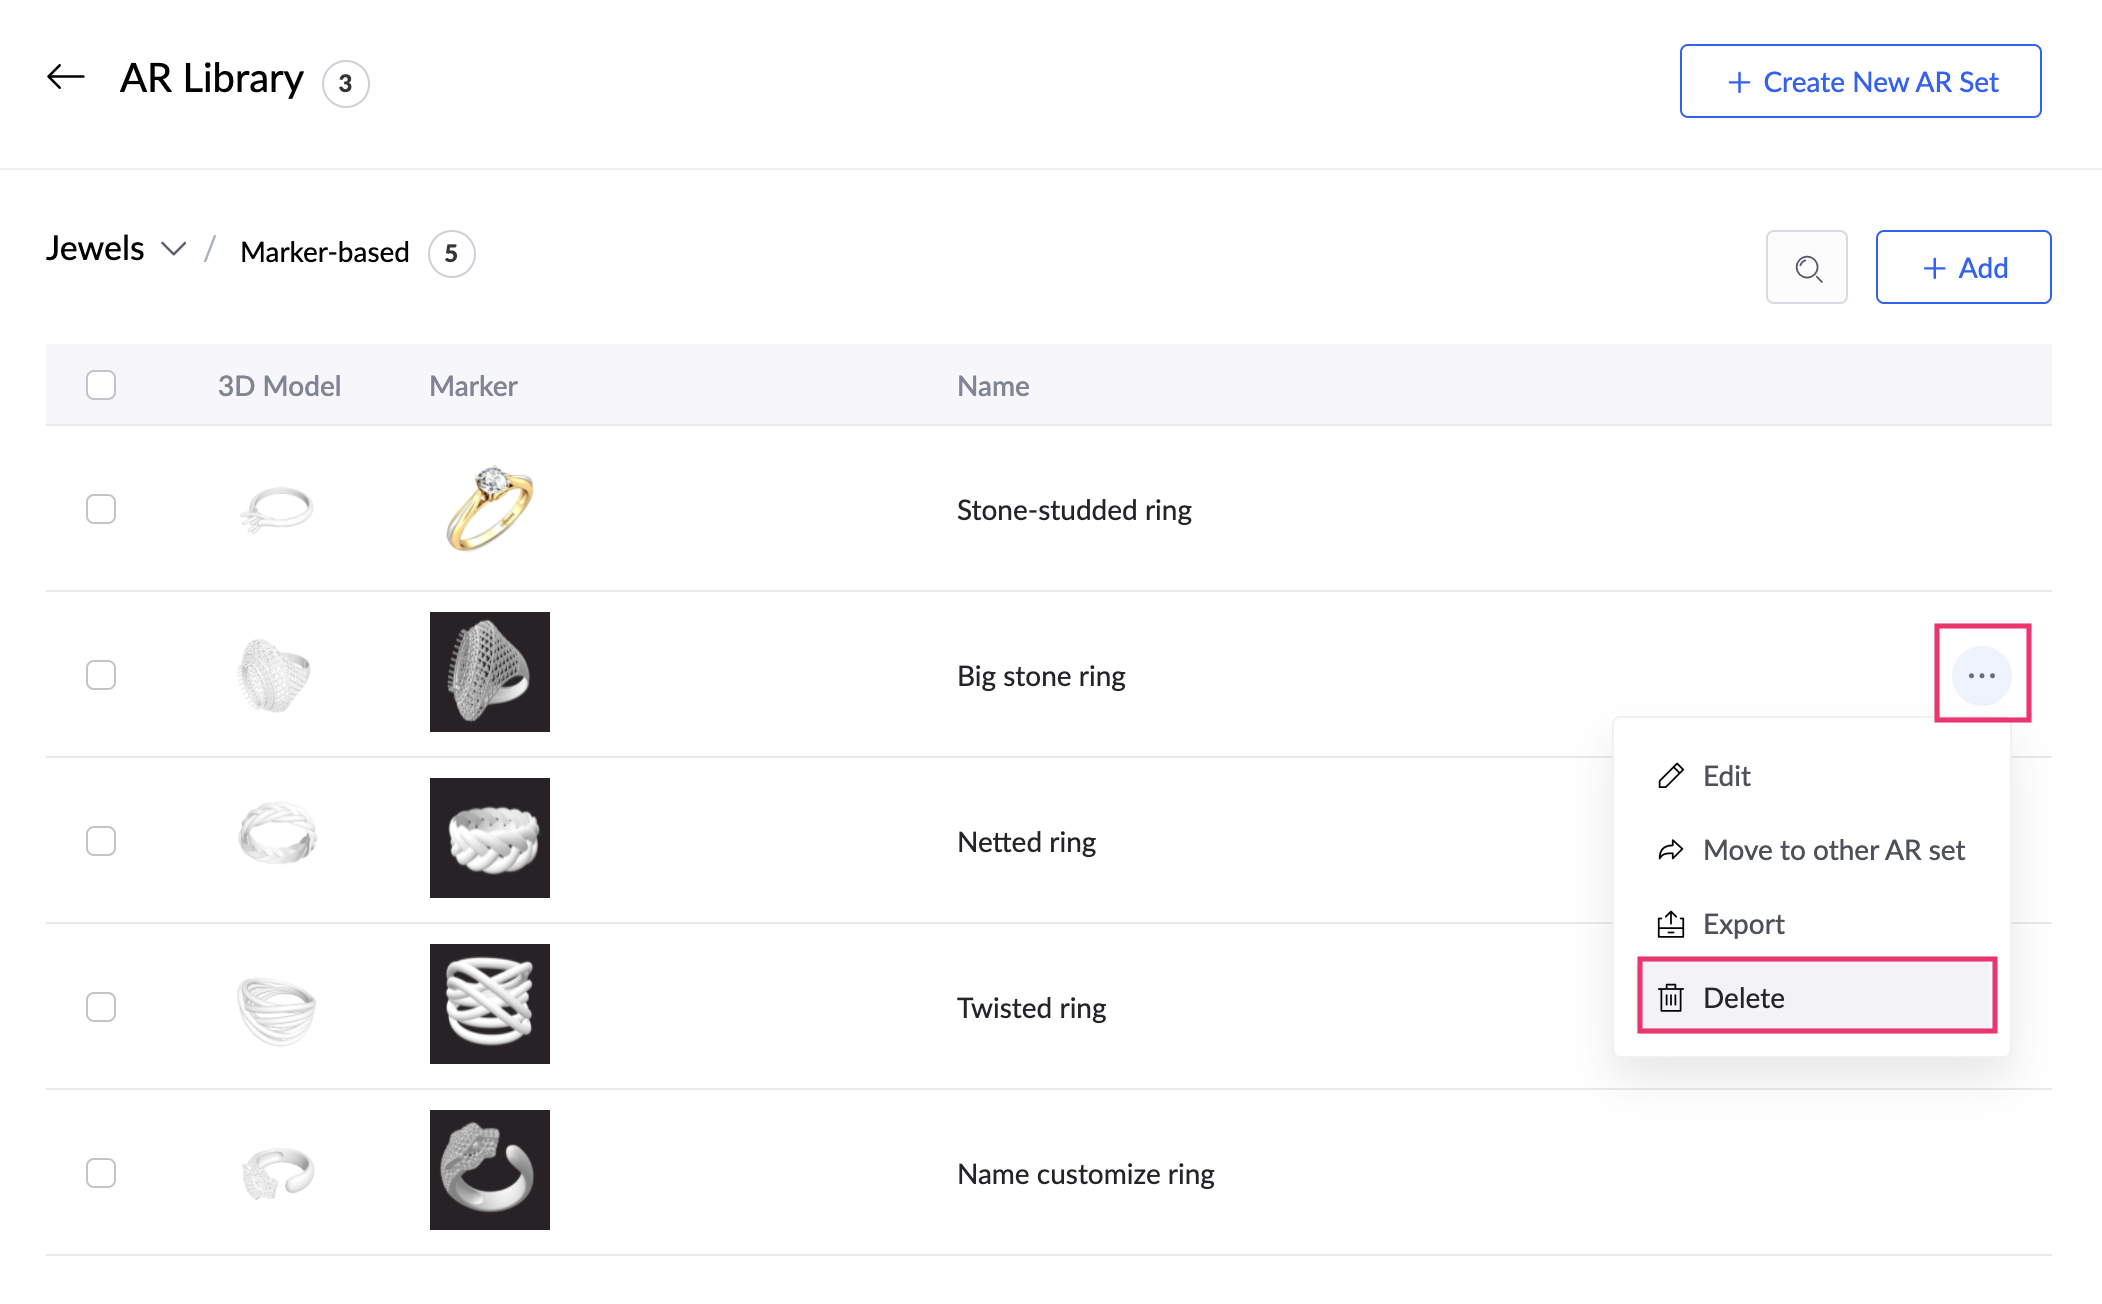
To delete an AR element from the current AR set, click the triple-dot icon beside the required AR element, then select the Delete option.
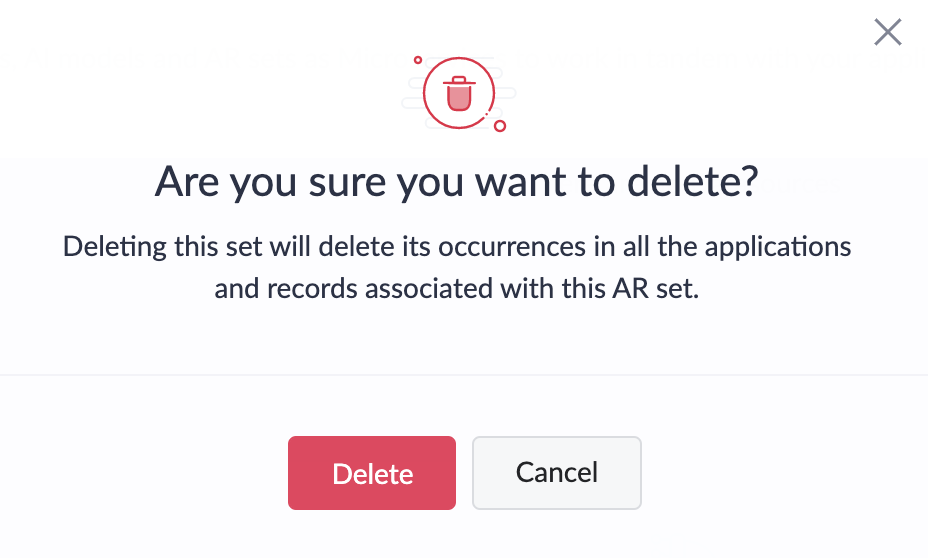
Click Delete in the popup.
To delete AR elements in bulk, tick the boxes beside the AR elements that you want to delete, then click the Delete button at the top.
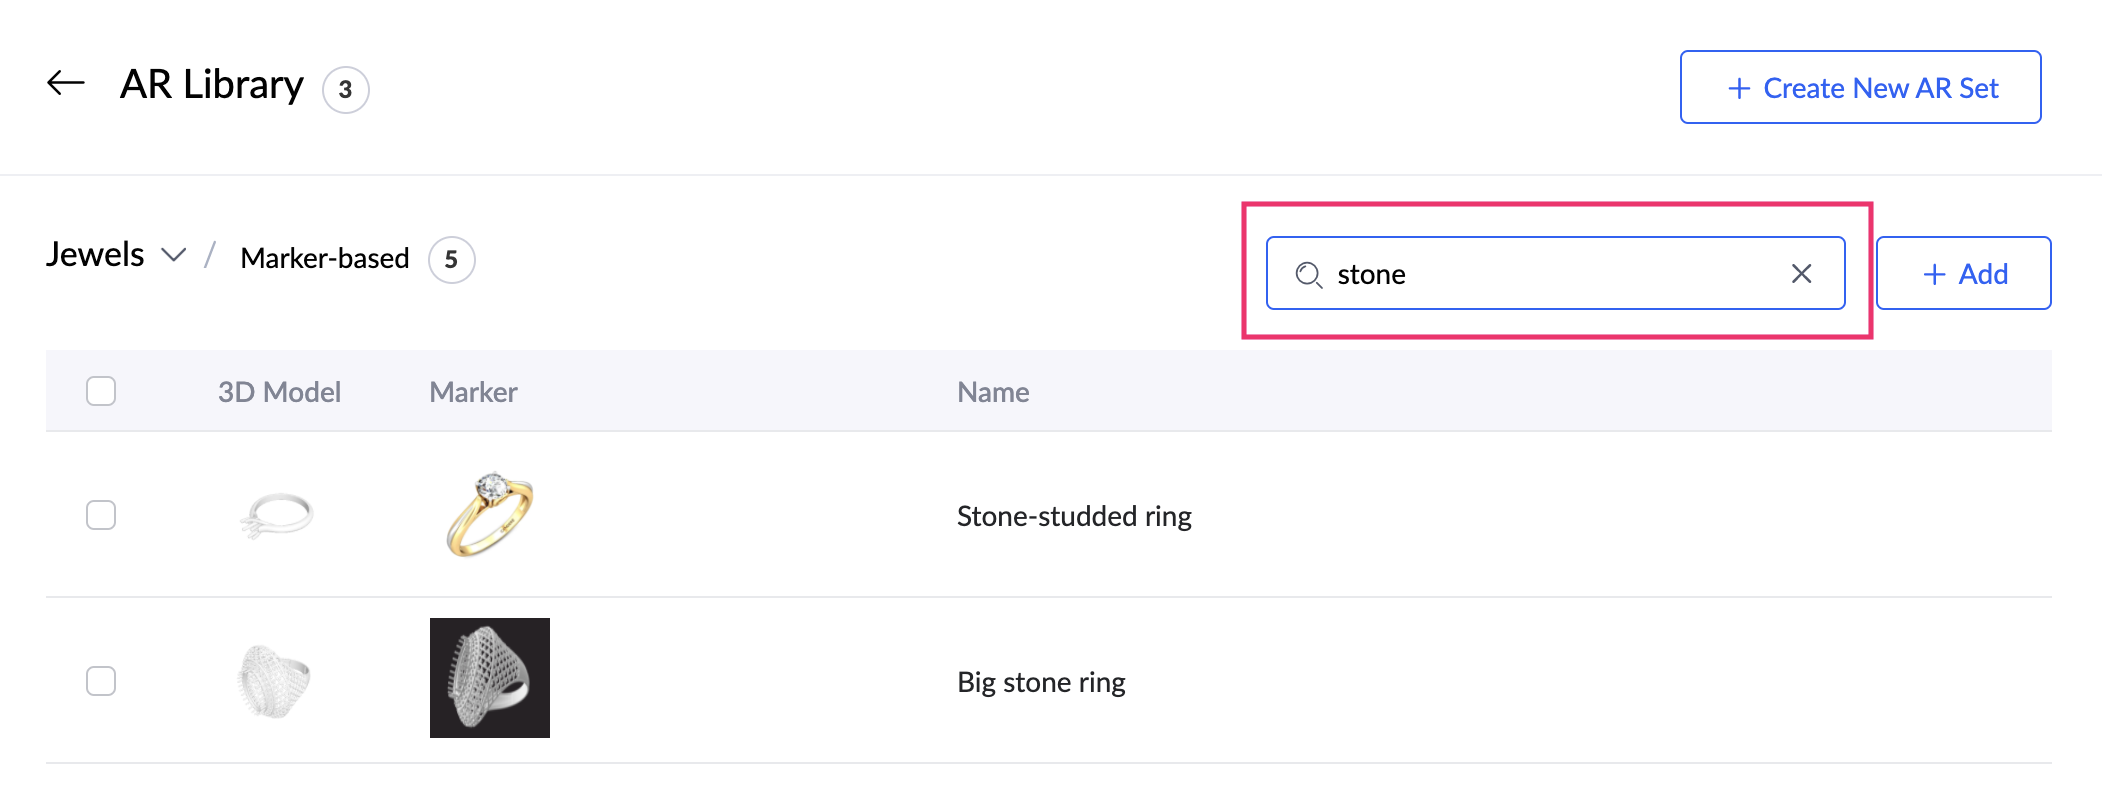
You can search AR elements using the search bar at the top-right of your AR Library page.
Click on the required thumbnail image in the 3D Model column to view its preview.
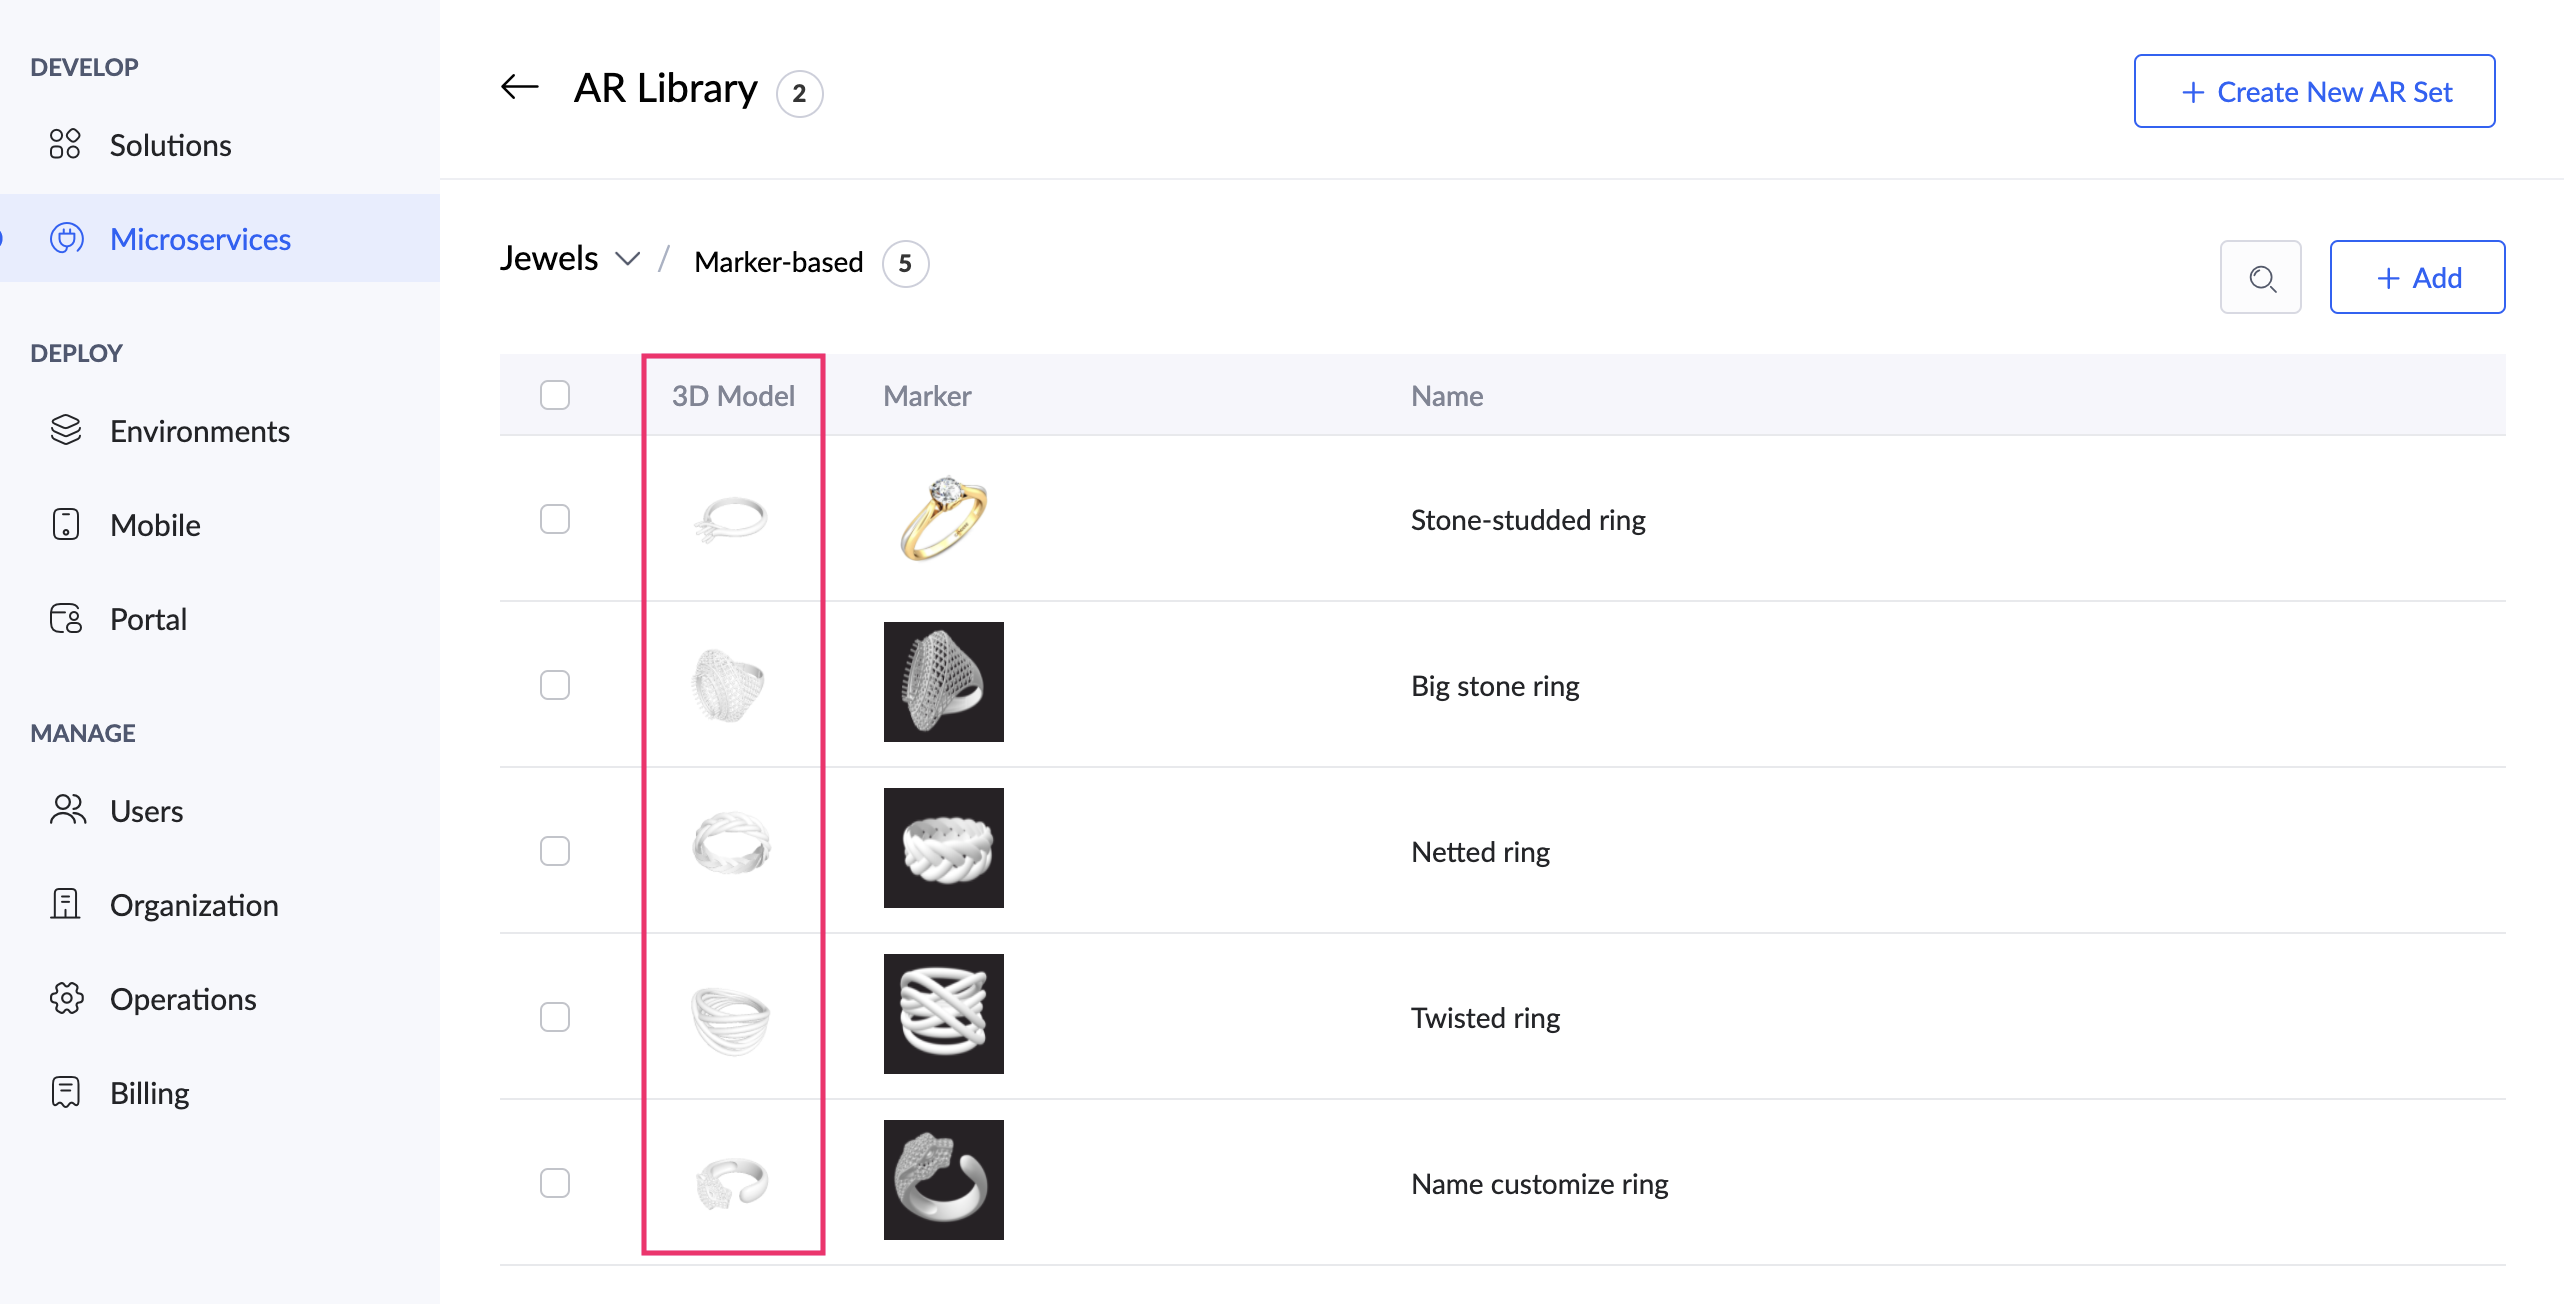
You can rotate the preview image to the desired view using the pointer and click the Save current view as thumbnail button.