Configure send email action in a payment workflow
When you create a payment workflow, Zoho Creator automatically provisions email notifications for the Payment Success
and Payment Failure scenarios. You can:
Modify an email notification
- Edit your app.
- Navigate to the Workflows page, then to the Payments tab.
- Select the required payment workflow. The workflow builder will appear.
-
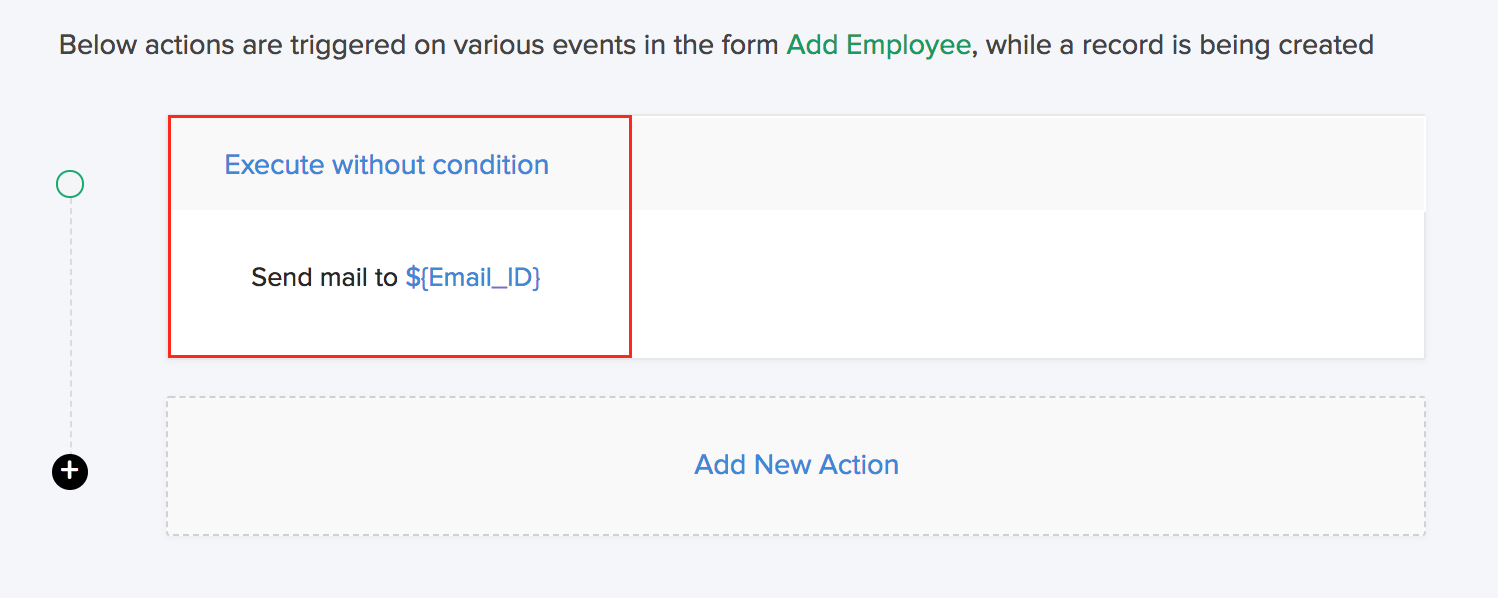
Hover on the required email notification, then click the Edit (pencil) icon:

- Modify the email notification as required. Refer to steps 6-8 in this section.
- Click Update .
- Click Done in the top-right corner of the screen.
Add a new email notification
- Edit your app.
- Navigate to the Workflows page, then to the Payments tab.
- Create a payment workflow or edit an existing one.
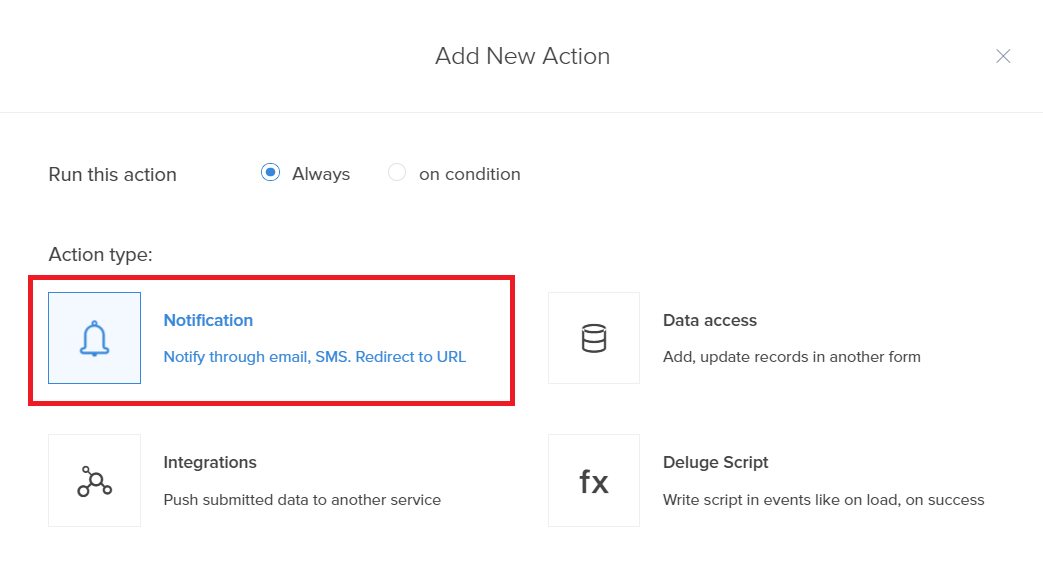
- Click Add New Action in the required ( Payment Success / Payment Failure ) section. The Add New Action window will slide in from the right.
-
Define when the action is to be executed by selecting the value for Run this action :
- Select Always to execute this action for all records in the form. This is the default selection.
- Select On condition , then set the criteria to identify the records for which the action is to be executed.
-
Select Notification under Action type .
-
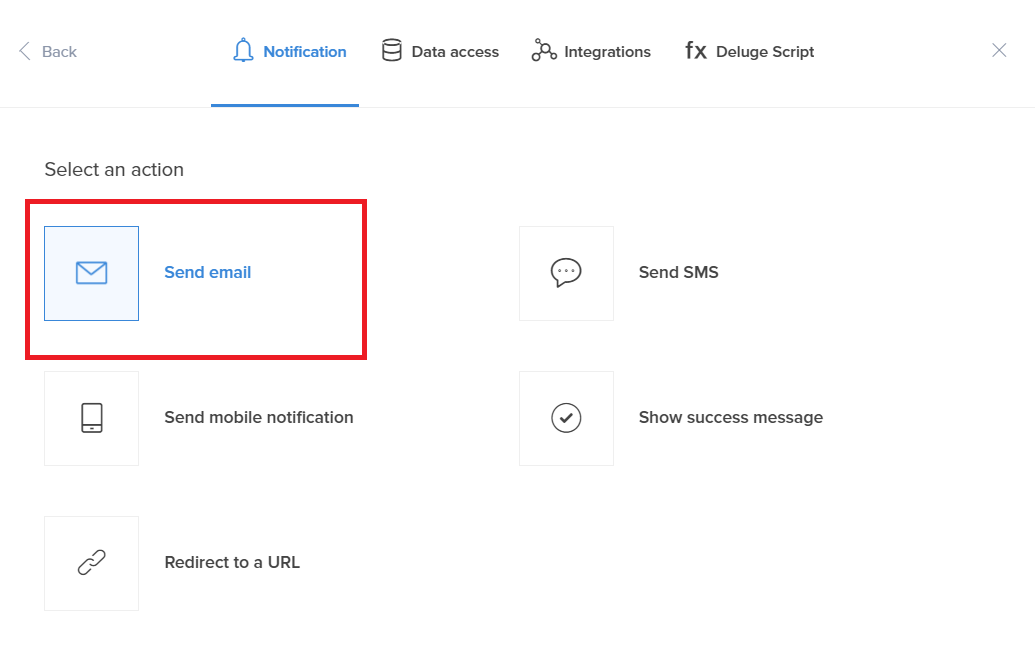
Select Send email :
-
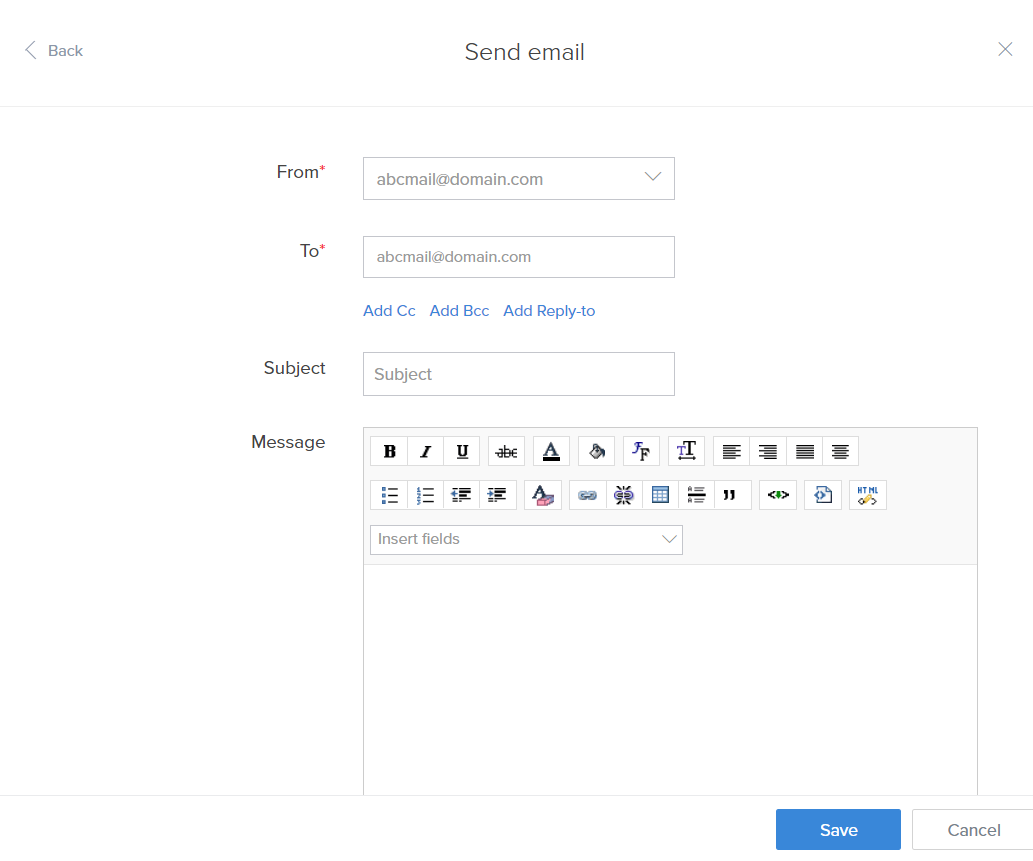
Configure the email notification in the Send Email window.
-
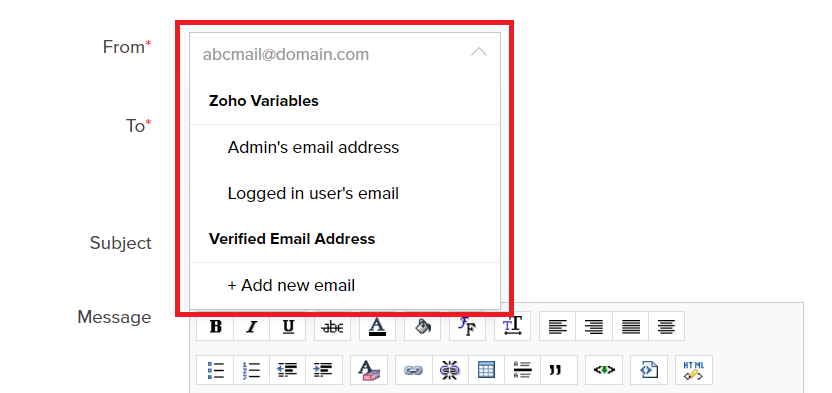
Select the From and To addresses. You can select from the Zoho Variables , verified email addresses , and email fields present in that form.
-
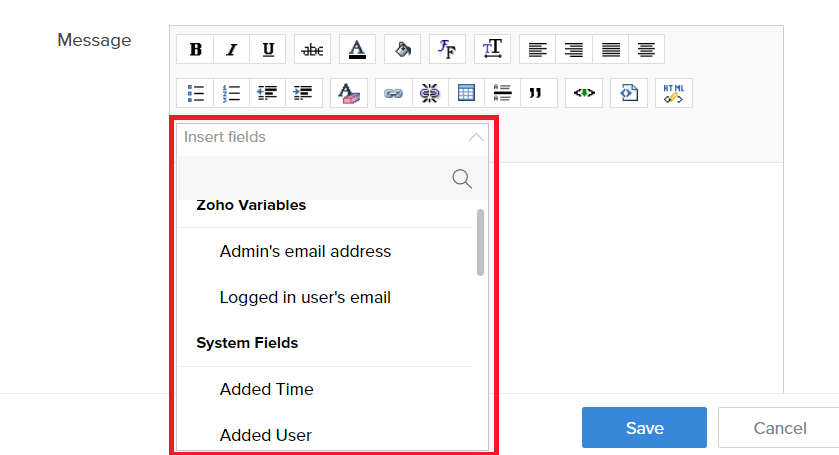
Set S ubject and Message as required. You can insert field values in them by selecting the required field from the Insert Fields dropdowns.
- Click Save .
-
Click Done in the top-right corner of the screen.
Delete an email notification
- Edit your app.
- Navigate to the Workflows page, then to the Payments tab.
- Select the required payment workflow. The workflow builder will appear.
- Hover on the required notification, then click the Delete icon.
- Click Okay.
-
Click Done in the top-right corner of the screen.