Looking for more ideas? Please check out (and follow) our Kiosk Studio Session posts in the Zoho community!
Session #1 covers how to view customers from the same industry.
Session #2 covers how to build a call script kiosk.
Session #3 looks at streamlining appointments.
Session #4 shows how kiosks can simplify sales for bank employees.
Session #5 helps you review loan applications quickly.
Session #6 packs an entire service request workflow into a single kiosk.
Session #7 helps you create your own convert feature.
Session #8 covers viewing subform entries (like invoiced items) without opening a record.
You can build kiosks to cover multiple use cases, but in the end, they are all made up of a few basic elements that are added, configured, and connected in multiple ways.
These basic elements are:
- Screen
- Decision
- Action
Let's look at them one by one.
Screen
A screen presents the user with display text, fields, data from the CRM, data collected from previous screens, and buttons to pick the next step. Each button represents a branch in the kiosk's flow. The data entered in the fields of a screen and the data pulled in from the CRM will be available for use in subsequent screens. This is how a screen will look to CRM users:
The elements available to build a screen are:
Display elements
Text
As the name suggests, this is used to display text to the user. You can use this to instruct the user, warn them, give them feedback, make them aware of the importance of some fields, let them know whom to contact, and so on.
Queries
With query-enabled kiosks, users can access relevant data and receive automated responses. It can be used to retrieve any data into your CRM account using API or COQL including data from your third party services. They can be used in the Screen and Decision components.
KioskRecords
This component lets you pull in records from your CRM or from records created via your Kiosk and display them to users. This component clubs GetRecords, CreatedRecords and CurrentRecords making it easy for users to setup their Kiosks.
GetRecords
Pull in a record or multiple records from the CRM and display them to the user. You can pick a parent module, or select a parent record and pick its child module. Then, you can set the criteria for the records to be fetched, decide how these records should be sorted, and so on.
You can learn more about GetRecords in the Data in kiosks section of this document.
CreatedRecords
This component lets you pull records created through actions in your Kiosk flow. You can configure the decision component by adding conditions based on CreatedRecords, GetRecords and CurrentRecords.
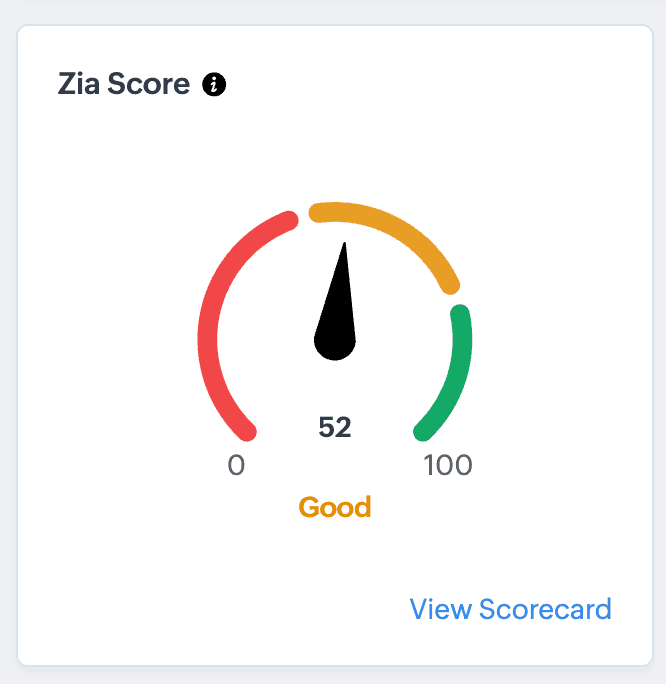
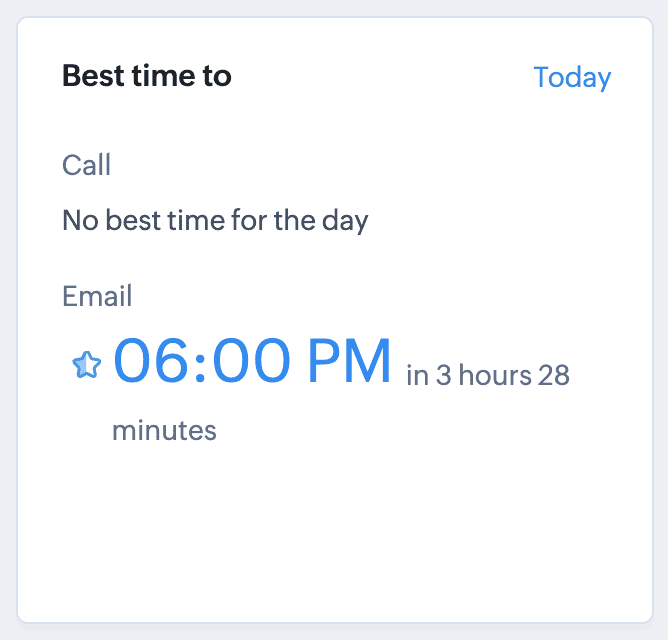
Zia Insights
The Zia Insights component lets you display insights generated by Zia for a particular record. The following components are supported in Kiosks:
- Field prediction
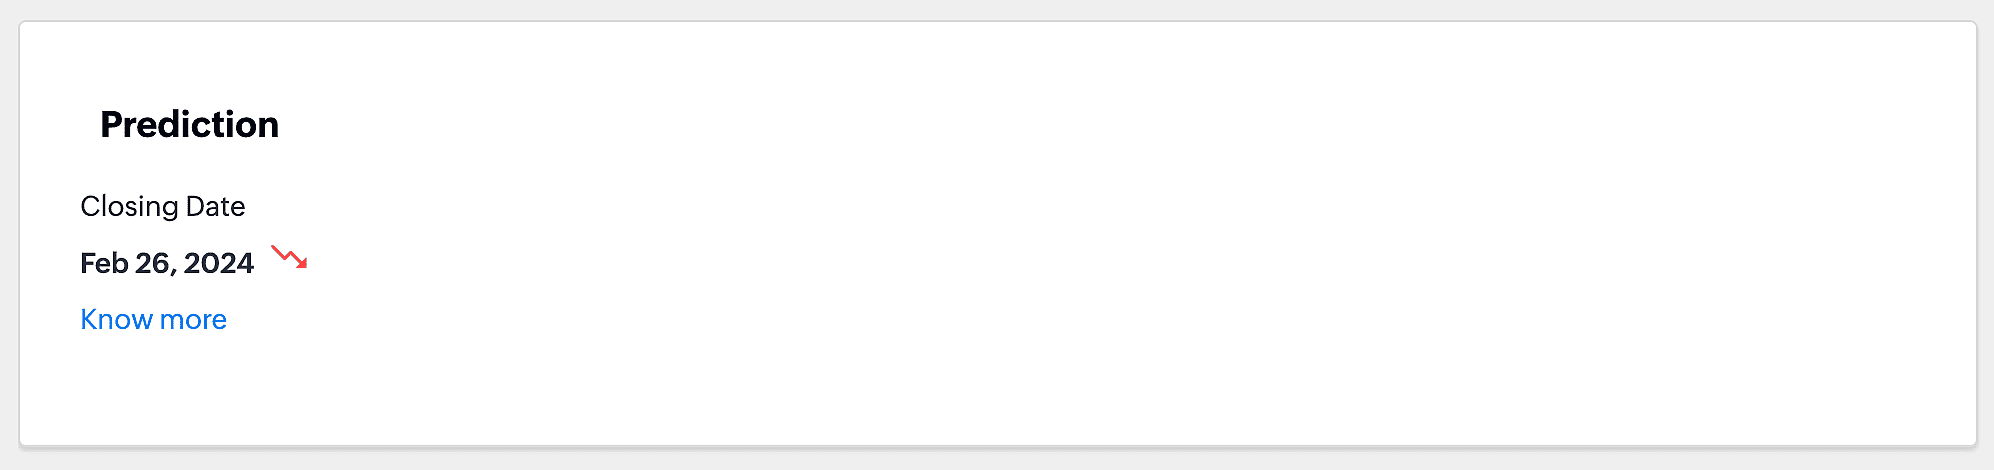
- Competitor mentions
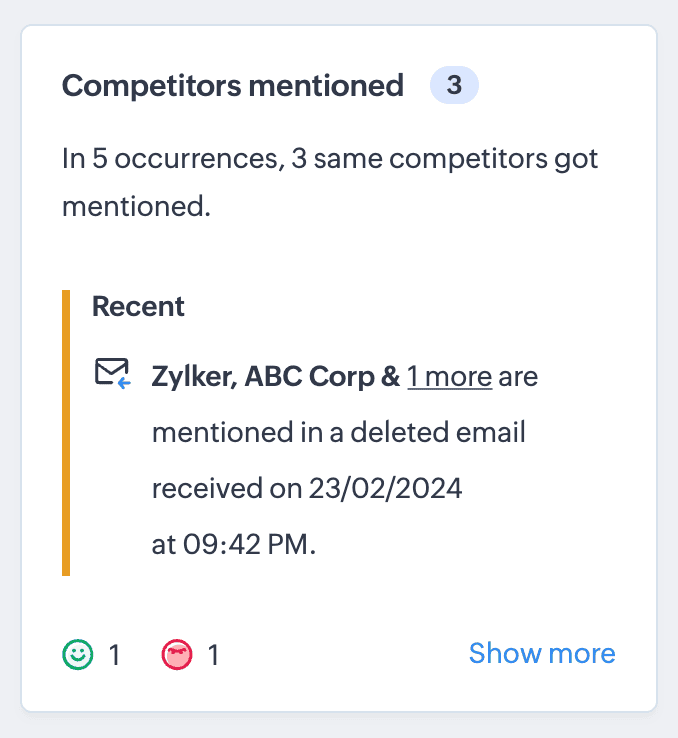
- Churn prediction
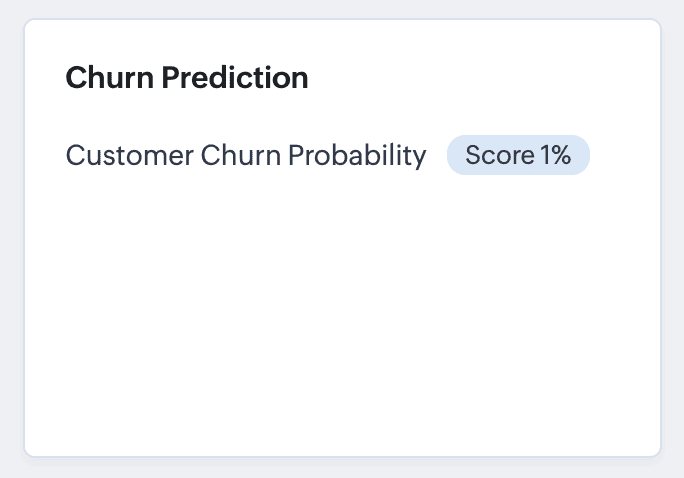
- Next best experience
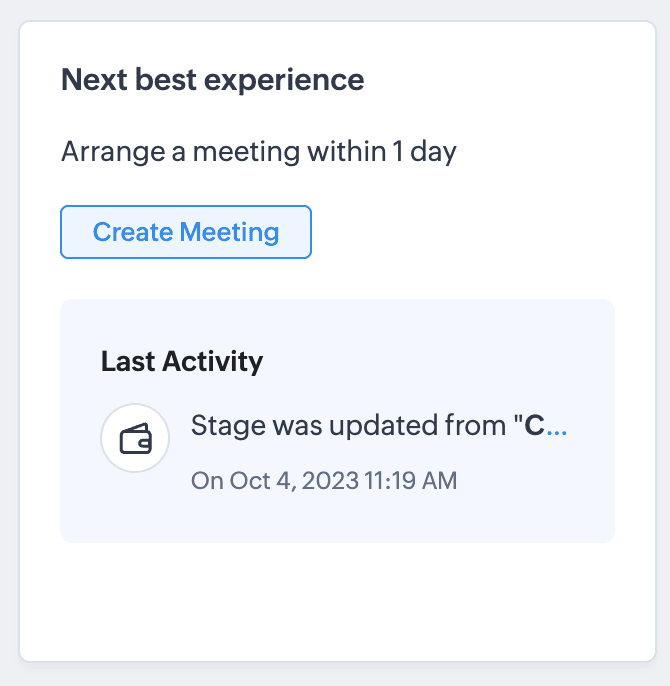
- Zia score
- Recommendation
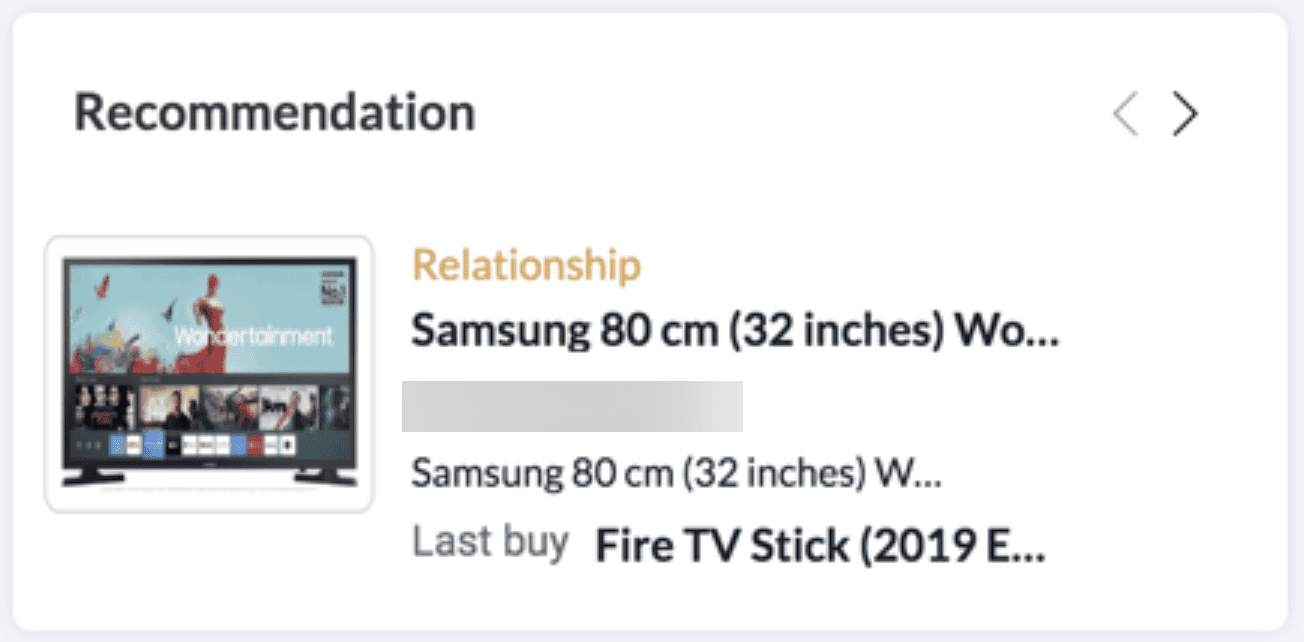
- Similarity recommender

- Best time
Fields
These are used to collect different kinds of data from users, or to display previously collected data or data from the CRM. These fields are not CRM fields. This gives you greater flexibility when it comes to collecting and presenting data in the kiosk. The field types and their attributes are shown below:
Field type | Merge from module | Mark as mandatory | Show tool tip | Read only | Others
|
Single line | Yes
| Yes | Yes | If Merge from module is enabled | |
Multi-line | Yes | Yes | Yes | If Merge from module is enabled | |
Phone | Yes | Yes | Yes | If Merge from module is enabled | |
Number | Yes | Yes | Yes | If Merge from module is enabled | Maximum digits allowed |
Currency | Yes | Yes | Yes | If Merge from module is enabled | Maximum digits allowed, Number of decimal places, Rounding option |
Checkbox | Yes | Yes | Yes | Yes | Enable by Default |
Email | Yes | Yes | Yes | If Merge from module is enabled | |
Date | Yes | Yes | Yes | If Merge from module is enabled | |
Date/ Time | Yes | Yes | Yes | If Merge from module is enabled | |
Picklist | No | Yes | Yes | No | Picklist type (local or Global set) |
Multi-Select | No | Yes | Yes | No | |
User | No | Yes | Yes | No | |
File Upload | No | No | Yes | No | Upload multiple files |
Decimal | Yes | Yes | Yes | If Merge from module is enabled | |
Percentage | Yes | Yes | Yes | If Merge from module is enabled | |
URL | Yes | Yes | Yes | If Merge from module is enabled |
|
A screen contains buttons. You can choose the button label and the button style. The buttons will be displayed from right to left on the screen. Each button will create a corresponding branch in a kiosk's flow.
Note
- You can add a maximum of 20 fields in a screen.
- You can add a maximum of four buttons per screen.
- The display elements and fields can be rearranged.
Kiosk Field
Kiosk fields groups fields added on screens and fields generated from actions.
Screen Field
The screen field component lets you display data collected in previous screens' fields. This can be used whenever you want to present this data to the user for reference.
Action Fields
This component lets you display data collected from actions that were executed in your Kiosk.
Decision
A decision component is used to create branches in the kiosk's flow based on existing CRM data or the data in the previous screen fields. It is a counterpart to the buttons on screens. Both dictate the branch of the flow that is to be executed but decision components do this automatically based on data. A criteria is specified to decide the branch that the flow should take. There will always be a default path in case the criteria for the other paths are not satisfied.
Action
Actions are crucial, as they link the data in the screens with the rest of the CRM. Actions added in a branch of the kiosk will be automatically executed if the user's actions lead down that branch. When you create an action, you can make use of the data gathered in the previous screens. For example, the details entered by the user in previous screens can be used as values for a function's arguments.
The different actions available include :
- Field Update,
- Assign Owner,
- Tag < Assigning Tags or Removing Tags,
- Email Notifications,
- Add Note,
- Activities < Add Task, Schedule a Call, or Add Meeting,
- Create records < Predefined Configuration or Via User Input,
- Convert,
- Webhooks,
- Functions,
- Open Record,
- Open Link
Create Records
> Predefined configuration
Records will be created automatically during the execution of a Kiosk. They require you to add pre-defined values either as static values or data from previous screens. This is ideal for predefined updates or recurring tasks where information is known in advance.
> Via User Input
Admins can choose to allow records to be created during the Kiosk's execution and eliminate the need to replicate, map and merge fields to save time and effort through the use of Quick Create pop-up.
Users can input values in the Quick create layout that would pop-up during execution to create new records in a module. Perfect for real-world scenarios, the exact information needed to create a record only becomes available during the live execution of the Kiosk.
Real-time scenarios
Let's say you run a Kiosk for your sales team. During a call, a customer requests a product demo and shares their availability Or, your support team receives a call and has to log the customer’s issue details or updated contact info. With this feature, the sales rep or support executive can create records instantly while the Kiosk is running, to input the information they get during their call to provide a smooth customer experience.
How does it work?
- While setting up the Kiosk, select Create Record > Via User Input.
- Enter Action Name, then choose the Module and Layout.
- During execution, the Quick Create layout for the selected module appears.
- There is an option to pre-fill frequently used field values during configuration.
- Now, users can enter details directly while the Kiosk is being executed.
- Note: If a user lacks Create permission for a module, this step is skipped, and related values will show as null.
Sequential Action
With sequential actions, users can choose to make an action wait until the current one is completed. This capability is enabled using the Wait for completion option. When selected, the next action runs only after the previous action finishes. When it is not selected, actions continue to run in parallel as before. This gives users more control over how and when their actions run.
Enabling "Wait for Completion" option allows the Kiosk to wait until that action is completed before showing users the next screen where that action's responses can be utilised if needed.
Note :
- By default, most actions will have this option automatically enabled. Those actions for which this option needs to be manually enabled are : Activities(Tasks/Calls/Meetings), Create Record, Webhook and Functions.
- If this option is not enabled, the Kiosks will be executed without waiting for actions to be completed and those action responses cannot be used in subsequent screens.
Add Failure Path (Optional)
Enabling sequential actions for Kiosks will give users the choice to add a failure path if needed. This is optional and is visually different from the success path as shown in the screenshot below.
When we enable the "Wait for Completion" action, users can enable a failure path in case the action fails during execution. When enabled, the Kiosk will display two paths : Success path and Failure path. You can then define the next steps in each case.
Show a message while the action runs
For actions such as Webhooks and Functions you can choose to display a customized message to users while sequential actions are being executed. Since, Webhooks and Functions provide real-time responses, there will be a wait for those responses to be captured. We allow users to provide a message to users during this wait period while the responses are being fetched. You can set for a Title, such as "Processing actions…", and a Description, such as "The next screen will appear once the current actions are completed."
Note : If a Kiosk is edited and components are updated or deleted, if not resynced the response for actions will not be captured.
Sequential actions with functions and webhooks
For a Function whose response you want to reuse, the sequence is:
- Write the function so it returns a stringified JSONObject. Build it in the new Function Console so it can return a String.
- Add it as an action in the kiosk and turn on Wait for completion.
- In Argument Mapping, map each argument to a kiosk source with #. This is the run-time input, and it resolves dynamically when the kiosk runs.
- Run the action once in Kiosk with test values to capture the response. These are one-time test values, not the run-time input, and the # picker is not used here.
- In Map Response, map each returned value (result.<key>) to a CRM field, then use those fields in screens, decisions, and later actions.
A Webhook follows the same response steps (4 and 5) but sends its request through the webhook builder rather than Argument Mapping. Each step is detailed below.
Passing data to a function's arguments
The rest of this section applies when you use a Function or Webhook and want to reuse its response in later steps. A function receives its input through argument mapping, where you connect each argument to either a fixed value or a value drawn from the kiosk.
To map a function's arguments:
- Open the function and click Add Arguments from the right panel to open Argument Mapping.
- For each argument, enter the Argument name.
- Click the value field and type #.
- In the Add Merge Field picker, select the kiosk, select the data source [CurrentRecord, a GetRecords result, a Zia Agent, or a previous Screen] and select the field.
- Repeat for each argument and click save.
- You can also save and associate the argument without adding values. In this case, you will have to add the values through the Kiosk before running the test execution.
Note : See the video in " How the Kiosks works when there is response configured but values are not added in the function created" section under the Test Values to map response. - Run a test execution to check if the function works and click Save and Associate.
Using # to choose a value from the drop-down . The value you select resolves at run time, so an argument mapped to a screen or record field receives that field's live value during execution. You pick fields from the list rather than typing their names. This is the same merge-field picker used in screens and email templates, and it can reference GetRecords, previous screen, current record, CreatedRecord, Zia Agent, User, and Organization fields.
Once the function is configured, you run it once with test values so the kiosk can capture its response for mapping into fields. With Wait for completion turned on, click Execute on the function action. This opens the Input Parameters dialog, where the # picker is not available; you type a value into each argument's field manually for this single run. The test values and the response mapping are detailed below.
Using a function's or webhook's response
For an action's response to be usable in later steps, it must be returned in a format the kiosk can read into fields. The response must be a JSONObject :
- Deluge functions return only Void or String, so build the object and return it as a string with toString().
- Java or Node.js functions must return the JSONObject from a single basicIO.write() call. Additional calls produce unpredictable results.
- Webhooks must return a valid JSONObject. Plain text, numbers, and arrays are not accepted.
A JSONArray is not supported at any level: it cannot be the response, and it cannot be nested inside the returned object. To return multiple values or record IDs, give each its own key in a single JSONObject.
response = {
    "recordId_1": "1234567890",
    "recordId_2": "9876543210"
};
return response.toString();
To return a String that can be used as fields, the function must be built in the new Function Console. A function created in the older editor can still be set as a sequential action so the flow waits for it to finish, but it cannot return a String, so its output cannot be mapped to fields.
Test values to map the response
To generate the fields, the kiosk needs to see a real response, so the action is run once during setup. Clicking Execute on the function action opens the Input Parameters dialog, where you enter an actual test value for each argument, for example a real record ID.
This dialog does not use the # merge-field picker. It is a different step from Argument Mapping:
- Argument Mapping (with #) defines where each argument's value comes from at run time. These resolve dynamically when the kiosk runs.
- Input Parameters (test values, no #) is a one-time input used only to execute the action during setup, so the kiosk can read the structure of the response.
Because a real execution takes place, the dialog notes that the action runs in real time and may create or duplicate data. After you enter the test values and continue, the kiosk runs the action and opens Map Response, where each value appears as a path, for example, result.status that you map to a CRM field type and a label.
The test values are used only for this run. At run time, the function uses the values you mapped with # in Argument Mapping. The mapped fields, referenced by their result. paths, are then available in Action Fields on a screen, in decision criteria, and in later actions.
If you later edit the kiosk and update or delete components, resync it. Otherwise the action's response will not be captured.
How the Kiosks works when there is no return response configured in the function created :
How the Kiosks works when there is response configured but values are not added in the function created :
Configuring a webhook
A webhook is set up in the webhook builder rather than through argument mapping. When you click Configure Webhook, you provide:
- Method : the HTTP method, such as POST.
- URL to Notify : the endpoint the kiosk calls.
- Authorization Type : General or Connection.
- Header, Module Parameters, and Custom Parameters : the data sent with the request.
- Body : the request payload and its type.
The webhook's response is mapped the same way as a function's response, described above. Webhooks run in real time, which can lead to data duplication, so the kiosk asks you to confirm before the action executes.
Capturing a webhook's response works the same way as a function's. With Wait for completion turned on, click Execute on the webhook action. This opens the Input Parameters dialog on the Module Parameters tab, where you enter a real value for each parameter, for example a record ID. As with a function, this dialog does not use the merge-field picker, and the values are one-time inputs used only for this run. After you continue, the kiosk runs the webhook and opens Map Response, where each returned value appears as a result.<key> path that you map to a CRM field type and a label.
Execution limits and failures
A function or webhook in a sequential action has a maximum execution time of 10 seconds. If it exceeds this limit, or fails during execution (including socket, thread, and connection timeouts), the action is marked as failed. When a failure path is configured, the flow moves to it. The failed action's response is then unavailable to later steps, and any records it would have created are not carried forward.
Example
A kiosk collects renewal details across a few screens and then calls a function to log the assessment.
- In Argument Mapping, add an argument for each value the function needs. Map record-based values such as Lead ID to CurrentRecord fields, and user-entered values to the relevant Screen fields, using # in each value field.
- In the function, build the response as a JSONObject and return it as a string, for example {"status":"logged","assessmentId":"..."}.
- Turn on Wait for completion and add a Failure path. If the function errors or exceeds the 10-second limit, the flow follows the Failure path to a screen that asks the user to retry.
- To capture the response as fields, run the action once with test values in the Input Parameters dialog (real values, no #). The kiosk captures the response and opens Map Response, where the values appear as result.status and result.assessmentId; map each to a CRM field type and label.
- At run time, on success the kiosk populates these fields. Add an Action Field on the next screen to display result.status.
- To route the flow based on the value the function returned, add a Decision component that checks result.status. This is separate from the Failure path: the Failure path handles the function failing to run, while the Decision branches on the value a successful function returned
Troubleshooting
- The response fields are not generated : Confirm the function returns a stringified JSONObject, not an array, and that it was built in the new Function Console.
- The response is not available on the next screen : Map the value in Map Response and reference it by its result. path, such as result.status.
- The action moves to the failure path unexpectedly : Check for an execution error or a run that exceeds the 10-second limit, including socket, thread, or connection timeouts.
Data in kiosks
While screens can be used to gather data from the user, the power of kiosks comes from the ability to use this data and data from the CRM. You have the following options to pull in data:
CurrentRecords
Kiosks can be accessed from multiple places. Two such places are record-specific:
- The record detail view page and
- The module list view page (for each record).
In these cases, the kiosk can use data from that specific record (called CurrentRecords). In case you access a kiosk from outside a record, the current record will be null.
GetRecords
The GetRecords component is used to fetch one or more records from a CRM module. It can be created and used in screens, decisions, and actions. This component has the following kinds of output:
- Single record output: A single record will be displayed to the user. Its field values can be used in subsequent screens, decision criteria, and actios.
- Multi-record output: Multiple records will be fetched based on the criteria you've chosen.
- With single selection: Though multiple records are fetched, the user will be able to select only one record. Its fields can be used everywhere that the single record output's fields are used.
- With multiple selections: These allow the selection of multiple records. The selected records can be used in decision criteria or in email notification templates (In the email template builder, under Table > GetRecords).
Fetch All Records from a module to your GetRecords Screen : You can now choose to fetch some records or all records from a module to be displayed in your GetRecords Screen. This is useful in scenarios when users need to view or act on a complete set of records in a module rather than on a limited number of them.
We’ve added pagination to the GetRecords screen, making it easier to navigate and locate specific records quickly, even when dealing with large data sets.
Quickly find records in GetRecords screens with this new addition to Kiosk and the GetRecord selection limit from 10 to 100.
Every Kiosk auto-loads the first-screen of GetRecords without the need to manually refresh. When a Kiosk opens with GetRecords on the first screen, records now load instantly, regardless of whether it’s on the Home Page, Canvas, Record Detail View, Blueprint, or a Custom Button.
CreatedRecords
When you turn on the wait for completion option in the create record action, the new records it creates can be used in the next screens. The CreatedRecords option will show these new records so you can use them in later steps.
CreatedRecords in Decision components
Currently, while configuring the decision component you can only add conditions based on GetRecords and CurrentRecords.
With sequential action being introduced, you can configure the decision component by adding conditions based on CreatedRecords as well. Click KioskRecords that groups GetRecords, CurrentRecords and CreatedRecords and choose CreatedRecords to add your conditions.
CreatedRecords in Action components
You can now configure actions based on CreatedRecords in Kiosk Studio. Simply select the action you want to configure and select the record type as CreatedRecords and complete the configuration.
Say, you want to update a field in the created record, you can configure the Update Field action, select the CreatedRecords as record type and configure which field needs to be updated.
Similarly, you can use CreatedRecords in various action components in Kiosks.
Merge fields
A merge field is a reference to another field. At the time of accessing a kiosk, this will be replaced with the value for that referred field. In kiosks, a merge field can point to:
- GetRecords' fields (CRM record's fields)
- Previous screen's field
- Current record's fields
- CreatedRecord's fields
- A User module field (for data related to the user who's accessing a kiosk)
- Organization fields
They can be used in the following places:
- Within screens: Enable Merge from module and press # to pick the field.This allows you to do things like customize your instructions (within the text display element on a screen), display CRM field data for reference, and so on.
- Email templates: When you're creating an email template, you can use merge fields to customize your notification.
Queries
Queries in Kiosks help you capture and store data directly in Zoho CRM, enhancing customer engagement and streamlining data collection. It can be used to retrieve any data into your CRM account using API or COQL including data from your third party services. They can be used in the following places :
- Screen : Add a query to your screen to retrieve data inputted in previous screens of your Kiosk.
- Decision : Add a query to your criteria component to make decisions from the data retrieved via queries in your screens. Please note that we can add queries to a criteria of a decision component only if it is retrieved in the previous screen of your Kiosk.
Add queries to your Kiosk Screen
- Click + to add an element.
- Select Screen and click ADD.

- Select Get data via Queries.
- Click New Query.

- Select a query from the list.

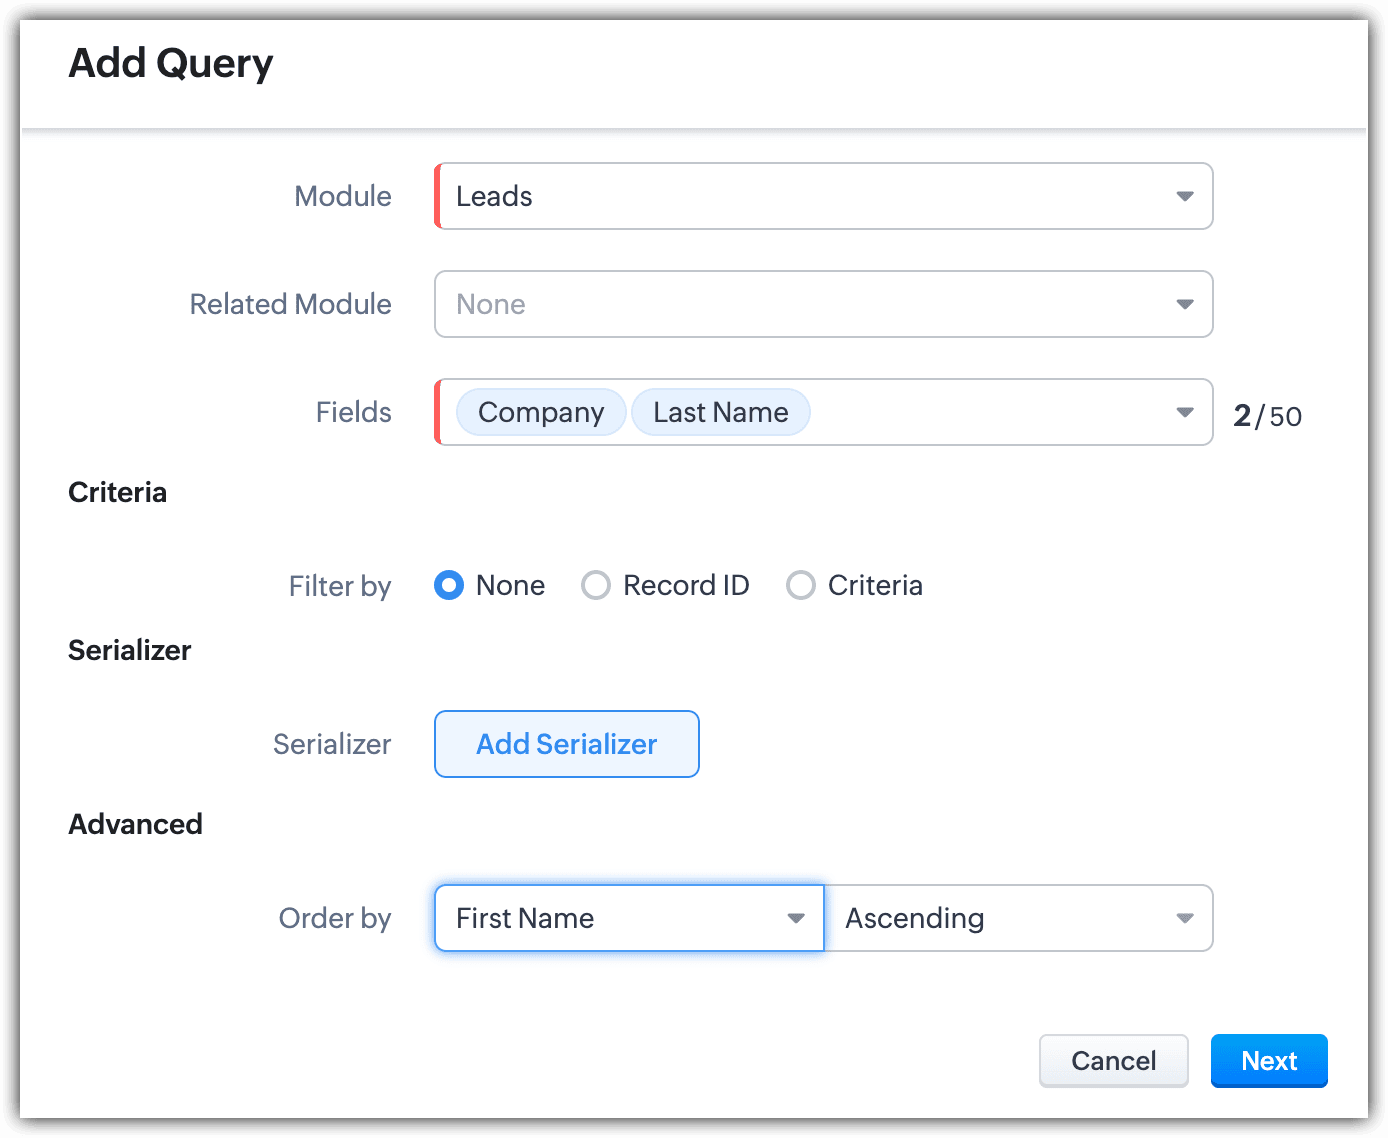
- To add a new query, click Add Query and enter the details.
-- Source : Choose the source from where records need to be retrieved. Either from CRM-Module or CRM-COQL. You can even add your own source.

-- Information : Enter the query name; the API name will automatically be filled. Select the module and related module if needed and choose the fields.

-- Criteria : Enter the criteria based on which the records need to be retrieved.
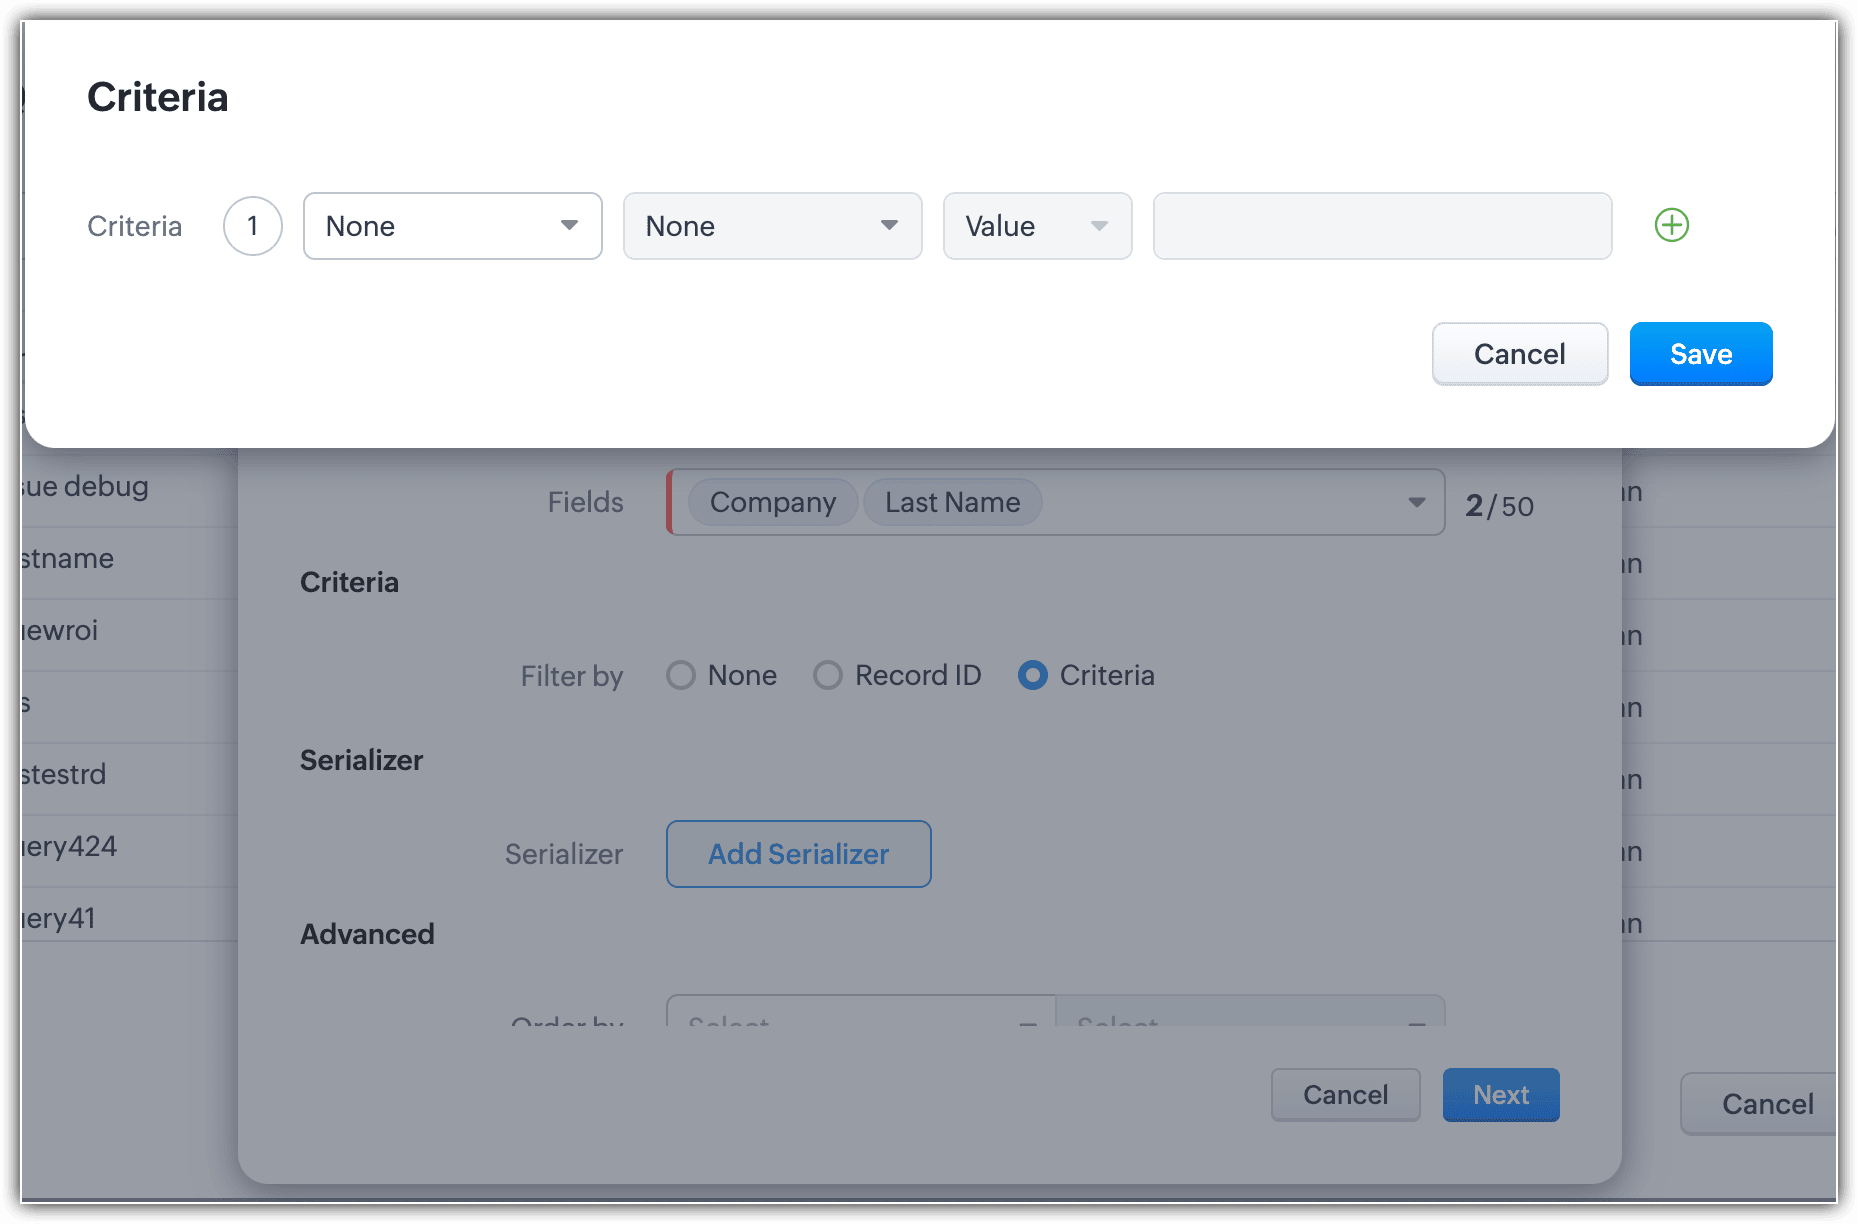
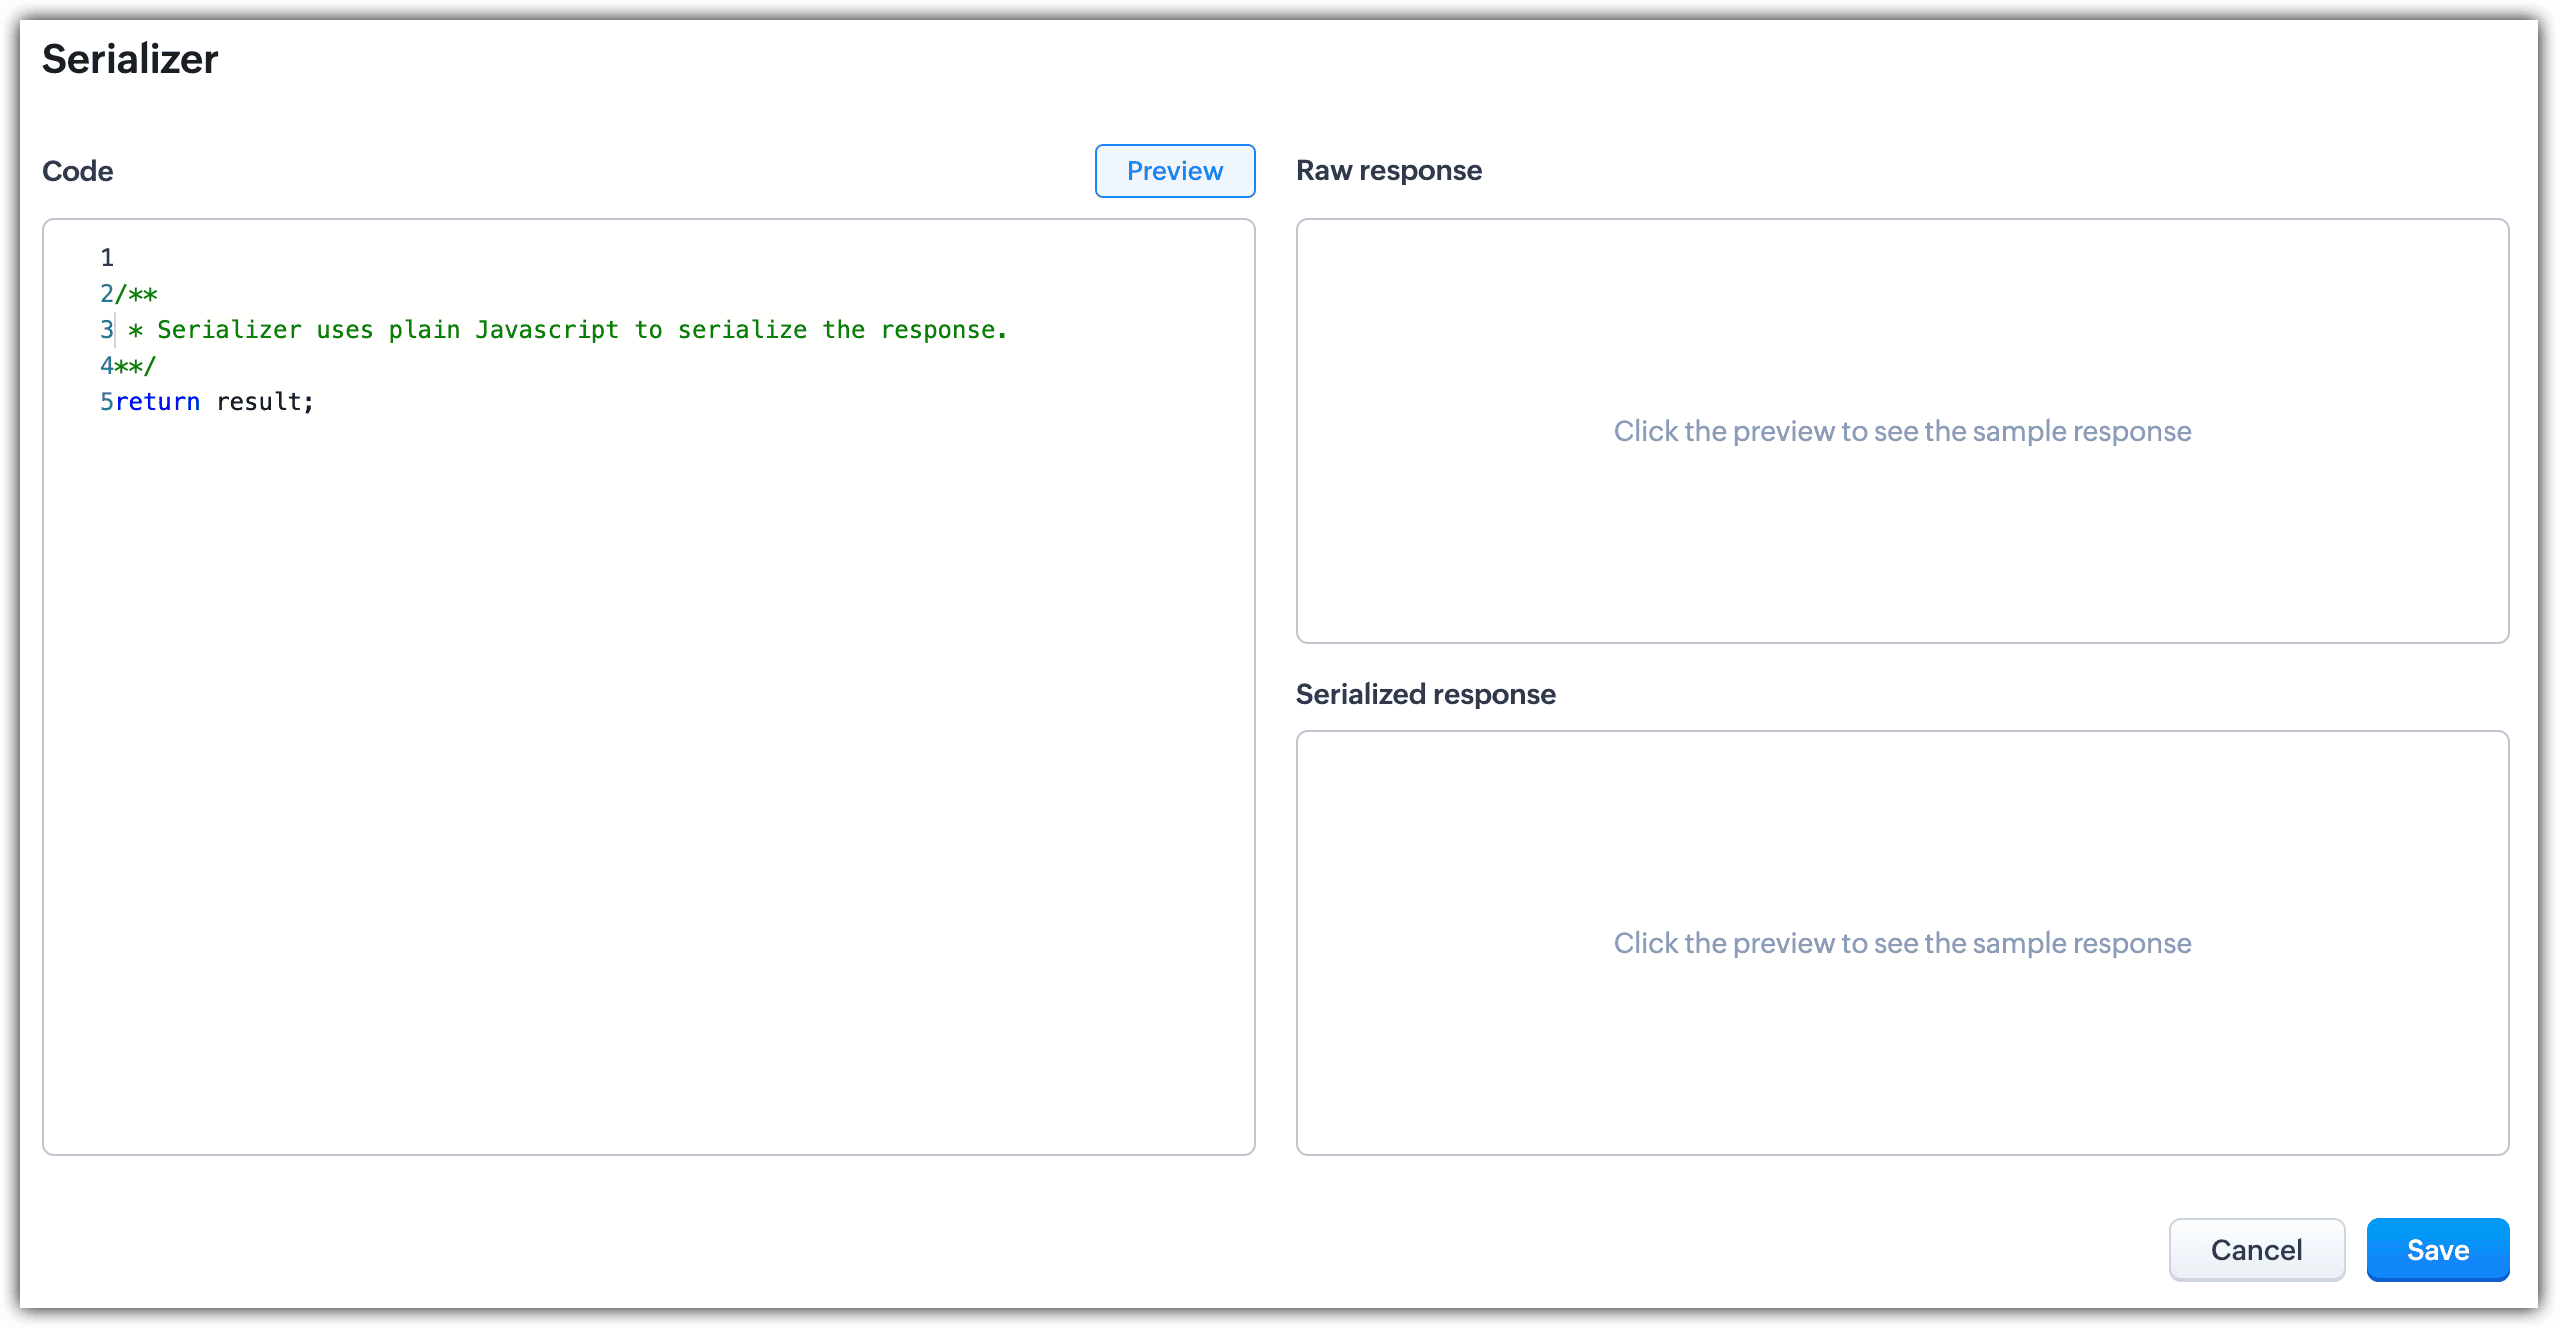
-- Serializer : Serializer lets you modify your response using JavaScript to use it for further processing. Enter the serializer and click Save.
-- Choose to add Advanced conditions and click Next.
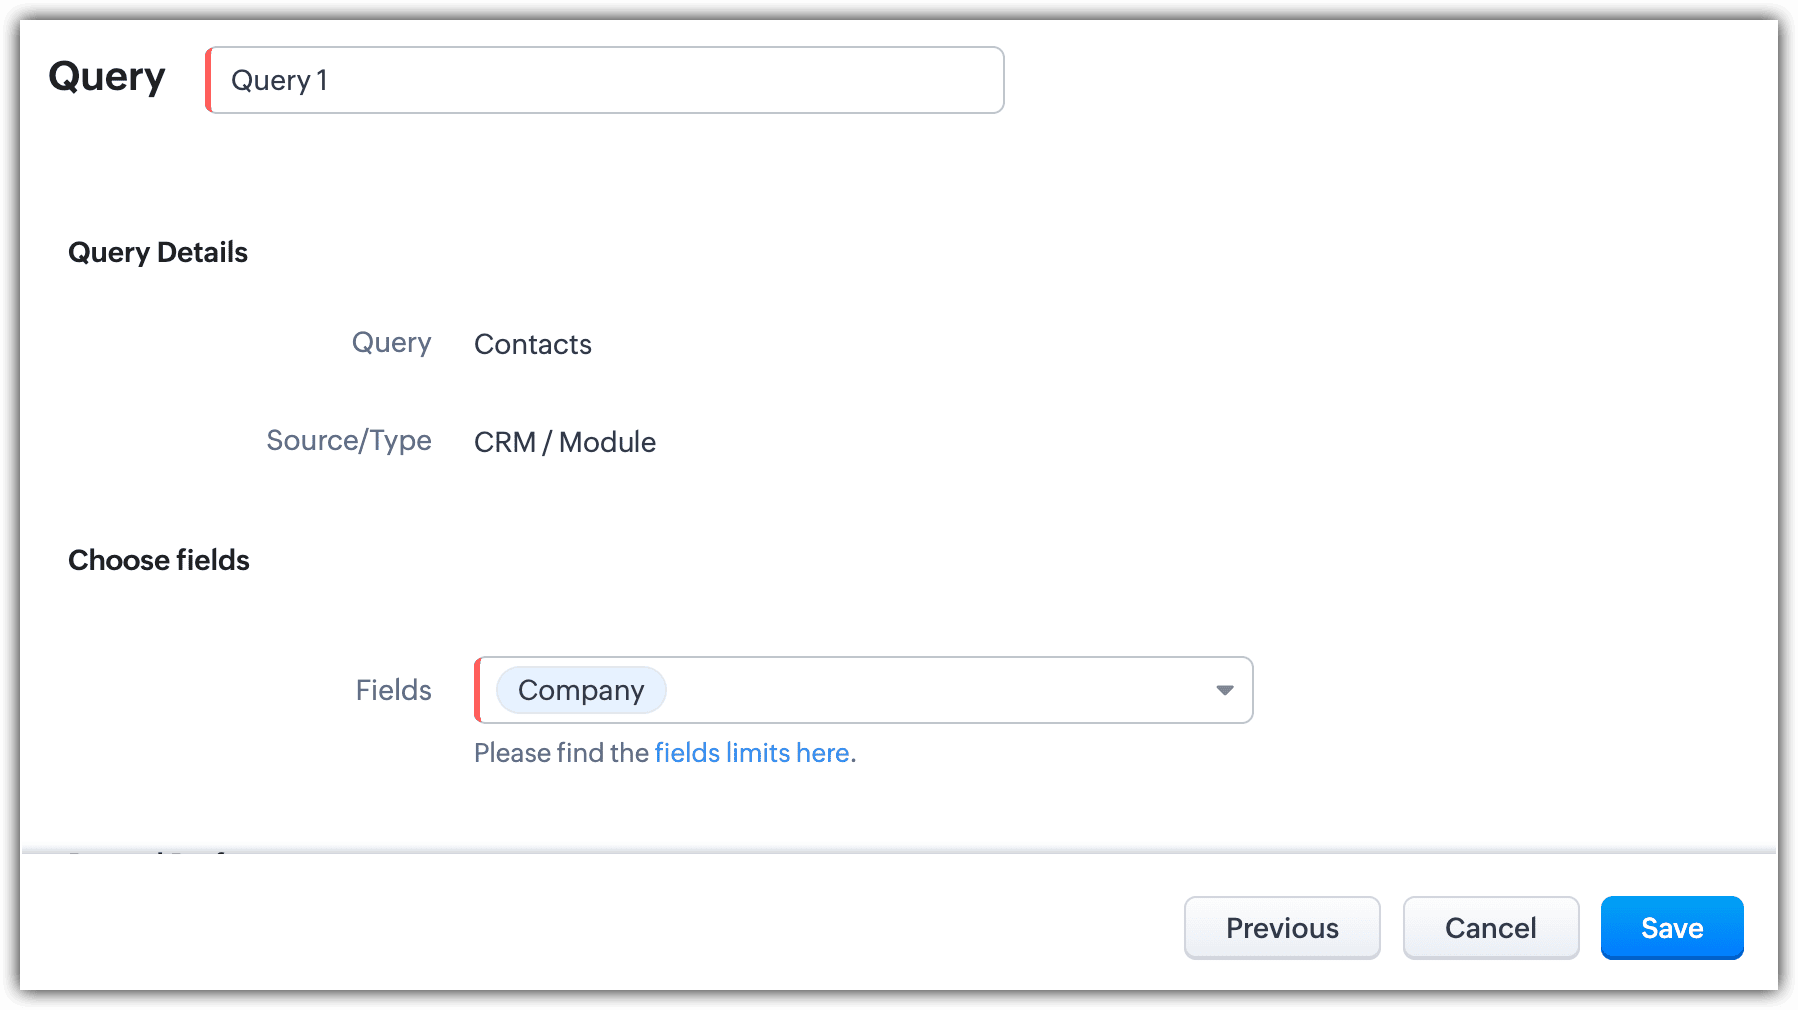
- Once your query is selected, click Next. On the next pop-up, Edit the query name and choose the fields to be retrieved.
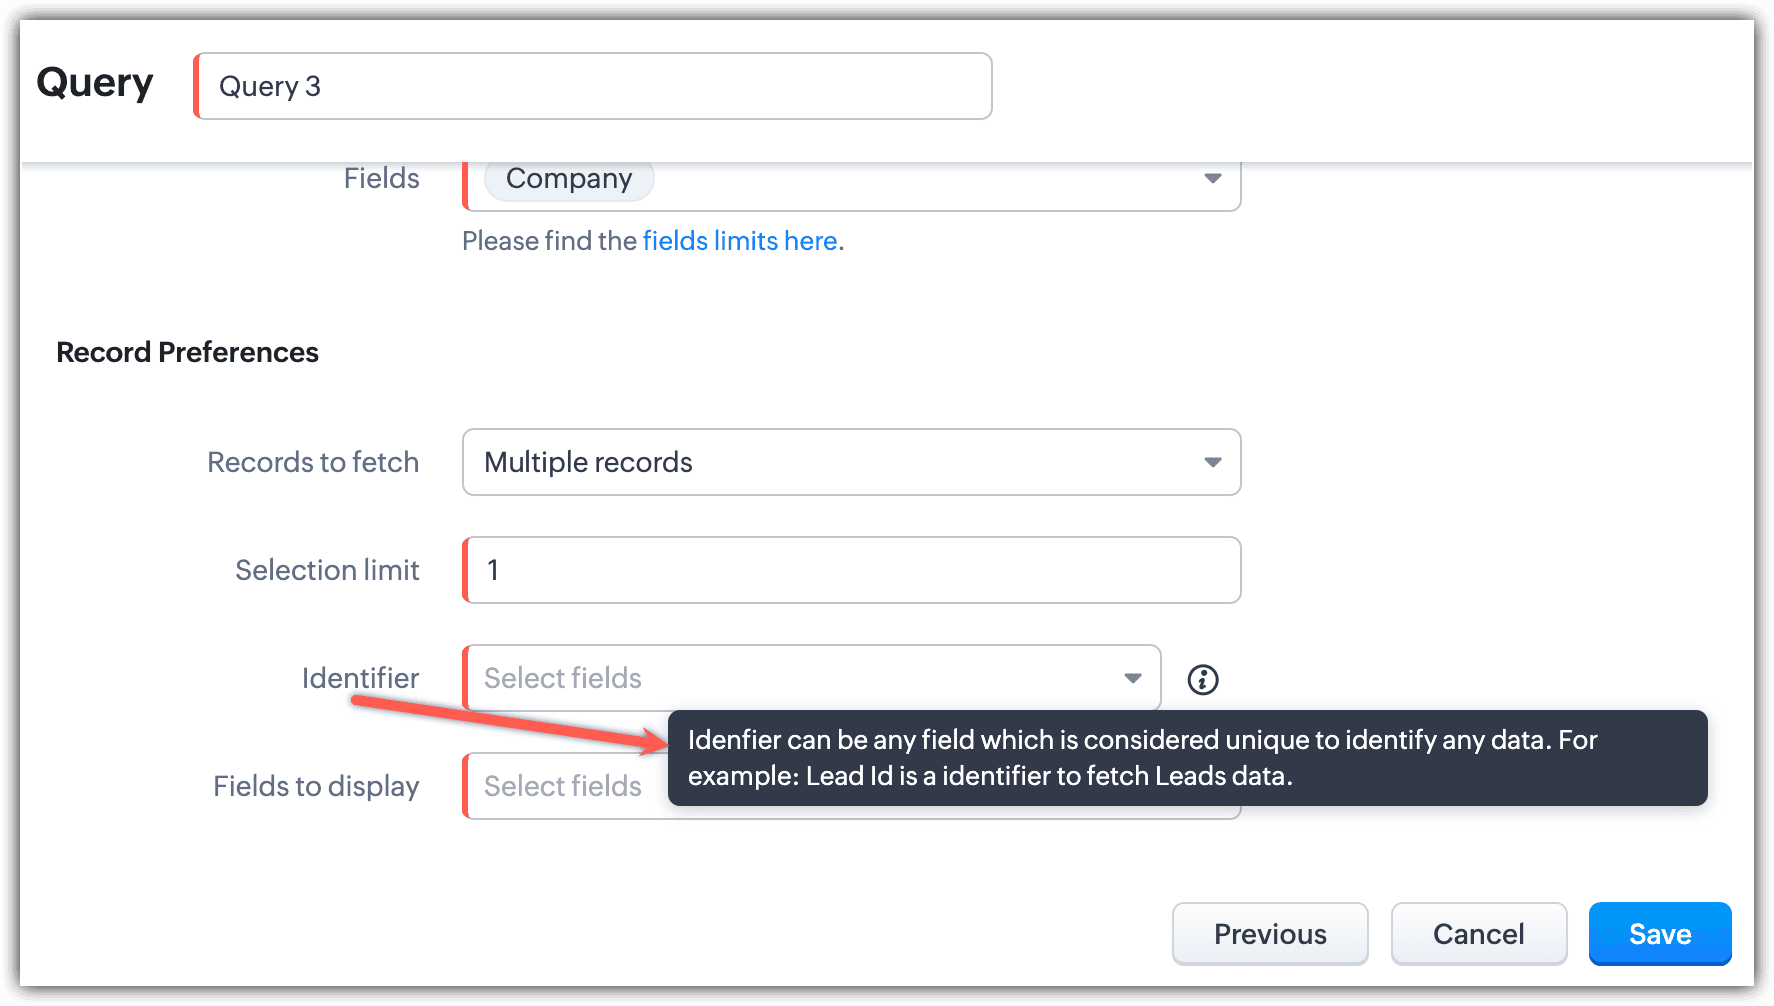
- Enter record preferences whether to retrieve single records or multiple records.If the user wants to retrieve a single record, then choose the fields to be displayed and click Save.
- If the user wants to fetch multiple records, then they also have to choose Identifiers. Identifiers are unique fields used to identify any data fetched from multiple records.
For instance, if a user has fetched multiple records, we can use identifiers to identify each record/ data. i.e to find out what record is used. User has to choose unique field - It can be Lead ID or S No etc.LeadID is the Identifier to fetch Leads data. Enter a selection limit, choose the identifier, choose fields to display, and click Save.
Add queries to your Kiosk Decision component
- Click + to add an element.
- Select Decision and click Add conditions based on.
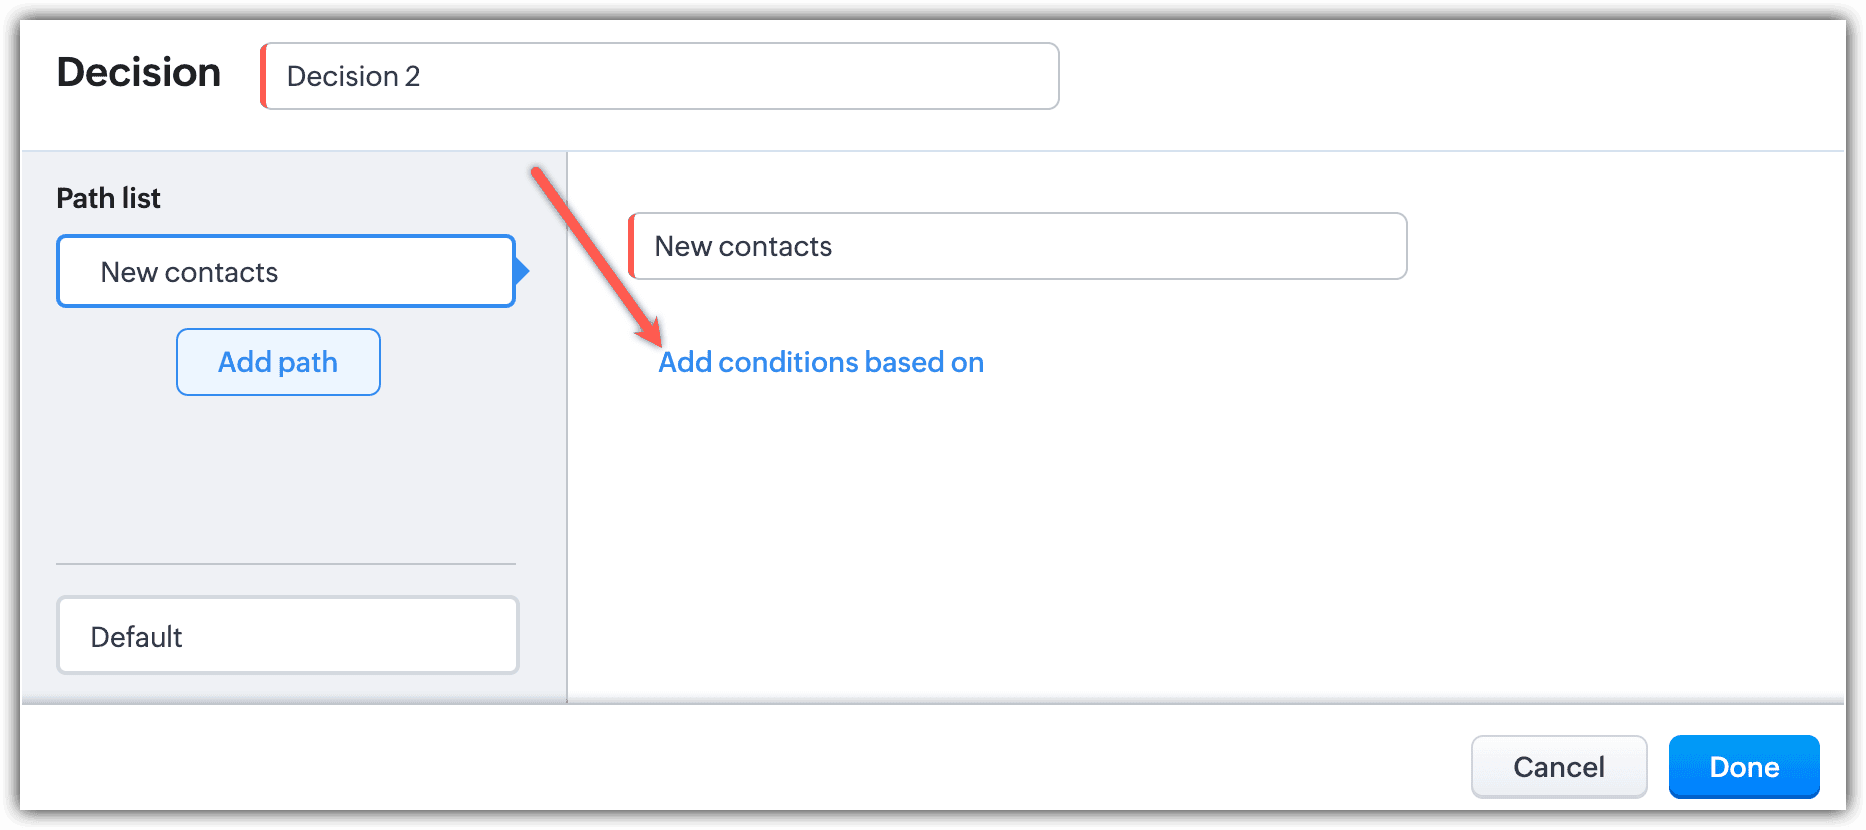
- Select Queries from the dropdown.
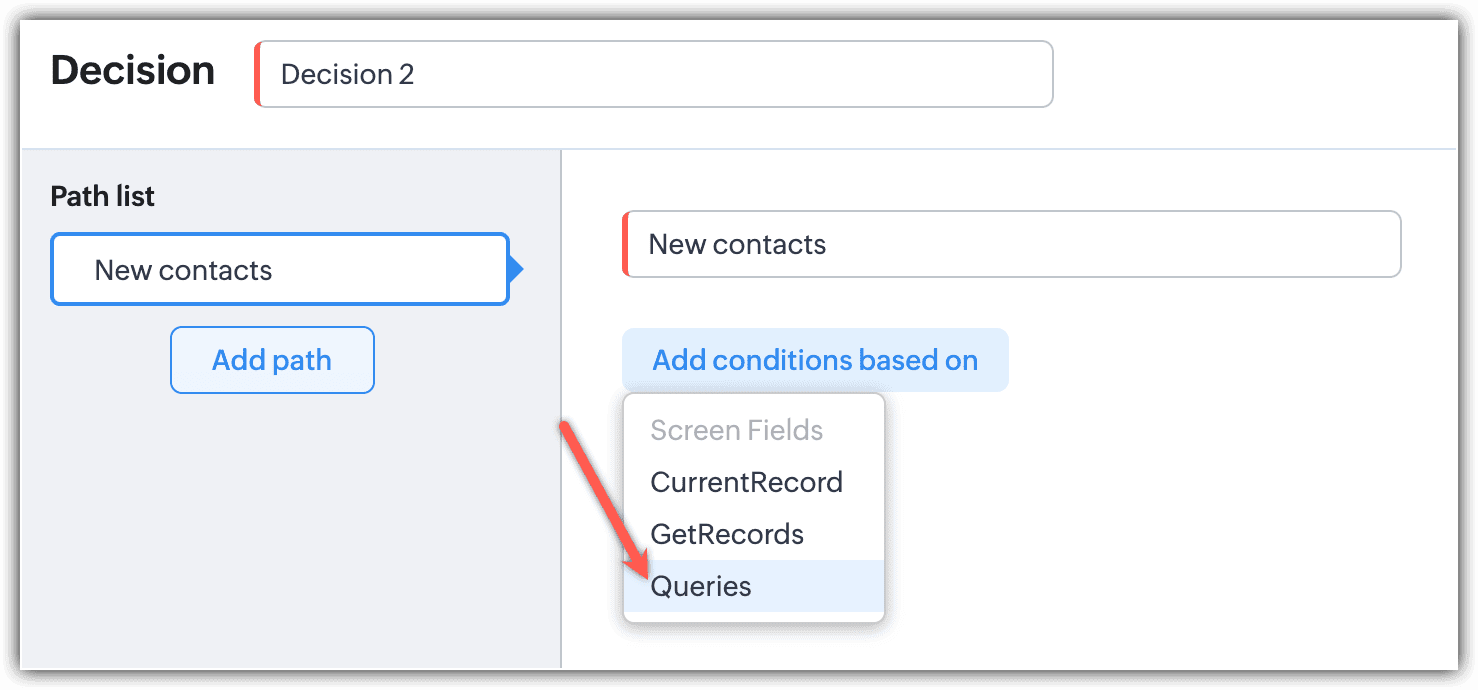
- Select a Query from the drop-down, select a criteria, and click Done.

Queries Field Limits
Overall, only 100 fields can be displayed in queries. For instance, if a user has used the maximum limit of number fields (40 ) and other fields like Decimal, Percentage and currency fields up to 60, then the user cannot use other fields in the query. The query field type and limits are listed in the table below :
Query Field Types
| Maximum Limit
|
Text Fields
(Single Line, Email, Phone, Multi Line, URL, and Auto-Number)
Multi-line maximum limit is 25
Auto-number maximum limit is 1
|
100
|
Number Fields (digits without decimal)
| 40
|
Decimal, Percentage, Currency Fields
| 60
|
Date Fields
| 50
|
Date/Time Fields
| 50
|
Checkbox
| 80
|
Long Integer Fields
| 35
|
Encrypted Fields
(Encrypted field count is inclusive of Number and Text (Single Line, Email, URL, and Phone) fields)
| 10
|
