Portal
 Zoho Quartz is currently in its beta phase and available on an on-demand basis. To request early access, write to quartz-support@zohocorp.com. EU DC users can reach us at quartz-support@eu.zohocorp.com.
In a Nutshell
The Portal allows you to create a dedicated space where your customers can easily view their submissions and track their feedback.
Availability
This feature is available across all DCs (US, EU, IN, AU, CN, JP, SA, and CA).
Overview
With a well-configured portal, customers can monitor their submitted issues, leading to improved transparency and quicker resolutions. The Portal section allows you to set up and configure the Portal Name and Portal URL.
By default, the URL will be structured with the domain zohoquartz.com. For instance, if you name your portal "Zylker," the corresponding URL will be zylker.zohoquartz.com.
Working with the Portal
To configure a Portal:
- Navigate to the Portal section in the Dashboard.
Portal Name: This is the personalized name displayed to users when they access your portal. Customize it to align with your business branding.
Portal URL: This is the web address of your portal. By default, Zoho Quartz provides a URL in the format <portalname>.zohoquartz.com. Click the copy icon to easily share the URL.
Custom Domain
Zoho Quartz supports white-labeling by allowing you to use your own custom domain for your portal. This enables you to host the Quartz portal seamlessly on your website.
Mapping a Custom Domain:
- Click the Map domain button in the Custom domain section.
- In the Add custom domain pane, enter the domain and click Next.
- Verify ownership of your domain by updating your DNS settings.
a. Sign in to your domain hosting provider.
b. Navigate to the DNS settings for your domain.
c. Add the required DNS records (provide specific record type and values that is displayed in the pane).
d. Click Verify. - To enable HTTPS, you need to generate an SSL certificate. Click Get SSL to have Zoho Quartz install the certificate.
Note: Certificate installation may take up to three business days.
Once complete, your custom domain will appear on the Portal page with a 'Pending' status. After verification, the status will change to 'Verified'.
If needed, click the Disable button, which will temporarily disable the portal. You can click Re-enable to enable the portal again.
Multi-Factor Authentication (MFA)
Zoho Quartz supports MFA to enhance the security of your portal. When enabled, users will be required to enter a one-time password (OTP) during login.
Enabling MFA
- Locate the MFA toggle switch within the Portal page and click it to enable MFA for your portal.
User MFA setup process
The next time a user logs into the portal after MFA is enabled, they will be redirected to the Enable MFA screen.
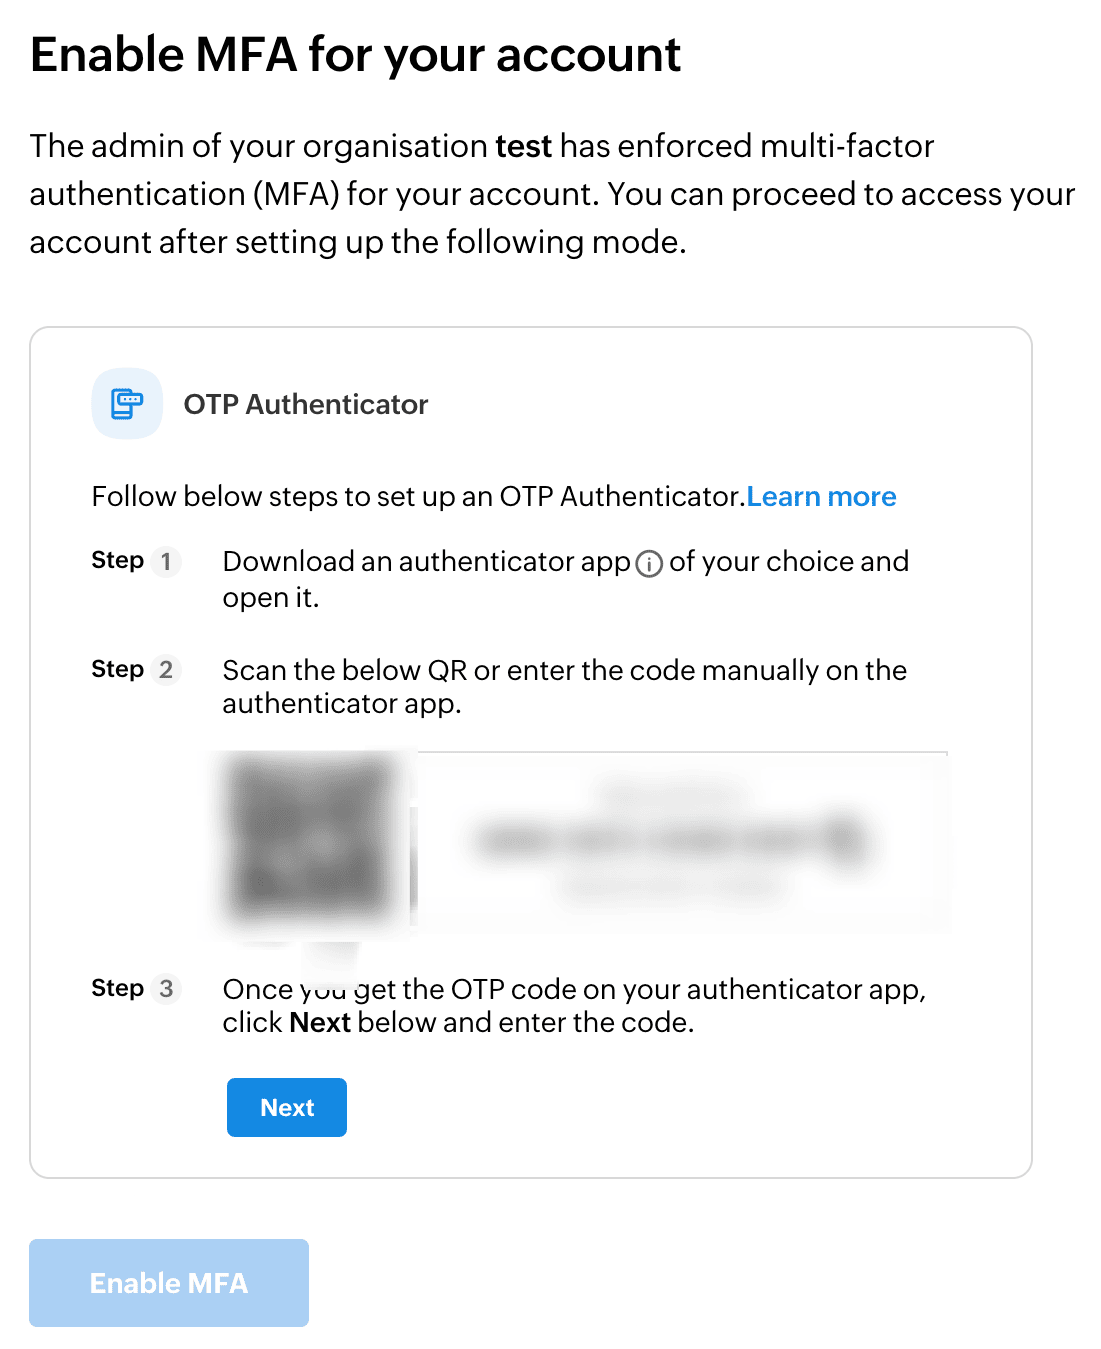
To set up MFA
- The user can use any authenticator app of their choice. Zoho Quartz supports popular apps such as Zoho OneAuth, Google Authenticator, Microsoft Authenticator, Authy, and many others.
- On the Enable MFA screen, a QR code will be displayed. Open your chosen authenticator app and scan the QR code.
- Click Next in the Quartz page. Your authenticator app will generate an OTP. Enter the OTP code in the provided field.
- Once the OTP is verified, click the Enable MFA button to complete the setup.
After successfully enabling MFA, the Zoho Quartz portal will require an OTP from the user's chosen authenticator app every time they log in.