Projects
 Zoho Quartz is currently in its beta phase and available on an on-demand basis. To request early access, write to quartz-support@zohocorp.com. EU DC users can reach us at quartz-support@eu.zohocorp.com.
In a Nutshell
A Project in Quartz refers to a distinct entity that either manages specific customer or handles relevant functions(like Support). The Projects section allows you to organize feedback and issues efficiently by categorizing them based on different projects. This streamlines the process of managing customer feedback and internal bug reports. Each project has its unique recording page whose URL has to be shared with the concerned customers to gather feedback.
Availability
This feature is available across all DCs(US, EU, IN, AU, CN, JP, SA, and CA)
Overview
In Zoho Quartz, projects are essential organizational units that allow you to efficiently categorize feedback by creating distinct projects for customer support and internal quality assurance. You can create as many projects as per your requirements. By grouping feedback by project and adding users to it, you can handle large volumes of submissions from customers more effectively.
Working with Projects
Adding a Project
To add a new project:
- Click the Add Project button under the Projects section.
- You will then be prompted to enter a name and choose the project type. This can either be Customer Support (for external feedback) or Internal QA (for internal bug sharing).
- After making your selection, click Add to create the project.
Project Listing page
In this page, all the projects created in your workspace will be listed along with the necessary information (like Project Name, Number of Users, Project Type, Created By, and Created Date)
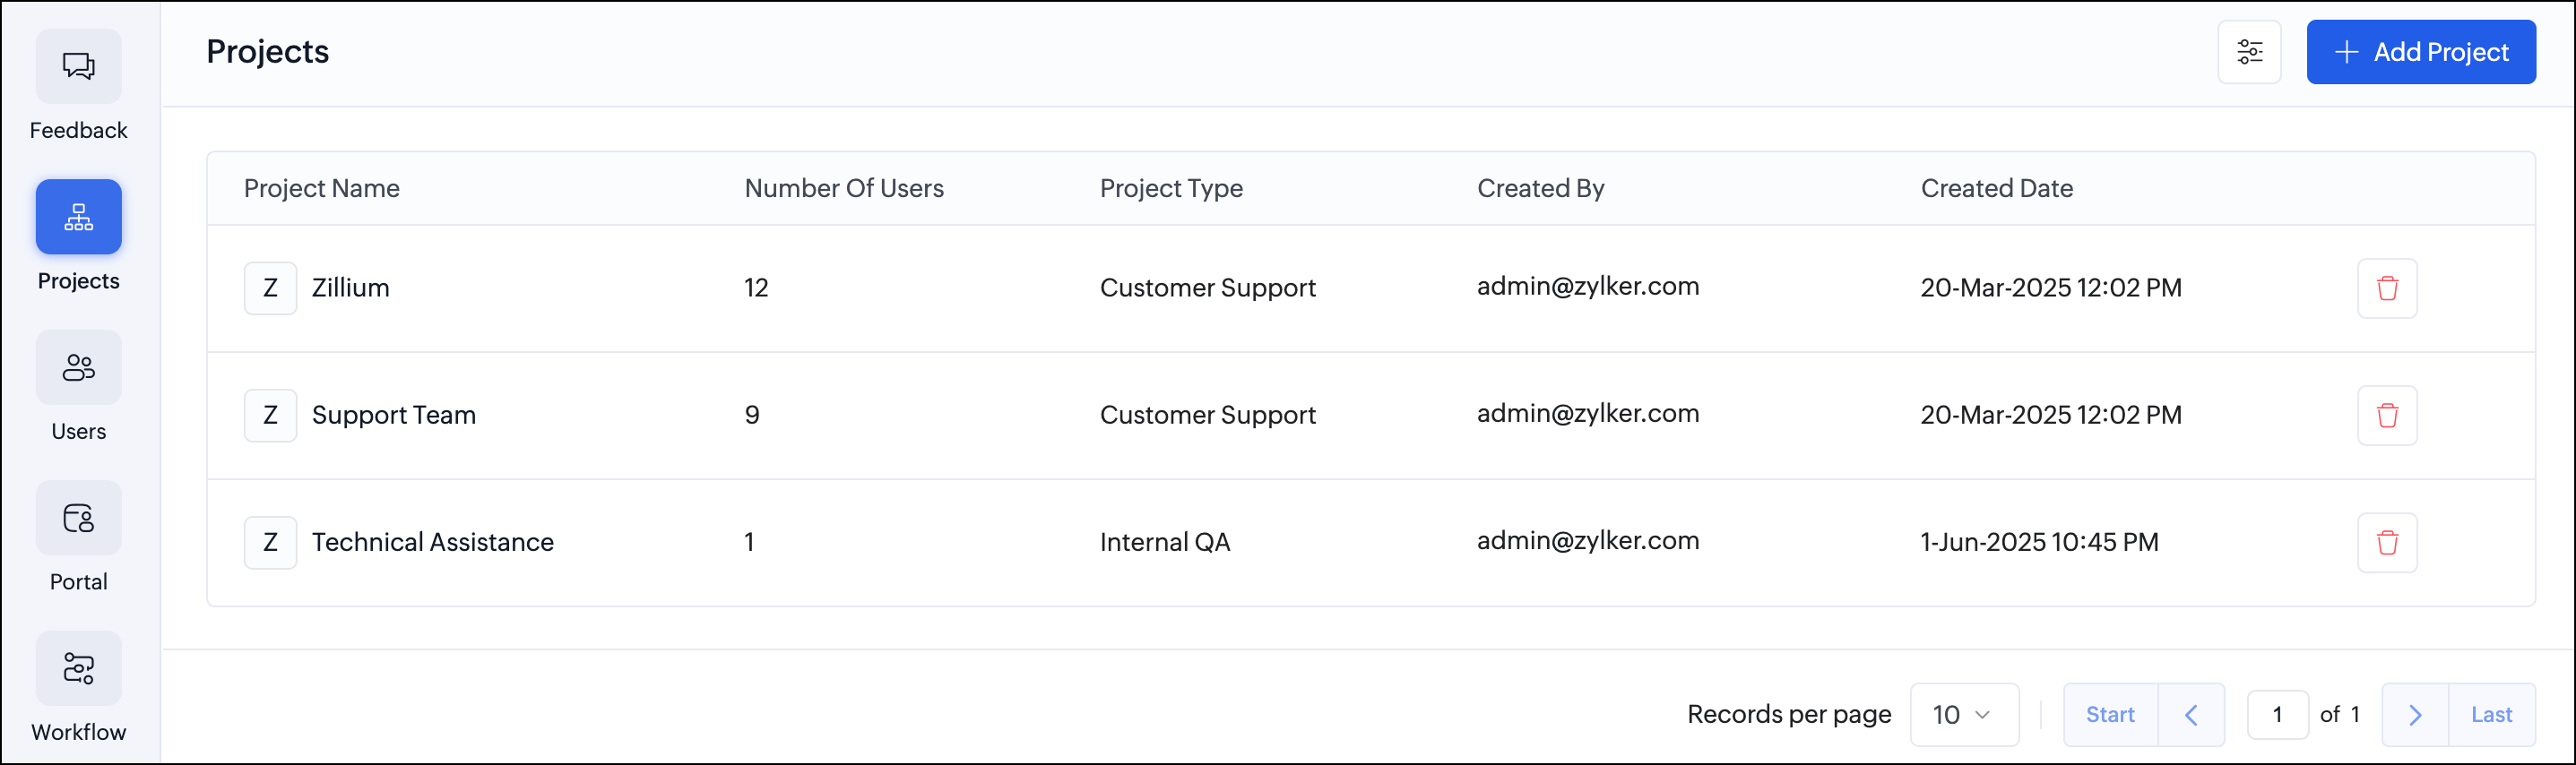
This page also provides you with the ability to filter projects using various criteria. You can search for a project by its name or narrow it down using the email address of the creator. Additionally, you have the option to filter by project type. Choose the relevant criteria and click Apply.
Project Details page
Clicking on any project will take you to the Project Details page. On this page, you'll find the unique recording page URL for the project below the Name of the project.
This page is further segregated into three tabs: Users, Installation, and Preferences.
Users
In the Users tab, you can add your internal users or employees to this project by clicking the Add Users button. Once added, these users will have access to all the feedback that this project receives. You can also implement role-based access control by assigning users either Admin or Member permissions. Admins will have both read and write permissions within the project, while members will only have read permissions.
Additionally, you can bulk import users for efficient management.
In the user listing section, users are displayed with the basic details like Name, Email Address, Project Role, and Status.
You can filter users using the filter option. Search for a user by name or narrow it down using the email address. You also have the option to filter by user type (Member or Admin) or status (Active or Inactive).
Installation
The Installation section provides the necessary steps to set up Zoho Quartz on your website and configure its data collection settings.
- Embed Code - Copy the Quartz embed code and paste it just before the closing <body> tag on your website. If your website has multiple pages, ensure the code is added to each one. This step is crucial, as Zoho Quartz can only capture logs and metrics for pages where the embed code is included.
- Console Logs - Configure the types of console logs to be collected by selecting the desired severity levels from the dropdown. The available options are: All, Off, Error, Warn, and Info.
- Request Parameters - Choose whether to mask specific request parameters. By default, all parameters are masked. If you enable this option, specify the parameters to be masked and click Add. Multiple parameters can be added.
- Request Headers - Similar to request parameters, you can choose to mask specific request headers. By default, all request headers are masked. If you enable this option, specify the headers to be masked and click Add. Multiple headers can be added.
- Response - This option allows you to manage the collection of responses from API calls. When enabled, it ensures that both JSON and formData responses are captured, allowing for detailed tracking and processing of the received data. If response collection is disabled, the system will ignore these responses, preventing unnecessary data storage and reducing processing overhead. This flexibility enables you to control data handling based on your specific use case and operational requirements.
Preferences
In the Preferences tab, you can view and manage essential information, including:
- Name - The official name of the project. To update the name, simply start typing in the field.
- Project Link Name - The link name for the project.
- Recording Page URL - The unique URL for accessing the project's recording page.
- API Key - The unique API key for this project.
- Retention period - This allows you to choose how long feedback will be retained before being moved to the Trash. The default option is Follow Workspace Setting, which adheres to the settings specified under the Settings section. You can also select a custom option from available choices,(1, 2, 3, 6, and indefinite).