Data Subject Rights
The GDPR explicitly states certain rights for the data subjects in Articles 12 to 23. We need to understand and fullfil them when individuals seek to exercise those rights.
- Right of access: The subject's right to obtain from the controller, the confirmation as to the processing of their data and furthermore request to access their personal information.
- Right to rectification: The subject's right to ensure that their personal data is accurate and updated as needed.
- Right to erasure or be forgotten: The subject's right to ask the controller for the erasure of their personal data without undue delay.
- Right to object and restriction of processing: The subject's right to object to the processing of their data and even restrict it if they so desire.
- Right to data portability: The subject's right to obtain their information in a structured and machine readable format or have their data transferred to another organization if feasible.
- Right to be informed: The subject's right to be informed of how and why their personal data is being processed. Also, they have the right to know if the data is being shared with other third-party. This can be addressed by identifying the appropriate lawful bases to process data. In case of a consent being , getting proper
-
Right to be notified: In case of a data breach, the data subjects need to be informed within 72 hours of first having become aware of the breach.
Add Data Subject Requests
There are two ways in which the above mentioned requests can be collected.
Manual
- The data subjects can send requests to you in an email.
- You can get the request on a call or orally, in person.
- The data subjects can send requests to you in an email.
Automatic
- Send Data Request link via email.
The requests raised by your customers will by automatically captured in Zoho CRM.
- Send Data Request link via email.
Add Data Subject Requests Manually
On collecting the requests, you need to update it in your CRM account and do the needful actions to handle the requests.
To add a data subject's request in your account
- Click open the data subjects record in your CRM account.
The record could be in the Leads, Contacts, Vendors or any other custom module for which GDPR Compliance is enabled. - Click Data Privacy.
Under the Data Subject Requests section, click the Add Request link. - In the New Request popup, select a request and click Done.
The request will be added for the record.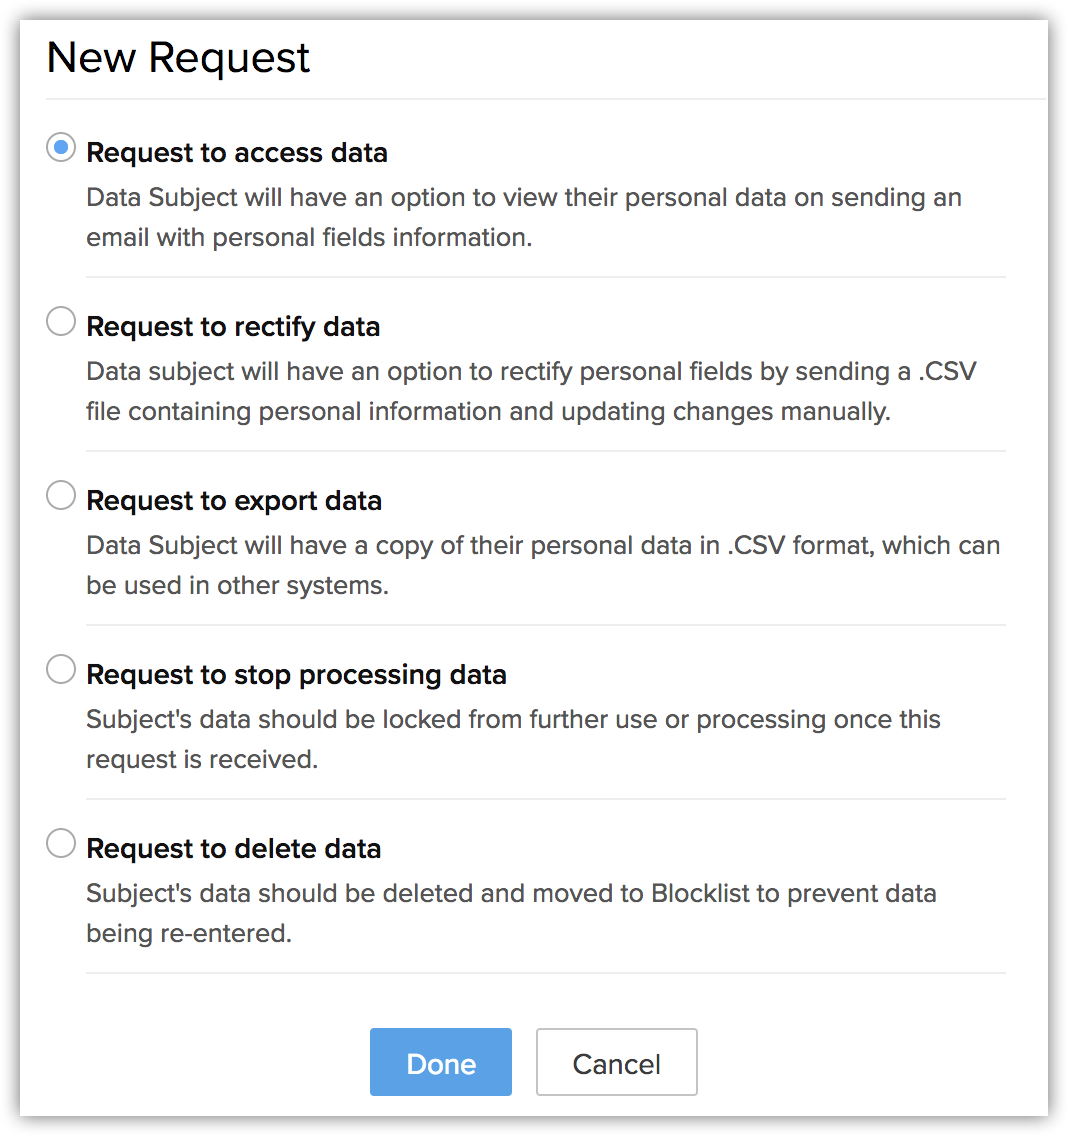
Handle Requests Within Zoho CRM
Let us understand how these requests can be handled within Zoho CRM.
Access (Right to Access)
Using Zoho CRM's email templates you can create templates with the customer personal data using merge fields. This template can be used to send emails when data subjects request to have access to their information. Data subjects can also access their information through customer portals, which is available in the Enterprise Edition. See Also Email Templates and Portals
To send an email with the data subject's information
- Click open the data subjects record and click Data Privacy.
- Under the Data Subject Requests section, click the Add Request link.
- In the New Request popup, select Request to access data.
- Click Done.
The request will be added to the record. - Click Send email for the Request to access data.
- In the email composer, select the email template with the merge fields and send the email.
Rectify (Right to Rectify)
You need send a email with the CSV file that contains the data subject's information. Data subjects can rectify the information in the CSV file and send it back to you to import it in your CRM account and and update the information. Data subjects can also themselves rectify and update their information through the customer portals, which is available in the Enterprise Edition. See Also Portals
To send and email to rectify data subject's data
- Click open the data subjects record and click Data Privacy.
- Under the Data Subject Requests section, click the Add Request link.
- In the New Request popup, select Request to rectify data.
- Click Done.
The request will be added to the record. - Click Send email for the Request to rectify data.
An email composer will open, with a CSV file as attachment. The attachment contains the data subject's information that is available in the selected module. - In the email composer, draft the email and send.
Export (Right to Portability)
Data Subject information is be exported, attached to an email and sent in a machine readable format (CSV format), all without being downloaded on to the Controller's device.
To send a copy of the data subject's data
- Click open the data subjects record and click Data Privacy.
- Under the Data Subject Requests section, click the Add Request link.
- In the New Request popup, select Request to export data.
- Click Done.
The request will be added to the record. - Click Send email for the Request to export data.
An email composer will open, with a CSV file as attachment. The attachment contains the data subject's information that is available in the selected module. - In the email composer, draft the email and send.
Stop Processing (Right to Stop Processing)
Once they exercise this right, you need to stop processing the data subject's information. To handle this, Zoho CRM has the option to lock the data subject's information and prevent it from further processing. When a record is locked, the details in the record, will be locked from further use or processing in CRM. For example, emails will not be sent from workflow rules, you cannot edit the record, share it, run macros on it or even merge it with its duplicate.
To lock the record
- Click open the data subjects record and click Data Privacy.
- Under the Data Subject Requests section, click the Add Request link.
- In the New Request popup, select Request to stop processing data.
- Click Done.
The request will be added to the record. - Click Lock for the Request to stop processing data.
- Click Yes, Proceed to confirm.
The record will be locked. You cannot perform any actions for the record, as mentioned earlier.
Erase (Right to be forgotten)
Once exercised, the data subject's information can be locked for the duration of the retention period defined in the Data Controller's terms of service. During this period data will not be processed in Zoho CRM, after which the controller has the option to delete the data subject's information. Once deleted, the record's email address will be moved to a block-list and the re-entry of the same data will be prevented via import, synchronization, etc. However, you will have the option to manually add a record with the same email address.

Note
- Users should have Manage Compliance Settings permission to move a record to blocklist.
- When a record is block-listed, all the records bearing the same email address will be deleted across all the GDPR enabled modules.
- The block-listed records can neither be retrieved nor be viewed.
- When a record is block-listed, it is deleted from Zoho CRM. However, all the records associated to the block-listed record will not be deleted. The associated will be removed. For example, a task associated to a block-listed lead will remain in you CRM account but it will no longer be associated to the lead.
To lock and block-list the record
- Click open the data subjects record and click Data Privacy.
- Under the Data Subject Requests section, click the Add Request link.
- In the New Request popup, select Request to delete data.
-
Click Done.
The request will be added to the record.
- Click Lock to stop processing the data before deleting it.
- Click Move to block-list to delete it from your CRM account.
In the Blocklist Record popup, click Move to blocklist.
The record will be deleted and the email address will be added to block-list.
- Click Lock to stop processing the data before deleting it.
- Click Yes, Proceed to confirm.
Add Data Subject Requests Automatically
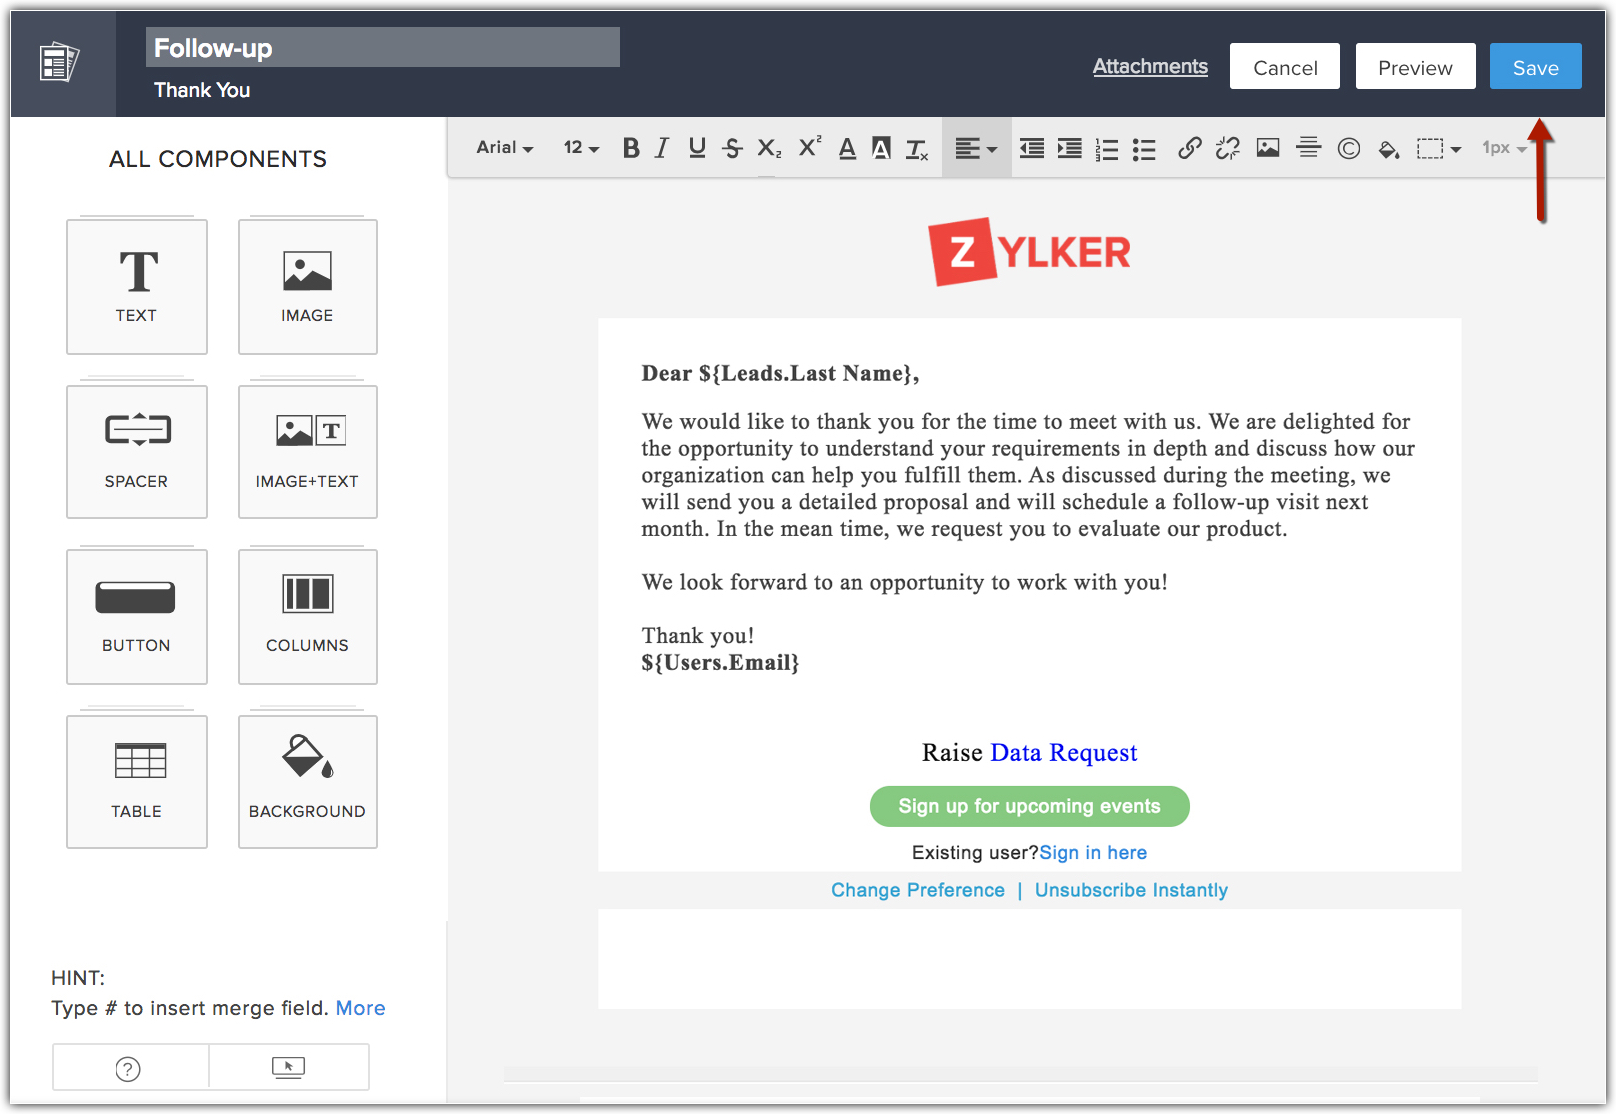
Add the data subject request link in the email or create an email template and send it to your data subjects. This allows them to submit a request in Zoho CRM on their own.
To add data request link in email template
- Go to Setup > Customization > Templates.
- Select the Email tab and click +New Template.
- In the Create Email Template pop-up, select the module and click Next.
- Choose a template from the Template Gallery.
- Click the
 (Add Link) button
 -
In the Add Link window, do the following:
- Select Data Request from the Link Type drop-down list.
- Choose the Data Request Type by enabling the checkbox.
Click Select all to add all the types. - Select the Language from the drop-down list and click Save.
- Select Data Request from the Link Type drop-down list.
- Save the Template.
To add data request link in email
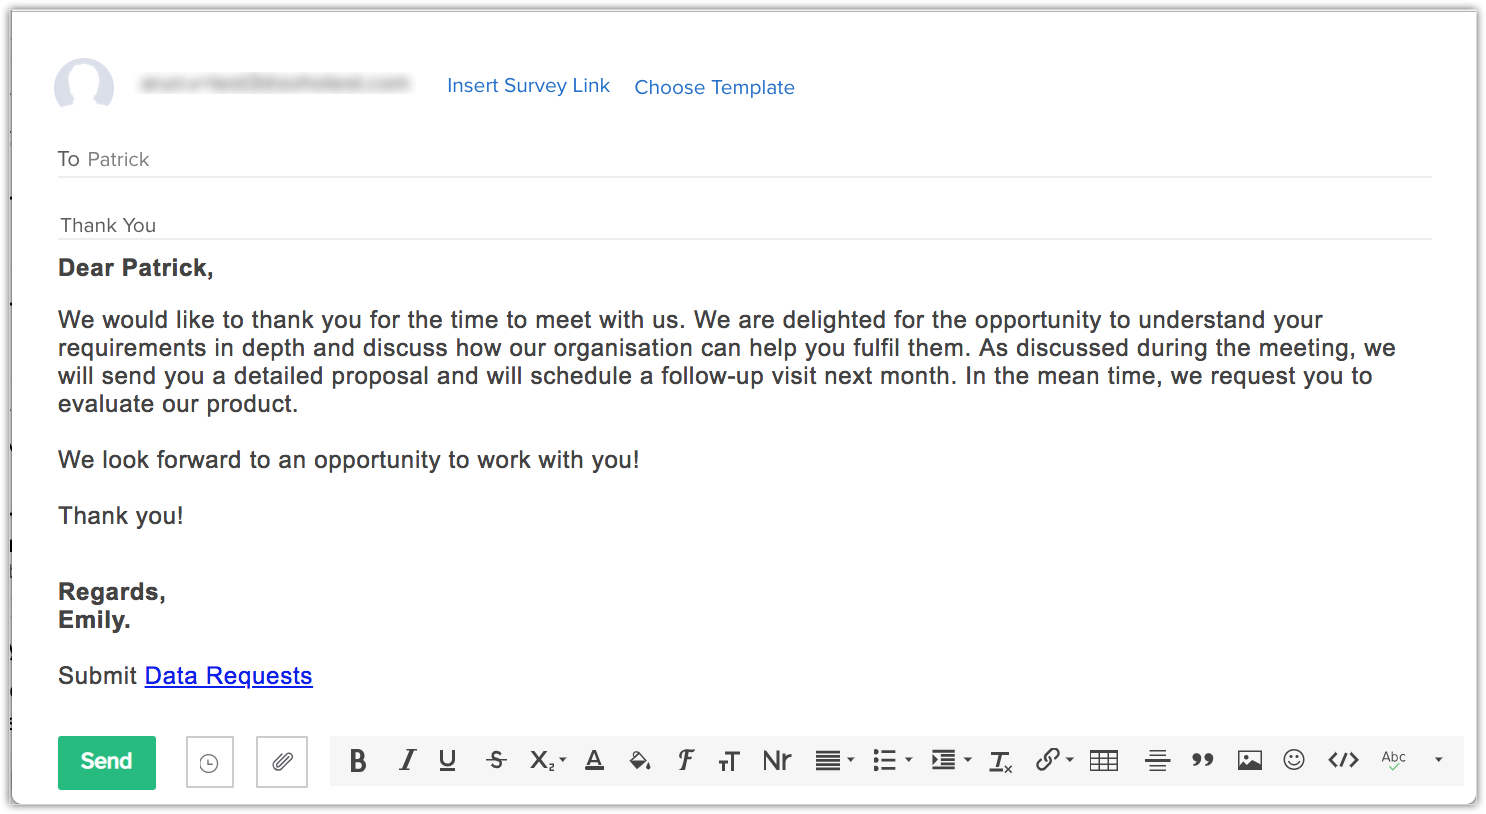
- Go to the Record Details page and click Send Email.
- In the compose window, click
 (Add Link) button and select the
  (Data Request) icon.
 - Choose the Data Request Type by enabling the checkbox.
Click Select all to add all the types. - Select the Language from the drop-down list and click Save.
- Click Send.
Raise Data Request
By using the Data Request link, the customer can raise a request and it will be automatically captured in Zoho CRM. Your customers can follow the given steps to raise a data request.
To raise Data Request
- Your customers can click Data Request Link from the email.
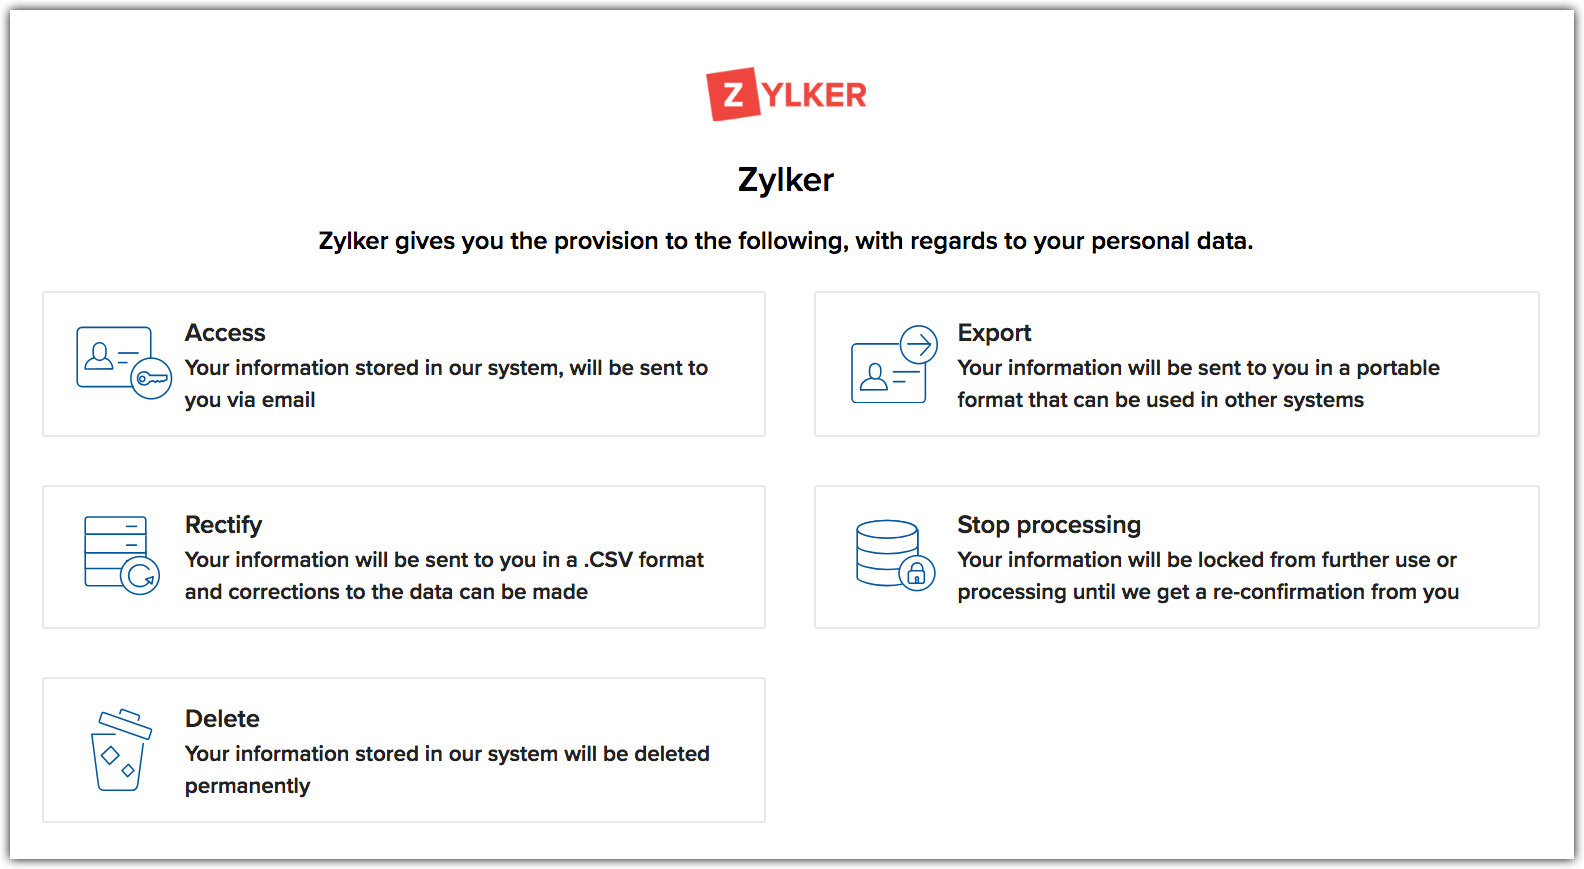
- Add a request of their choice.
- Confirm the request.
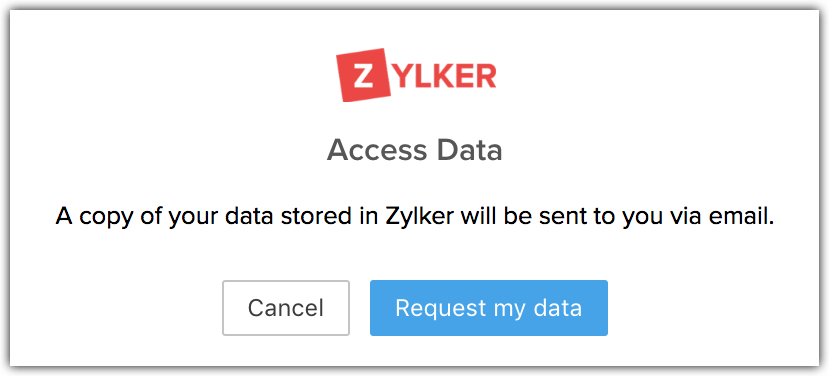
- This request will be captured in the Data Privacy section of the respective records.
View All Open Requests
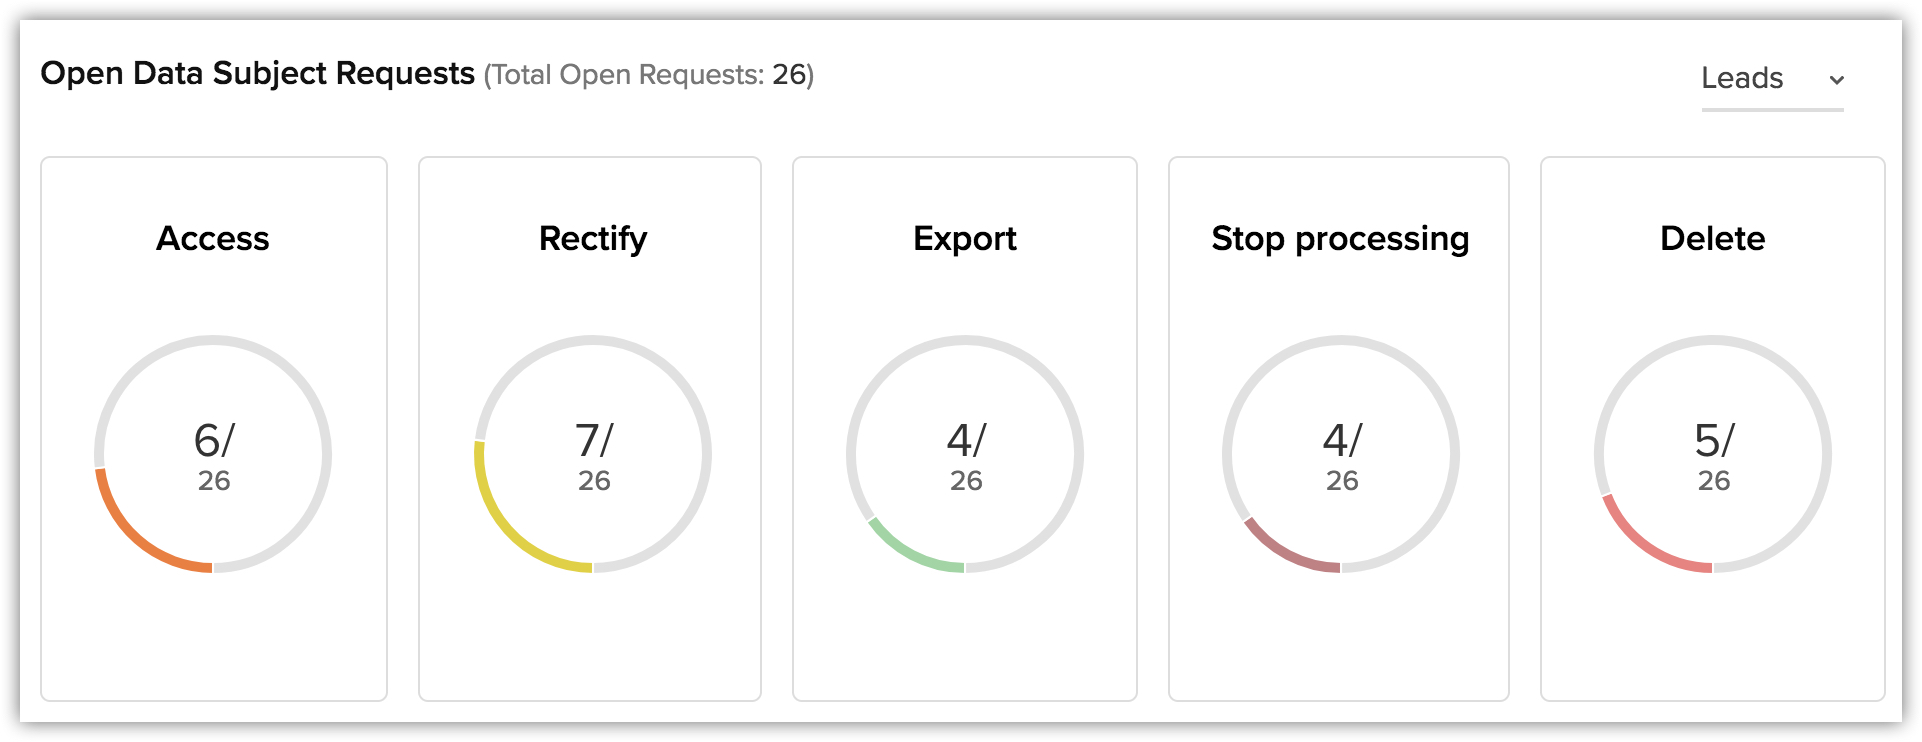
The Overview section in the GDPR Compliance Settings provides a consolidated view of all the requested sorted module-wise. You can view the list of all the record for a particular request.
To view all open requests
- Click Setup > Security Control > Compliance Settings > Overview.
- In the Open Data Subject Requests section, click on a request to view the corresponding records.
- Review the implications and click Restrict Personal data to proceed.
 The content presented herein is not to be construed as legal advice. Please contact your legal advisor to know how GDPR impacts your organization and what you need to do to comply with the GDPR.
 Zoho CRM Training Programs
Learn how to use the best tools for sales force automation and better customer engagement from Zoho's implementation specialists.
Zoho DataPrep Personalized Demo
If you'd like a personalized walk-through of our data preparation tool, please request a demo and we'll be happy to show you how to get the best out of Zoho DataPrep.
You are currently viewing the help pages of Qntrl’s earlier version. Click here to view our latest version—Qntrl 3.0's help articles.
Zoho Sheet Resources
Zoho Forms Resources
Zoho Sign Resources
Zoho TeamInbox Resources
Related Articles
GDPR and Zoho CRM - An Introduction
On this page, we'll be taking a look at what the new rules in GDPR are and how Zoho CRM can help you comply with them. We'll also help you understand how to protect your customers’ data. General Data Protection Regulation (GDPR) is a new set of rules ...Data Privacy
A record's details are available in two sections - Info and Timeline. When you switch on GDPR Compliance in your Zoho CRM account, you will be able to view another section, namely Data Privacy. This section has the following details: Data Source ...FAQs: Exporting data from Zoho CRM
How do I export Zoho CRM data? To export data from CRM Go to Setup () near the top-right corner. Go to the Data Administration section and click Export. In the Export Data page, click Start an Export. In the Export Data page that opens, do the ...Marking Personal Fields
GDPR defines personal data as any information relating to an identified or identifiable natural person (i.e. the data subject). There is a wide range of personal data that includes email addresses, location, mobile numbers, identification numbers, ...Consent Management
Zoho CRM's consent management settings helps you get consent from your prospects and customers. We provide a system where you can customize the consent form, include it in your email templates, set consent related preferences, and most importantly, ...


