Kaizen #166 - Handling Query Variables in Zoho CRM

Hello, Code Enthusiasts!
Welcome to another week of Kaizen!
This week, we'll dive into handling variables in Zoho CRM Queries and see how they can be deployed in Kiosk to dynamically retrieve data. This technique is especially useful for integrating data from third-party applications or CRM itself into your custom interface, such as Canvas and Kiosk.
Variables
Variables are placeholders in Queries that are replaced with real values at runtime. Instead of hard coding data, you can use variables to make your Queries flexible and reusable.
Syntax: {{Variable_Name}}
Query variables in Zoho CRM function differently from conventional Zoho CRM variables. While CRM variables act as containers for dynamic values that can be stored and reused anywhere within the organization, query variables are designed to receive their values at runtime.
Query variables enhance flexibility and are specifically used in:
- COQL: To dynamically filter and retrieve data.
- REST API: For runtime data fetching based on specific parameters.
- Query Criteria: To define conditions dynamically for fetching records.
How to Use a Variable?
To use variables, ensure the fields providing the variable values are available in the context where the Query is executed.
Let’s say you want to evaluate a marketing campaign's performance. For this, you need to fetch all leads with a specific lead source. Since each campaign is associated with a different lead source, you can define the lead source as a variable. When viewing a campaign's details, the lead source will be passed dynamically to the Query.
Business Scenario : Nearby Delivery Hubs
Imagine a telecommerce platform using Zoho CRM to manage sales and deliveries. When a customer provides their PIN code, the salesperson must confirm with the customer for a nearby post office for package pick-ups and drop-offs in Kiosk.
With Zoho CRM Queries, you can achieve this by dynamically fetching the nearby post offices list based on the customer's PIN code and displaying it on the Contact record’s detail page. Here's how to set it up using the Kiosk feature.
Setting Up the Query in Kiosk
1. Access Kiosk Studio
- Log in to Zoho CRM.
- Go to Setup > Customization > Kiosk Studio and click Create Kiosk.
2. Configure the Current Module
- Choose the module where the Kiosk will be deployed.
For this example, select Contacts to use the PIN code from the Contact record.
- Configuring this Current Module is mandatory to use variables from the current record.
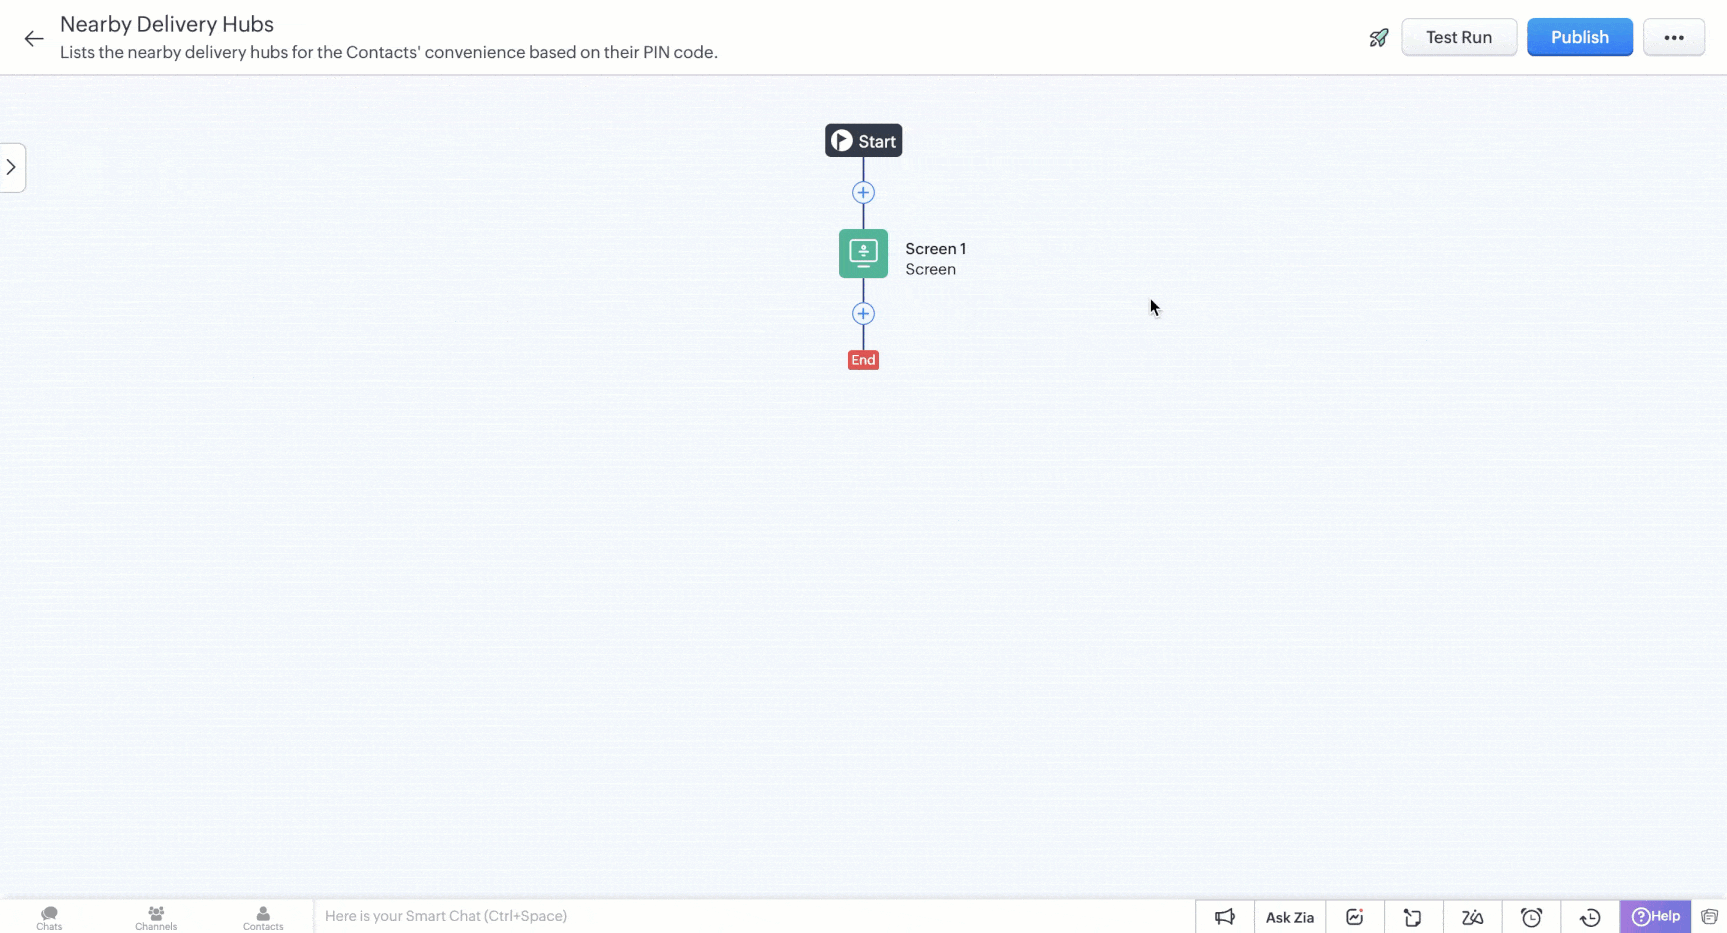
3. Add a Screen
- Click the + icon on the flowchart and select Screen.
- Name the screen and click Add.
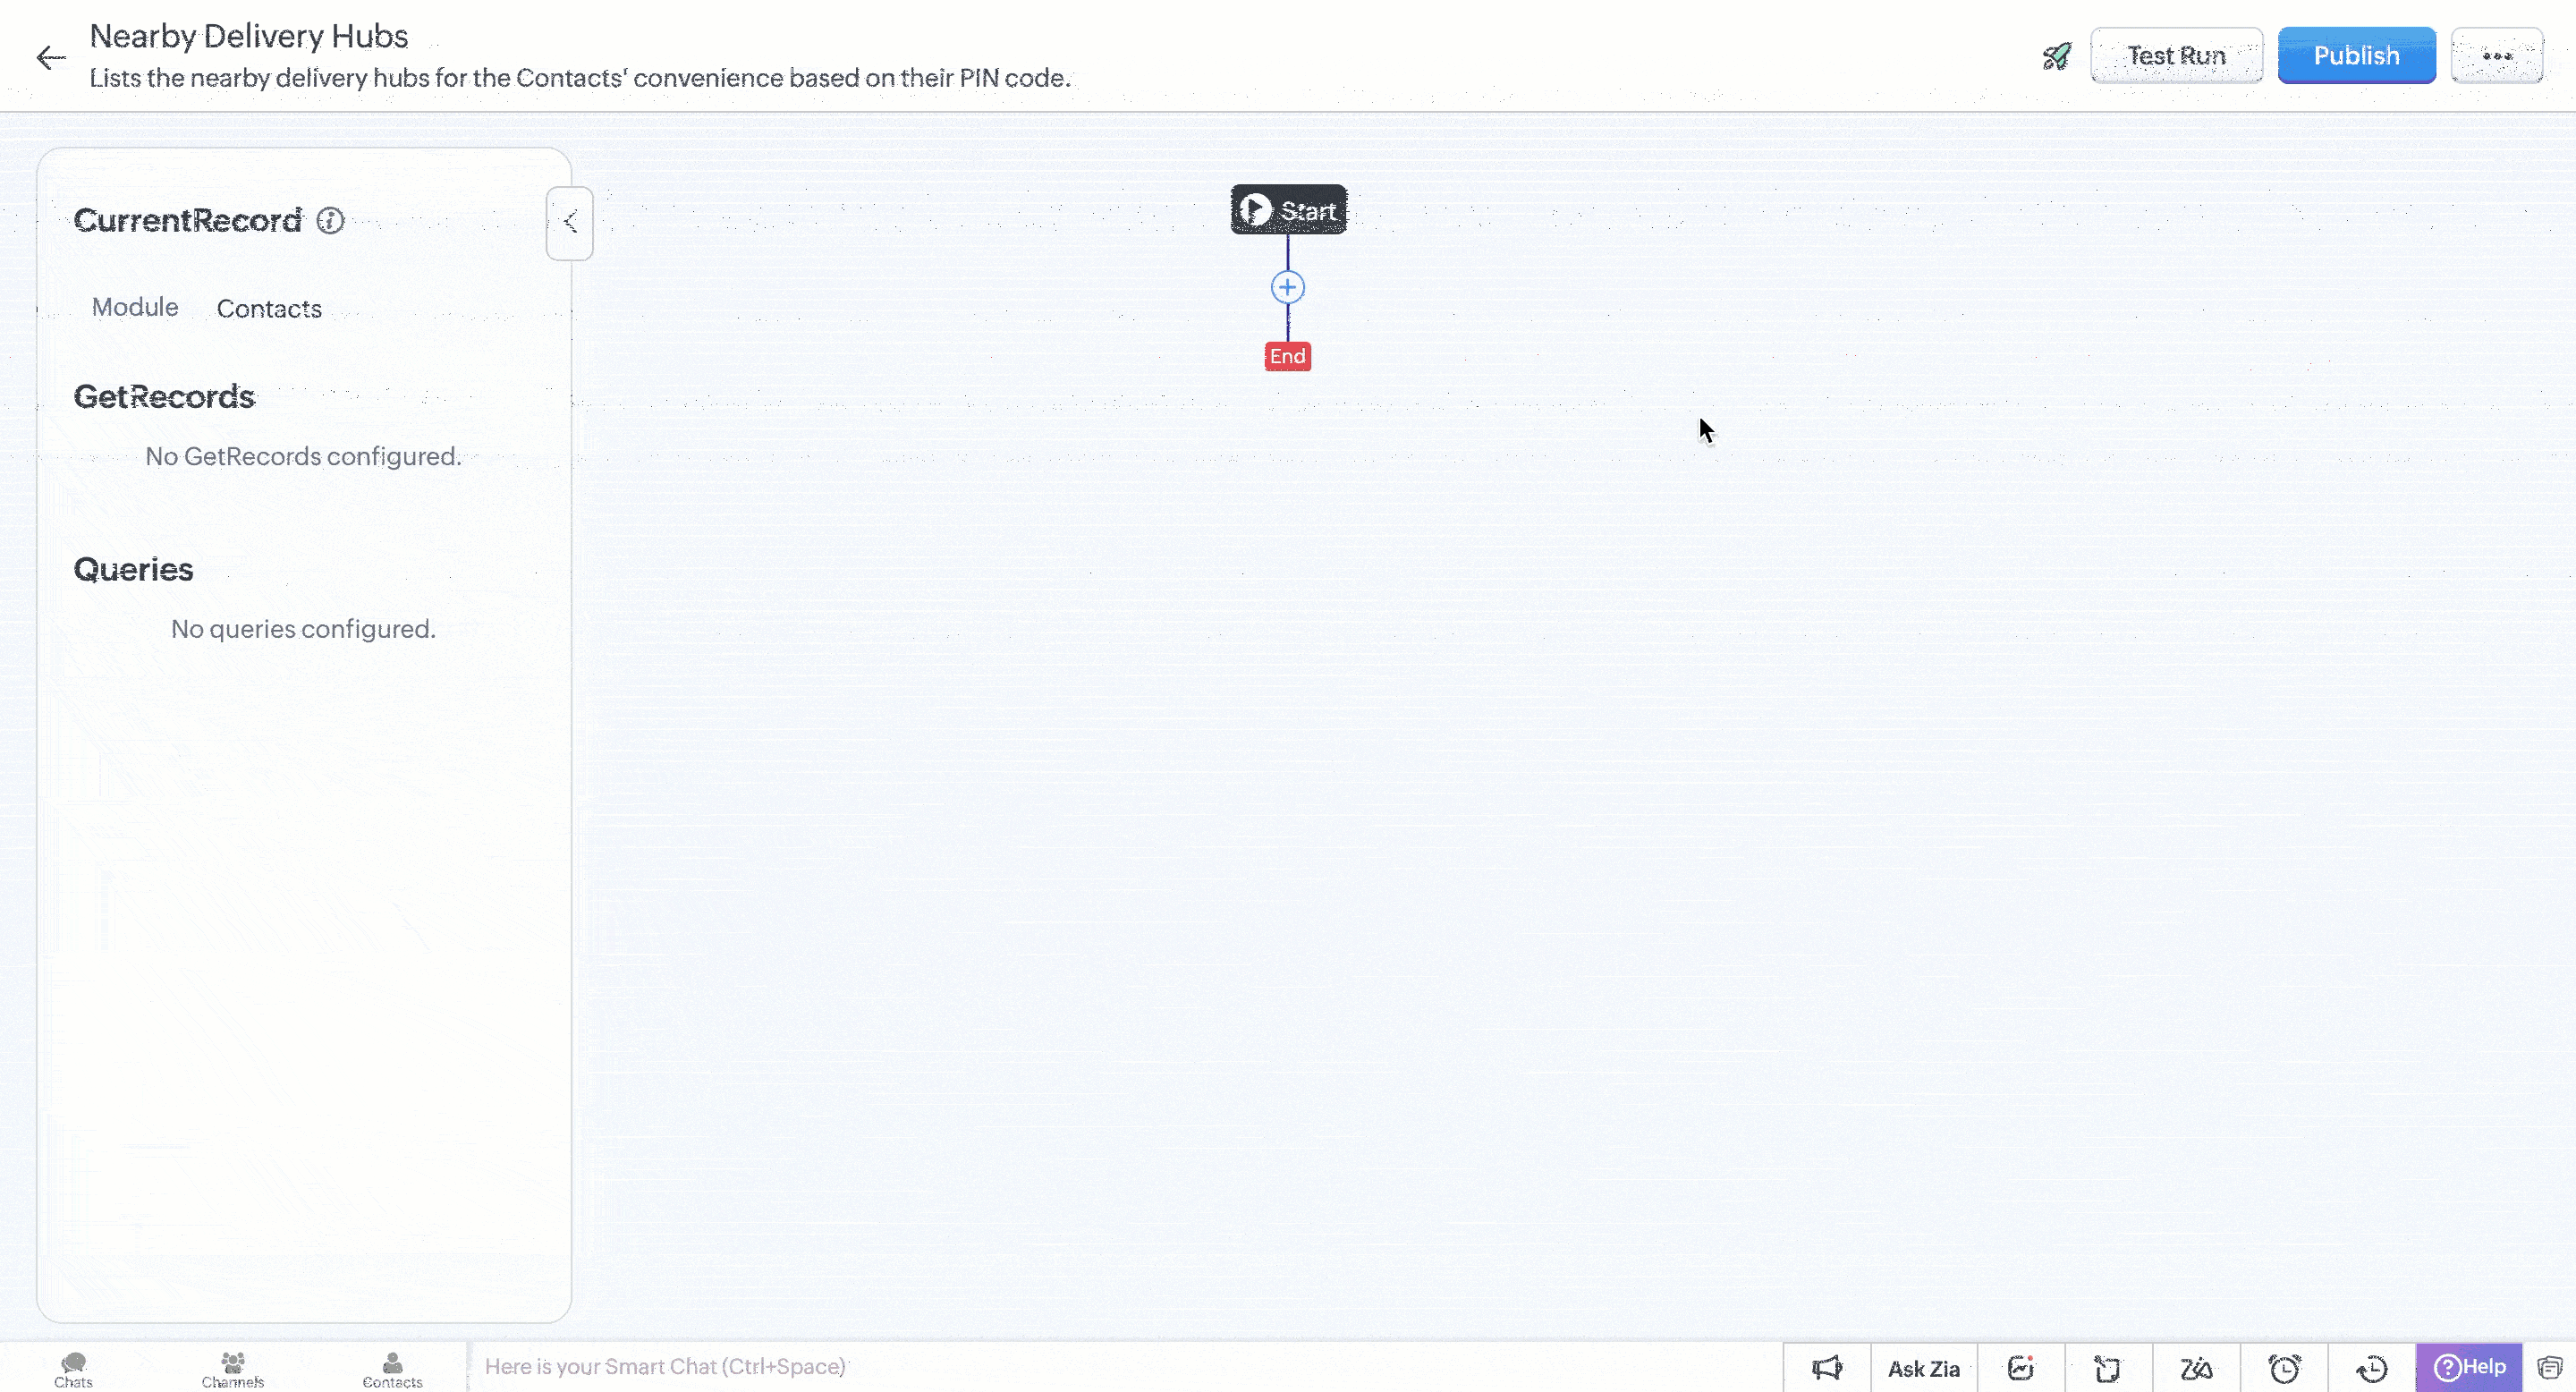
4. Add a Query
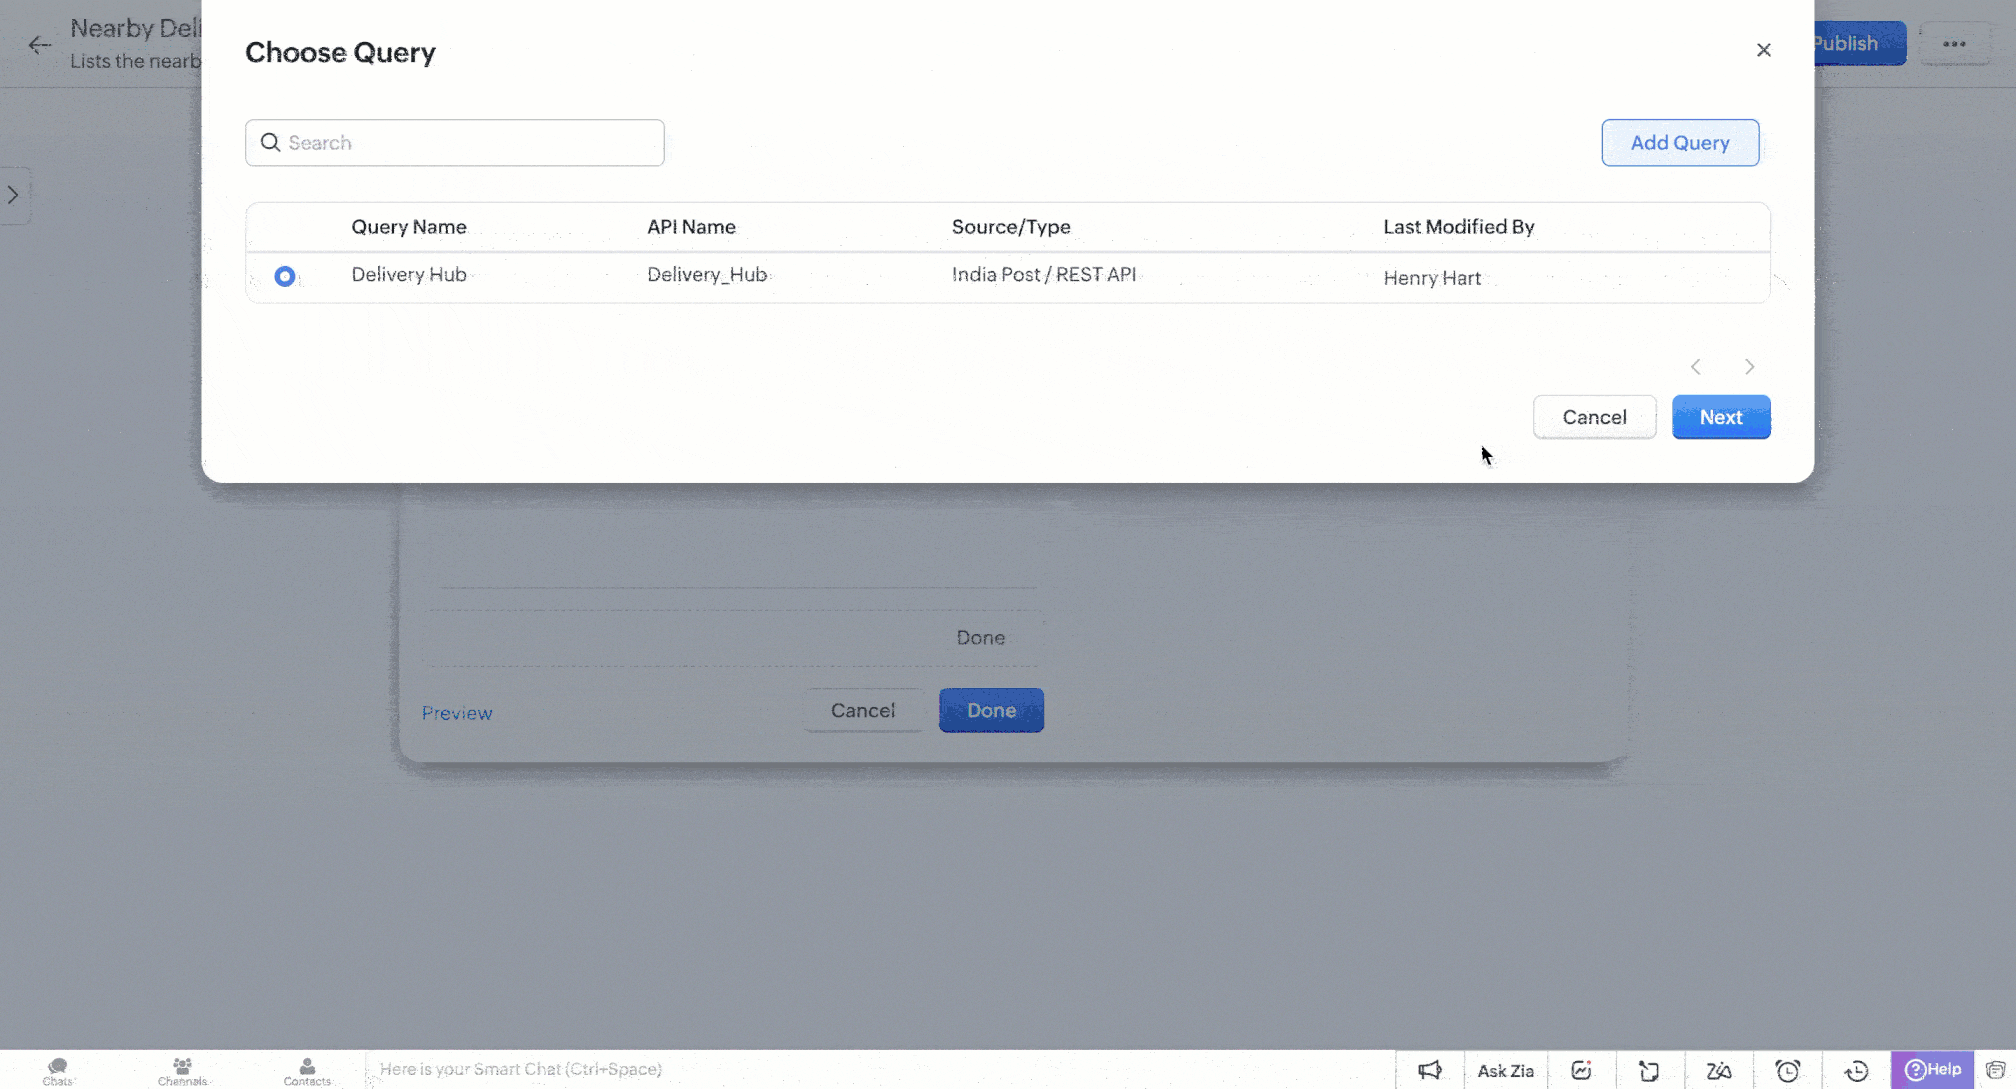
- Under Display Elements, choose Get Data Via Queries.
- Click New Query and then Add Query to create a new one.

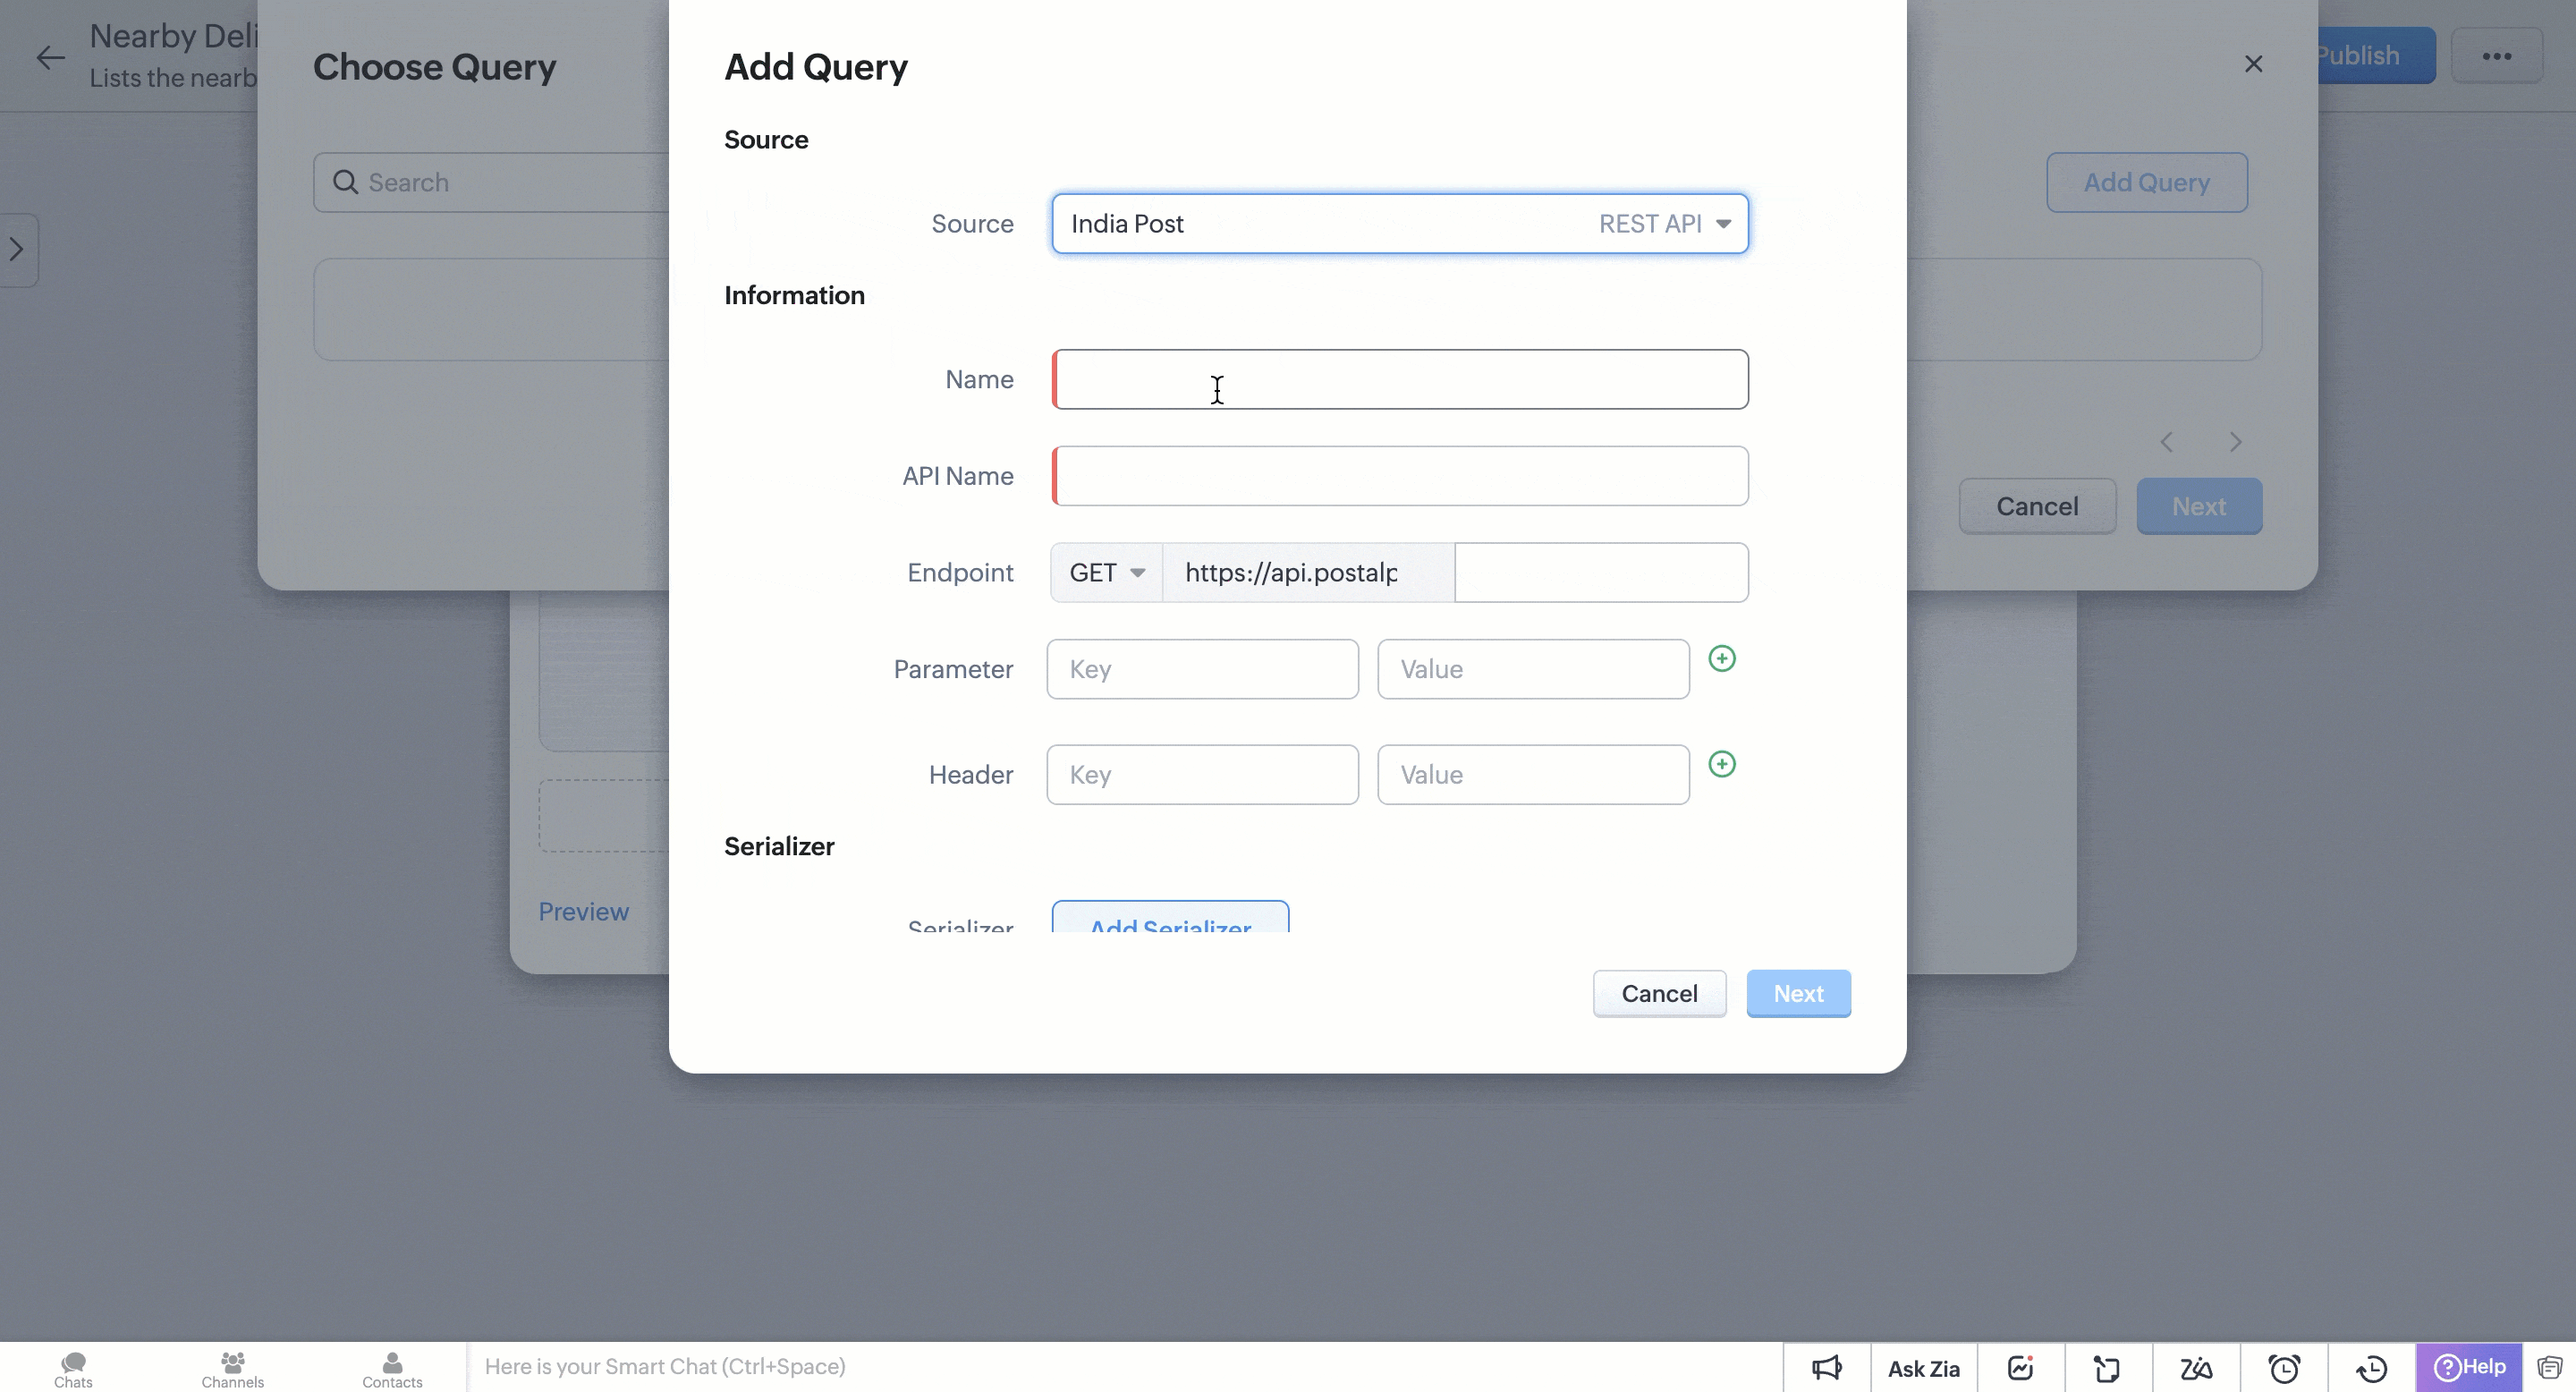
5. Set Up the Data Source
- Any custom source has to be enrolled either in the Trusted Domains or in the Connections. For demo,
- Add the base URL https://api.postalpincode.in/pincode to Trusted Domain.
- Skip Connections as the Postal PIN Code API is an open source.

- In the Add Query pop-up, click Source and create a new source.
For this demo, we’ll add India Post to fetch post offices based on PIN codes.
- Add default Headers and Parameters to the source if any. This will be added by default whenever the source is used in a query.
6. Define the Query
- In the Information section, provide the query’s Name and API Name to refer to the query wherever needed.
- Use the endpoint URL with a variable, e.g., https://api.example.com/post_offices/{{Mailing_Zip}}.
- You can add headers and parameters specific to the query, but let us skip that for the demo.
- Add a JavaScript serializer to process the Query response. For our case, we will serialize the response with return result[0].PostOffice;.
- You can test your serializer with the help of Preview. Once finished, provide a test value to the variable for generating Schema for the Query Response.
The test value you provide is temporary and not permanent. The value of a variable will be declared using merge fields when you associate the query with a component. Check Step 7 to know how it is used in our demo.
You can also manipulate the response by changing data types of keys in the raw response. To keep the demo simple, let's go with the raw response.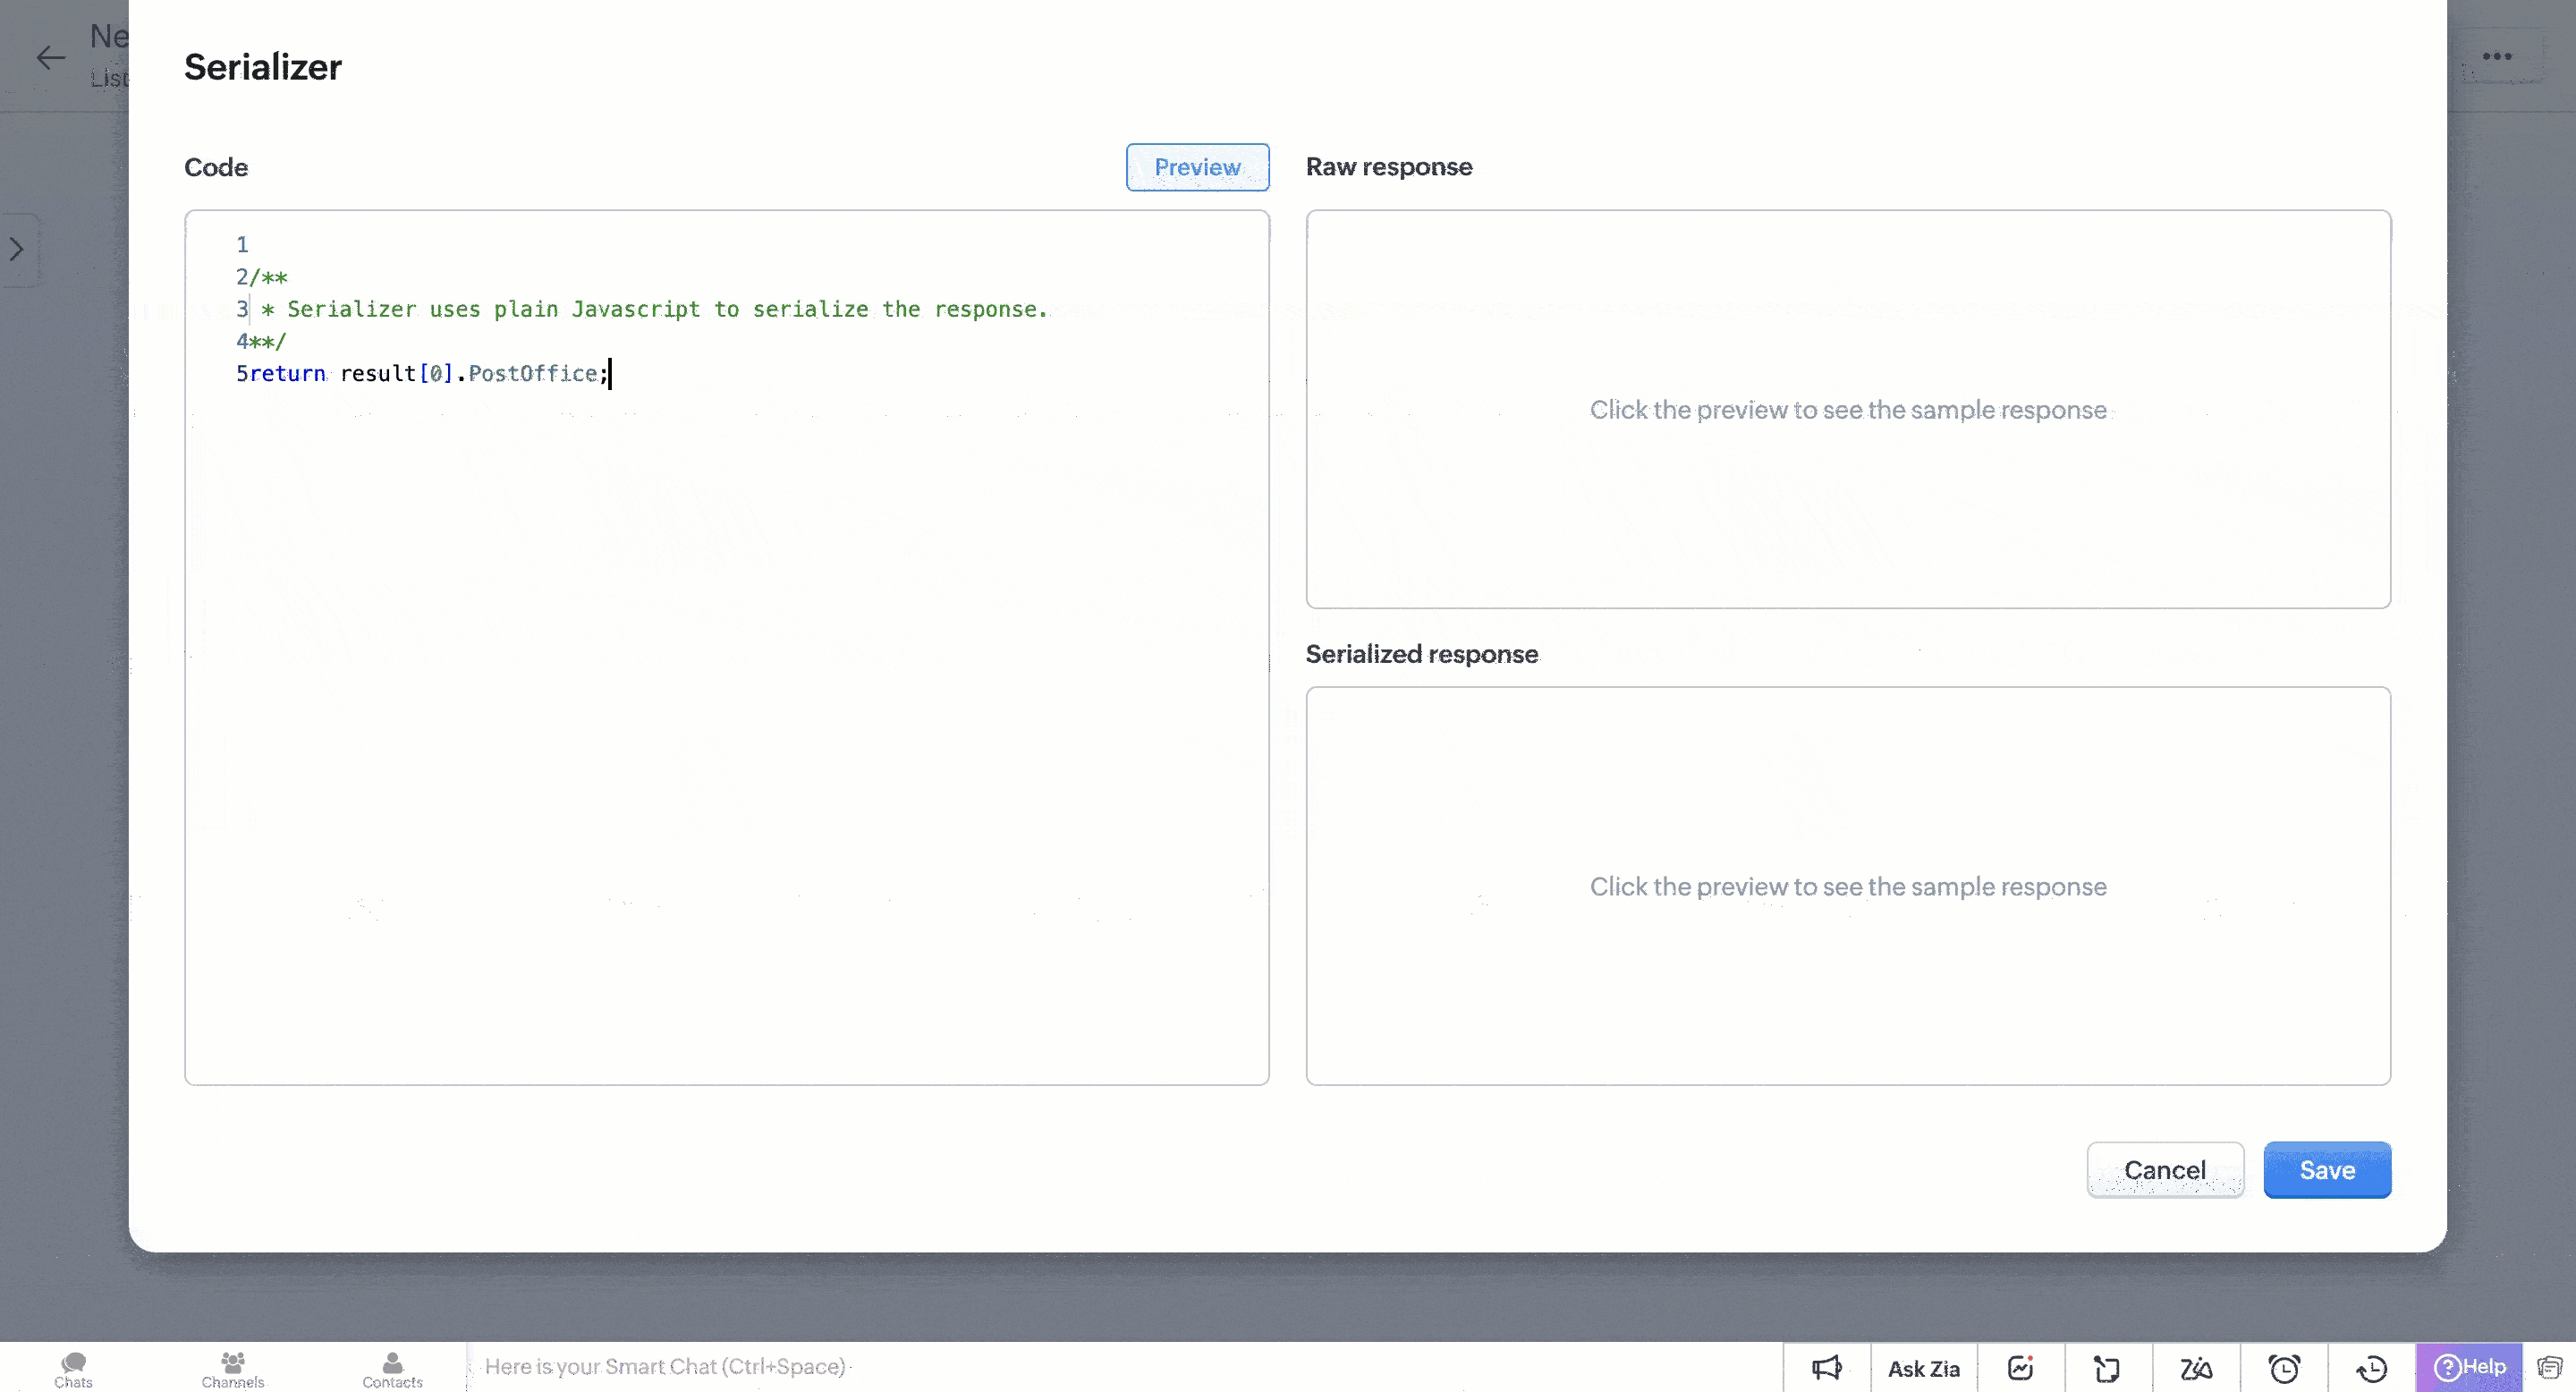
7. Link the Query to Kiosk
- Use Dynamic Parameters to map the variable to the Mailing Zip field from the Contact record. Enter # to merge the fields.
- In Choose Fields, select which data to display in the Kiosk.
- You can further manipulate the query response in the Record Preferences section.
Select your preference to view the response as a Single Record or Multiple Records. - For Single Record, choose the data that has to be displayed from the query response and click Save.
- For Multiple Records, fill in the following details as shown in this image.
- The Selection Limit helps you with the maximum number of records that have to be chosen in the kiosk after publishing.
- Identifier field functions as the primary field to identify each record.
- In the fields section, choose the data that has to be displayed from the query response.
Customize the Kiosk button and click Done to save your configuration.

8. Test and Publish
Test the Kiosk using a sample Record ID from the Contacts module. If successful, the list of nearby post offices will display in an iframe as it would appear on the Contact detail page.
Once satisfied, publish the Kiosk to make it live.
Let us check the Kiosk from the Contacts detail page.

Example Scenarios
- Loan Approval: You can display a customer's CIBIL score using their Social Security Number (SSN) directly within a Canvas. The SSN serves as a runtime variable, allowing you to approve loans without manual data entry and shifting tabs.
- Customer Support: In a Records Detail View kiosk, display all high priority tickets linked to an account. The current account's ID acts as a runtime variable, ensuring that support agents have immediate access to relevant queries and resolve issues faster.
- Insurance Verification: In a Records Detail View kiosk, the customer's ID proof number can be used to verify their details on official government sites. The ID proof number dynamically functions as a variable, streamlining the insurance verification process.
We hope you found this post informative and beneficial.
If you have any queries or a topic to be discussed, reach out to us at support@zohocrm.com or drop your comments below.
Cheers!
---------------------------------------------------------------------------------------------------------

Previous Kaizen: Kaizen #165 - How to call Zoho CRM APIs using Client Script | Kaizen Collection: Directory