Using the default PDF template
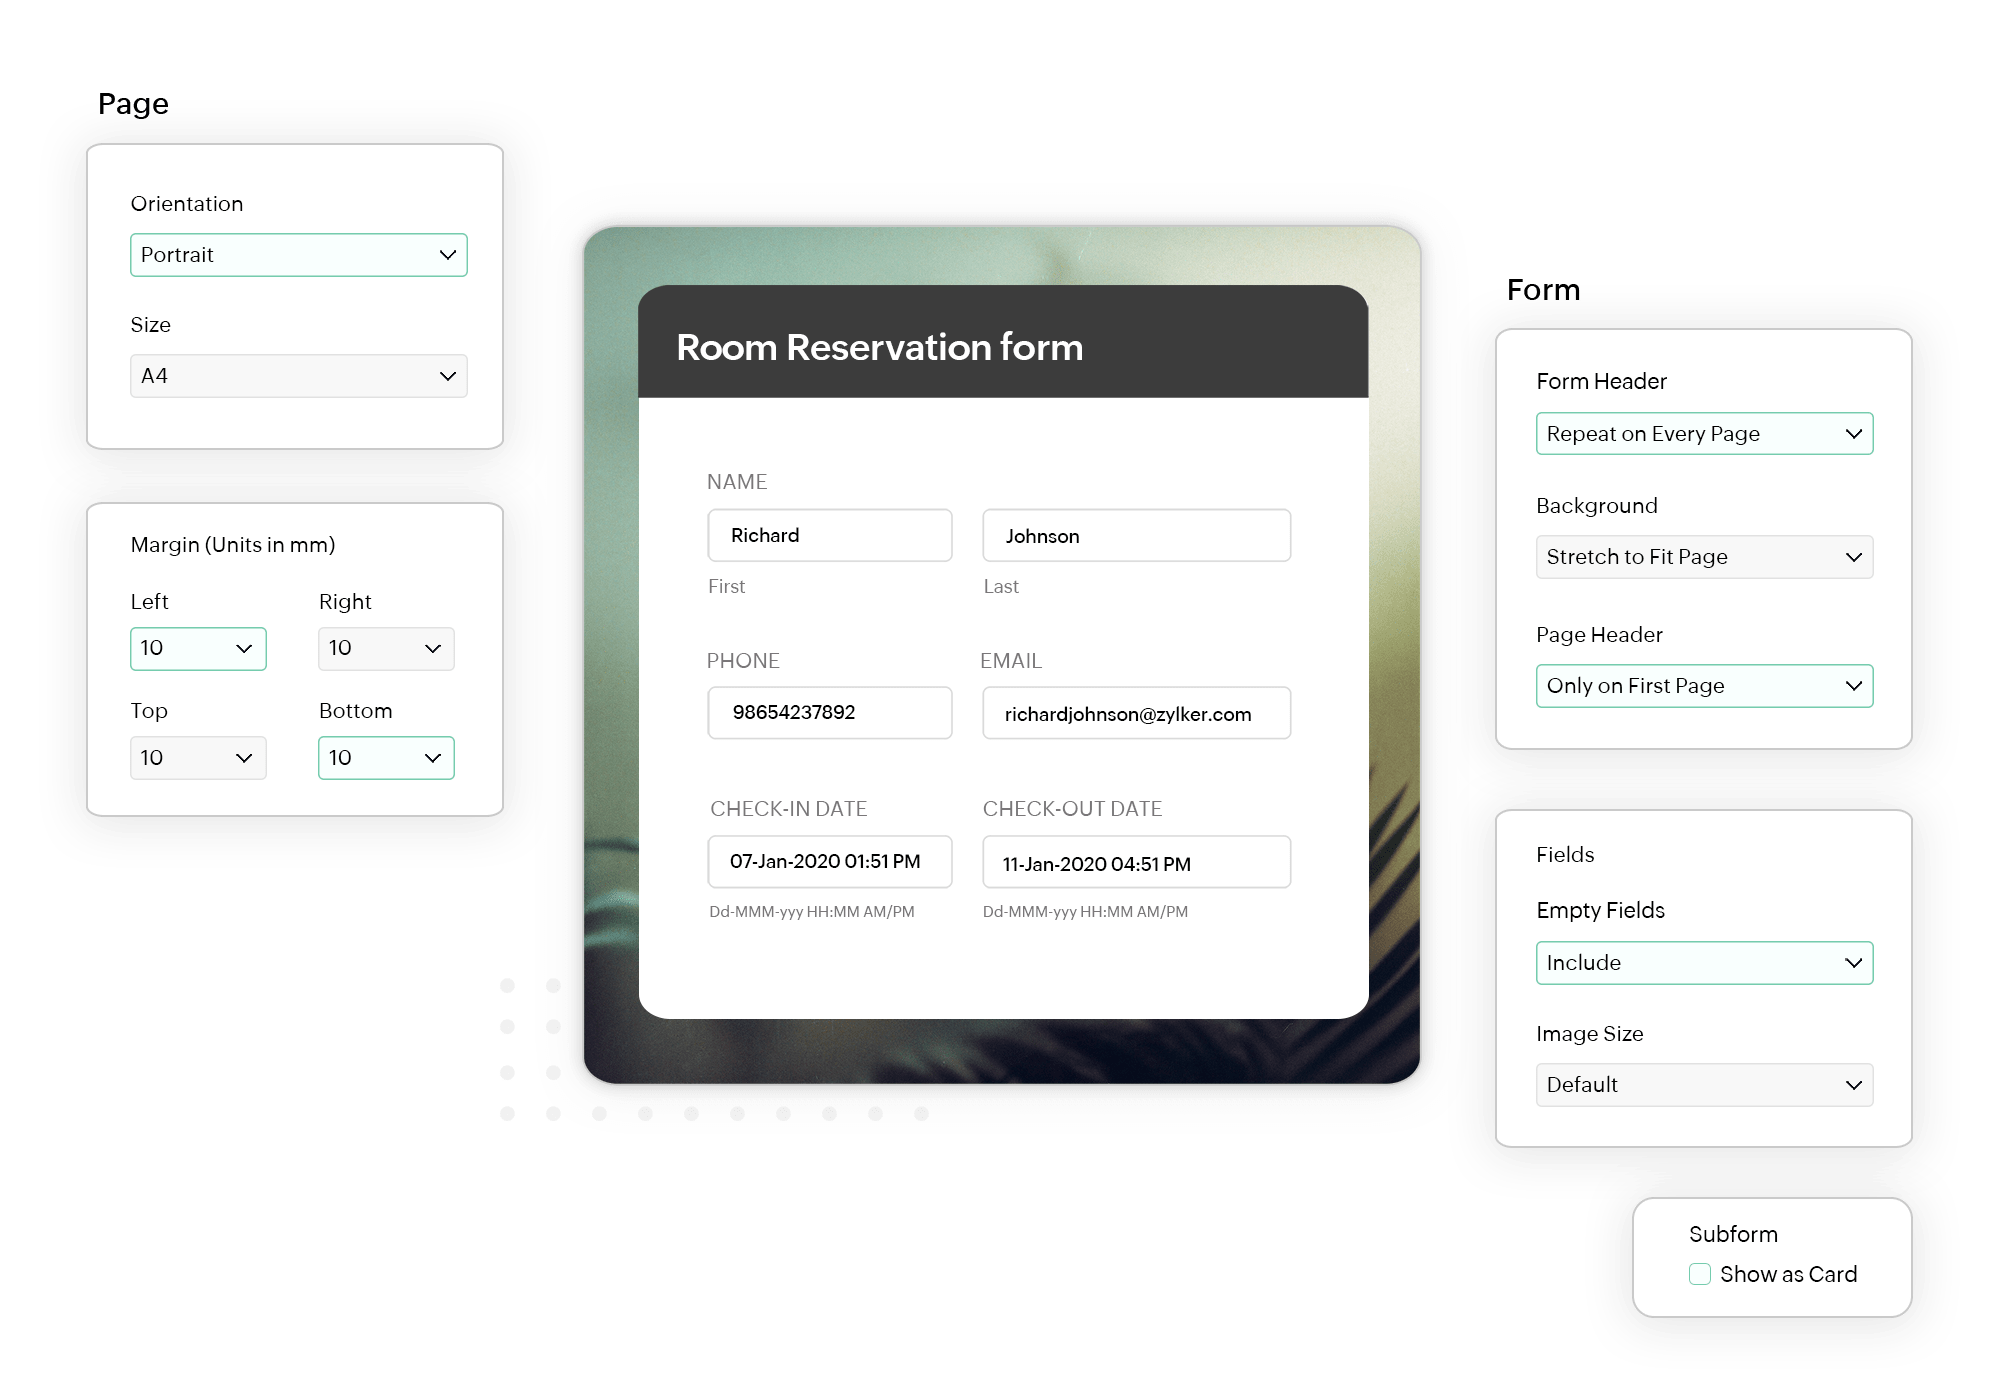
Customizing the default PDF Template
Navigate to Settings > PDF & Document Merge > PDF Editor.
By default, the default template will be enabled.
To customize the appearance the Default PDF document, click Modify under Default Template.
In the PDF Editor, you can name your PDF under PDF Name, restrict access to it under Password Protection, customize the page orientation under Page Settings and control how form fields appear under Form Settings.
Once you have customized the PDF, click Save .
To revert to the default settings, click Restore Default Settings in the top-right corner of the PDF editor.
To download the PDF of a blank form, click Download.
Page Settings
You can modify the following under the Page Settings of the PDF editor:
Orientation : You can set your page orientation to Portrait or Landscape.
Size : You can select the page size of your PDF from the listed options.
Margin : You can set margins for your document here. If you wish to remove margins for the PDF, choose the value for the Left and Right margins to be zero.
You can modify the following under the Form Settings of the PDF editor:
- Form Header : You can choose to display your form header either on all pages of or only on the first page of the PDF.
- Background : You can stretch the background of your form to your page size.
- Fields : You can choose to include or exclude empty fields from the PDFs of form entries.
- Image Size : You can set the size of the images to be displayed in the form.
To display an in-line Subform in your form as a card in the PDF copy, select Show as Card.
Password Protection
- In the Default PDF Editor, enable the Password Protection checkbox.
- In the PDF Password field, enter a password. To include form field values, click icon and select the fields you want to add. Fields are combined in the order they are selected.
- Click Save.
Supported Form Fields for Dynamic PDF Password
- Name (First Name, Middle Name, and Last Name)
- Email
- Single Line
- Number

- PDF Password must be between 8 and 50 characters.
- If the combined output of all selected fields exceeds 50 characters, only the first 50 characters will be used as the password in the live form.
- If all the form fields selected for PDF Password are left blank by the respondent and no static text is included, the PDF can be accessed without requiring a password in the live form.
- The PDF Password accepts all character types: uppercase and lowercase letters, numbers, special characters, spaces, and characters from all supported languages (Unicode). No character restrictions apply.
- Password Protection option is not available when downloading a PDF from All Entries using the Record Summary Layout.